
The weather is up and down and all around lately. In other words, typical spring weather. Might get rain, might get snow, might have sunshine and warmth, or nasty and cold. Our March came in like a lamb and seems to be going out like a (sort of) lion. In that, I mean that it is cold, we got some snow, but could be way worse.
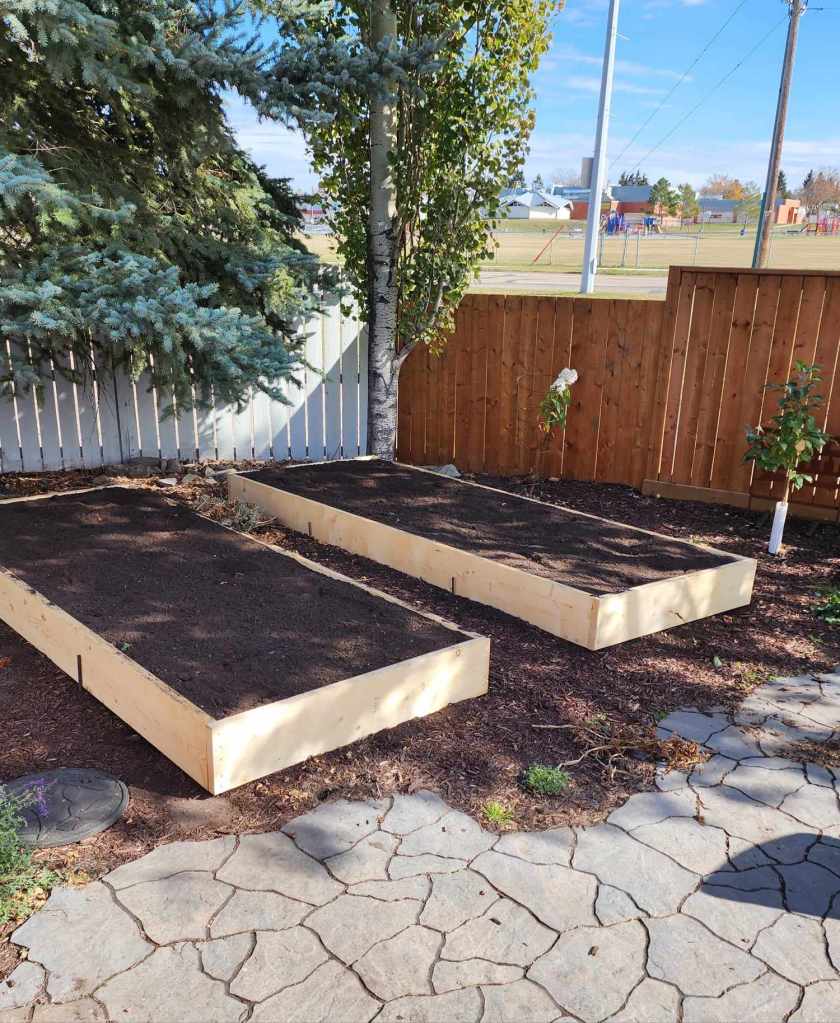
My back yard was bare of snow, the front almost bare. Then we got some snow… again. It will be gone again in a week’s time, so I can start planning for my spring.

Forcing branches – when you trim your plums, pears, apples, forsythia…. bring the branches indoors.
- Give them a fresh cut and cut a cross into the bottom half inch of the stems to help them take up water better. Instead of the cross in the bottom centimeter, you can bash the end with a hammer instead. Whichever you prefer.
- Change the water approximately every third day.
- Keep the water level at the same level each time.
- They will begin to leaf out after three weeks, and will blossom for several weeks.
Do not prune lilacs in spring, or you will have no blooms this year.

Pruning. This is a great time to be pruning your apples, pears, and ornamental trees. You want to do this before they start leafing out.
- Prune out any watersprouts (branches growing straight up) and branches growing downward.
- Take out anything dead, damaged, or diseased. If there are no buds on the branch (they look dry and dead), take off the entire branch. If the branch is broken, prune behind the broken part, back to a healthy bud. If the tips have no buds, follow the branch back to the last healthy bud and remove the dead part.
- Always cut back to a bud that is growing away from the tree, growing in a direction that you would like it to grow.
- Remove any branches that are growing inwards.
- Remove branches that are crisscrossing.
- Shorten the main branches by 1/3 for more flowering/fruiting.
- Prune out any suckers growing at the base of the tree.
Always prune out less than 30% of the tree in a year to avoid stressing out the tree. Stress will result in more watersprouts and may cause suckering at the base of the tree.
Here is a good link about pruning apple trees (and Pear trees) – has pictures showing where to cut.
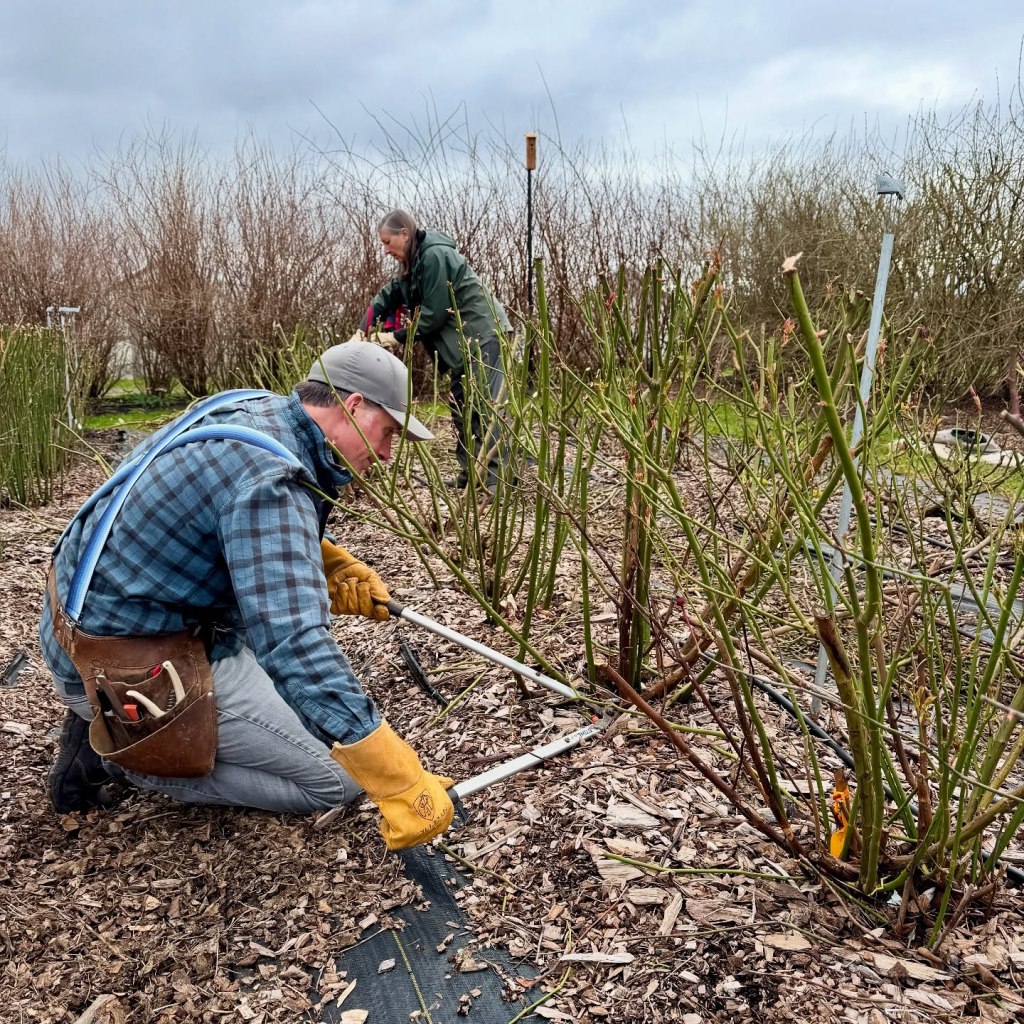
Roses – Cut back roses by 1/3 to 1/2 in height. Remove dead, broken, old, and criss-crossing branches now. Pruning now will help them flush out beautifully this spring.

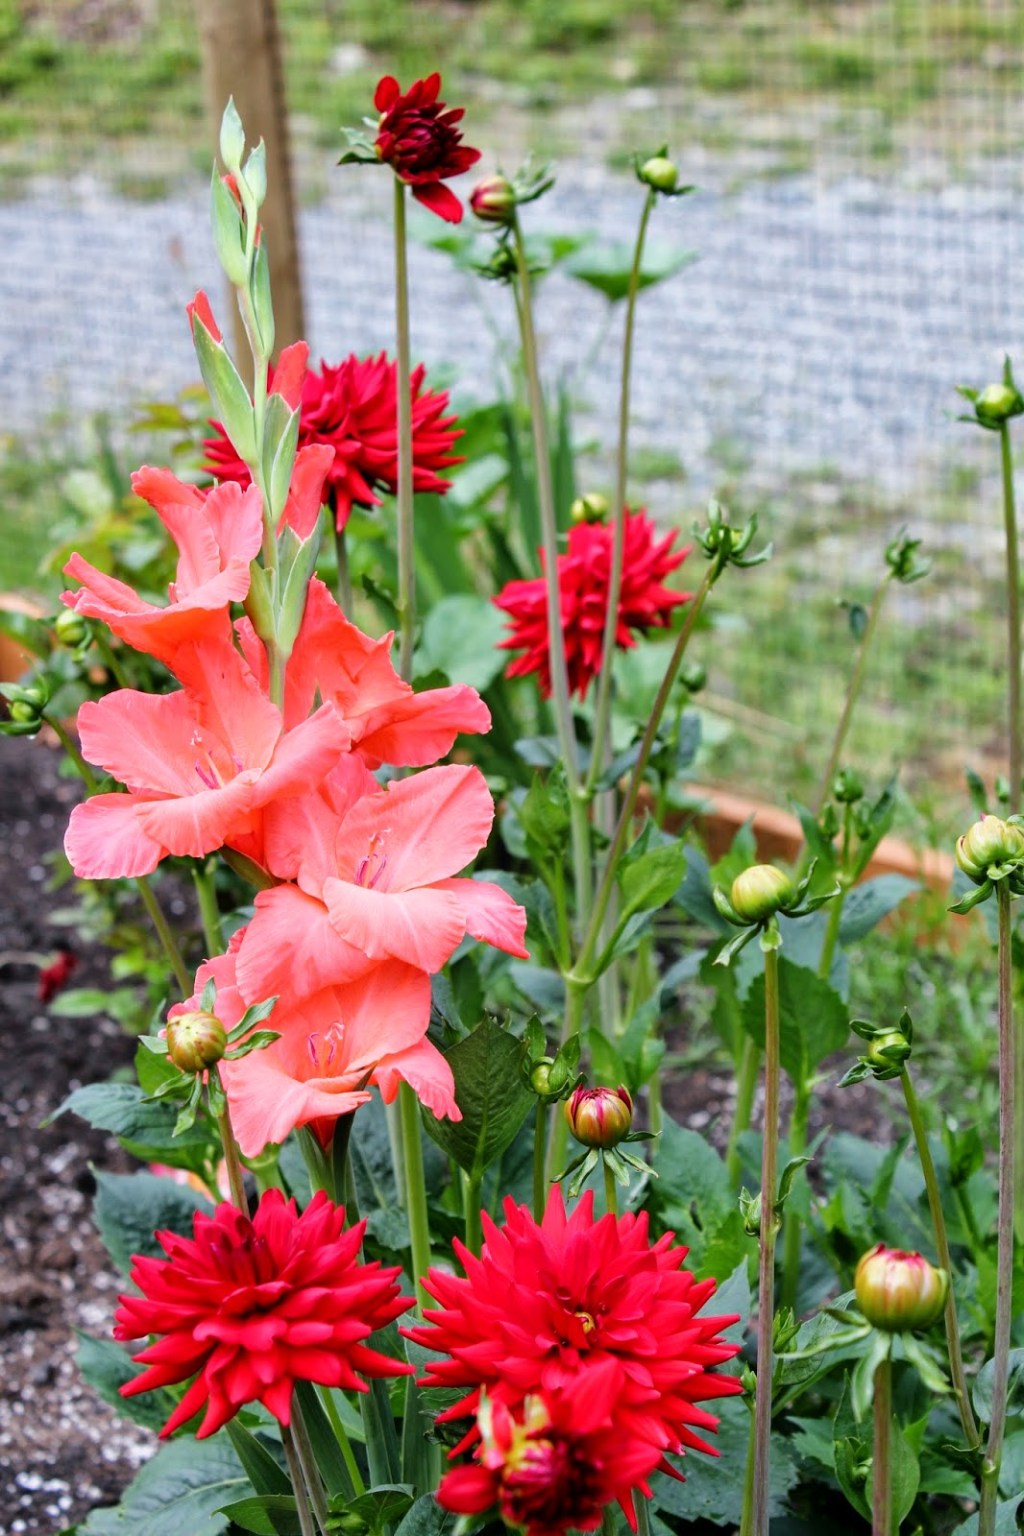
In the picture above is Therese Bugnet. She is a very hardy, very vigorous grower. Before she leafs out, get in there with your loppers and take out any of the old, peeling, grey, fat rose branches down close to the ground. Cut back the tops by 1/3. Take out anything that is dead, damaged, or diseased (the 3 D’s).

Prune your roses (teas & shrubs) to an outward facing bud. This is which way the new branch will grow, so you never want to cut to a bud facing inwards, towards the middle of your shrub.
Cut above that new growth, on a slight angle. Cut the angle so that it is higher on the side where the new growth is, so that water runs away from the new bud.

Raspberries – When you begin to see green leaves starting to bud out, it is time to prune your raspberries. Do not wait till they have leafed out.
- Take out all the grey, peeling canes. You will be able to see the fruit caps hanging from those stems. Cut them down to the ground.
- Take out any small, spindly canes.
- Remove anything that is dead, damaged, diseased.
- If your raspberry patch is very overgrown, thin out your canes so they are 5 to 6 inches apart. This will give better air flow and light to the berries.
- If the tops look damaged or dead, take them down to healthy growth (about 1/4 of the cane).
- If you have suckers growing away from your raspberry patch, remove those with a shovel. Sell or give away.
What To Use For Pruning?
Hand pruners – Smaller branches and watersprouts can be cut with hand pruners, also called pruning shears. They will cut up to 3/4 inch branches, depending on your hand strength, and the size and quality of the pruners. Use bypass pruners rather than anvil ones, which will crush the branch.
Use these for shrubs, roses, taking in cut flowers, cutting branches for making wreaths, forcing, etc… Honestly, everyone needs to have a pair of pruners to do quick clean ups and trims.
Loppers are your next go to. They are great for anything 0.5 to 1.5 inches wide, bigger than hand pruners will do. They have long handles so are easy to get into the thicket at the base of an overgrown shrub or rosebush. To thin out and remove old stems without getting poked or scratched.
I use these for roses, raspberries, shrubs, and tree branches.I find these very helpful, especially for roses and raspberries, so would say that they are a necessity if you have either.

A pruning saw is for anything larger than 1.5 inches. Usually used only for tree branches, but very handy to have on hand.
A pole pruner can have a pruning saw or pruning shears at the top of it. Used for cutting branches or waterspouts in the higher branches. Alternately, you can use a ladder.

A pole pruner is not necessary if you only have a tree or two to do. We use a ladder at home but pole pruners at my brother’s house, as he has a dozen or more apple trees. It is easier to use the pole pruner than move around a ladder from tree to tree.
Electric Pruning Tools
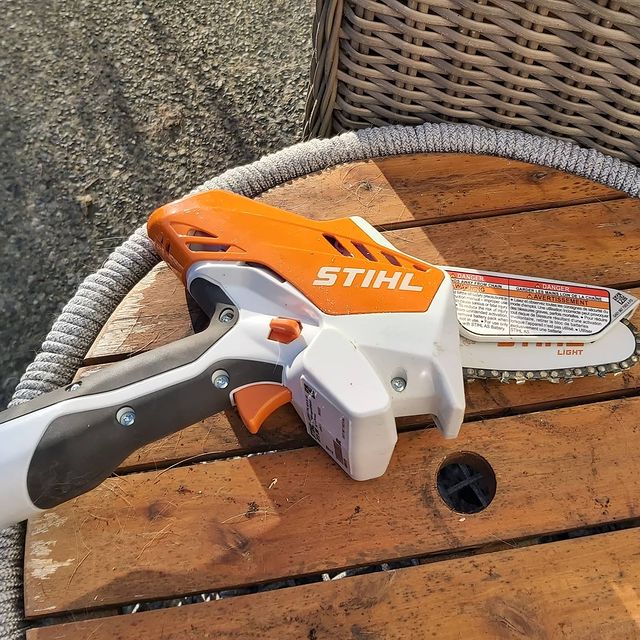
The above one is my electric Stihl pruning saw. It cost me around $200 a few years back, comes with charger. I love it. It means I can do pruning on my own, no waiting for hubby to do it.
There are also electric versions of all of these pruning tools available. Makes pruning easier for those of us with arthritic hands, shoulder injuries, anything that makes using the handheld tools difficult.

Bulbs
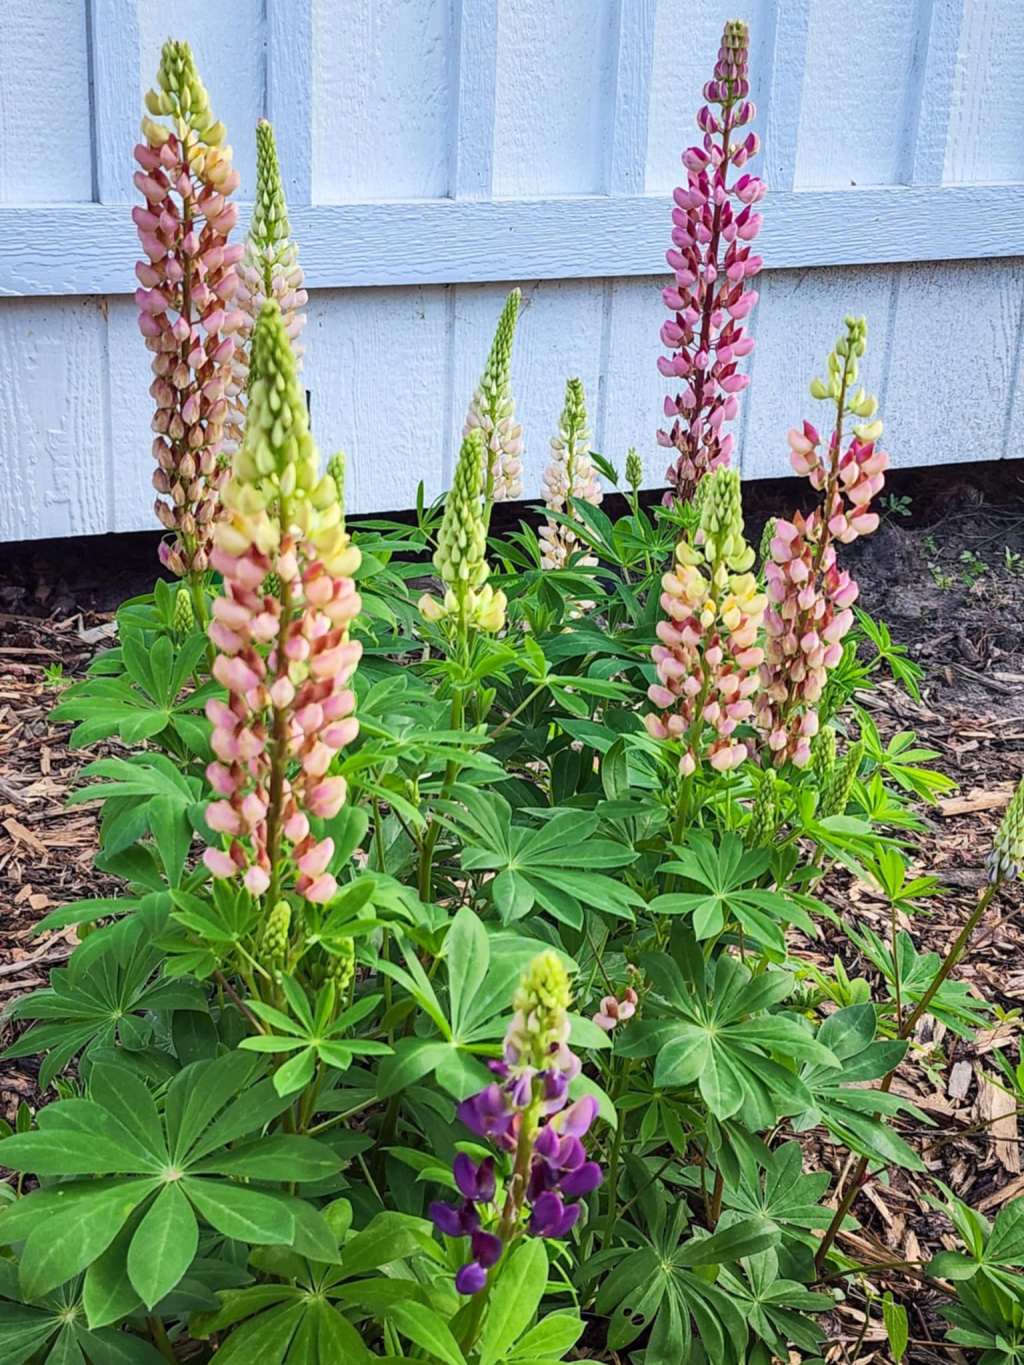
When your bulbs start popping through the soil, give them a feed with an organic bulb food for more flowers, bigger and stronger.
Do not use a high nitrogen fertiliser as that will promote greens but not blooms.

Be Careful With Spring Clean-Up
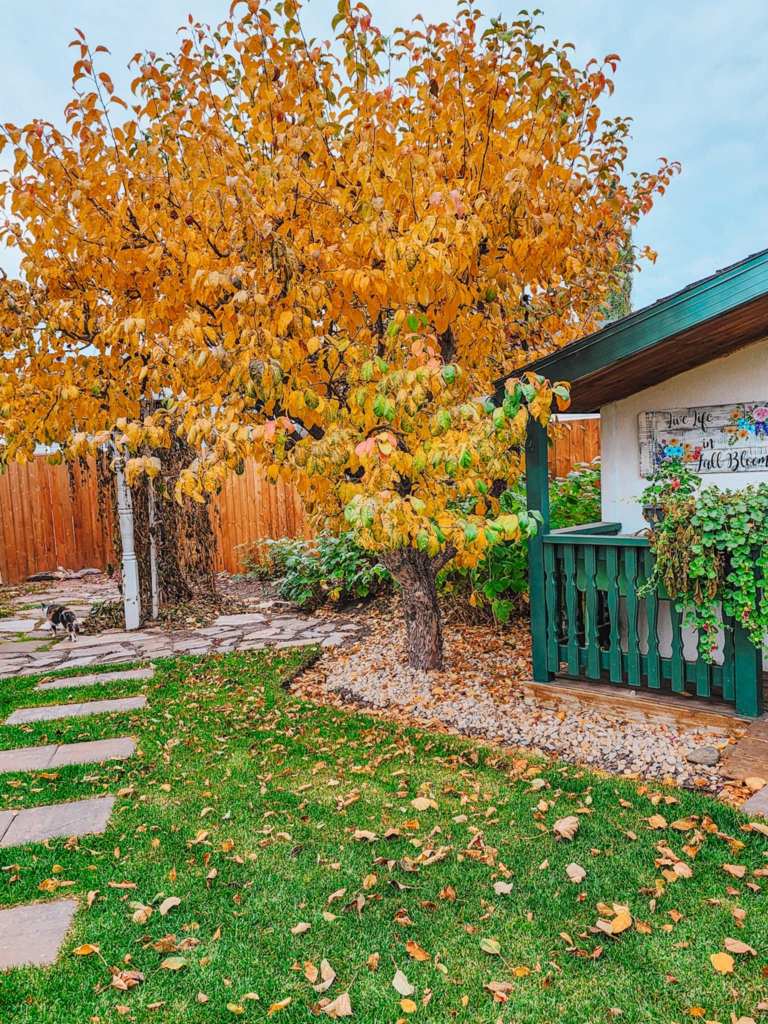
While some critters, like early native bees, will start to come out of their hidey holes as soon as spring is in the air, others will be staying snug in their leaf litter homes till temps are hitting +10°C (50°F).
If your leaves are in an all natural area, like this picture above, let the leaves be, they will compost down and feed the soil life.

- Keep your garden clean up minimal at this stage. Just moving leaves away from small bulbs pushing through the soil, crocuses and the like, and doing tidy up close to the house.
- Leave the mulch and the leaves, but you can wash off patios, sweep the patio, get it ready for spring colour and pots. I swept and then hosed off the mud from the doggy paws. Ready for spring and patio furniture once the snow melts… again.
- Do not cut down perennials yet as native bees and beneficial insects are overwintering in those stems. These are the guys that will be taking care of your early season pest problems, so you really do not want to get rid of them.
- If you are really itching to take them down and clean up the beds, cut them at the base, down at ground level, and then pile them in an area where they can stay until the critters have vacated those stems. Your garden will thank you for this when others are complaining about aphids in early summer.
- Mulch needs topping up every 2 to 3 years, so book your mulch, but do not cover yet as critters are using the mulch for overwintering, just as they are with the leaves. We don’t want to bury them.
- Leave the leaves in your garlic bed till mid to end April, or some just leave them on all the time. That is just fine, it just slows down the spring warm up, but helps to retain moisture and stay weed free in summer.
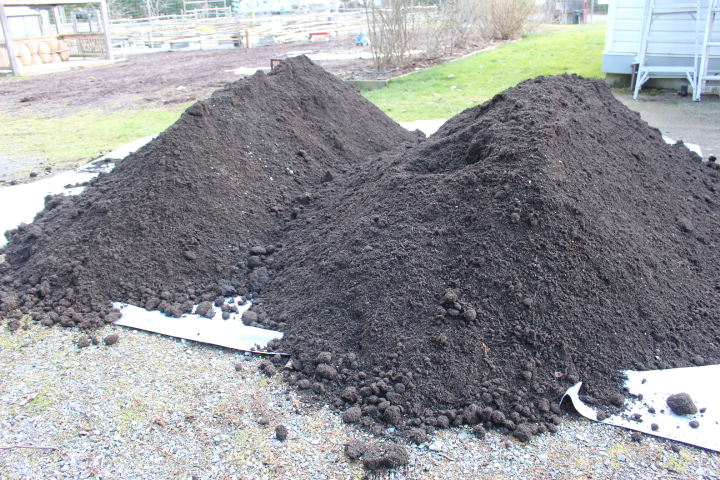
Feed Your Soil – If you are wondering what fertiliser to use on your trees, shrubs, roses, vegetable beds, the answer is…. compost or composted manure.
- Feeding the soil with compost will feed the plants organically, increasing soil life in that area for good soil aeration and nutrients.
- If you soil if very sandy, does not retain water well, the answer is to add organic matter.
- If your soil is very hard, heavy in clay, do not add sand or you will turn it into concrete. Add organic matter annually and you will have fantastic soil within a few years time.
- It takes time to ‘make’ great soil, but is so worth it to do it naturally. Adding inorganic fertilisers only feeds the plant short term, improving the soil will feed them now and in the future.
- Organic matter is anything that will compost down to feed the soil life.
- Do NOT muck about in wet soil, wait till things dry up before you start planting.
Shovel some compost around your fruit trees (even if they are growing in the lawn), your shrubs, small fruits, roses, perennial garden beds, and your veggie beds.
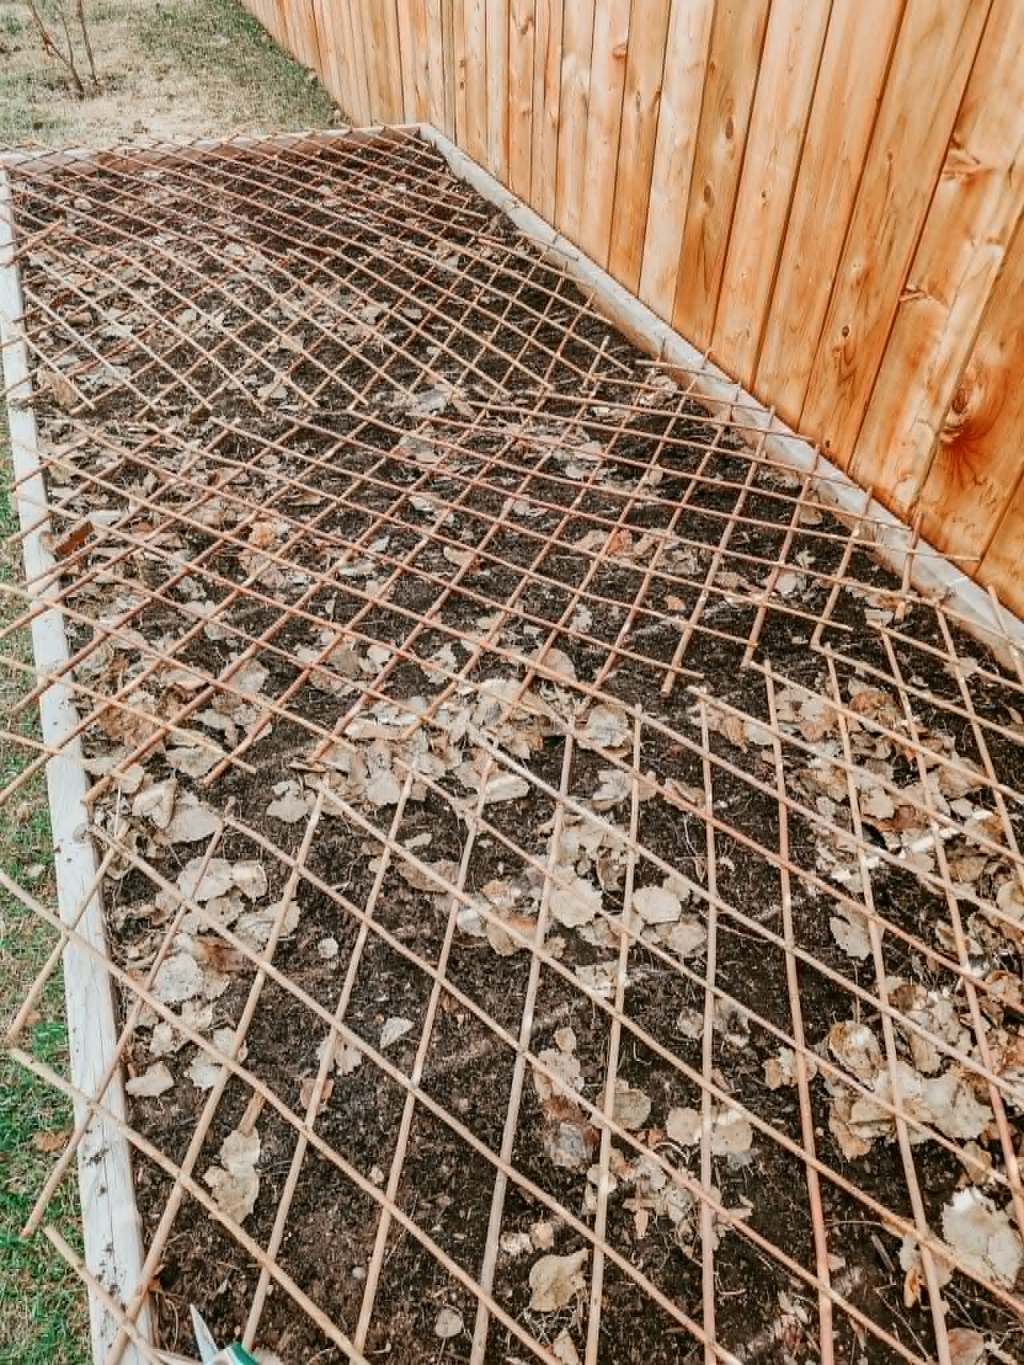
If you did not feed your veggie bed soil in the fall, you will want to feed the bed with 0.5 to 2.5 inches of good compost or composted manure.
First run your hoe through the top bit of the soil to remove any germinating weed seeds, pull out any weeds that are sprouting up, and then top with the compost.

Seed potatoes… Pick up seed potatoes when you see them at the shops, to ensure that you get the variety that you want. Put them out to chit 2 to 3 weeks before you want to plant them outside.
Chitting is pre-sprouting your spuds for an earlier harvest. Take your seed potatoes out of the bag or box and place on a tray, or in a low shoe box, or in an egg carton. Set in a warm and bright place (though not in direct sunlight) for two or three weeks. The eyes will soon begin to grow little nubs. Once these nubs or sprouts are about an inch long, carefully plant the potatoes out in the garden.

Even if you are itching to get going, do not muck about in wet soil. It compacts the soil, turns it into concrete. If it is in a warm spot, you can poke some early cool season crop seeds in the soil. Things like peas, cilantro, spinach, kale, and cilantro. We all know that cilantro is going to go to seed as soon as the temps get into the 20’s °C (70’s °F)
Wait till the soil is warm and dry, the air temps are around 7°C (45°). Two to three weeks before last frost. Mid April on the island/west coast. Here on the prairies, in a zone 3, you are looking at early May.
Seeds to start now…. We are only 7 weeks away from last frost here on the prairies, 3 weeks on the west coast. This means we can start a whole bunch of things.
Cool Season Crops
- Broccoli and Broccoli Raab ( my fave!)
- Beets
- Cabbage
- Cauliflower
- Onions and leeks
Herbs
- Chives
- Parsley
- Borage
- Chamomile
Flowers
- Marigolds
- Zinnias
- Columbine
- Campanula
- Gaillardia
- Asters
- Sweet Peas
Here on the prairies, we are a ways off from direct sowing outside yet. I have sown some cool season crops inside the unheated greenhouse beds. They will germinate when the timing is right.
The outside beds are still solid, but as soon as I can work the soil, I will be dropping in some cool season crop seeds, like peas, spinach, radishes, and various greens. Greens are hardier than lettuces. Dill and cilantro can be direct sown soon, too.
For flowers, we can soon toss in larkspur, poppies, calendula. While zinnnias, cosmos and sunflowers are good to go on the island by mid month, we have to wait till the soil is warmer in early May.

Whew, that was a pretty long post. Lots of ideas on what to do this month, and how to do it.


Leave a comment