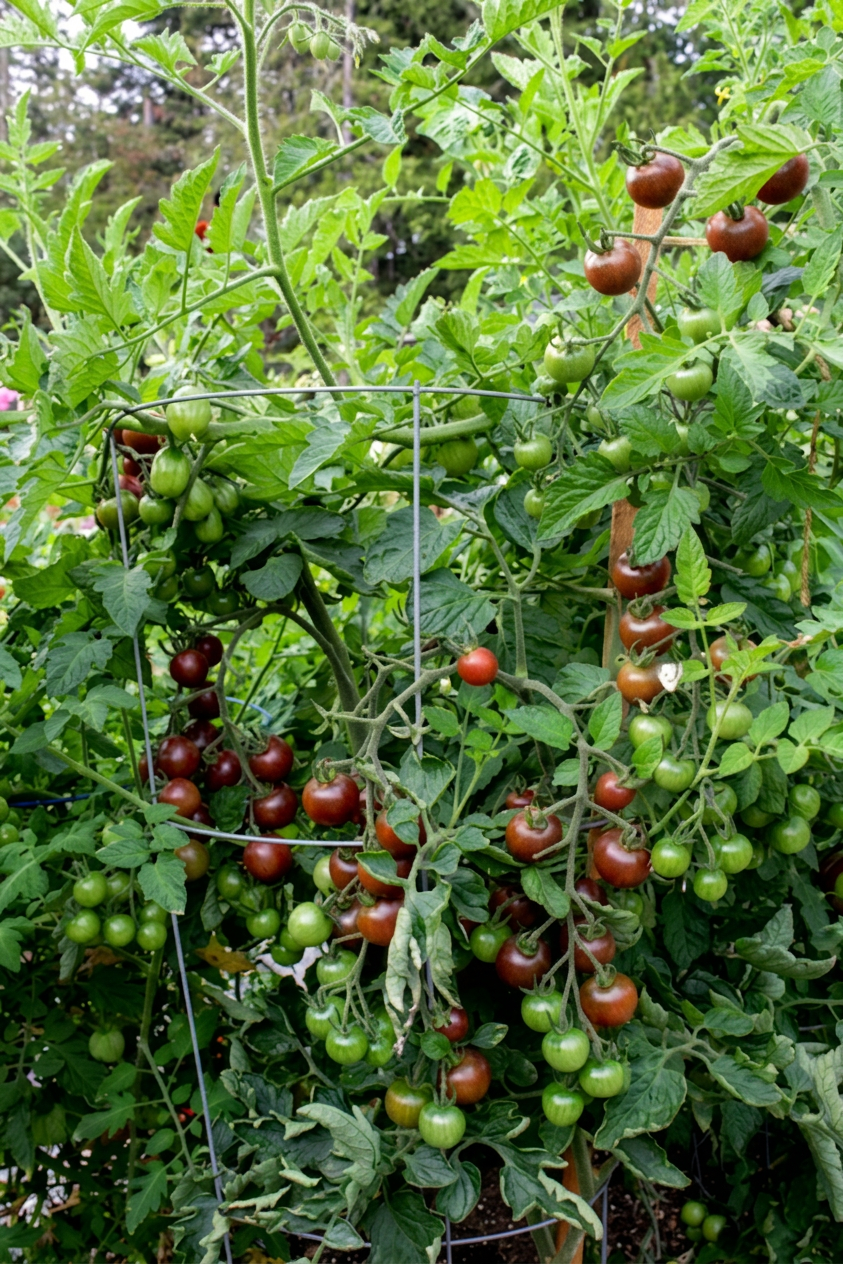
This will be my last garden blog post so I thought I would share an update about how things are growing, plus tips for the July garden.

While May is the busiest season with all the planting and sowing and pampering, July is growing season. This is when things really start taking off, we see the fruits of our labour coming along.
What to do to keep things thriving?
We have had the coldest, wettest June that I can remember. June is often cool, for some reason, even on the west coast, but add in the rain… that is usually a recipe for disaster in the garden. However, things are looking… surprisingly good. Here are tips to help you overcome the set backs from cool temps, and also tips on how to deal with the heat waves that they are having in other parts of Canada.
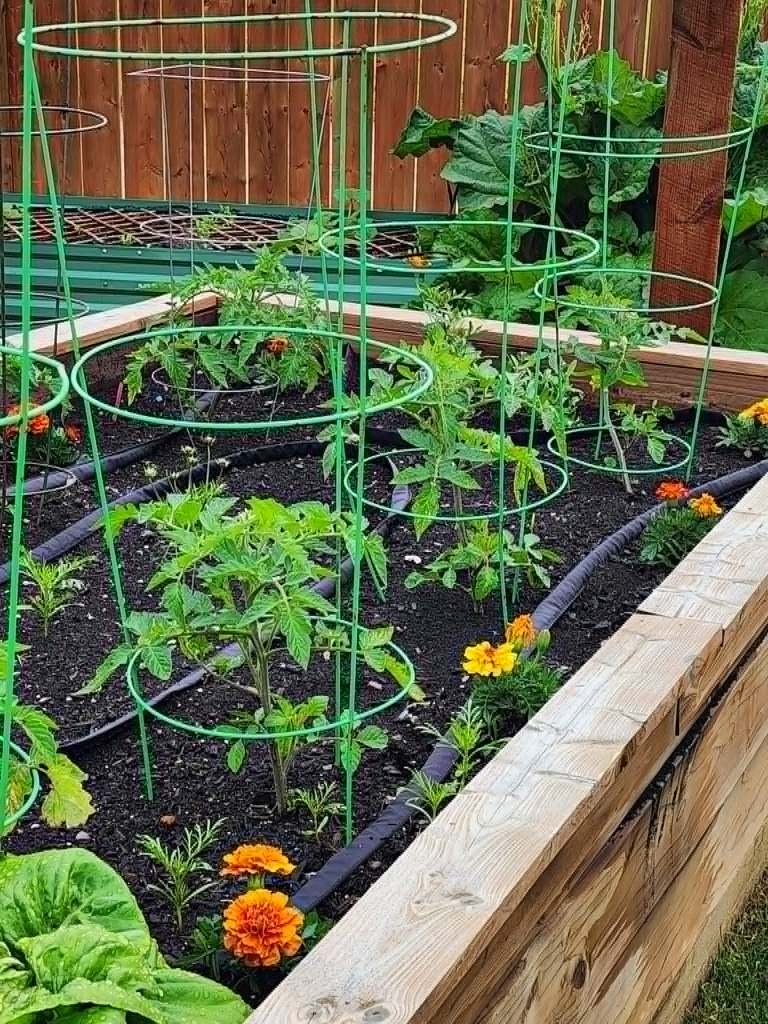
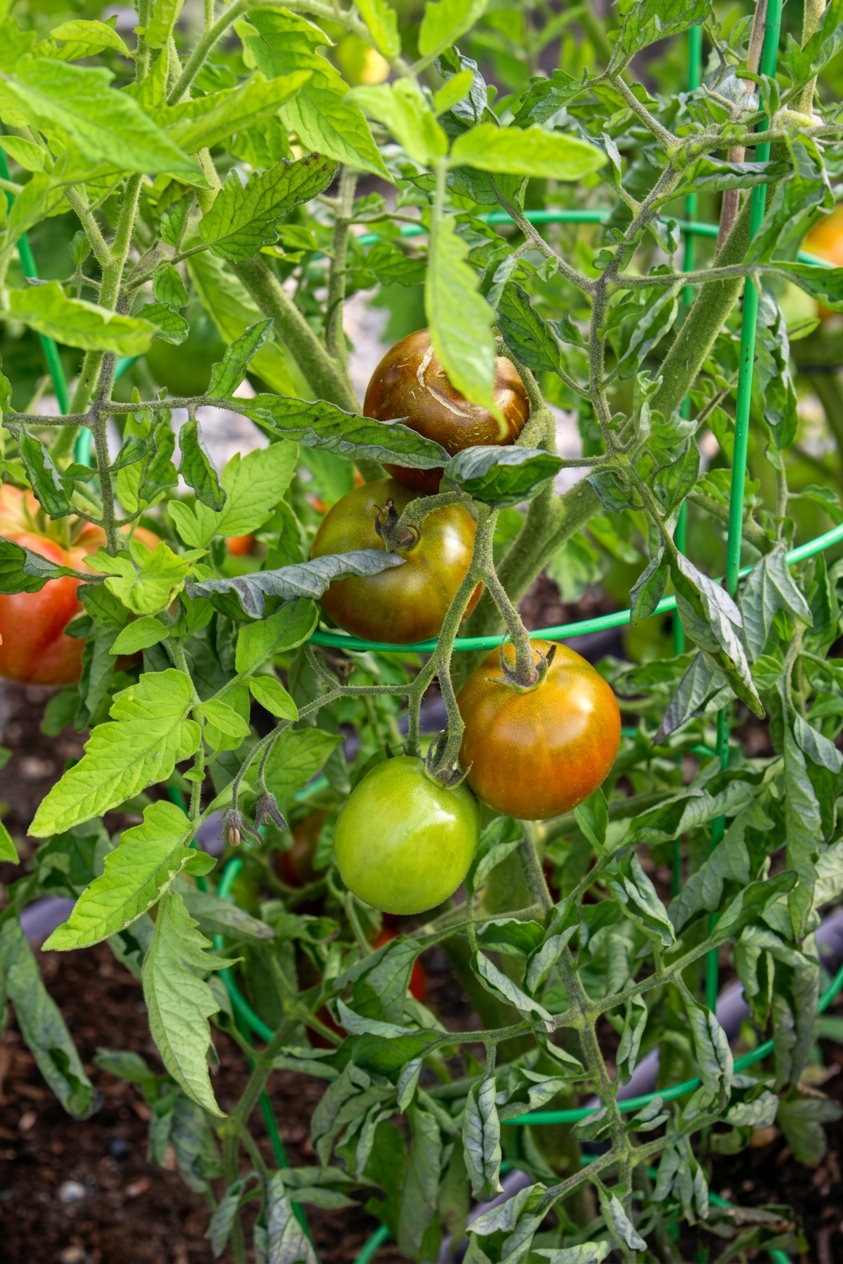
Tomatoes – looking surprisingly fantastic. During the last day or two of sunshine and heat, I gave them a boost with this fertiliser. What a difference that made! Today, less than a week later, they are dark green, thriving, and flowering. Smaller than usual, but since I was thinking that I might not get tomatoes last week, I am now thinking they will quickly catch up.
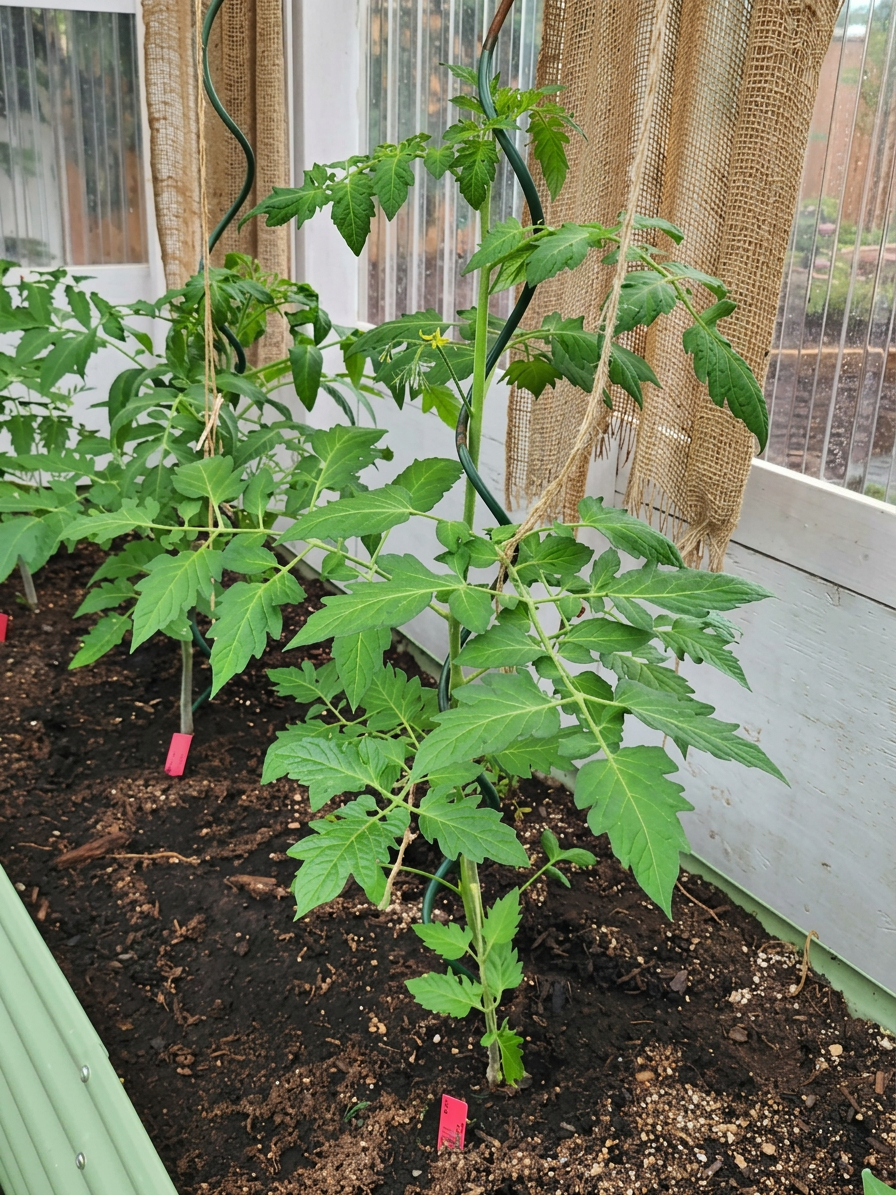
Tomatoes in the greenhouse are doing great, but I am still going to give them a drink of that same fertiliser this week as it has been cooler than normal. Single digits cool last week.

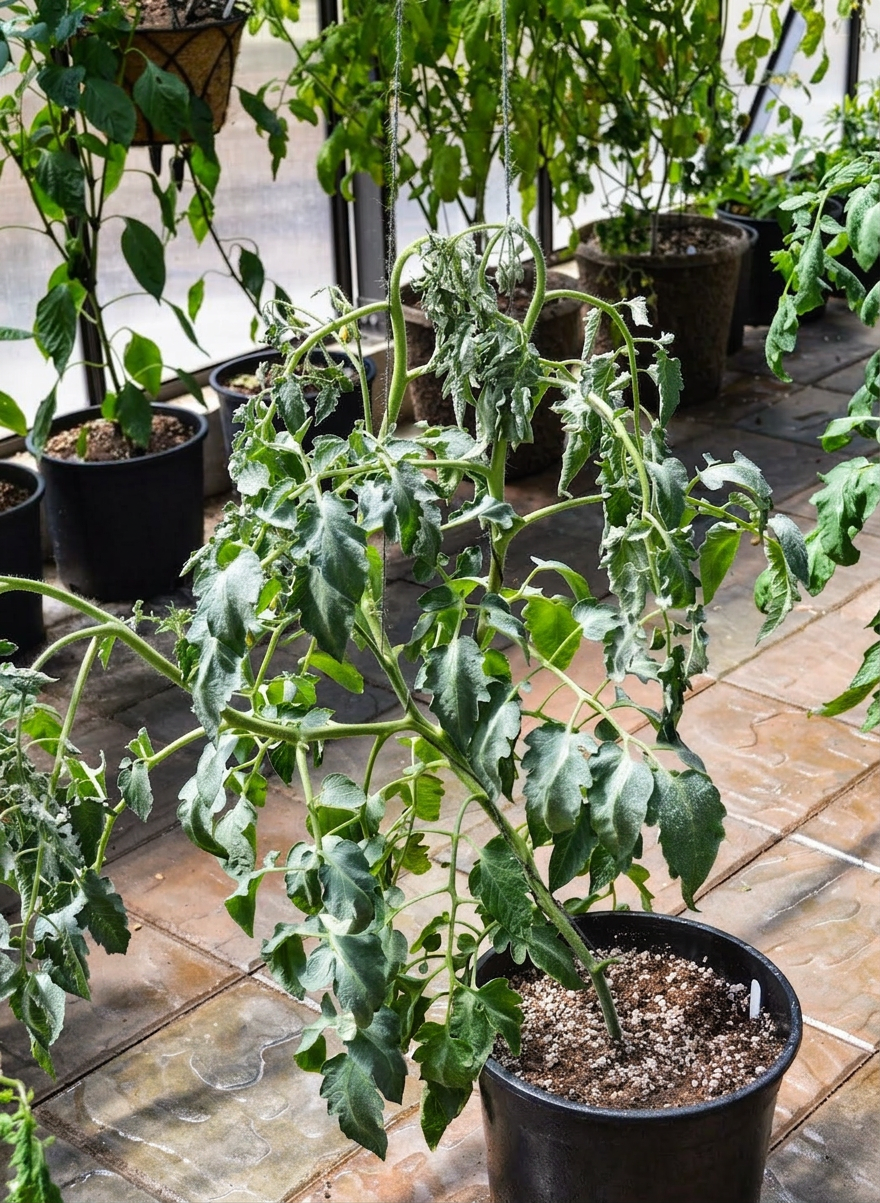
Heat Related Tomato Issues
Here are three common issues with tomatoes growing in a heat wave. They are all absolutely fine, these issues do not harm the tomato plant.
- The first photo shows the top growth curling under. This is due to heat and is not in any way a danger to your plant. It is not bugs, it is not disease. It is fine. You can do nothing and they will outgrow it with time. I like to run cool water over the leaves as I gently straighten out the foliage to speed up that process.
- The second photo shows the entire plant wilting in the afternoon heat. This is also normal and just fine. It will happen to garden grown tomatoes and greenhouse grown tomato plants, too. They are just hot in the heat of the day, will perk up again in the evening. Nothing needs to be done. If you wish to help them cool down, you can water the foliage. I know, gasp! This will not cause powdery mildew as it is drying off quickly, not staying wet. It will not magnify in the heat to cause burning, that is a myth/old wives tale.
- The last photo show a tomato plant with leaves at the bottom that are all curled up while the new top growth is completely fine. This is also not bugs, not a watering issue, nothing to worry about. It happens in summers where it is very hot for an extended period of time, especially if there is a hot wind blowing on them, too. This is the how the plant reserves it’s moisture in the foliage. The leaves will not unfurl once the heat wave subsides, they will stay curled. However, the new growth will be completely normal. The plant will produce as usual, it will just be a little bit ugly.

These photos are my own tomatoes over the years. I promise, they were all fine and produced really well. These curling issues can happen in the greenhouse or in the garden. They are all heat related and nothing to do with bugs. No need to spray ; )

I posted a whole lot about tomatoes last week, so not going to go on about them. Just wanted to mention how great they look now due to that fertiliser and a bit of heat. By the way, this fert will help them even if they are looking peaky from too much heat! Don’ feed during a heatwave though, they are stressed enough without adding to it.
Oh, I also found GardenPro at the local Co-op. This is a really good fertiliser, is affordable, goes a long way, and has kelp as it’s main attraction. It is great for all flowering garden veggies, like peppers, eggplants, squash, too.
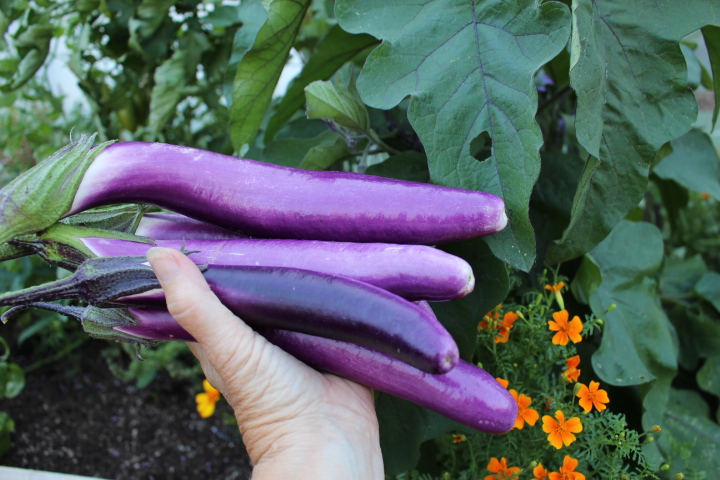
That fertiliser also made a huge difference to my eggplants and peppers which had stalled out due to the colder temps. They greened right up and grew about an inch in the three days of sunshine! I am gobsmacked, to tell the truth. I have them outside this year, in big black grower pots.
Next year, I really will have to start them in January (here on the prairies) as they struggle to get grow when our springs are this wet and cold.
If you are on the west coast, start them in February, pop them into 3 gallon black grower pots (or similar) in May, pop them on the south side of your greenhouse/deck/beside the wall (wherever they get tons of sunshine and heat). Water deeply and thoroughly once a week (till the water flows freely through the bottom three times. Fertilise just once a month. They are not heavy feeders. Do not overwater, daily waterings just get you watery, bland peppers.
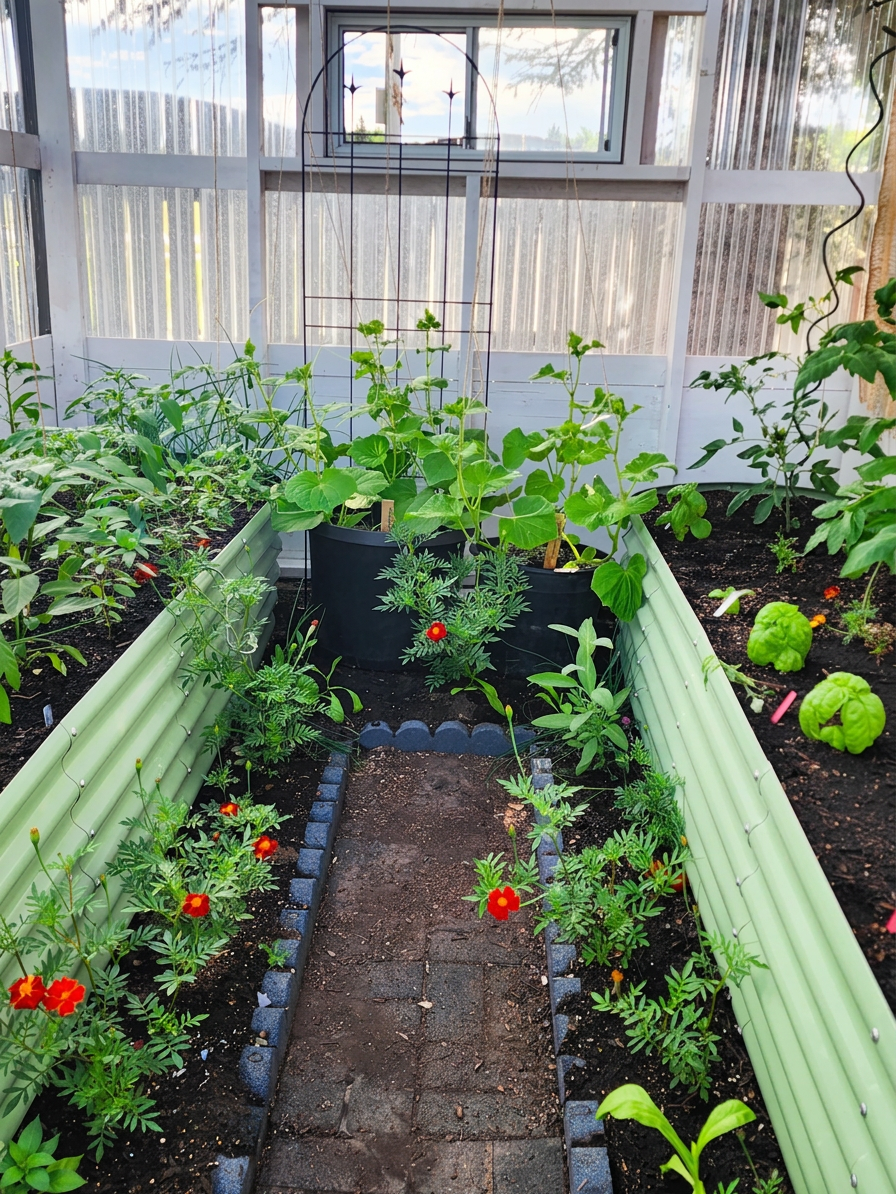
Cucumbers – if you were growing your cucumbers outside over here, they likely are not doing well. Mine were direct sown into the greenhouse bed (I often grow them in large, black, grower pots, too.) have come up nicely, are going to grow up strings on the left side of the greenhouse. I may have gone overboard as three quarters of the bed is going to be cukes ; )
To thrive, they really don’t need much except water and good air flow. They are prone to powdery mildew so make sure they are not crammed into your garden/greenhouse. Water deeply a couple times a week. If in grower pots, you will likely have to water them every second day during the heat of summer. Remember that your finger is the best water gauge of them all… stick it in, if the soil is dry an inch or two down, water deeply and well. If it is still damp, water the next day instead.
Those same ferts, listed above, will also help your cukes if they need a pick me up. Most importantly, it is not too late to start more cucumbers! I used to start them in May and July, on the island, to keep us eating fresh garden cucumbers from early summer till early fall.

Carrots – these are your last few days to start carrots. If you cannot get them done this week, save your seeds for winter sowing instead.
To sow in summer, when temps are high, things may be dry (not here, lol, but in most places), you will need to shade your carrots till they germinate. They will germinate so much faster in the nice, warm soil!
- Make your trench about one inch deep.
- Water your trench.
- Sow your seeds. Try to space them out nicely, no big thickets of seeds so you do not have to thin them out later. Thinning them releases the scent, which will attract the carrot rust fly.
- Cover them with soil, water really well once again. Making sure the water gets right down to the seeds.
- Offer them shade. I like to use burlap sacks, but doubled up burlap will also work. Or shade them with a board over the bed, resting on the side, if possible. Use shade cloth, hang a sheet in front of them, etc… whatever it takes to offer them shade till they germinate. If the soil dries out, your seeds will die.
- Water the burlap. Water once daily, making sure to really soak the area. You will have nice quick germination.
Succession Sow
This is the time when you are getting empty pockets from harvesting and some veggies are bolting. Time to sow again.
- Sow more seeds in any bare spots.
- Plant some starter plants of the same crops, they will (usually) ripen a week or two earlier than the seeded ones.
- Start some seeds in your seed trays.
- If you are on the west coast, you need to start your fall and winter veggies now. If you have no room in the garden yet, start them in trays and plant out in mid to late August. Check out the July Garden Ramblings post from my ngp blog for all sorts of ideas on what you can do now.
- Here on the prairies, we can still start almost all the things for a second time around.
- Broccoli
- Bush Beans
- Chard
- Cucumbers
- Herbs
- Kale
- Lettuce
- Mustard
- Peas
- Spinach
- Summer squash
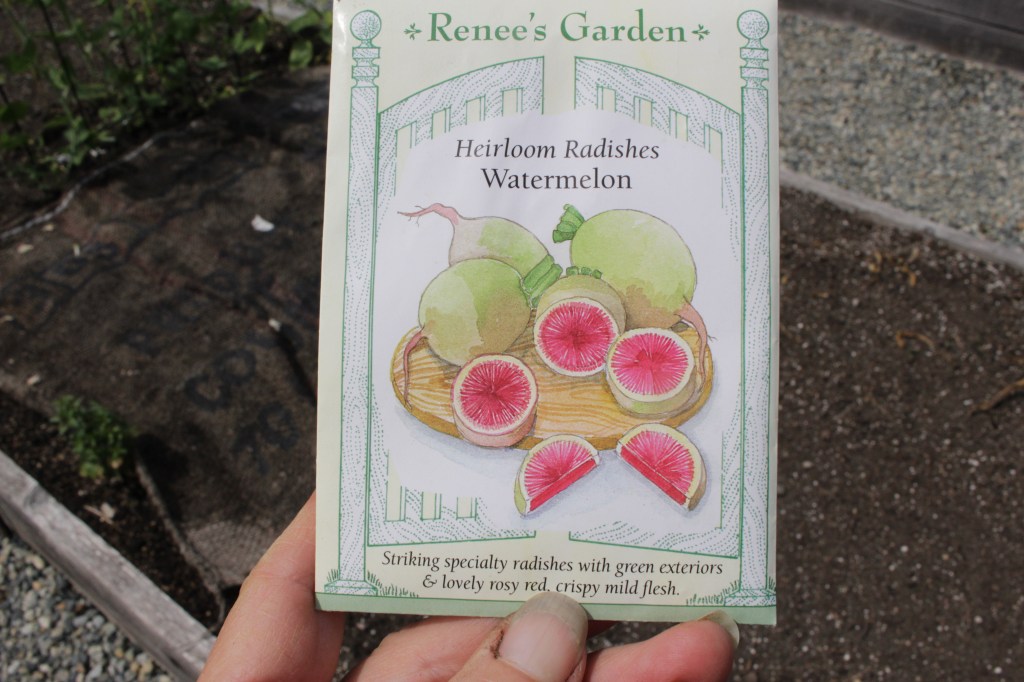
- Watermelon radishes – see the note above.
For my warmer area readers, you can direct sow celery, according to Charles Dowding. It overwinters nicely on the island, so why not, eh? Fresh celery nearly year round. Just sow the seeds right on top of the soil. Press gently with your hand to make sure they have contact with the soi, but do not cover.
Don’t forget to do your mid-season fertilising. If you are wondering what to use, check out the fertilisers that I recommend on my Amazon Shopping Page.
Just add a bit of compost on top of the soil before you do your sowing. That will feed those new crops. Add compost to your potted roses, shrubs, and fruit trees. Give your garlic, perennial flower beds, anything that needs a boost will benefit from a bit of compost (or bagged/well rotted manure)
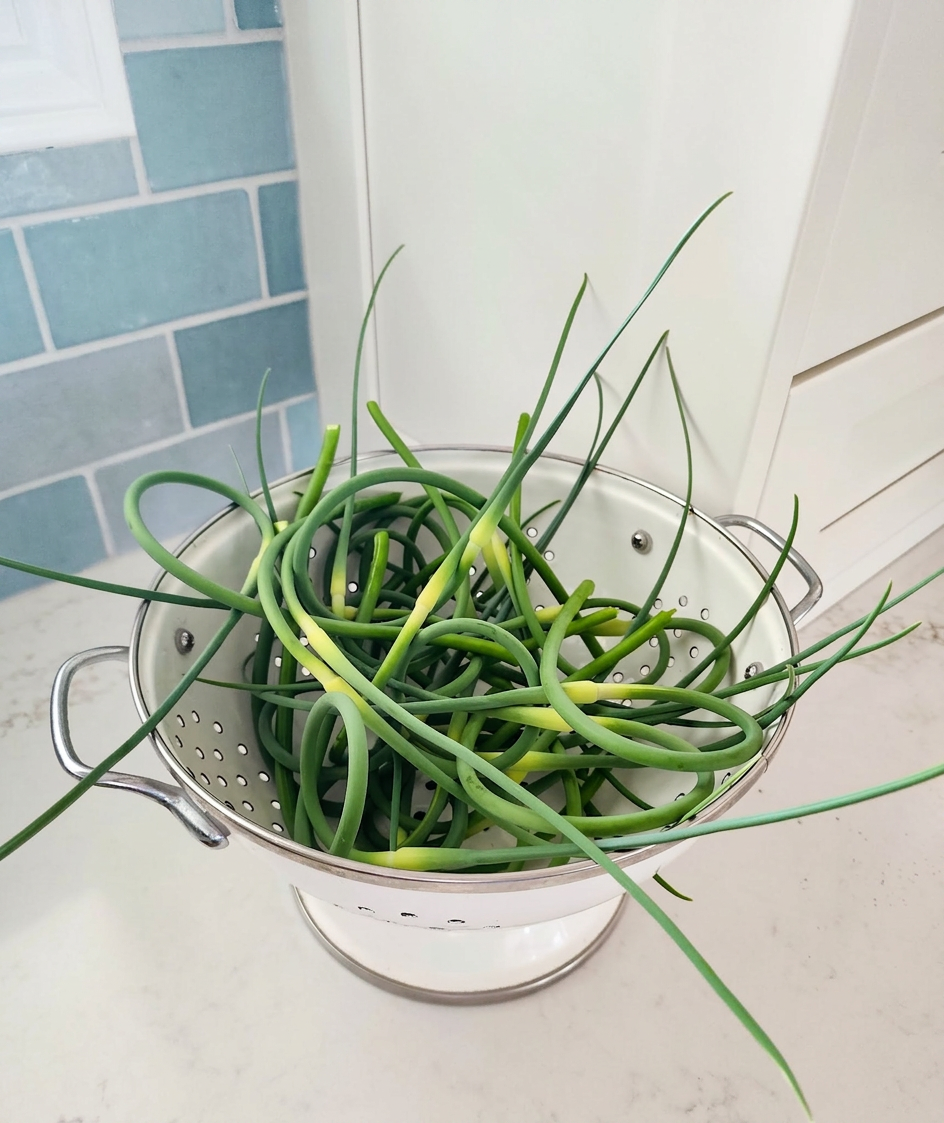
I have two patches of garlic. One patch gets more hours of direct sun than the other. That bed is producing scapes now while the other ones are a week behind.
- Remove your scapes by just snapping them off where they meet the leaves. This is said to make your garlic bulbs bigger by directing the energy into the bulb rather than the seeds.
- Keep watering your garlic for about two more weeks.
- Some like to feed their garlic now with a side dressing of compost, worm castings, or a mix of blood and bone meal. Don’t add a lot of bloodmeal as that is for the top growth and will not help your bulbs get bigger. You can also just feed them with the fertiliser listed above (tomatoes)
- Stop watering after two weeks, allowing the bulbs to size up and dry. If you continue to water till you harvest, you end up with garlic that is bloated with water and thus is hard to cure. Let it go dry the last two weeks, at minimum.
- When & How To Harvest Garlic In 5 Easy Steps – for more harvesting tips.
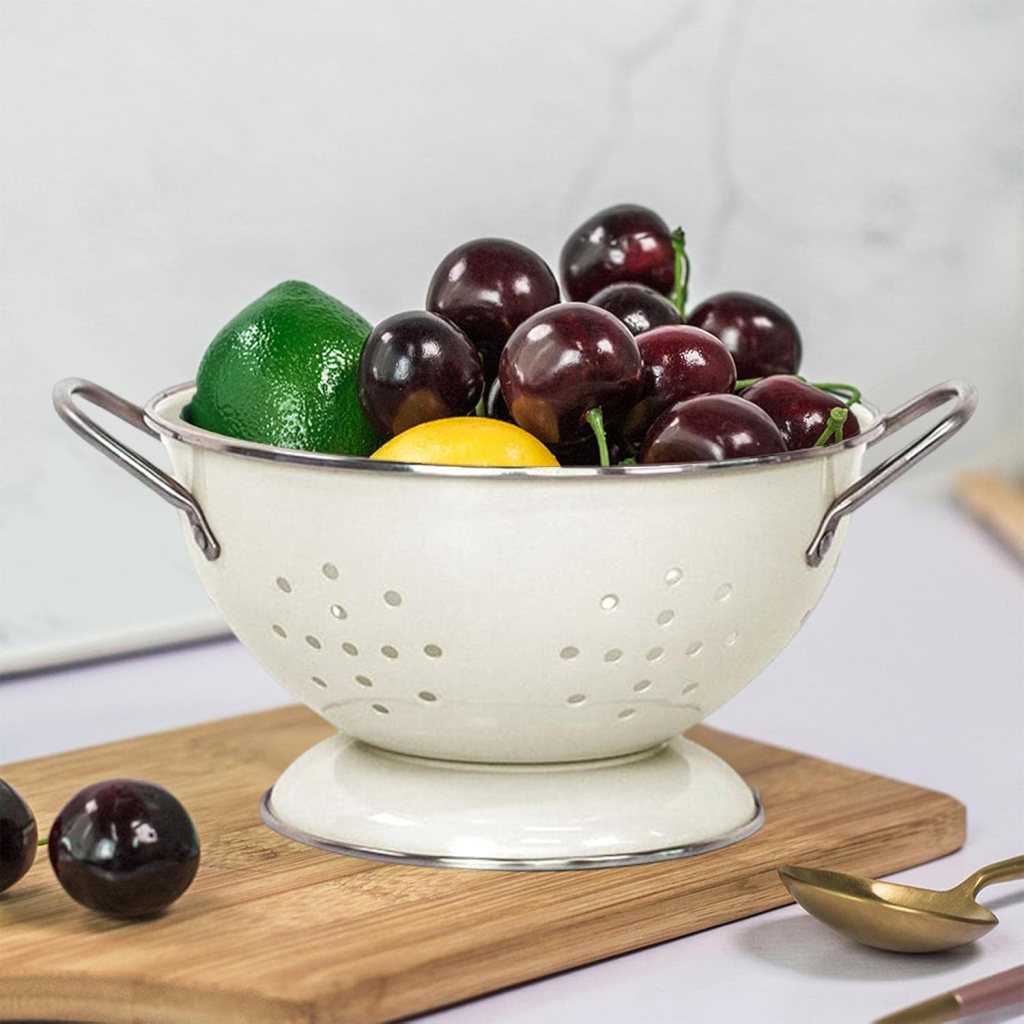


I use enamel coated colanders for most all of my garden harvesting. Makes it easy to rinse them off right out in the garden, instead of putting soil down the sink. I have them in several colours and sizes. You can get this powder blue colander, a trio of green ones with gold edging (wow!), or maybe you love the gold ones? Any way you look at it, these things are pretty and handy. I keep them on my counter top so they look decorative when not in use, but are easy to grab when I head out to harvest.
I may receive a small affiliate commission if you purchase something through one of my links, at no cost to you. Thank you for your support!
Other Tasks…
Keep removing the bottom leaves of your cucumbers, tomatoes, and even the extra foliage on your zucchini and other squash plants. This will help keep down diseases like powdery mildew.
Keep weeding and mulching! Never ending story ; ) For those of us still living with the rain, do not mulch around your veggies yet as it will hold in that moisture (as intended) so your plants will be prone to fungal diseases and root rot.
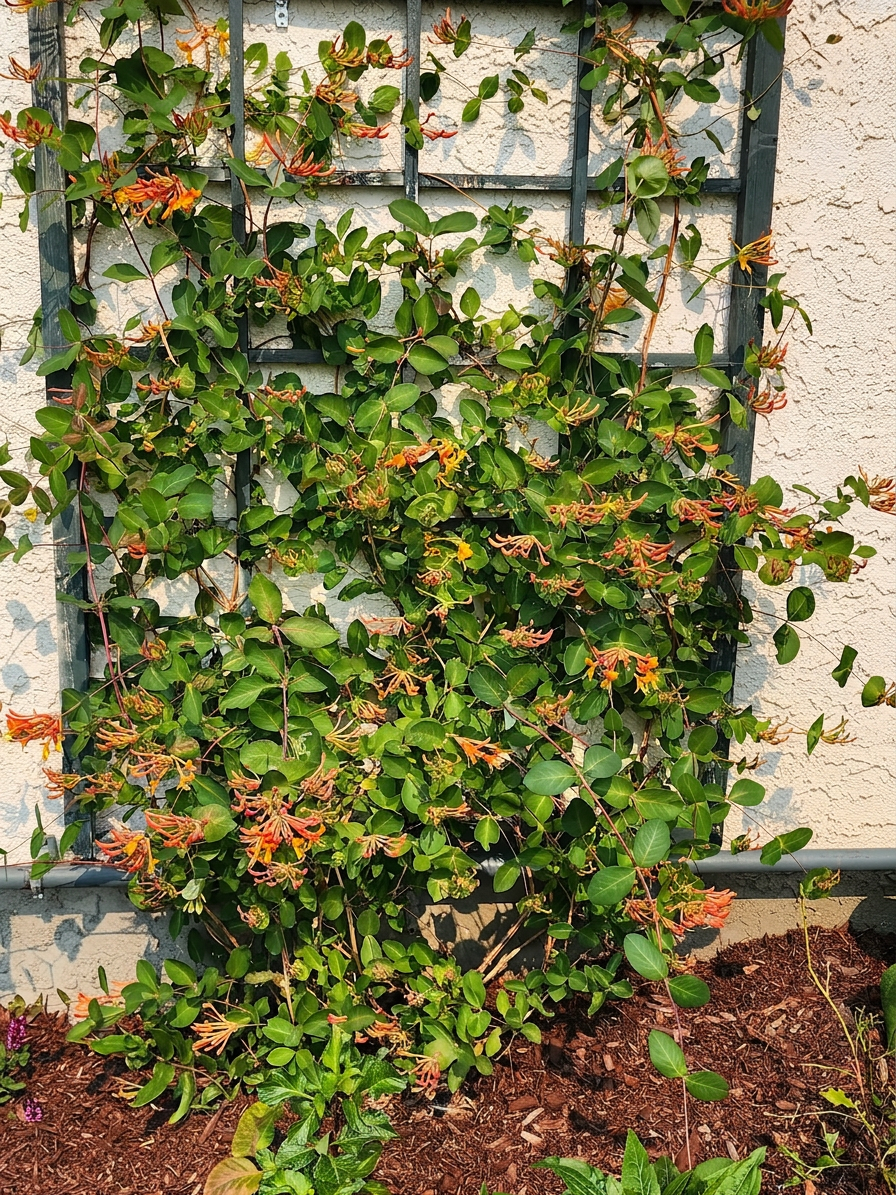
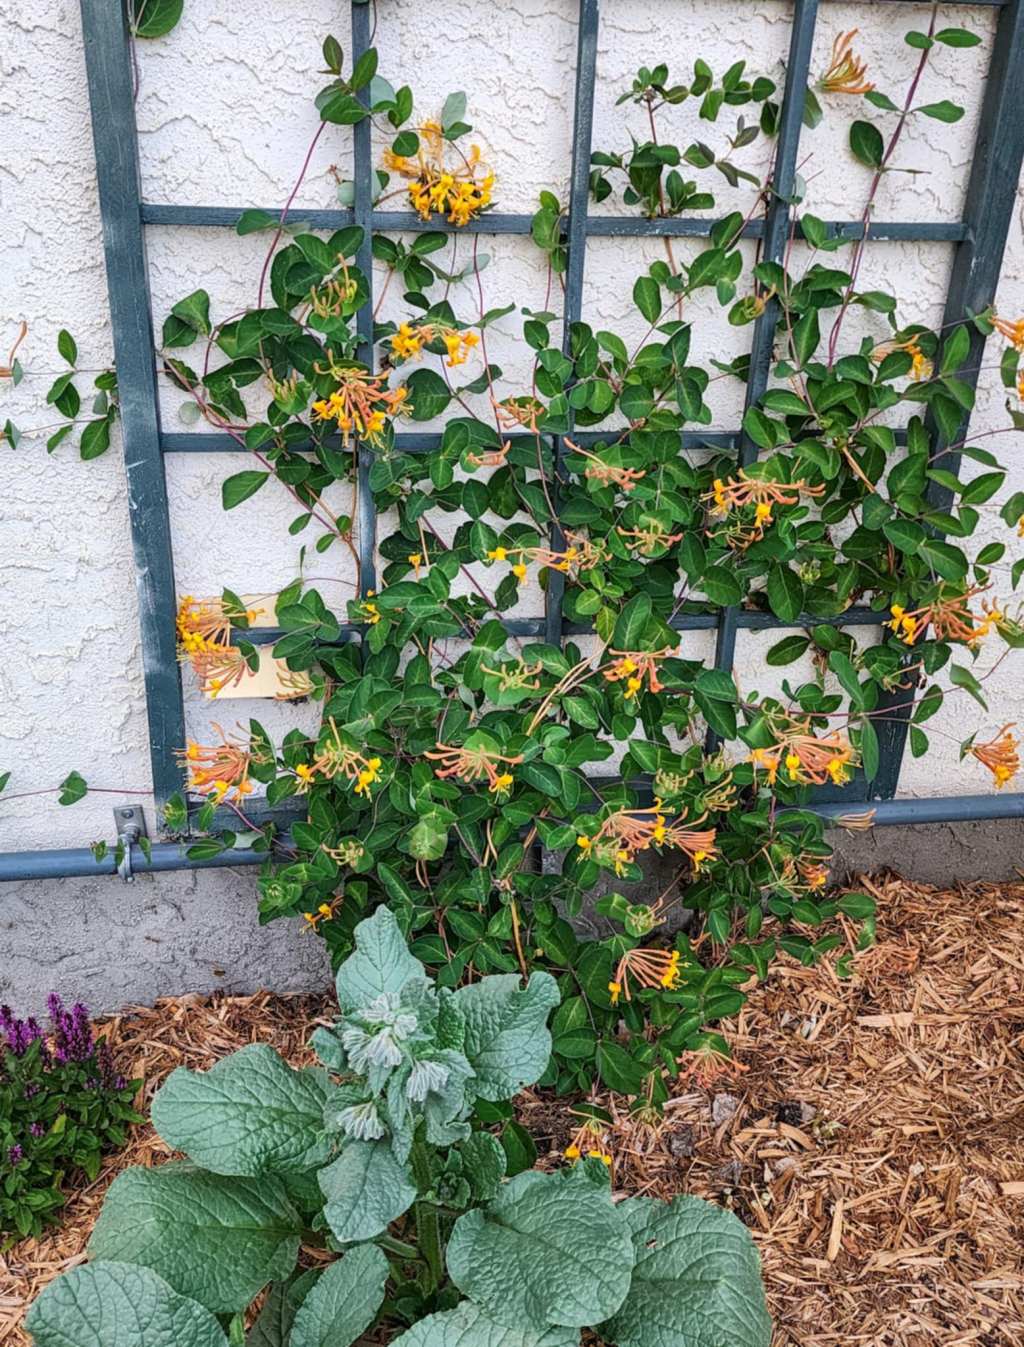
If you are looking for a hardy vine that flowers beautifully, check out the honeysuckle vines. They can get powdery mildew if planted in a shady spot or a spot with poor air flow. They can also get aphids. If you are a bug-a-phob, get a clematis instead ; )
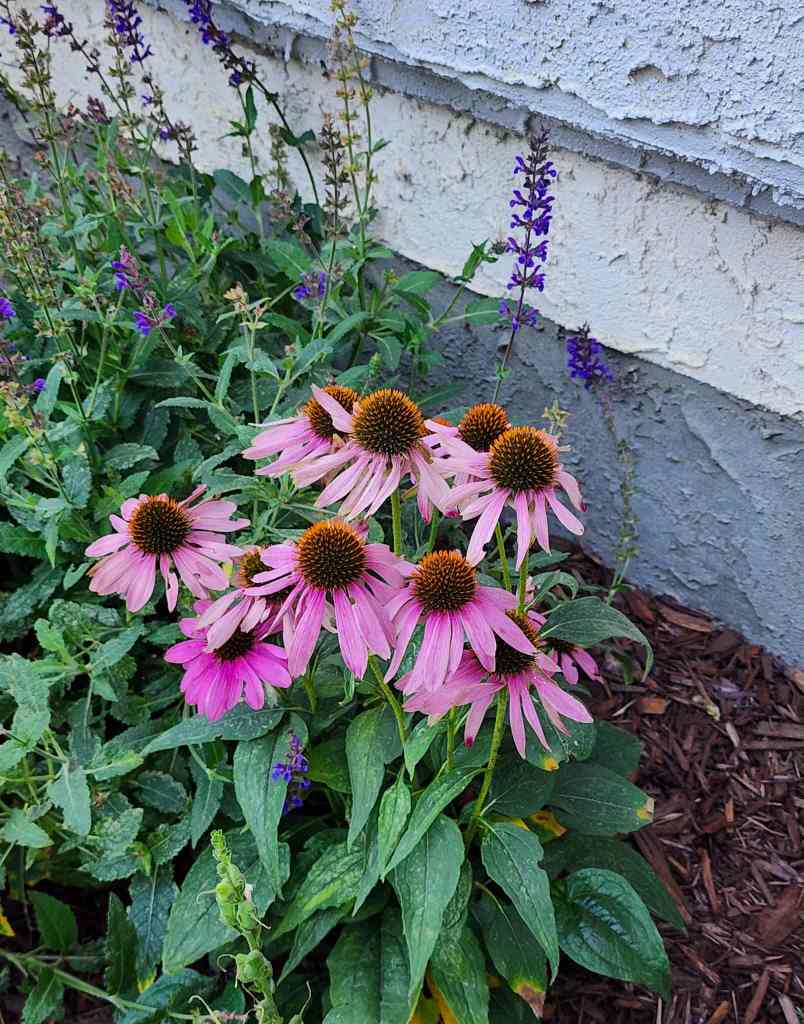
Perennial Biennial flowers to start from seeds now, for flowering next year.
- Coneflowers
- Floxgloves
- Columbines
- Delphiniums/Larkspur
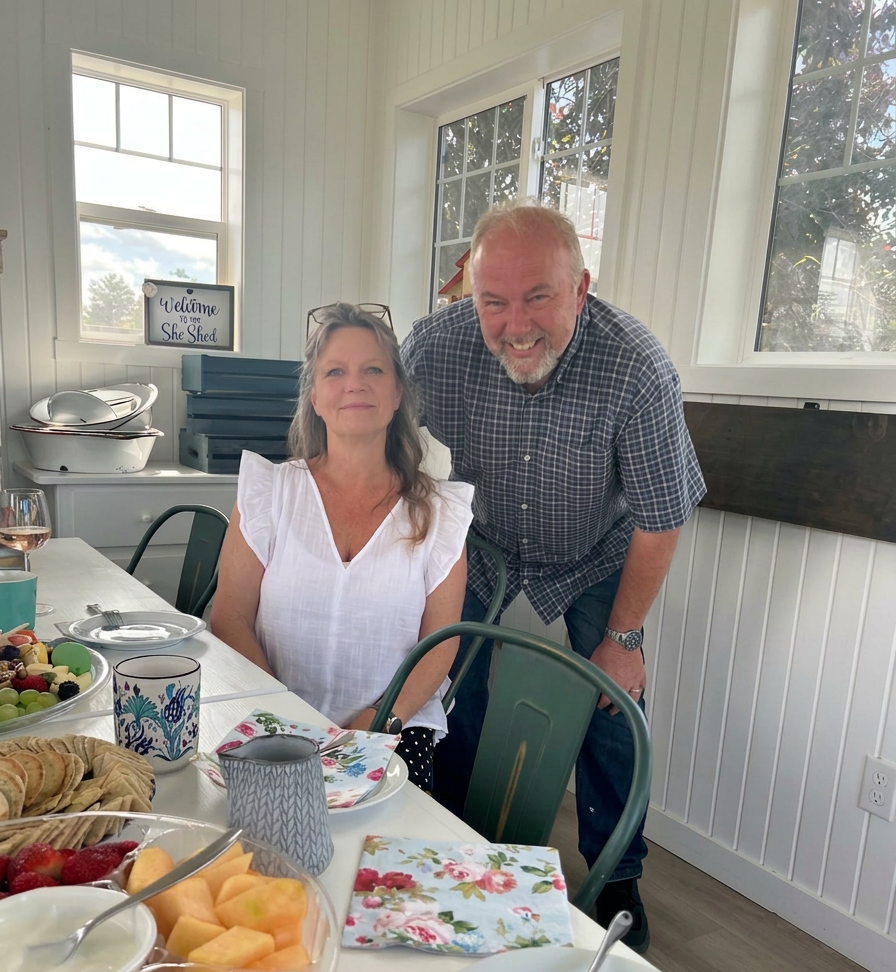
Well, I think I made this post long enough, eh? I wish you great success with your gardening.
For my west coast gardeners, there are loads of past year’s garden tips on what to do now, etc… at my old blog The Nitty Gritty Potager. Just check out the months in the archives, they go far back, or put a word in the search bar to get loads of growing information. That blog will stay up forever.
This current blog will be blacked out in September, when I do not renew it. Enjoy the past posts with tips, recipes, beautiful gardens, veggie beds, etc.. all summer. Just put the month in the search bar to get the past few year’s worth of that month’s timely tips and recipes.
For my prairie readers and die hard followers/friends, I will be starting up a garden diary on blogger (so it is free for me, hahaha) where I will post pictures of my garden now and then, plus what is happening in the garden. It is a way for me to journal the garden seasons so I can go back to them and remember the good, the bad, and the ugly of each year. Also, it gives me great joy to write about gardening.
If you get the newsletter, you will have to come to the blog in a few week’s time to find the name and link to the blog, as I will not be sending out any more newsletters.

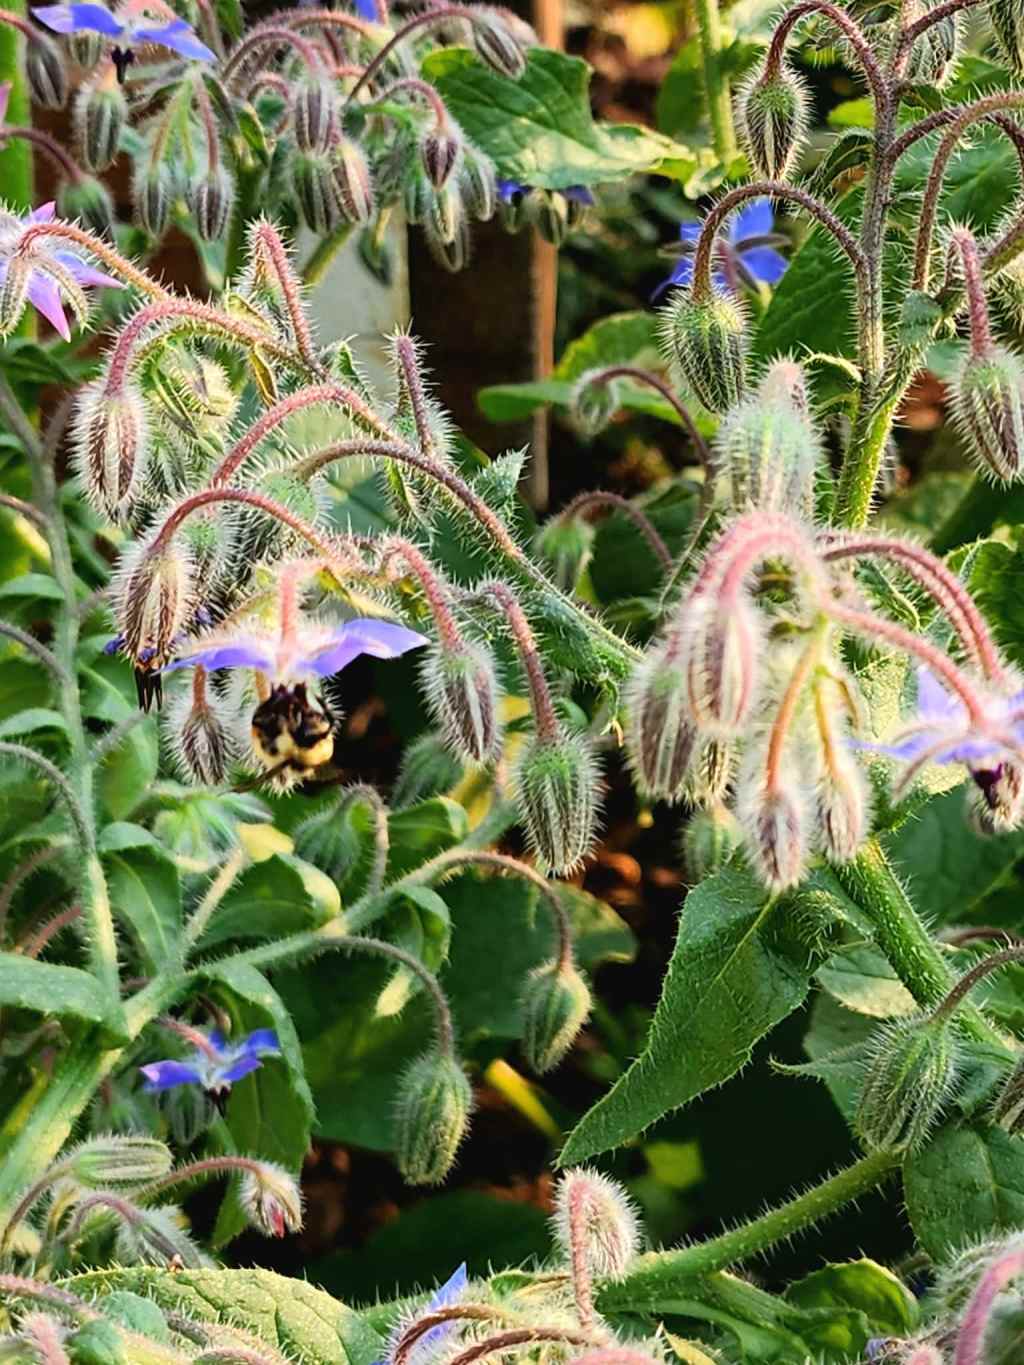
Don’t forget to plants more flowers in your veggie beds for bigger harvests & organic pest control ~ Tanja


 The Marigold Potager - A Zone 3 Prairie Garden
Leave a comment