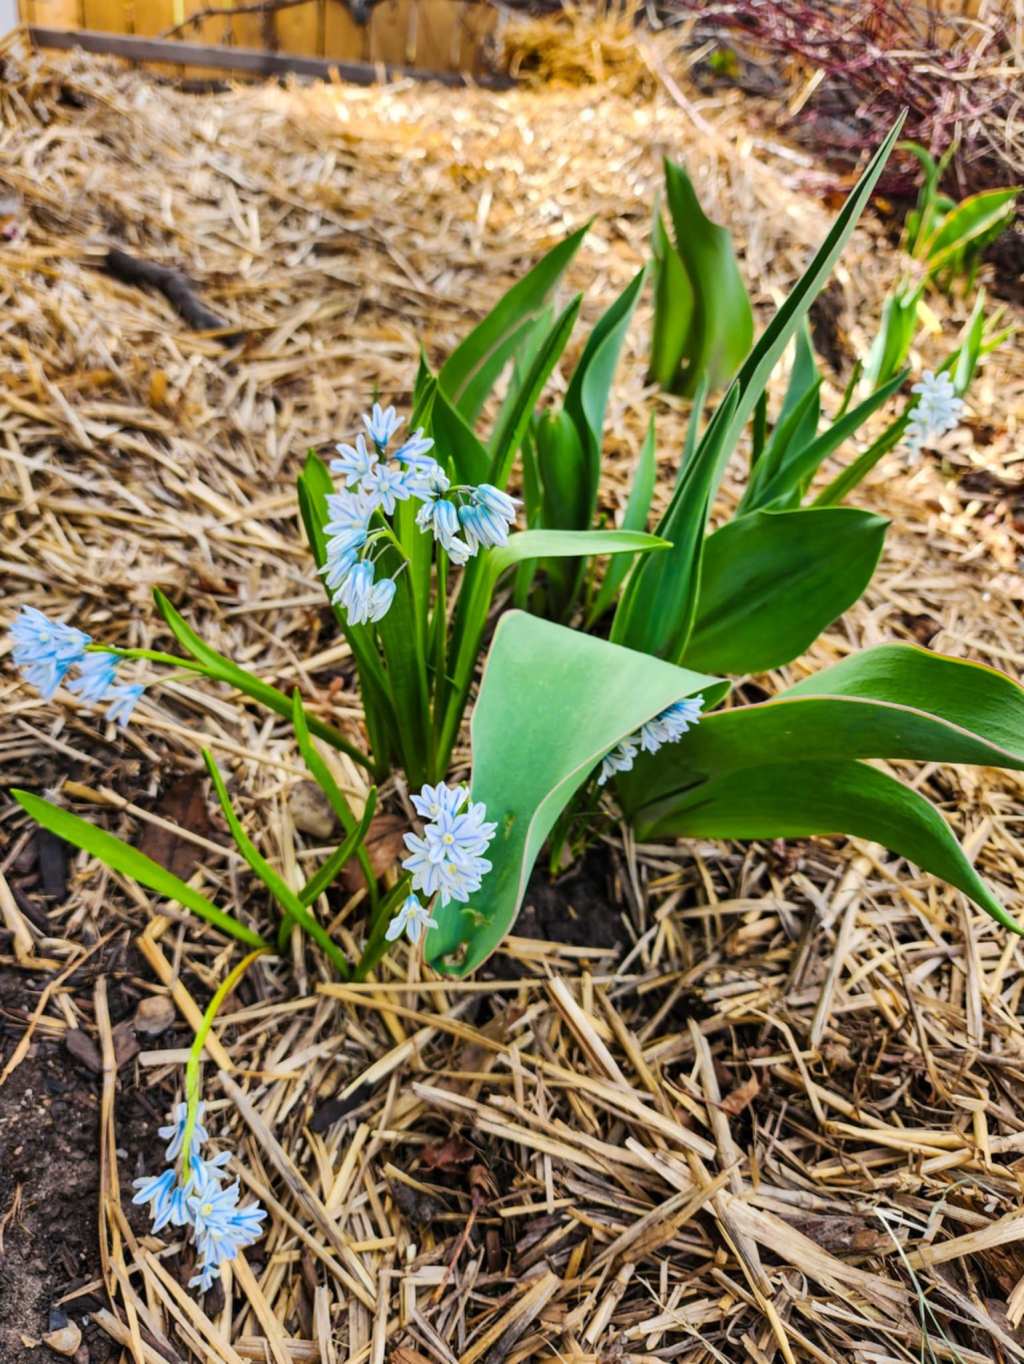
I fired up my potting shed two weeks ago. Did my big cleaning and organising in readiness for planting season, and workshops.
I have since been in there sowing some seeds (peppers, eggplants, celery, etc… all the early birds) and will be going back in to sow some more again today.
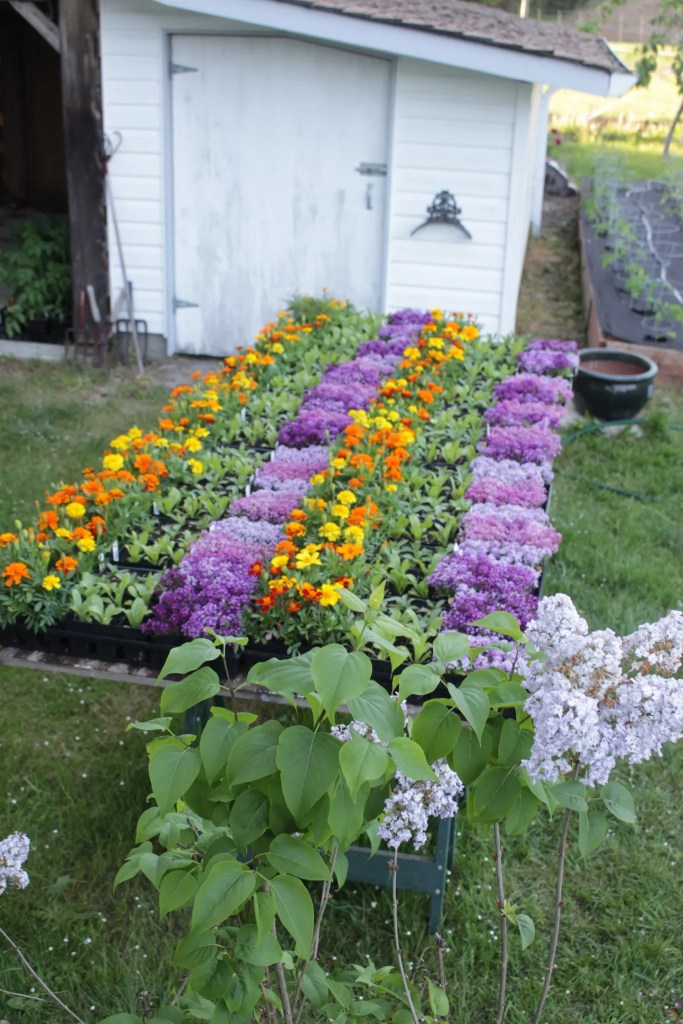
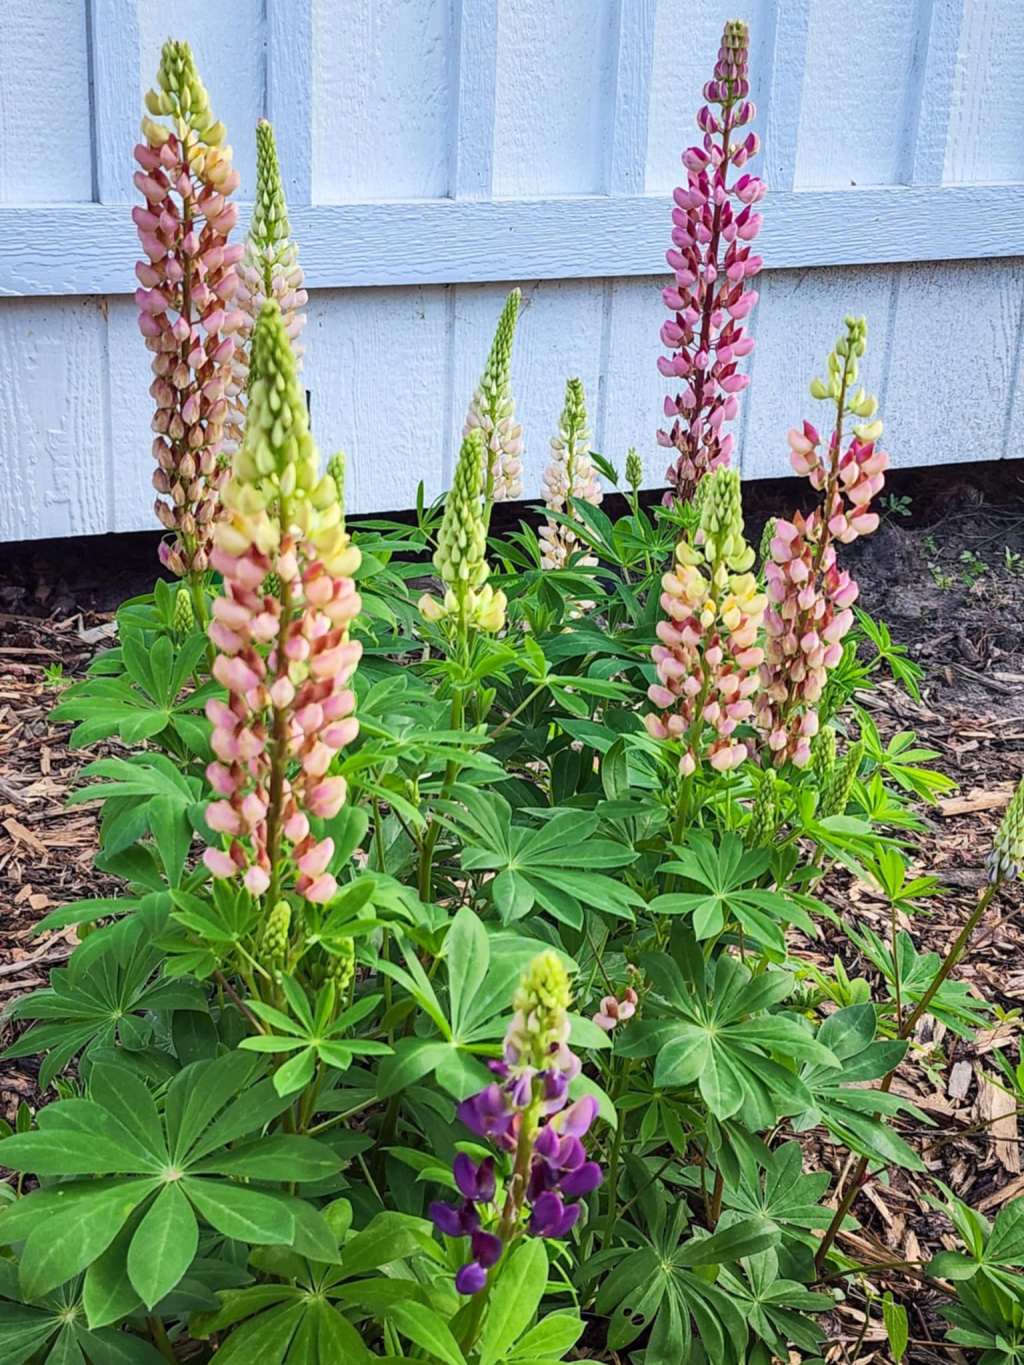
This week will be flowers and herbs – calendula, marigolds, 3 types of thyme, summer savory (hubby asked for it, so I will grow it), and I cannot remember what all.
Oh, I have a brand new workshop list up. It starts at the end of the month, when it should be warmer and more stable around here. Maybe no snow by then, too. Check out the list here. If you prefer a different time or date, just give me a shout! I just pulled these out of the air as times that I thought sounded good ; )
Workshops & Contact – The Marigold Potager – A Zone 3 Prairie Garden
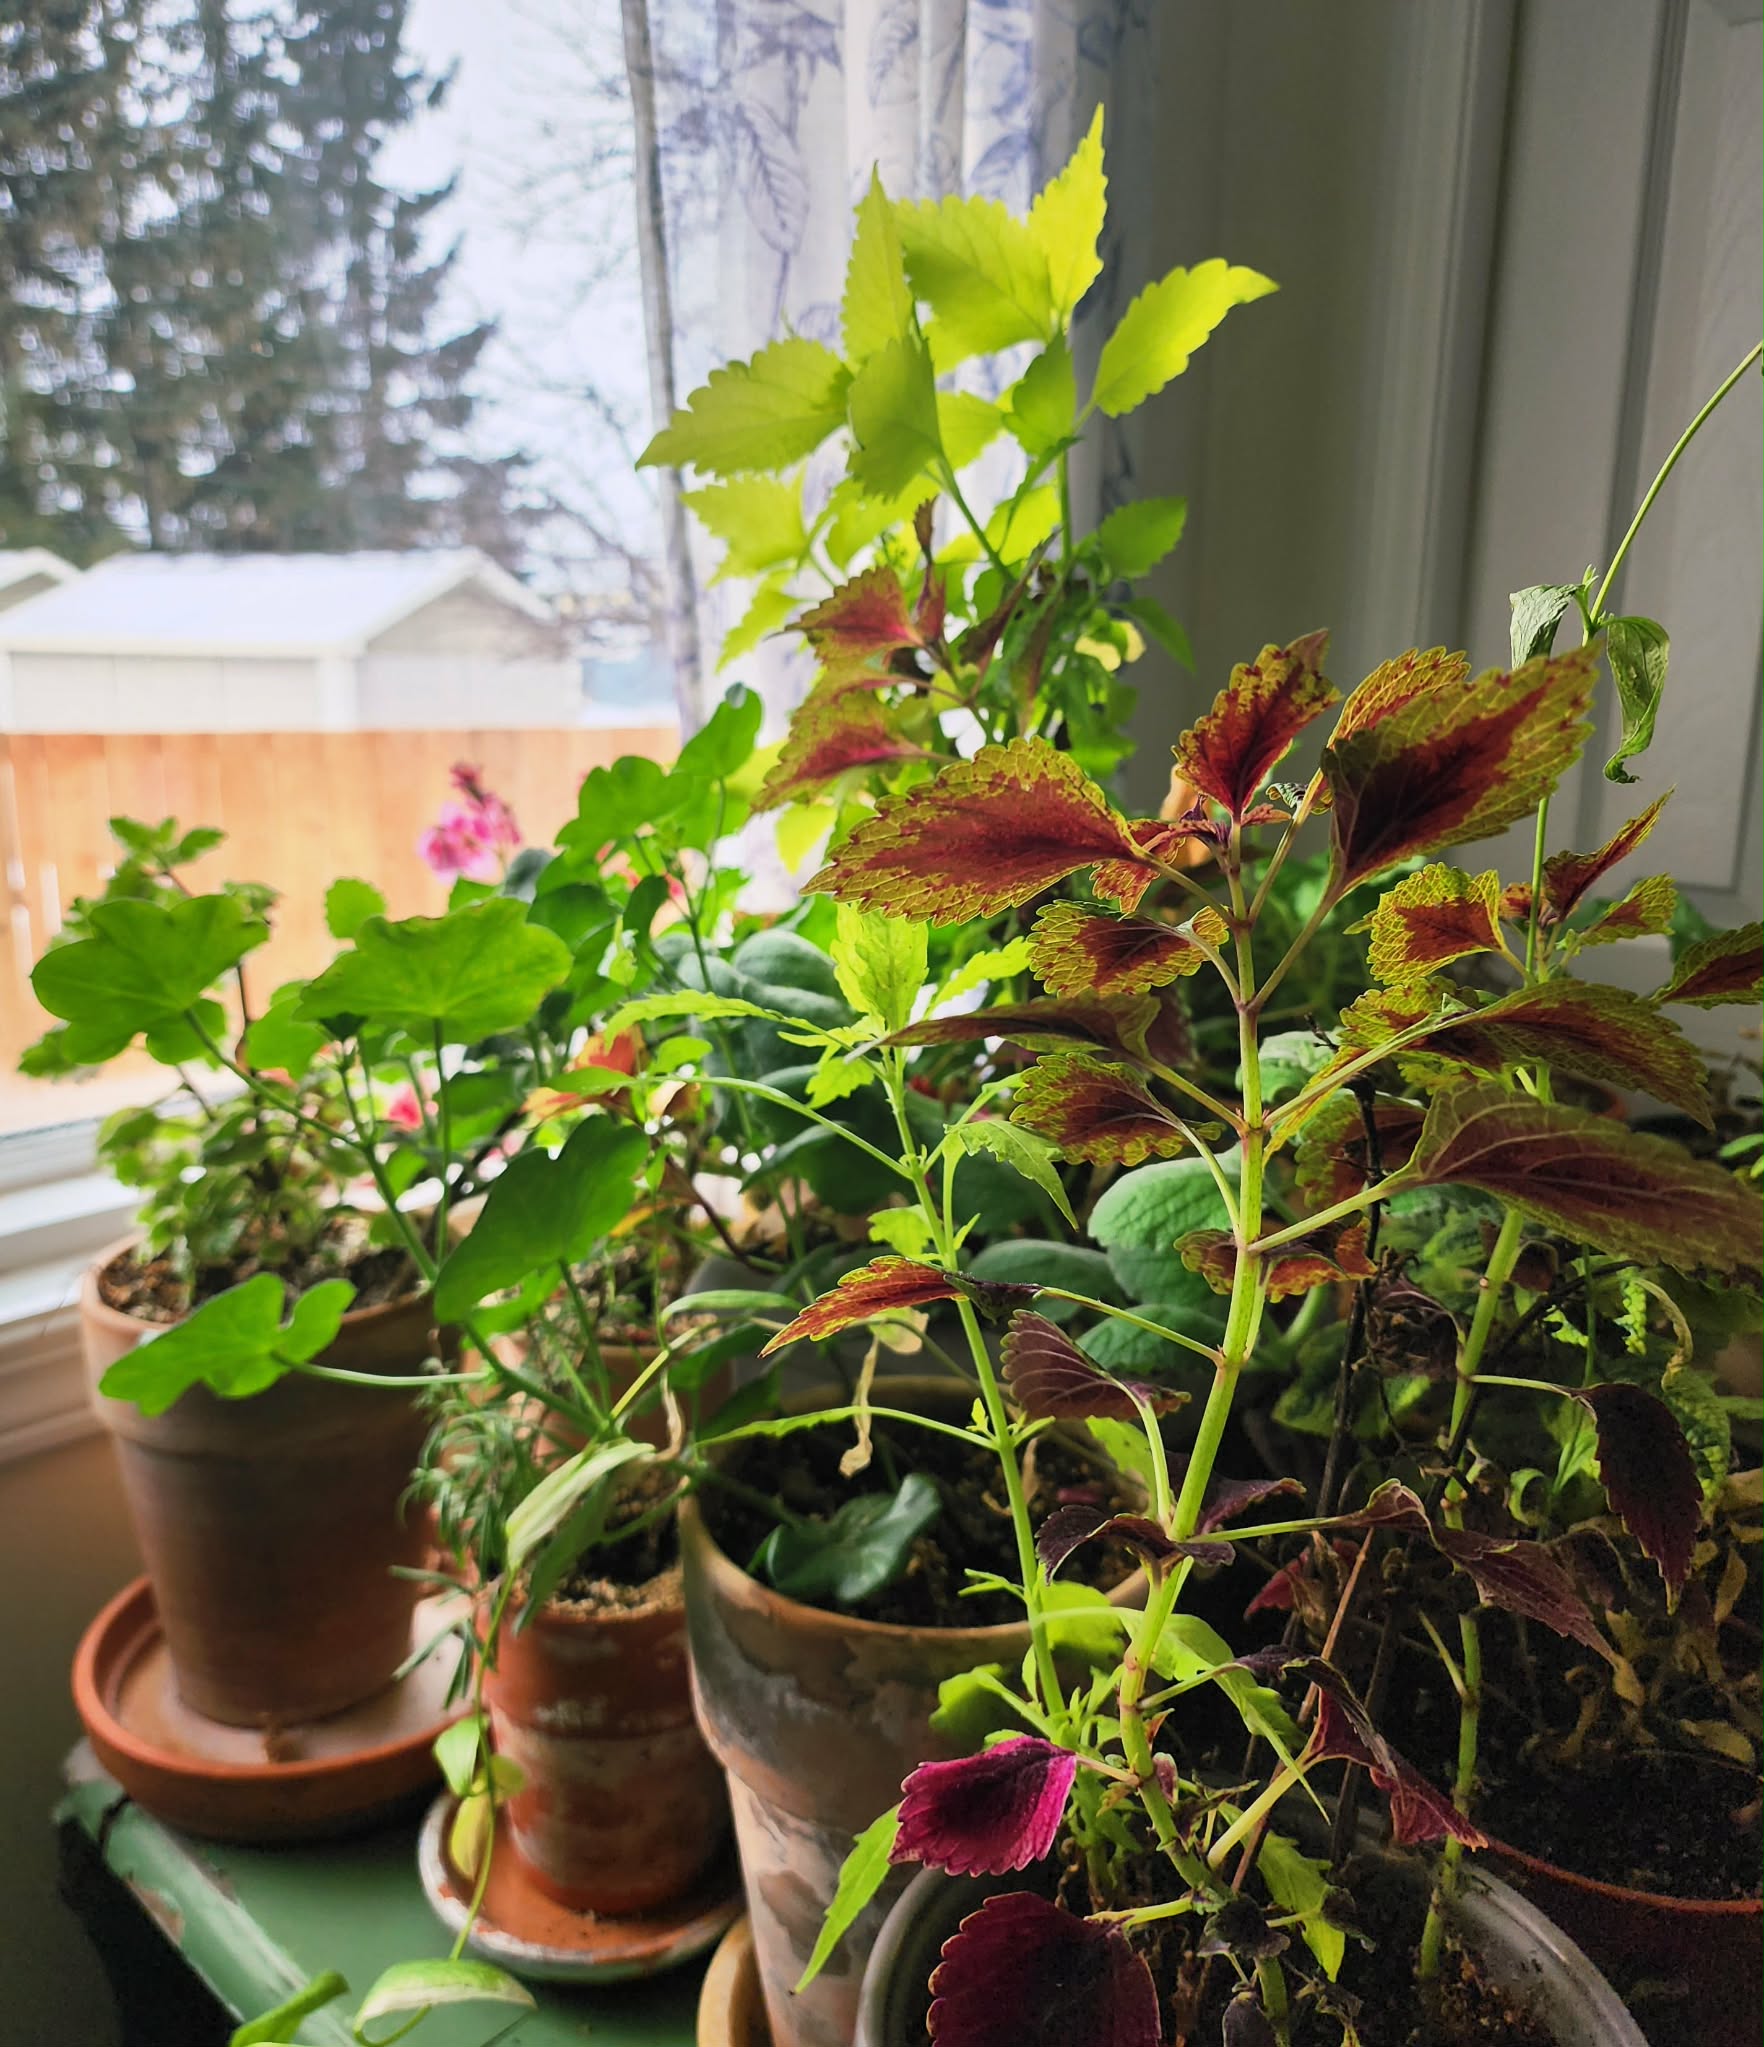
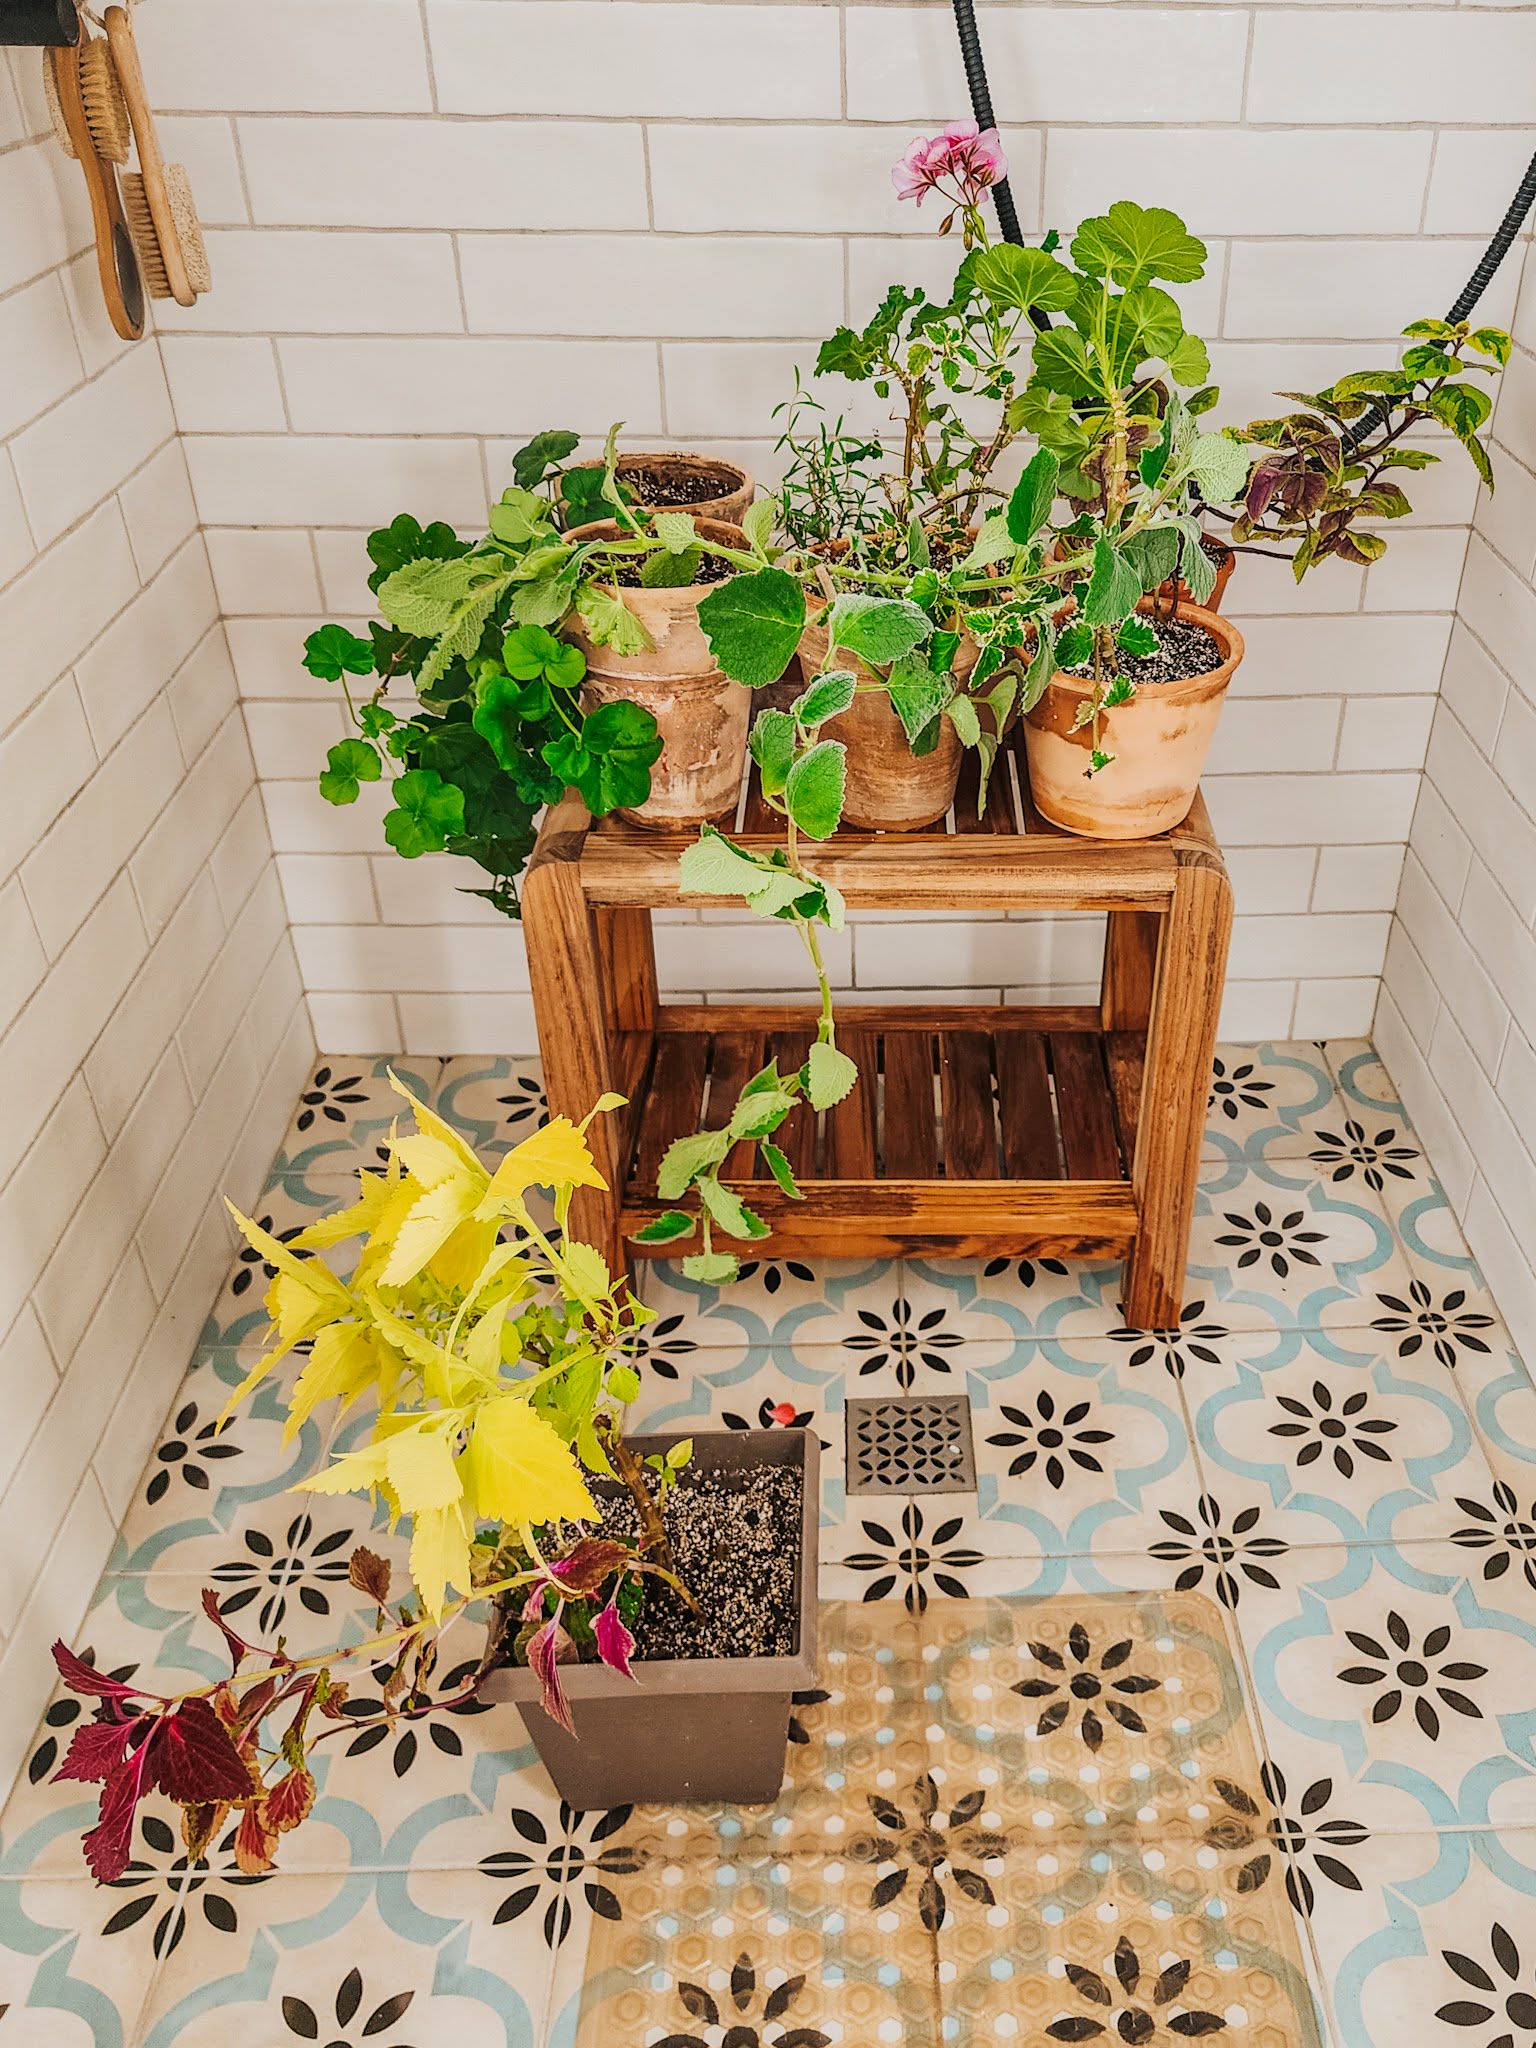
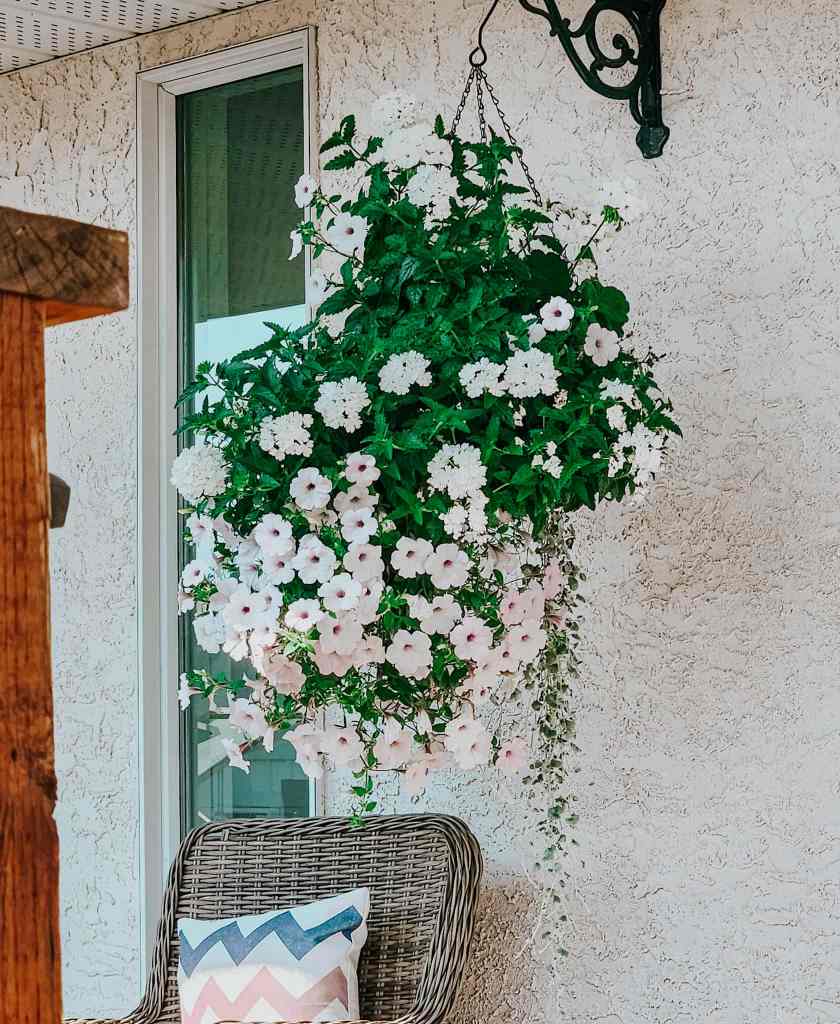
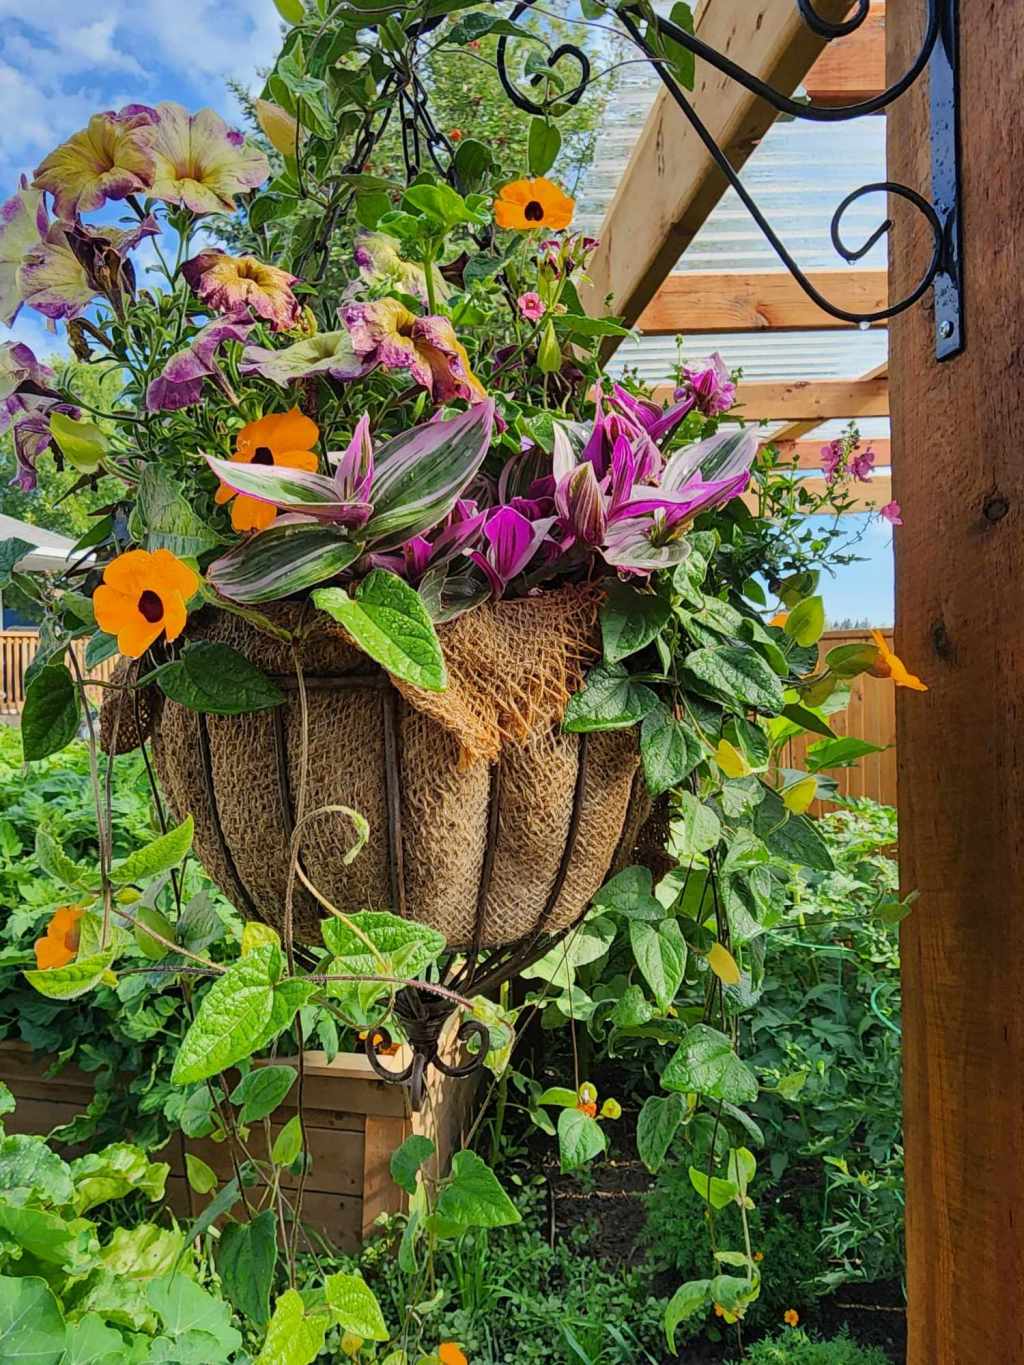
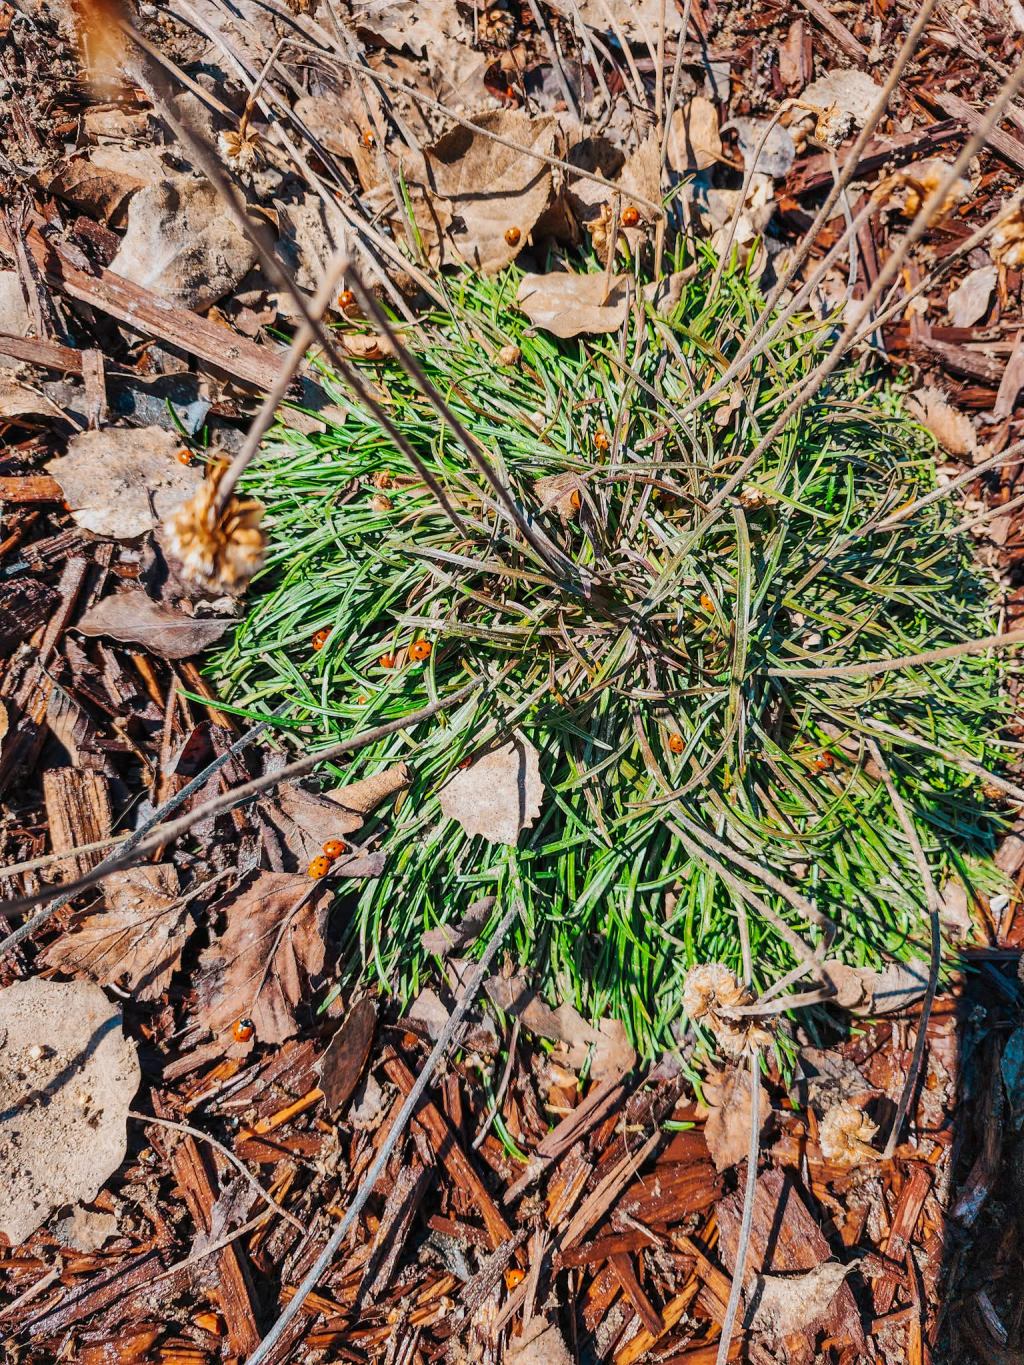
I have been overwintering my tender plants in the spare bedroom/the grandies room. To get them ready for taking cuttings for my hanging baskets and planter pots, they needed a good wake up.
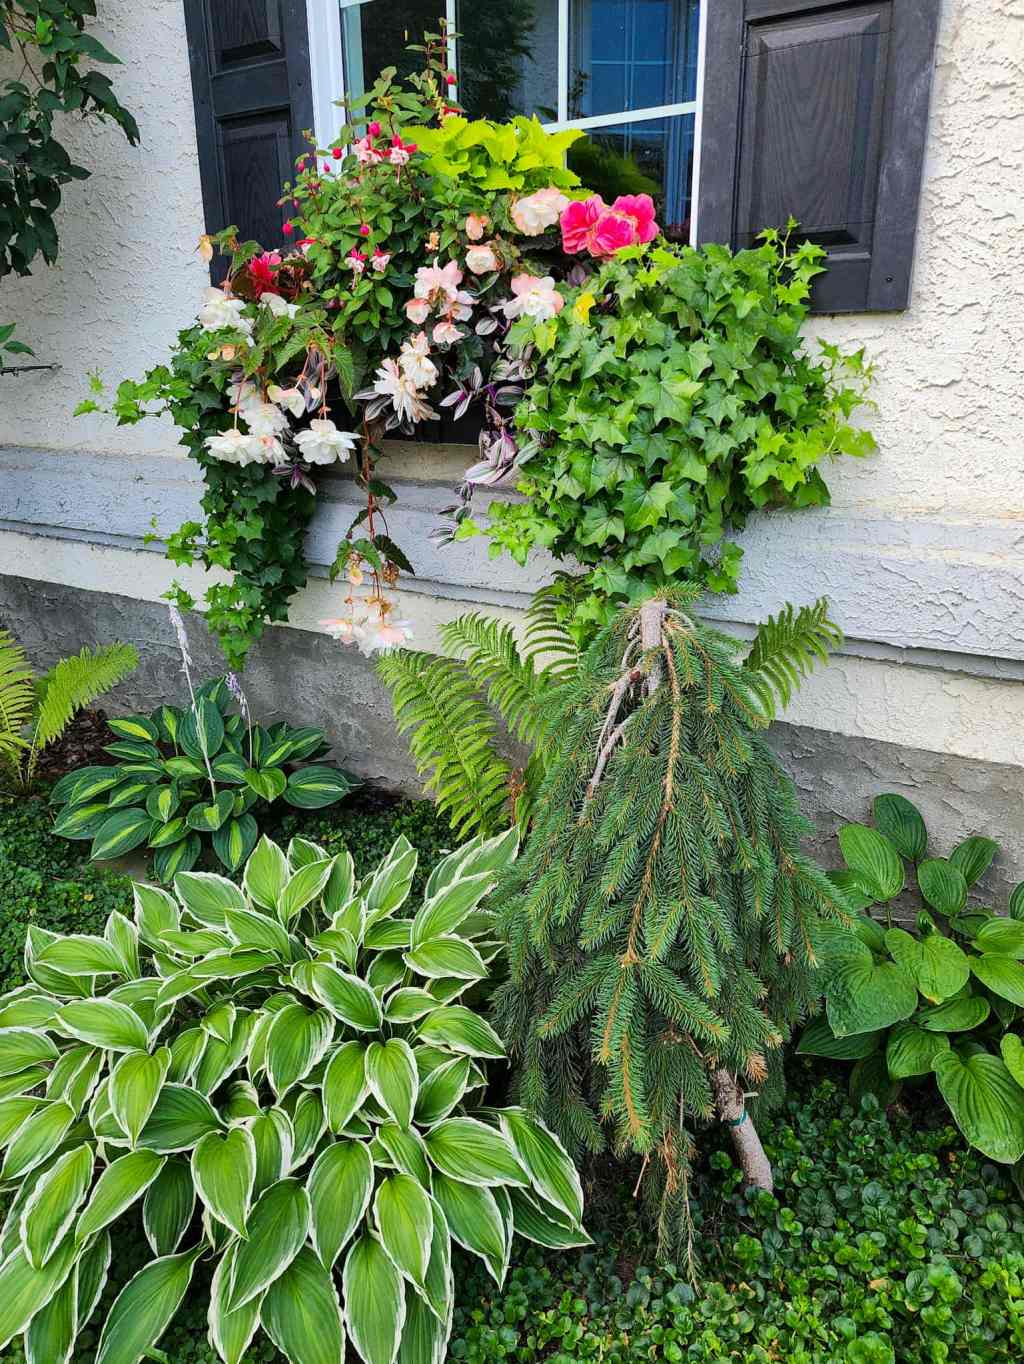
My plants are mostly geraniums and coleus, trailing plants like helichrysum, ivy…, and rosemary.
- Bring your plants some place with running water and a rack or bench where they can sit while the excess water drains out.
- Remove any flowers, spent blossoms, yellowing leaves, dry bits. Clean them up.
- Water your plants several times till the water runs clear. This removes the built up salts from your planter pots (salts are built up minerals from the soil and fertiliser).
- Wash salts, algae, and other build up from the outside of your pots.
- Let the plants drip dry for an hour or two.
- Give them a light feed with liquid seaweed or kelp water.
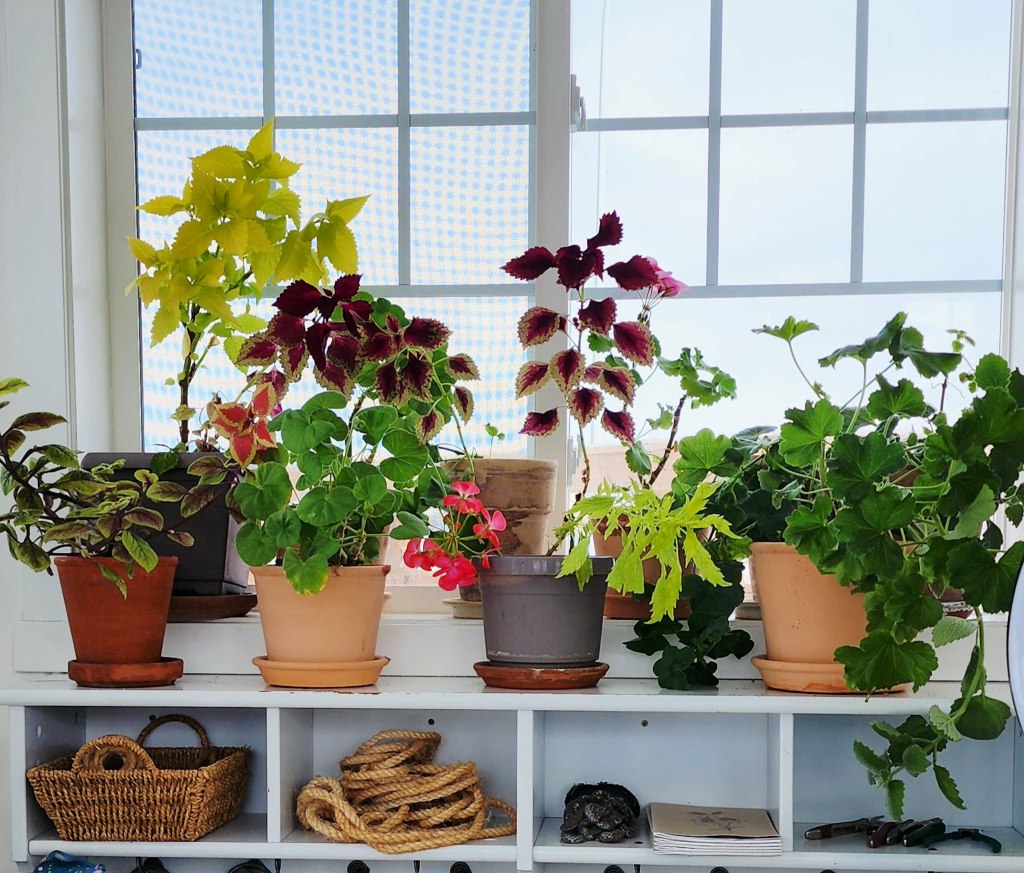
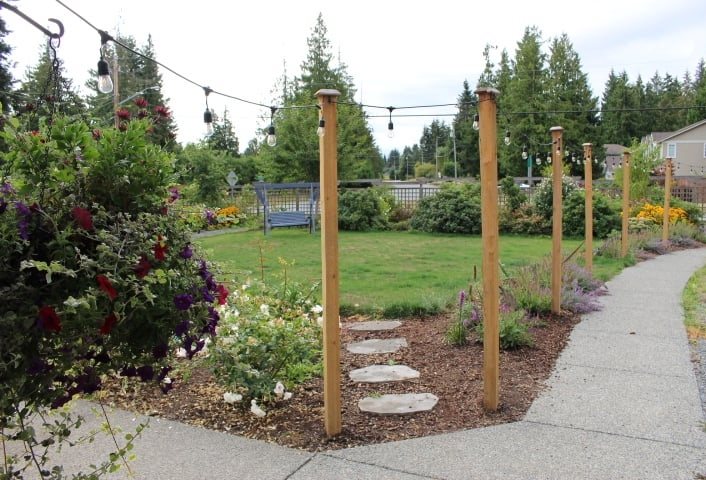
Haul them out to your potting shed, potting table, etc in readiness for taking cuttings. It is bright and cool in my potting shed. Today is taking cuttings day : )

Further to last week’s tips about potting soil, I had other questions on my fb page relating to garden soil.
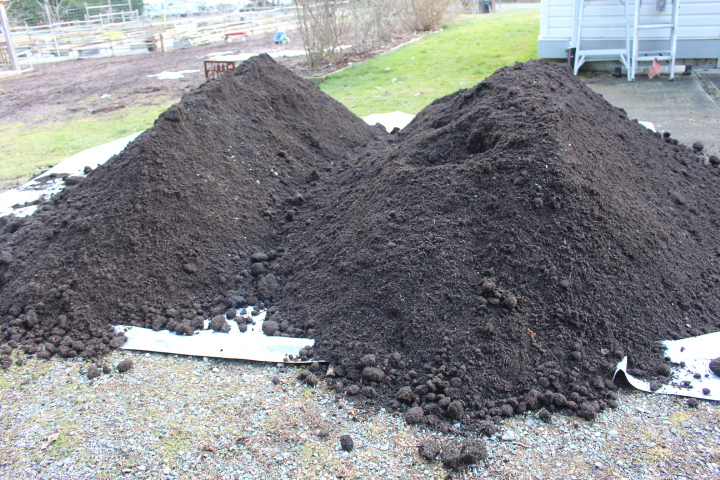
The secret to a great garden and great garden success is all in the soil. Do not cheap out when it comes to the soil.
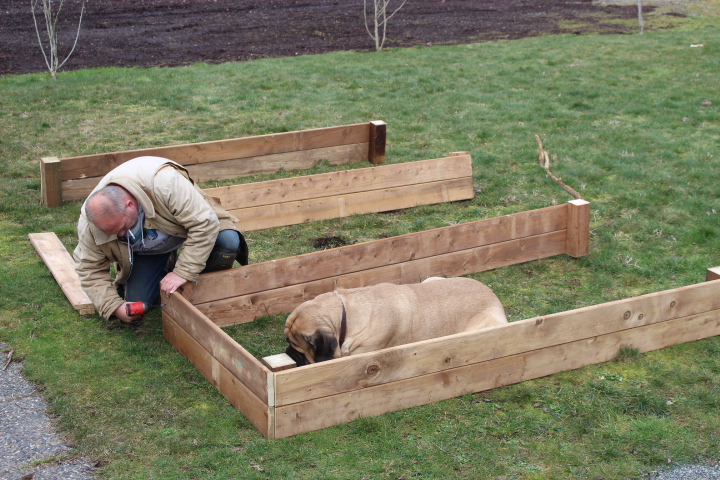
Save on the other stuff, but never scrimp on the soil .. make raised beds out of scrap wood, rocks, bricks, bottles, or nothing at all. Mounded beds with no sides are great, make them wide and flat and they cost nothing at all.
Buy or build the very best soil that you possibly can. This time of year I start to get lots of questions on where to get the best soil from. Okay, the question is usually… ‘where can I get the cheapest dirt?’ I then tell them that if they want cheap, then dirt is all they are going to get ; ) Soil costs more as it actually grows great food.
Cheap will not give you successful gardens, you will spend so much money amending your soil that you might as well have spent the money up front on good soil to begin with.
Starting from scratch? Getting soil from a supplier is probably your best bet. Feed this garden blend (loam with compost added) with compost annually for a really happy, thriving garden. Veggie or flower.
Have soil in neglected beds that is not producing well? Add tons of organic matter. Compost or well rotted manure is best and easiest. Any kind of manure is great, though I like chicken best (hard to come by bagged chicken here on the prairies, so choose sheep or steer instead).
Adding leaves, leaf mould, home compost, grass clippings, anything organic is great and will help to feed your soil life (the microorganisms, worms, soil bacteria, etc…) Add it on top of your soil. If you mix unfinished compostable matter in your soil, they will leach out nitrogen while they break down/compost the matter.
Need more nutrients yet? Blood and bone meals are available in bulk or boxes and add nutrients to the soil very quickly for results this year. Buy a few bags of manure and add the meals to the manure, spread this mix onto your beds, or dig in. Bloodmeal is nitrogen (great for top growth, leaves), bonemeal is phosphorous (for roots and flowering). If you need potassium (overall plant health), kelp meal or rock dust is great.
Q & A
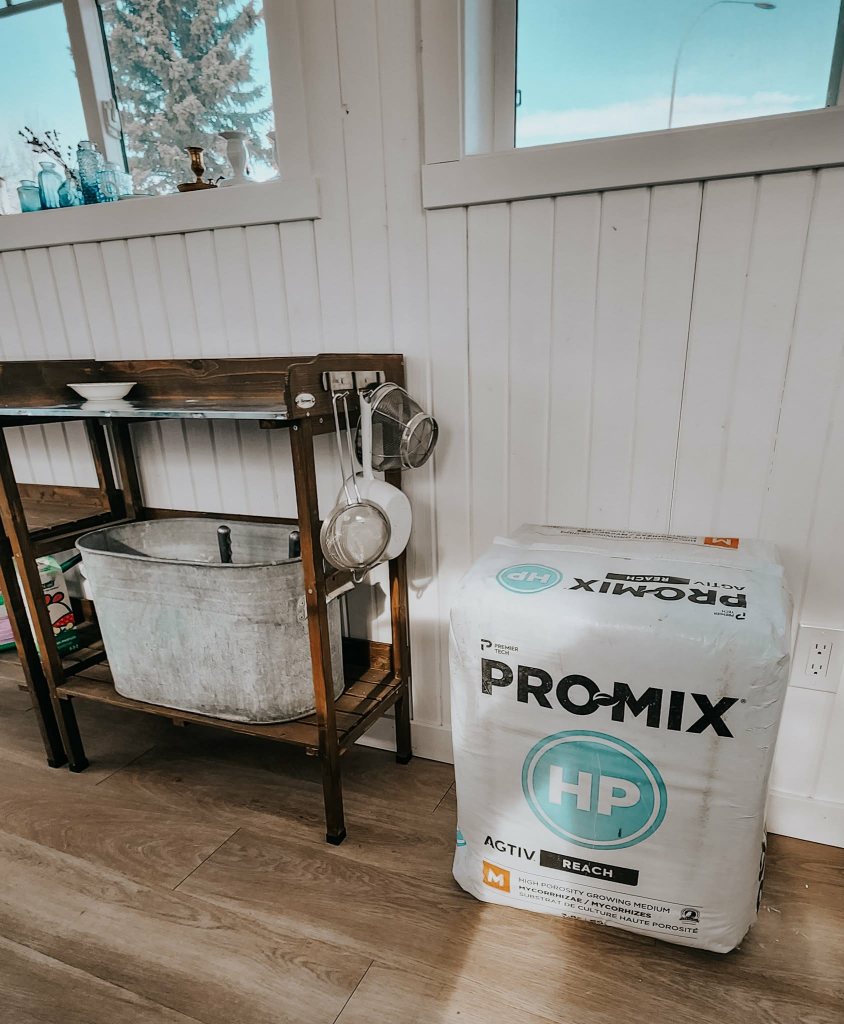
Q – Would The Pro-Mix potting soil also work in a vegetable garden ? Or what dirt would be best? Nanaimo misses you !
A – Pick up a really good bulk garden blend from a landscaper for beds that are on the ground, open to the ground. Get a blend that is rich in compost or add compost/bagged manure to it. It takes a few years to ‘build’ great soil. Feed it annually with several good inches of compost or manure (from 2 to 6 inches).
The bagged mixes are soilless mixes, mainly peat moss, so they are not really needed, nor beneficial to building a garden. Offer very little by way of nutrients. Plus, they are so much pricier!
I miss Nanaimo, too!
Q – I have a small 6×6 bed that has become very weedy over the years. Between the birds, squirrels, weird bagged dirt and composts, plus horse manure – the weeds just took over. I am going to dig it out and start over. What should I use?
A- Oh no! Horse manure is the worst for weeds. Yes, even if they say they have turned it and rotted it for many years. It is still one of the weediest manures that you can use.
If you are starting from scratch, be sure to put cardboard down on the bottom (not landscape fabric) before you fill the bed with a new garden mix (see above question). I know, I know, cardboard is controversial here in North America while the UK swears by it. I am just going to listen to Charles Dowding and keep using it – full stop.
If you get a lesser grade of garden soil and want/need to amend your soil, add (lots of) bagged sheep, chicken or cow manure. Seasoil, a compost made from forest finds and fish bits, is more expensive, but is a great soil conditioner.
Q – We just got some rich compost, I don’t think it’s finished cooking. Is it supposed to smell? And what can we do?
A – It should smell a bit earthy, but definitely not ‘stinky’. You can do a tester by putting a plant in it to see how it fares. If the leaves start to yellow (as the compost pulls nitrogen from the plant if it not yet finished), if the stem starts to die off, if it simply does not root into the ground, then you know it is still too hot.
The best way is to wait it out, give it another month or so to finish up. If you can let it sit on top of your bed for a while, it should, hopefully, be ready to go in April sometime.
If there are areas that you want to plant up earlier so do not want to wait it out, rake out a small layer of either bagged soil/bagged black earth/or garden soil on top of it that you plant into so that when the seeds root into the compost, it should be less harmful.
OR, you can mix one of those products together with the compost to take away some of the ‘heat’, make it less apt to burn your roots or seeds.

Q -Just wondering if you have any old material on setting up a blueberry bed on Vancouver Island – Where we’re living now had an old one that was not doing well at all, so I’ve taken everything out to start from scratch.
A – I don’t have anything written up, but here are some things to consider…
- Plant more than one variety. They are self pollinating but fruit more if planted with friends.
- Spacing. If you want them to touch, grow into a hedge, plant them closer together. Check the size at maturity, width wise. They tend to range from 3 to 5 feet wide, maybe even 6 feet. Plant them so that they will touch when fully grown.
- To have them grow as individual shrubs, check the maturity width and add 2 to 3 feet between shrubs.
- Add lots of compost to the soil to feed them as they grow. As the island soil is acidic, you should not have to amend with peat moss or sulphur.
- They are shallow rooted so you need to be careful when weeding to not damage the roots. If you mulch thickly around the shrubs (not right up to the crown) it will keep weeds away and help retain moisture.
- First-year, they will need a deep water once a week to start. In general though, a good water twice a month will be perfect.
- To feed just give them a few shovelfuls of compost/manure each spring.
- By year 3, you will be harvesting loads of berries.
Ps, if you are on the prairies, try some of the new Haskap varieties instead. They are hardy to a zone 2 and do not need the acidic soil that we simply do not have here on the prairies.
Q – I am still using the companion planting advice I got from your last couple of years of blog posts and workshops before you moved (and I really, really miss your companion planting flats).
A – I am so glad you are loving the pollinator flowers. I still use companion planting in my garden each and every year with great results, too.
See Mid February Notes From The Potting Shed – Pollinator Flowers & FAQ’s this post for making your own pollinator packs : ) It is not the same but you can pick your own colours and kinds : )
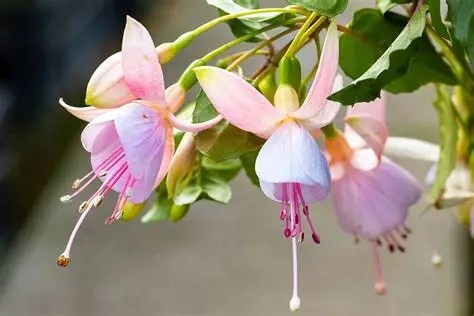
Q – I just cut back my fuchsia that I over wintered. When do I fertilize and with what. I have both seaweed liquid and fish.
A – I would start fertilizing now. Seaweed is very mild so you can use it each time you water, if you like, at full strength. With these longer days and a bit off food and water, it’ll soon start putting on new growth.
Once it is actively growing, you can switch to a stronger fertiliser with a larger middle number to promote blooming.


Leave a reply to bthstanley Cancel reply