
My garden goal is usually to be mostly done garden clean up by Thanksgiving. Canadian Thanksgiving, that is, so the 2nd weekend in October.
As we tend to have fairly decent weather for 6 weeks after that, there are still tasks that can still be done afterwards, but I like to know that most everything is done in case we get an early snow that sticks.
Raking the leaves onto my garden beds can be done on any nice day, but is also not a make it or break it if snow comes and does not melt away. That is rare, by the way. Usually, if we get an early snow, it melts in a day or two, followed by lovely weather through to mid or end November (central Alberta- zone 3).
Here though, are the 5 things I absolutely want done before the snow flies and it is too late…
1. Harvest (Of course)
- Potatoes are harvested when the foliage goes brown.
- The last of the beets are harvested for Thanksgiving dinner. Pickle up the rest, if you have lots and are running low.
- Celery we use as we need until it collapses (turns to mush) after a hard frost. It is not winter hardy here. If you wish, you can dehydrate celery, or dice fine and freeze.
- Greens and lettuces we harvest right up until frost gets them. Kale can handle a light frost and overwinters nicely in warmer zones.
- Onions have usually been lifted already in September, or even earlier, hung to cure, and cleaned up (take off roots and dried tops). I then put them in a basket and store in the cold room.
- Tomatoes are harvested when 3/4 of the tomatoes are ripe to do all the canning at one time, over the span of a few days. This year, that was in late September for us, with the final 1/4 ripening less than 2 weeks later.
- Hot peppers we leave as long as possible for them to have time to mature and get some decent heat. Chili peppers tend to ripen a bit earlier, but most are not ready until well into October.
- Cucumbers, grown in the greenhouse, were fruiting right till the end of September. They would have kept going till frost took them down but we pulled them down just before I went in for surgery.
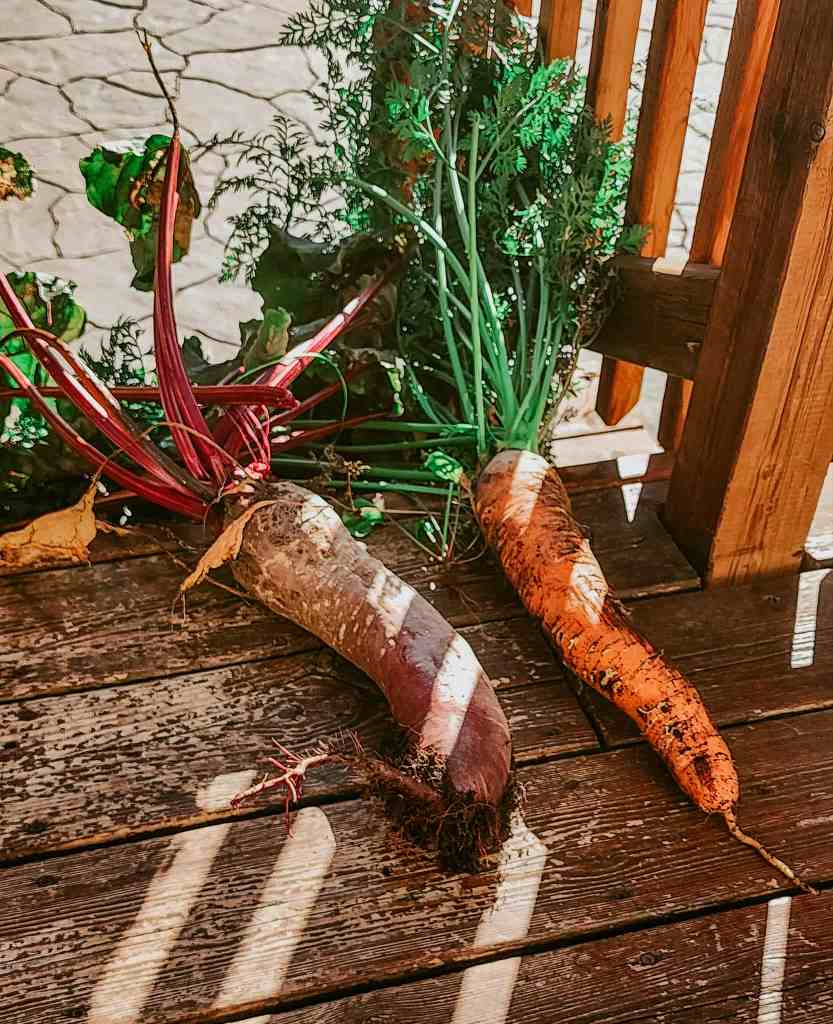
- Carrots are left in the ground till late October so they get a good frost or two to sweeten them up. They will be washed, topped, and put into plastic bags (with some holes for air flow) with a paper towel to absorb moisture. Place into a fridge crisper. This year, we tried something different (as we only have a mini beer fridge). We topped the carrots, washed and then dried them really well, placed them in a cardboard box, covered them with peat moss, closed the flaps (making sure to leave an air hole), and put them in the cold room (breezeway, garage, etc…)
Wondering how to put your organic gardens to bed for winter? For earlier growing in spring and great results in summer? See here.
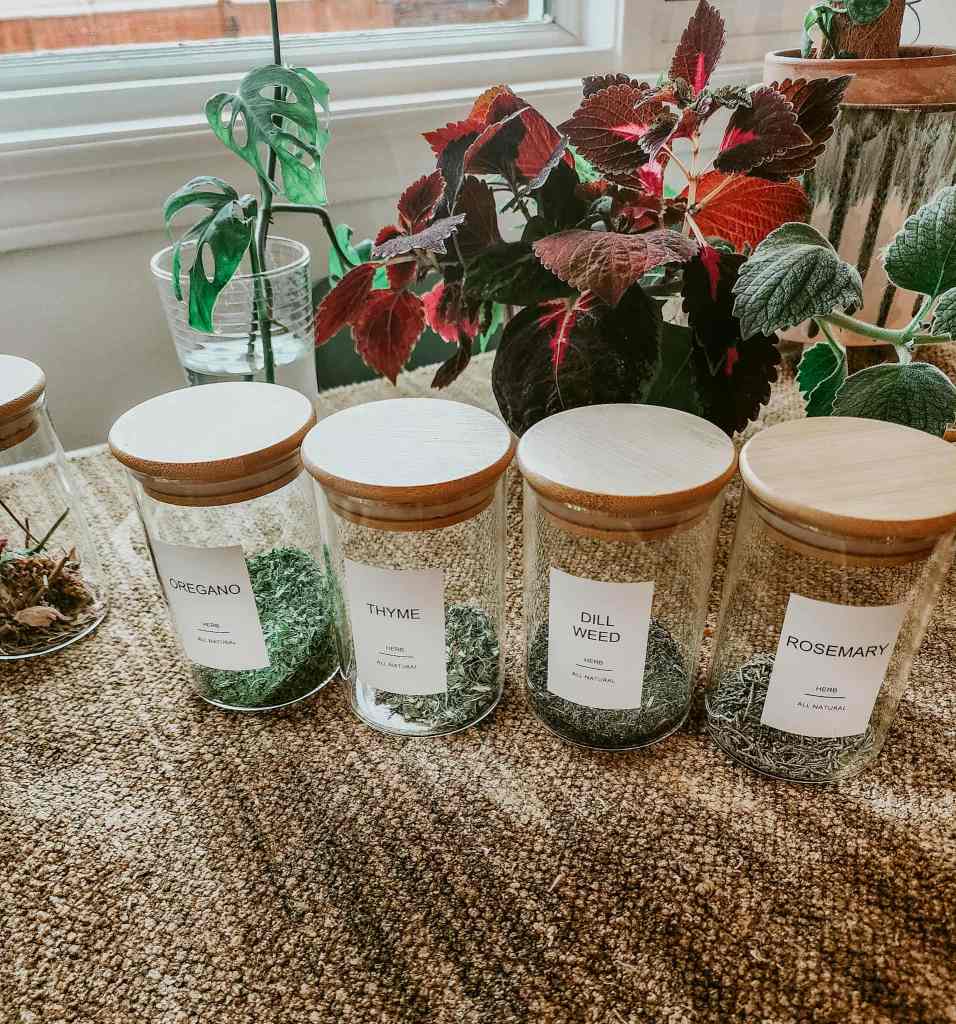
- Herbs are dried in the sunshine for 3 weeks. You can also hang them in a warm and dry potting shed or greenhouse.
- Buzz them up in a mini food processor or spice grinder.
- Place in jars or spice containers. Great for gifting.
* As an Amazon affiliate, if you buy any of items through one of my links, I make a teeny tiny bit of money to support my blog. It does not cost you a penny more than it would if you went to the item on your own, without my link. Very thankful for your support : )
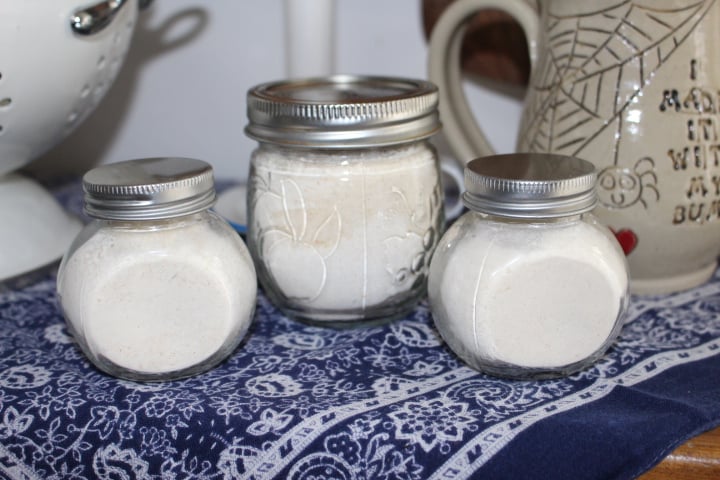
- Make your own ground garlic powder, chili powder, cayenne powder, paprika by drying your garlic or peppers and then buzzing them up into a fine grind, too.
- Make your own celery salt, onion salt, and garlic salt, too. Great Christmas gift ideas.

2. Plant Spring Bulbs & Next Year’s Flowers
- Plant Darwin or Triumph tulips for many years of blooms.
- If you are in a warmer zone, plant bulbs in a pretty container, in layers, for earlier containers. To do this in a zone 3, you need to sink the pot into the ground and dig up in spring. Or keep the container in a heated garage.
- Plant small flowering bulbs like crocuses, glory of the snow, grape hyacinths, squill, and snowdrops along pathways and garden borders.
- See here for my list of 5 must have spring flowering bulbs.
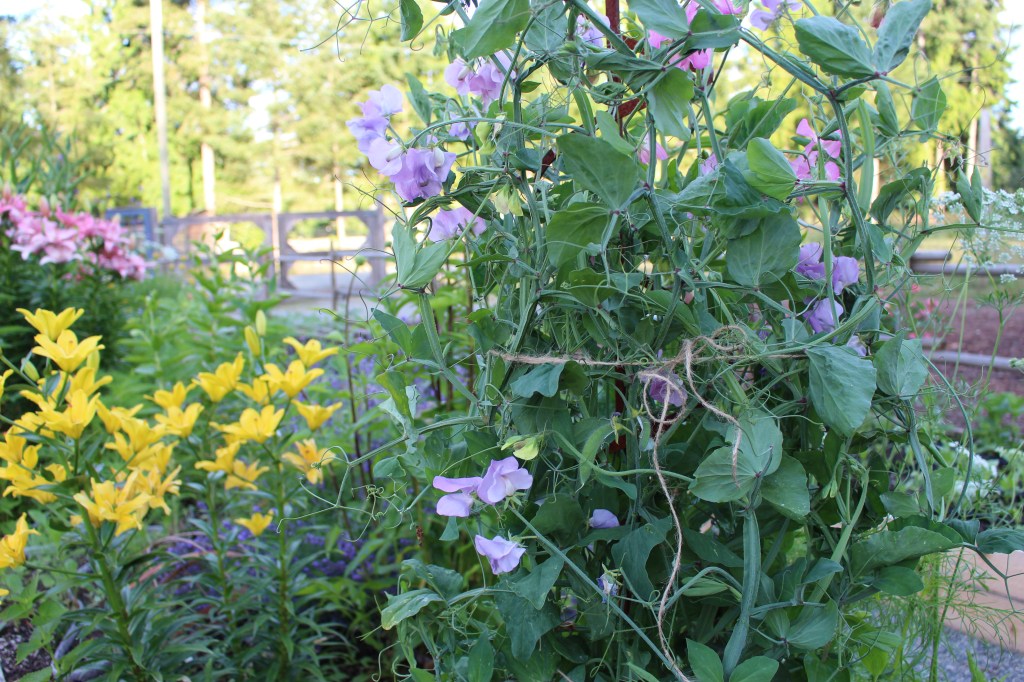
- For my readers in a warmer garden zone, sow your sweet pea seeds between now and the end of November for earlier blooms in spring. Alternately, if you are unable to sow them now, you can also do so in February.
- For us on the prairies, we need to wait till spring to sow our sweet peas. If you have loads and are not afraid to lose them, you can sow now in a sheltered area of the yard, mulch, and some will come up next year. You will have a low germination rate though, so do not sow your prized $7 specialty seeds till spring.
- Plant garlic now.
- Ultimate Guide to Planting Garlic Successfully – The Marigold Potager – A Zone 3 Prairie Garden
- Order ranunculus and anemones now for planting/pre-starting in spring. If you wait till spring, it will be too late.

Plant perennials. This is the time of year that you can find great sales at the nurseries.
- Pick up perennials that are in bloom, as you know they will be your fall bloomers next year, in your garden.
- Pick up a variety of heights, textures, and blooming times for a good start on all season garden interest.
- Pick up flowers that bloom on tall spikes (veronica and salvia), in round disks (echinacea and daisies), in umbels and poofs (joe pye weed and yarrow) for more interest, and a visually appealing garden.
- Add grasses that make seed heads that change colour in fall and sway in the wind.
Plant up with a bit of compost in the planting hole. Water well. Water once a week, or as needed, until the ground freezes or snow comes (or the fall rains start, if you live on the west coast).

3. Save Seeds
This is optional, of course, but oh so easy to do and gives you free flowers next year.
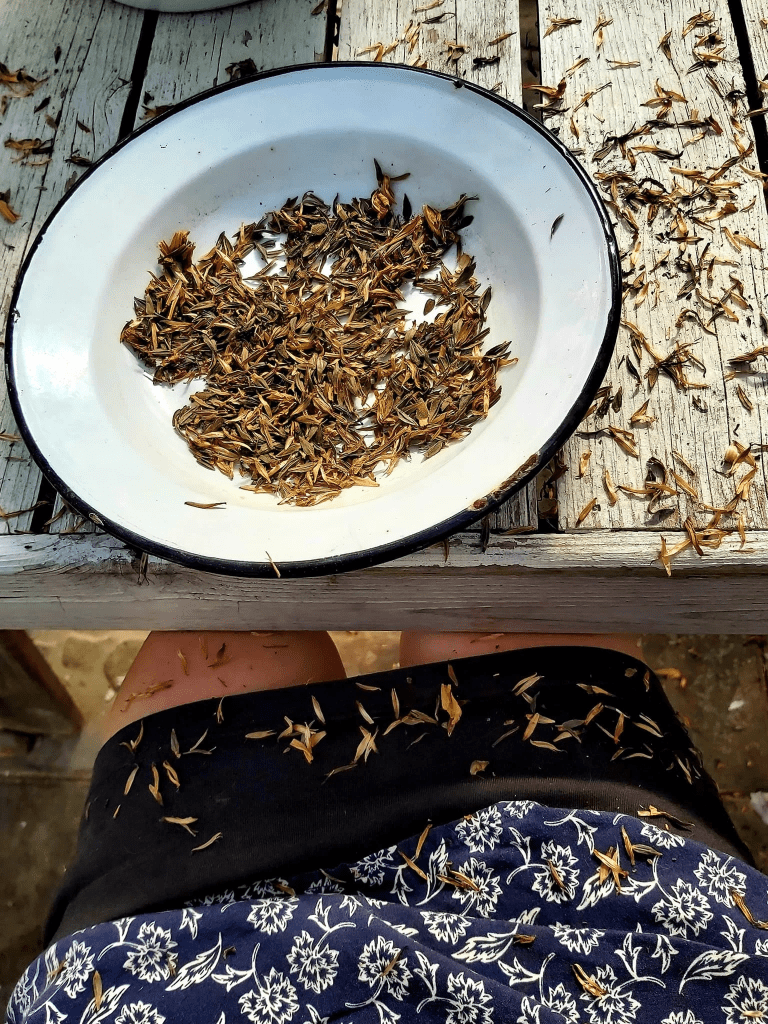
- Pick the dry, dead flowerheads.
- Leave them in a warm, sunny greenhouse, potting shed, or the like, for one to three weeks to dry thoroughly.
- Once the flowers are fully dried, you can just pop the entire flower into a jar or envelope to deal with in spring.
- I have left a few flowers intact for looks, just because they are so pretty, but you can just put the seeds in your envelopes or containers. The envelopes work best if you think there may still be some moisture in the seeds/flowers.

- Snapdragons – wait till most of the flower stalk has finished blooming. If you are saving several colours, pick the stalk when there is still a flower or two at the top. This will help you keep track of what colour the seeds are as they dry. Place the stalk upside down in a bowl or paper bag to dry as there are loads of tiny seeds (the size of poppy seeds) in each flower pod. The seeds will fall into the bowl as they dry. You do not need to save many stalks as there are so many seeds in each flower.
- Cosmos – will dry right on the flower stalk. Pick the dry, little seed heads (see above).
- Calendula – The seeds are ‘C’ shaped curly cuties, that kind of look like caterpillars if picked when green. Allow to fully dry before packaging.
- Nasturtiums – Round seeds that are in clusters of two or three seeds while green. When ripe, the brown seeds drop to the ground. Can be picked green or brown.
- Marigolds – Pick the dried flower heads. Open up the husk to find dozens of the long seeds inside.
For a more in depth how-to, see this post here (from my old blog)
These two are not trickier, per se, but have a few more steps. There is a lot more chaff (petals, stems, plant debris) to get rid of before you get to the seeds.
- Zinnias – Wait till the flowers are dry before picking to ensure that you have mature, viable seeds. Here is a step by step guide about the harvesting and winnowing process.
- Dahlias – very much like the zinnias (see the step by step above), pick the mature flower heads, when the flower petals have all fallen off and the seed pod has begun to dry. Leave laid out in a warm, dry spot till fully dry. Pull the seeds from the seed pod, place into a bowl. Lightly crush the flowers in the bowl till everything is separated. Blow over the bowl to get rid of the chaff, leaving the heavier seeds at the bottom of the bowl.

4. Stow Everything Away Till Spring
Whether in the rainy mild winter areas, or the frigid prairies, putting away the garden accoutrements is a necessity.
Clay and ceramic pots can be stored in your potting shed, greenhouse, outdoor shed, or even under the eaves. However, if you store them under the eaves, make sure that they are raised off the ground with pot feet, bricks, pallets, something, to ensure they do not crack. I have lost the bottoms of a few clay pots when they were sitting empty on a bed of gravel. I forgot that the ground would freeze and thaw underneath them, thus causing the pots to crack.
Drain and put away water hoses and weeping hoses. Blow out drip systems so they do not crack in winter.


Wash up your seeding starting trays and pots, place in an easy spot to reach them again in late winter and spring, as you sow seeds. I keep mine in dresser drawers in the potting shed. These are 30 year old dressers from Ikea that are still ticking along.
Don’t forget about labels. Have them handy, easy to find, as well. If you need to make more (cut up margarine and yoghurt containers) or buy more, put it in your daytimer/journal to do in January. I bought this large pack of colourful 4″ tags, in spring that should last me for many years. You can also wipe them clean of all marker writing with nail polish remover. A mindless task I sometimes do in winter, while watching tv.
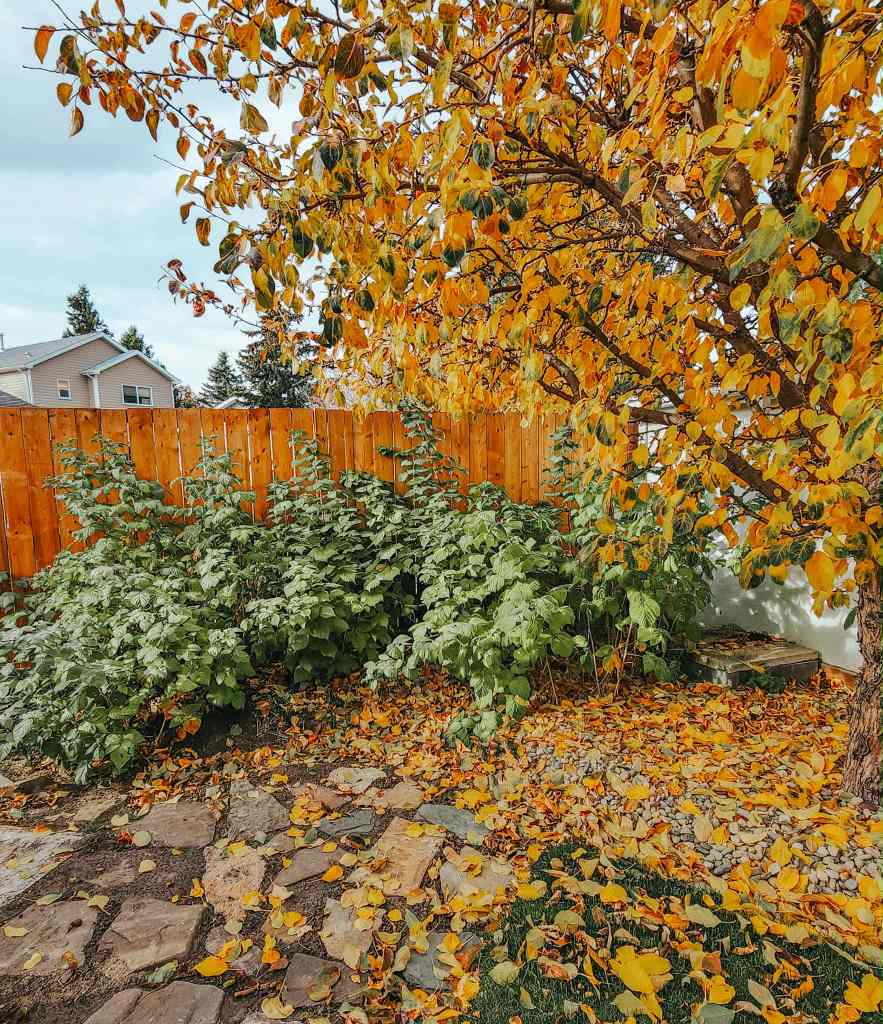
5. Mulch Your Gardens
When your leaves have fallen, rake or blow (leaf blowers are controversial, I know) them into your flower/garden beds. For the past two years, I have been raking or using the electric leaf blower to move all these apple leaves into the raspberry patch (and the flower bed that runs along the fence to the left of the raspberries). The soil was very hard, very heavy clay when I first started. It is now very much improved even though this is all that I have done. I have not fed the beds compost yet, no amendments of any kind, just leaves. The ladybugs are happily sleeping in that bed.
Alternately, you can rake them into a big pile and leave them to rot down over the winter. The composting leaf matter is called leaf mould and is as good as garden gold for your gardens and plants in next spring. The pile also offers a winter home for wildlife.
In food gardens, use only finished compost as a mulch, especially if you tend to have problems with slugs, snails, earwigs, and pillbugs. Do not dig it in, just layer it on top of the beds. Use anywhere from 1 to 6 inches of compost, depending on the health of your soil life… and your pocket book.

If you also wish to use leaves or straw on your garlic or veggie beds, but want to avoid providing a home for slugs and such, wait until a few good frosts have happened and the critters have already found a winter hidey hole. You do not want a garden full of overwintered slugs and bugs when your tender seedlings begin to emerge from the soil, in spring.
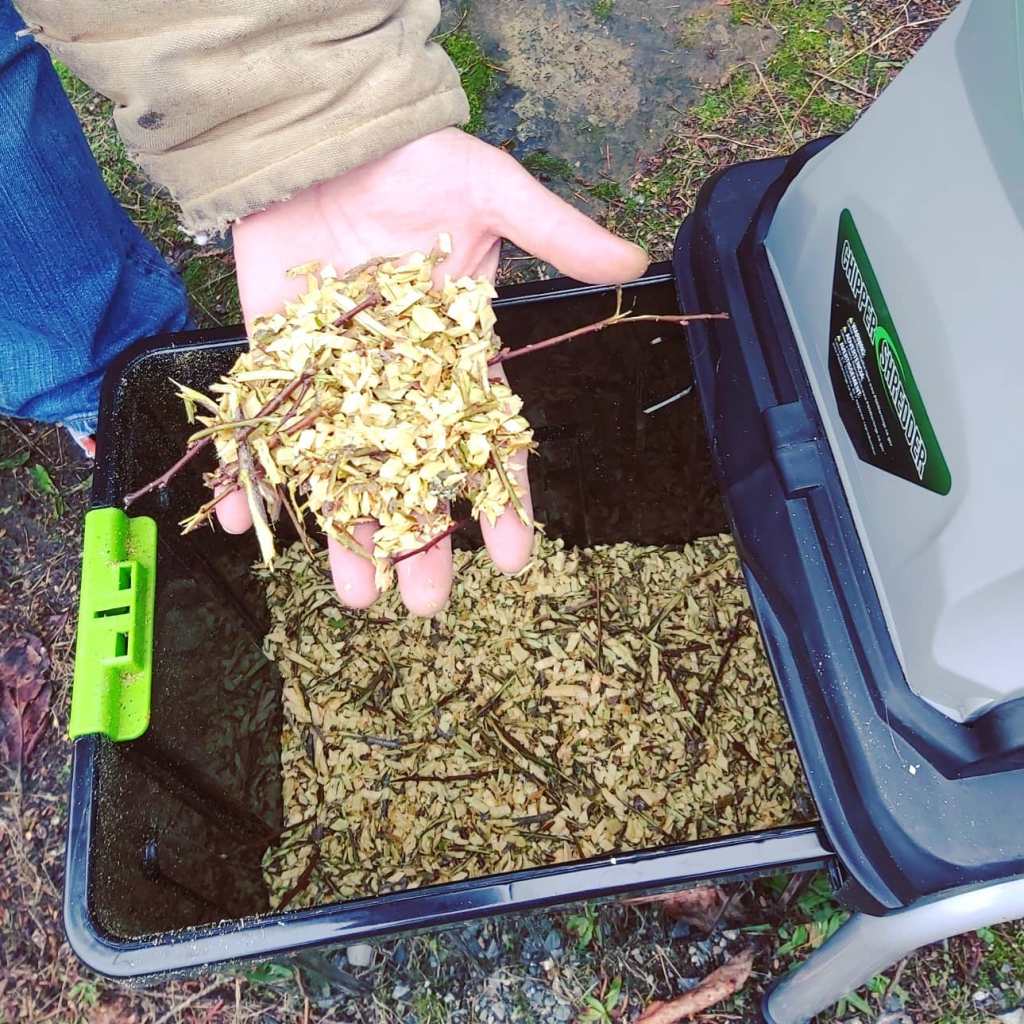
Bark and wood chips are great mulches as they break down to feel the soil life. Composted pine bark is one of the best ones to use as it breaks down quickly. If you want it to last longer, bagged or bulk bark mulch or wood chips are all fantastic. Or, make your own by chipping up your garden trimmings.

Mulches will help retain moisture in the soil, keep weeds from germinating, and feed the soil as it composts down. Do not use landscape fabric underneath the chips or the compost will sit on top of your fabric, making it a perfect spot for weed seeds to germinate as they blow in.
If you are having a big weed issue, use cardboard or newspaper (the ink is soy based – safe) instead, or just go really thick with your wood chip layer. Minimum of 3 to 4 inches is recommended. Top up every few years, as it breaks down.

Other Quick Tips & Ideas
- Amend your gardens with compost.
- Take flower cuttings.
- Clean your birdbath and bring in for winter.
- Here on the prairies we have very alkaline soil. To acidify the soil for your blueberries, take some dampened peat moss (easier and safer to work with if you soak it first) and scratch it in around your blueberry plants. Do not go too deep as blueberries have shallow root systems. Or, mix with compost and layer on top to both feed and acidify.

- Get your birdfeeders cleaned up and ready to go for the winter months.
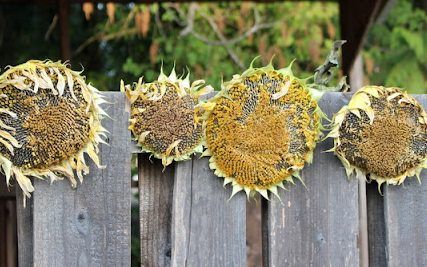
- Hang sunflower heads on the fence, the gate, a garden pole. I have even laid some out on the window box. (I’ll be pulling out sunflower babies from the flower bed underneath next spring.)
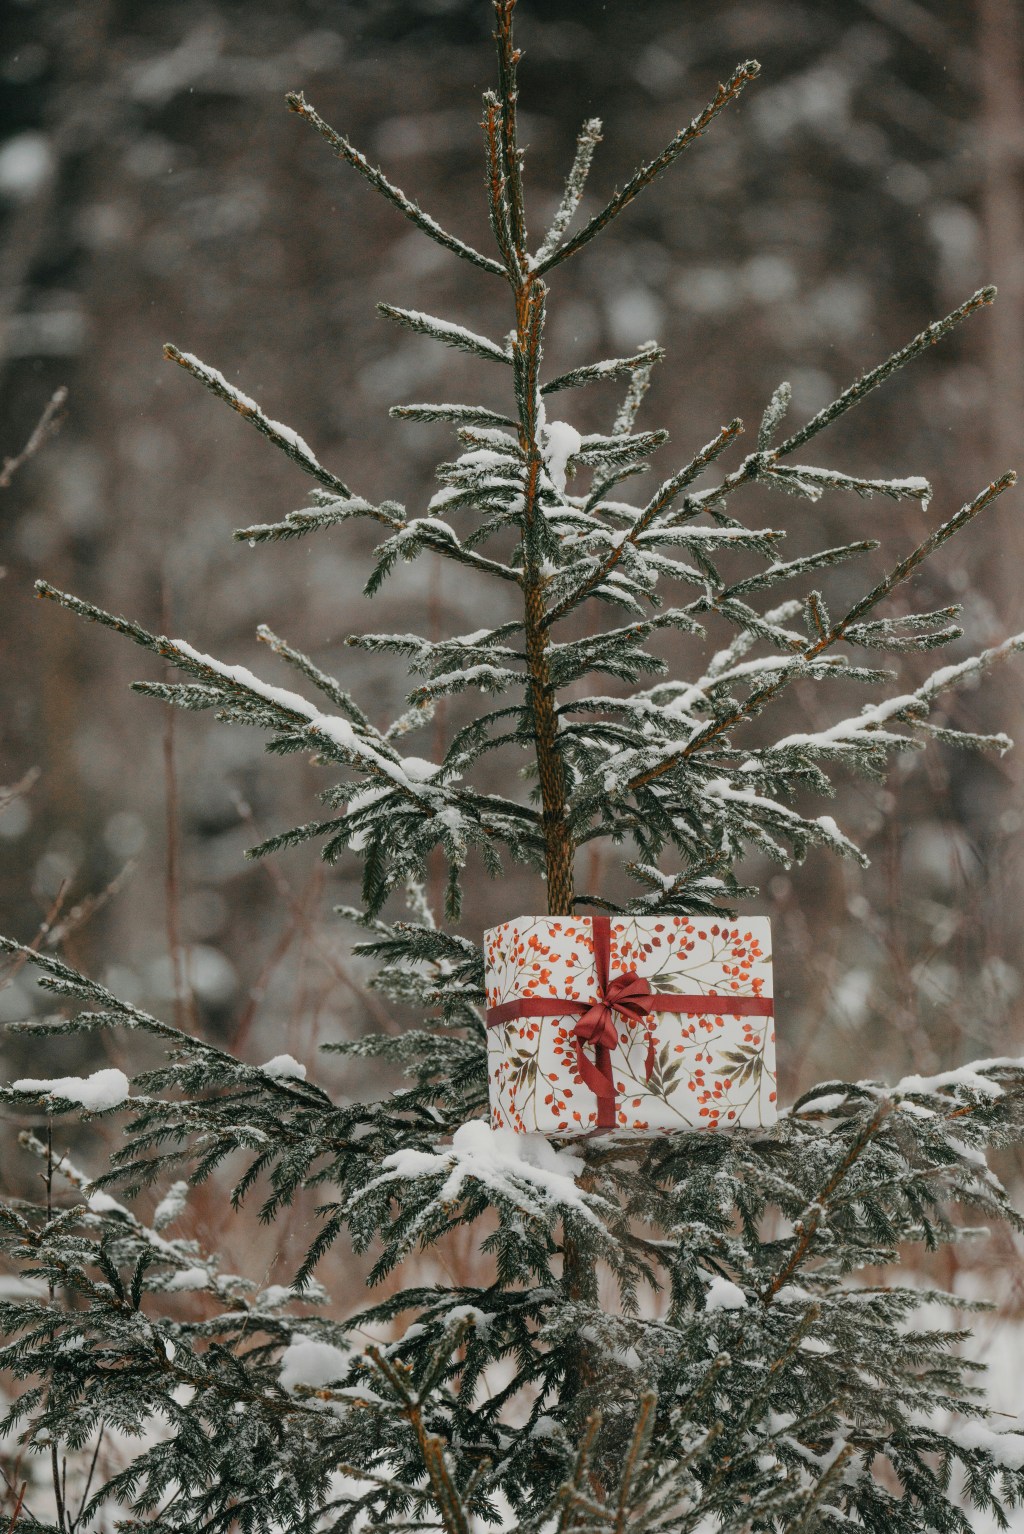
- In Scandinavia it is traditional to hang a wheat sheaf out for the birds at Christmas time. Why wait till then?
- Or… for those of us who have no access to wheat or dried grain sheafs, we can make bouquets with the dry flowers and berries in our gardens. Rudbeckia, echinacea, rose hips, dogwood berries, sunflowers, mountain ash berries, asters, grasses, amaranth). Tie the ‘bouquet’ on your gate or fence.

I could not get a photo that really shows off how lovely these pink berries are on my snowberry bush. My goal, when planting up the new front yard, was to make it bird and pollinator friendly.
So, I tried to chose as shrubs and flowers that would feed them, but as it is a small yard, I was limited to compact shrubs. Birds will eat these snowberries, but they are not a favourite food. That said, if you are looking for a very pretty, small (4×4), full to part shade, drought tolerant, native shrub, this may be the one for you. There is also a white version, the common snowberry.


Leave a reply to Sunday Potager Ramblings #55 – The Marigold Potager – A Zone 3 Prairie Garden Cancel reply