
Are you wondering how to know when your garlic is ready? How to know when to lift it? How to cure it for the best results?
In some areas of the country, folks have already harvested. In others, we are watching the bottom leaves start to brown and wither. Won’t be long now.
With the garlic, timing is everything … too soon and the bulbs are small, or not separated, too late and the skins have opened up, exposing the cloves.
The trick to knowing the right time to harvest them is all in the leaves. Here are some tips to help you know exactly when to harvest yours, and what to do with them afterwards for your most successful and amazing garlic harvest yet.
The weather will play a big part in your garlic harvest. Hot, sunny weather will have your garlic ready earlier. Rainy, grey days, cooler temps, will slow down harvest by several weeks.

Garlic is planted planted in the fall and harvested in summer. It takes eight to ten months to mature, depending on where you live. Here on the prairies, it is planted in September or October.
In warmer climates, it can be planted as late as December. I usually planted around Hallowe’en when I was in a zone 7.
For how to plant garlic, how to get large bulbs, see that post here.

Step One – Scapes Arrive (harvest time is not far off now)
Scapes are the curly bits that emerge from the center of the garlic stalks. If you were to leave them, they will make flowers at the top (where you see that rounded bit in the stem) that then turn into bulbils (baby garlic seeds).
You can harvest these bulbils and grow them on to garlic, will take about 3 years for them to size up to a good size bulb.

You want to remove the scapes so the energy is directed into growing larger bulbs, rather than making seeds.
Scapes are edible and very tasty. You can find them sold at farmer’s markets and specialty market shops in late spring. They are a bit like green beans, in that they are crunchy, but taste very much like garlic. Add to stir fry’s, bbq’s, potato dishes… anywhere that you would add onions or garlic, you can add scapes.
Harvest while the scapes are young and just have one curl to get them in their prime, while they are soft and tender.

Step Two – Keep An Eye On Those Bottom Leaves (harvest time is nigh)
When you see that the bottom 2 or 3 leaves have dried and yellowed, it is time to stop watering. If you water, the bulbs will be too wet and bloated to cure well, so will not last in storage.

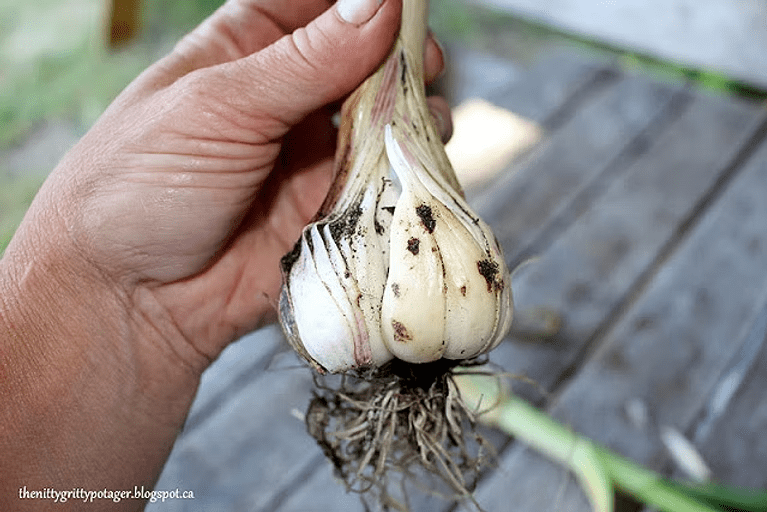
The garlic is ready to harvest when half of the leaves have yellowed and shriveled from the bottom up. The bottom half will be bare of leaves, just 4 or 5 green leaves remain at the top of the stalk.

Each leaf is a layer of skin (protection) on your bulb. Ideally, you want to leave about 3 or 4 leaves so that you have enough skins on your garlic for it to cure well and last in storage for many months.
If you were to leave the garlic in the ground too long, the skins will split open up, allowing soil and bacteria to enter the bulb. While these cloves can be cleaned up and used in the kitchen, they will not cure for storage. With the soil inside the bulb, bacteria will enter the bulb and eventually it will start to go moldy.
These cloves are yummy, very usable and edible, but will not cure.

Step Three – It Is Time To Lift (aka Harvest) Your Garlic
Harvest time will vary, depending on where you live. On the west coast, garlic harvest is generally in July. Here on the prairies, where the garlic does not emerge from the ground till April or May, harvest is usually in September. The leaves will hold the answer for you.
Gently loosen the soil with a garden fork or a small spade. Place the fork in the ground a few inches away from the stem and push back on the handle to loosen the bulb’s roots from the soil. Lift the bulb out of the ground.
If you get resistance, put the fork in a little bit deeper and try loosening the roots again. The bulb should easily lift out of the ground.

If your soil is nice and dry, the bulbs will come up with little soil on them to clean off. Try not to harvest shortly after a big rainfall, give them a few days to dry off.
I used to leave the roots on while they cured, but found they got too tough and stringy for my arthritic hands to easily remove. They are not needed for the bulbs to cure properly.

You do not want to stab or nick the bulbs, or they will not cure.
That nick will allow soil, and thus bacteria, to enter the bulb. If you find a damaged bulb, take that to the kitchen, clean it up, use within the month.

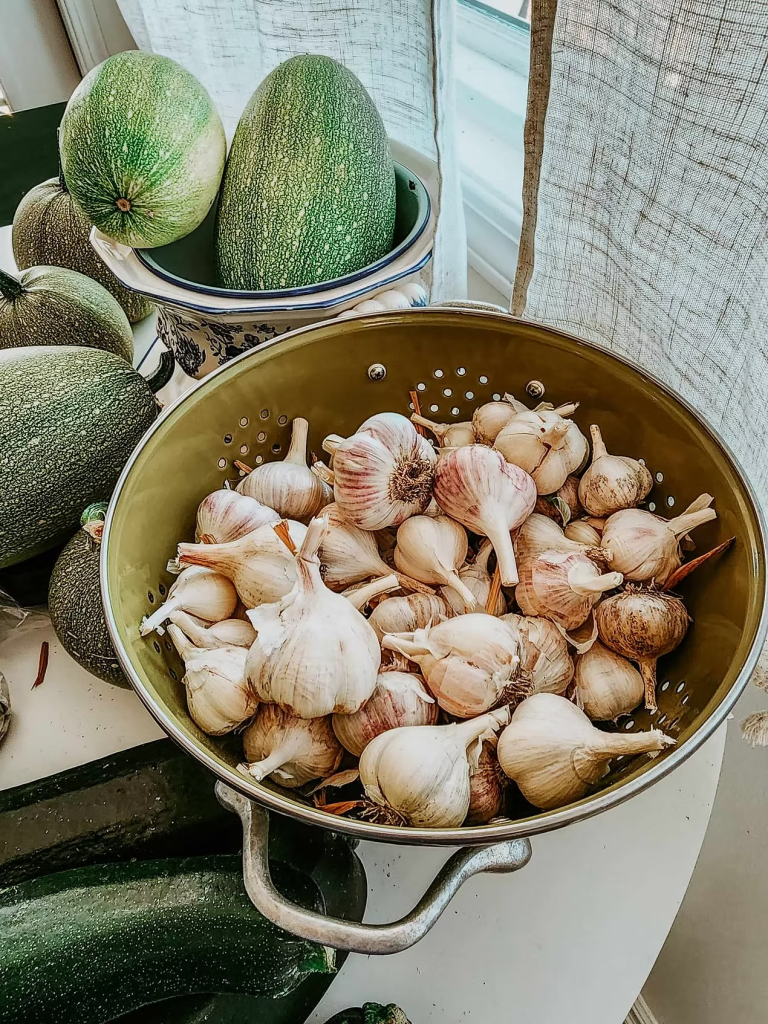
Step Four – Clean Your Garlic
Brush the soil off of the roots and then cut them short. Doing this while the roots are still fresh is much easier than after they dry. Save your hands, take them off now. They are not required in order for the bulbs to cure properly.
Pull off one skin of the garlic, this will clean up the garlic so that no soil remains on the bulbs. Your bulbs will cure faster, with no worries about getting blue/grey mould.
If you live in a very humid summer area, this step is very important. In drier areas, many will brush off the soil and lay them out to cure, but I find that you are more apt to lose some to mould this way.
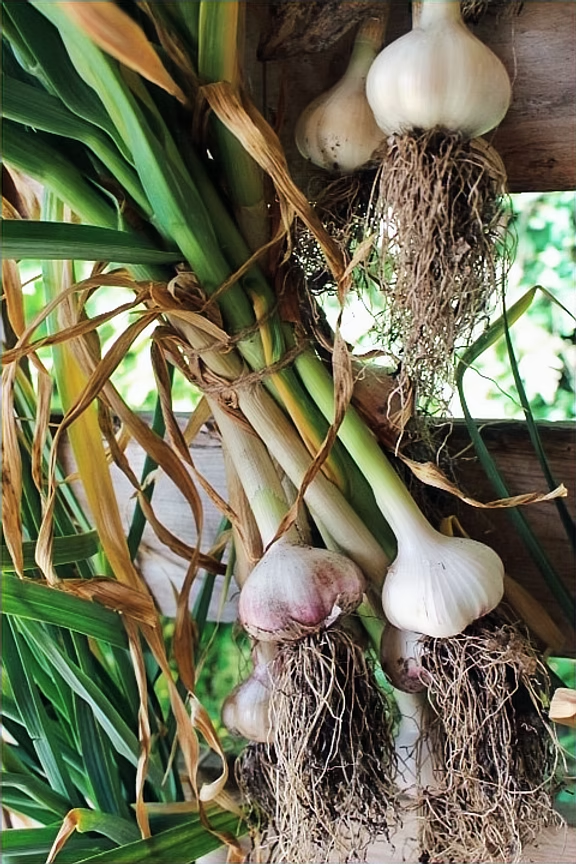
Leave the stalks on. They are important for the curing process.
Do not freak out if your Russian Red or purple striped bulbs are all white after you remove that layer of skin, the stripes come back very quickly. The first time I did this, I totally freaked out, hahaha, but not to worry, all is well.


Step 5 – Set Your Garlic Harvest Out To Cure
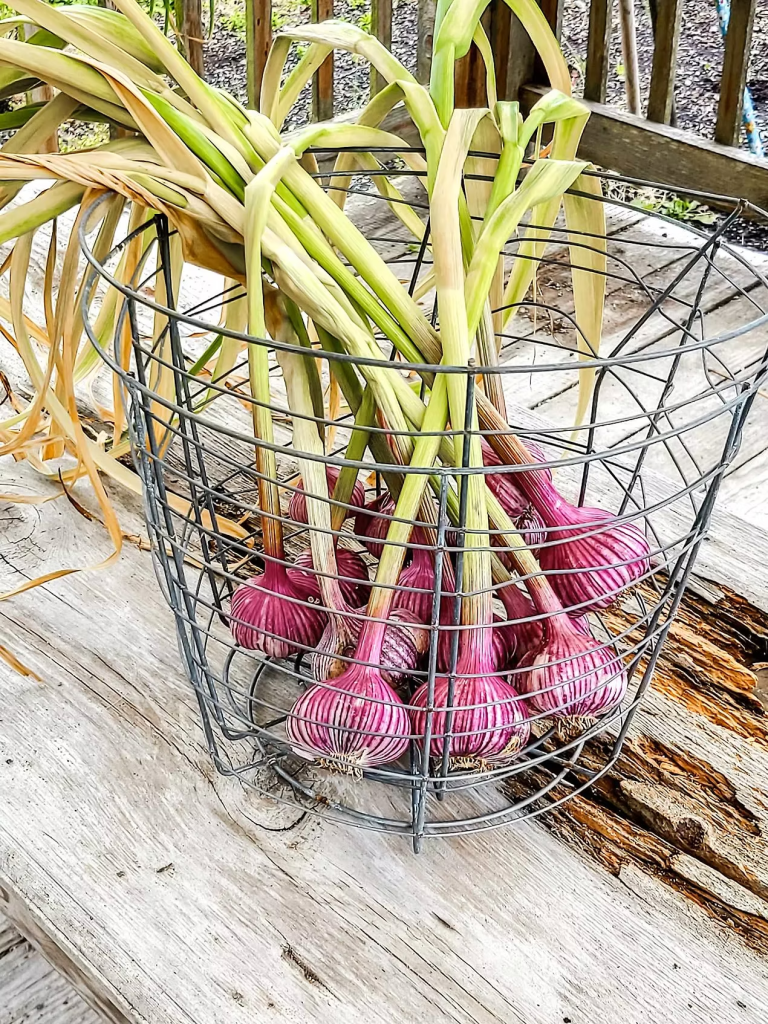
You can hang garlic up to cure / place it standing up in a wire mesh basket / lay it out on a wooden table / place in curing trays (use your compost sifting screen, maybe?).
I have done all of these things over the years and all work really well.

To cure the garlic so that it lasts entire winter, you need…
An airy space in the shade – You do not want to hang your garlic in sunshine or it may cook (will not cure), so under the eaves is good, in a garage or carport, in a shed, on the north side of your house. Wherever you have a shaded location.
Air Flow – Garlic needs really good air flow around the bulbs for it to cure well. Hang in bunches or lay out individually. If you need to cure yours in an enclosed space, like a garage, you may need to run a fan on them during the rainy days.
Time – Leave your garlic out to cure for a minimum of 3 weeks. I like to leave mine even longer, sometimes as long as 6 to 8 weeks.
The longer it cures, the longer it lasts in storage.

If you wish to braid your garlic, wait a couple of weeks till the stalks start to go dry. They need to have less moisture in them so they do not go mouldy.
If the stalks go completely brown and dry before you get to them, not to worry. Spray them with water a couple of times, let them sit and absorb the moisture for a few minutes. They will become pliable once again, go ahead with your braid.
You can braid hardneck garlic, too. The ones with the stiff stalks that we grow in the colder zones, but your braid will be a bit less attractive, stiffer, and a bit thicker, too.
Once they are fully cured, trim the stalks back to an inch long. This gives you something to hang on to when you crank the bulbs open to get at the cloves.
Place in a dry, cool room to store. Not cold and not damp. This leaves out places like the cold room, the garage or shed, usually. Furnace rooms are a popular place, but usually a pantry is just fine, too. Leave it in an open container so no moisture builds up.
To be honest, mine have been in a bowl on the kitchen counter since Christmas and are still doing fine in June.
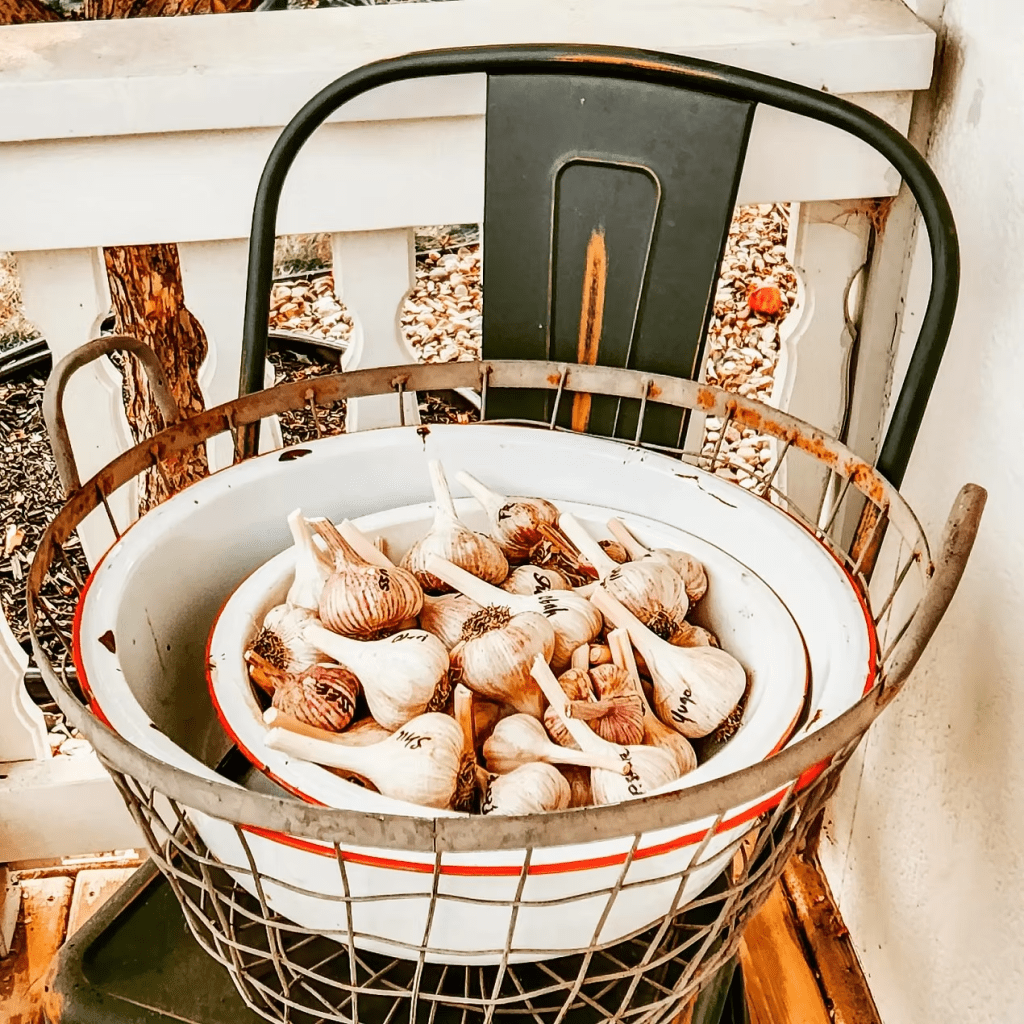
Don’t forget to save the biggest cloves for planting! If you grew several varieties, label them with a sharpie for identification purposes.
See here for how and when to plant garlic.


Leave a comment