
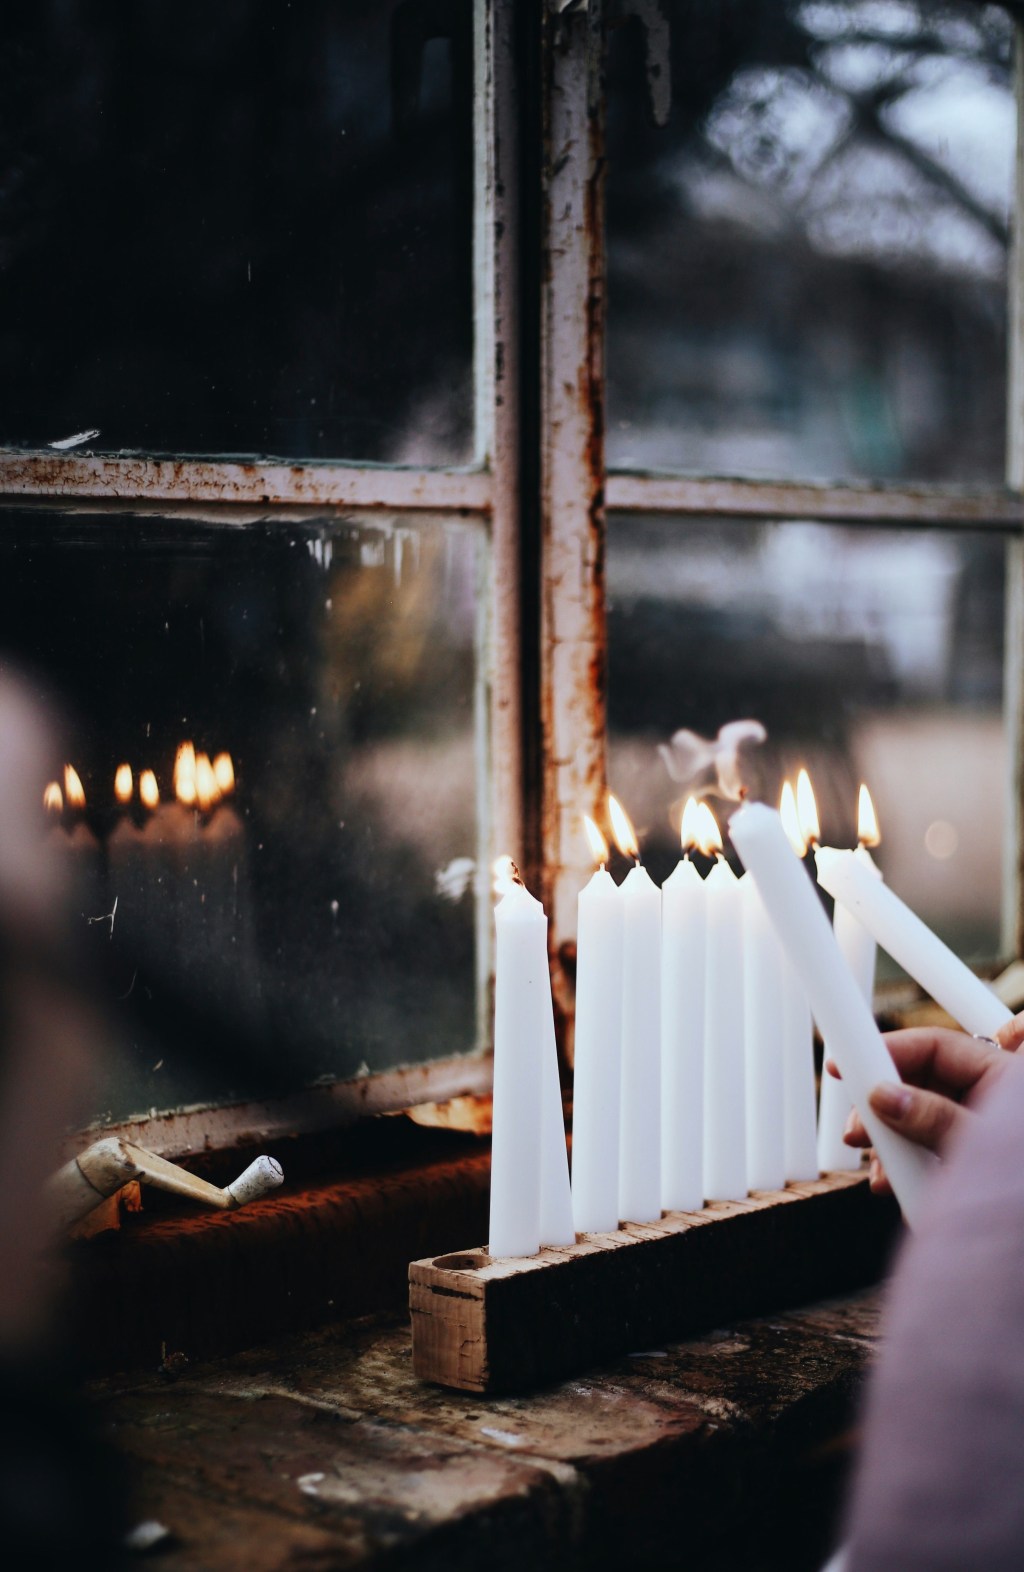
The holiday season is the perfect time to embrace your creativity and make something special for the home, for your friends and family members. Give your gifts a personal touch.
These simple handmade card and gift tag ideas are just the thing.
I went to a Christmas card making workshop, last year. We made three cards in that 2 hour period and I was totally hooked on diy-ing my own cards and tags.
Super simple gift tag and card ideas that you can make and be proud to share.

My daughter came over for a sleepover a few weeks ago, for a wine and card making night. She is an actual artist, while I am a beginner that loves to craft and do new things.
Supplies reguired for making watercolour painted tags and cards…
- Stiff kraft computer paper (optional- used to make idea #1)
- Watercolour paper pad
- Winsor & Newton watercolour half pan field set (recommended by my daughter)
- 4 Winsor & Newton paint brushes
- Silver and gold metallic markers
- Metallic watercolour paints (optional)
- Micro fine line markers
Check out my Amazon Shop for some other links to similar products for more options.

Card Idea #1
These are the cards I made last year at the workshop. Here are the tricks I learned to make these Christmas bauble cards, my first ever painted cards.
- Fold stiff cardstock paper in half to make the card. Cards are usually 5×7 or 4×6.
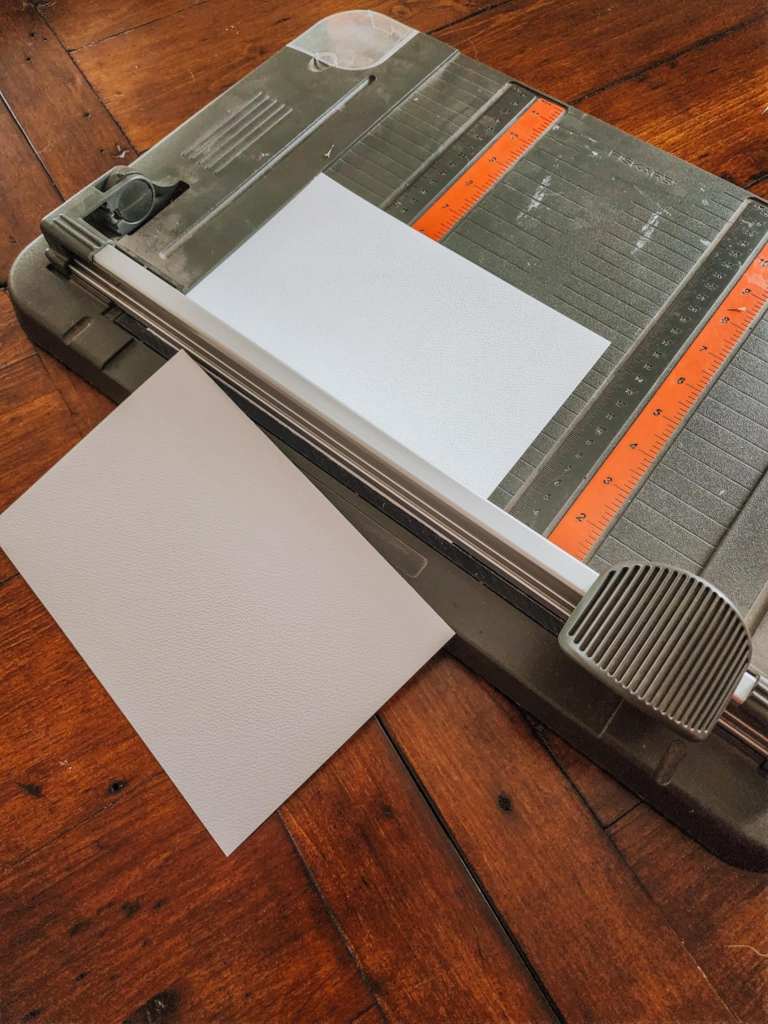
- Take a sheet of watercolour paper, cut it just a little bit smaller than your cardstock.
- Tear the sides to make texturized edges. Gives it a little bit extra pizzaz.
- Paste the watercolour sheet onto the cardstock with the bumpy side up! Not the smooth side! I love glue sticks or a double sided tape roller, but white glue works, too, and is more forgiving (easier to move the paper around after applying). Use sparingly! Just around the edges, and maybe a wee bit in the middle.
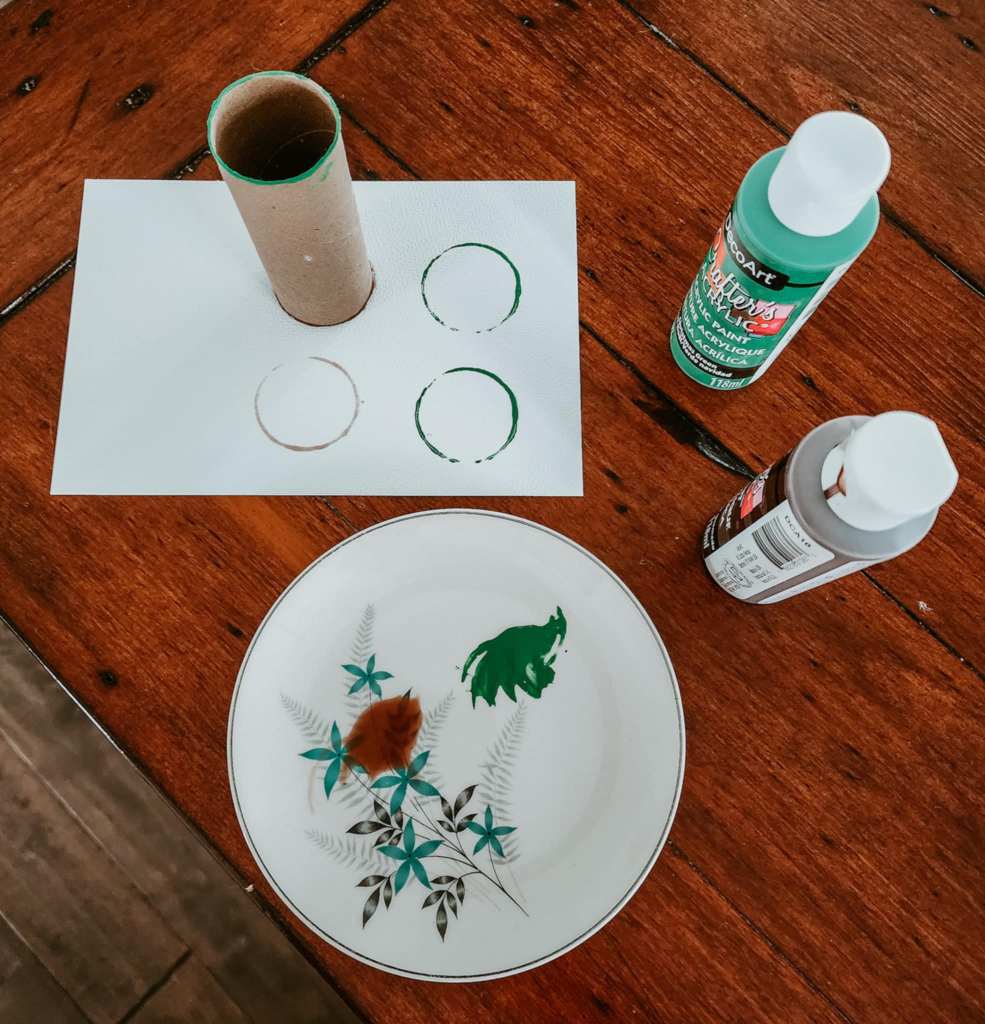
- Take an empty toilet paper/paper towel roll, dab it in acrylic paint to make a circle(s) on your paper. You can use your watercolour paints for this, but acrylics are cheaper and create a small edge that keeps the paint inside the bauble.
- Metallic paint is lovely for the holidays, silver and gold were used for these cards above. Alternately, use the colour of your bauble or artwork.
- Squish the tube a little bit to make oblong ornaments.
- Use the plastic lid of a small peanut butter jar, or the rim of a glass, to make a larger circle for the wreath.


You need a scrap piece of paper, or a little booklet to test your colours. For playing around with different shades before you put them on your card.
You will often see them as little boxes in neat little rows, but this is my crazy test sheet.
Regardless of how you make your test patches, play around with mixing colours for different shades and hues, and to add depth and shadows to your painting.
Make your colours paler by adding more water to your brush, dab off excess water with paper towel.
Your test strip/scrap paper will help you get the shades how you like them, and get more comfortable with both the process and your brushes.
Test your splattering, too!
- Use a scrap piece of watercolour paper to play around with mixing colours, adding more or less water, for getting more comfortable with the process.
- Paint your baubles, don’t forget to leave a little white spot to give it depth. Like where the light would hit it.
- Add a bit of a deeper or lighter shade here and there on the bauble to make it look like the light is hitting it. I like adding a bit of metallic paint for this when making holiday cards. Makes them more festive if you add a bit of bling.
- Use the end of your paint brush to make the red berries on your wreath.
- *This is the most important tip to help make your art look amazing. Use a gold or silver metallic marker or pen to make the string and cap of the bauble. A little bow at the top just makes it! Use a black micro marker to make the lines in the caps.
- Put your pointer finger out as if pointing, hold it over the card, hit the brush (loaded with paint) on your finger. You can also run your fingers through an old toothbrush. The paint brush gives you bigger splotches while the toothbrush splatter is very fine.
- If you do not want the splatter on your baubles or wreath, cover with a sheet of scrap paper.

Card Idea #2
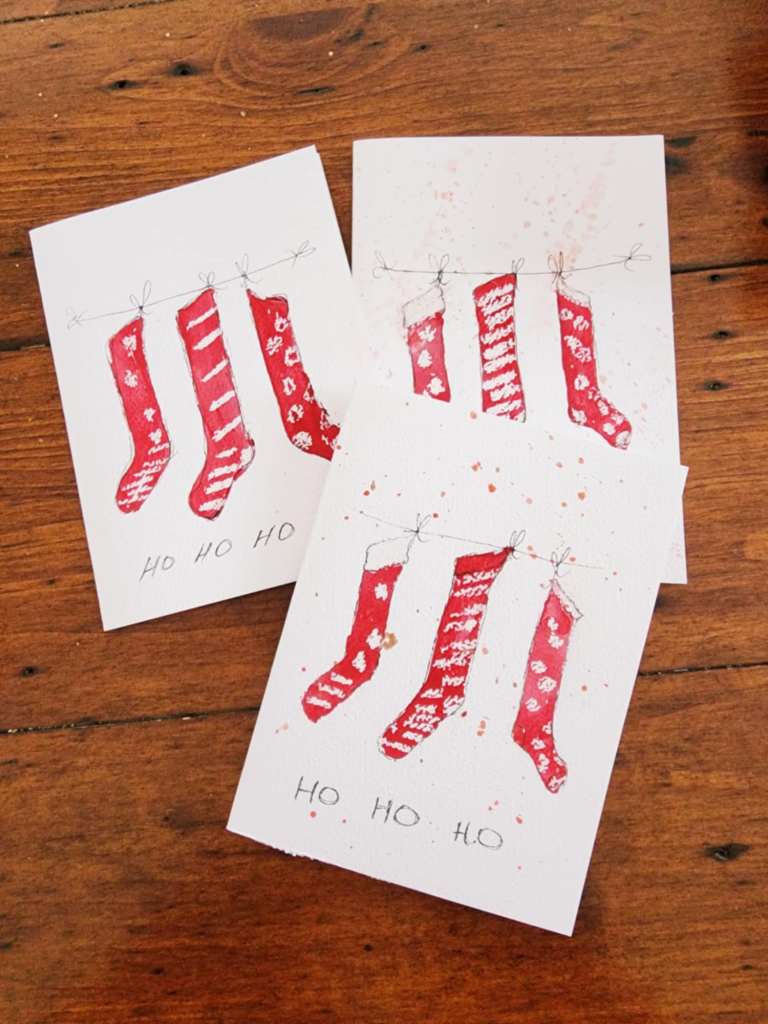
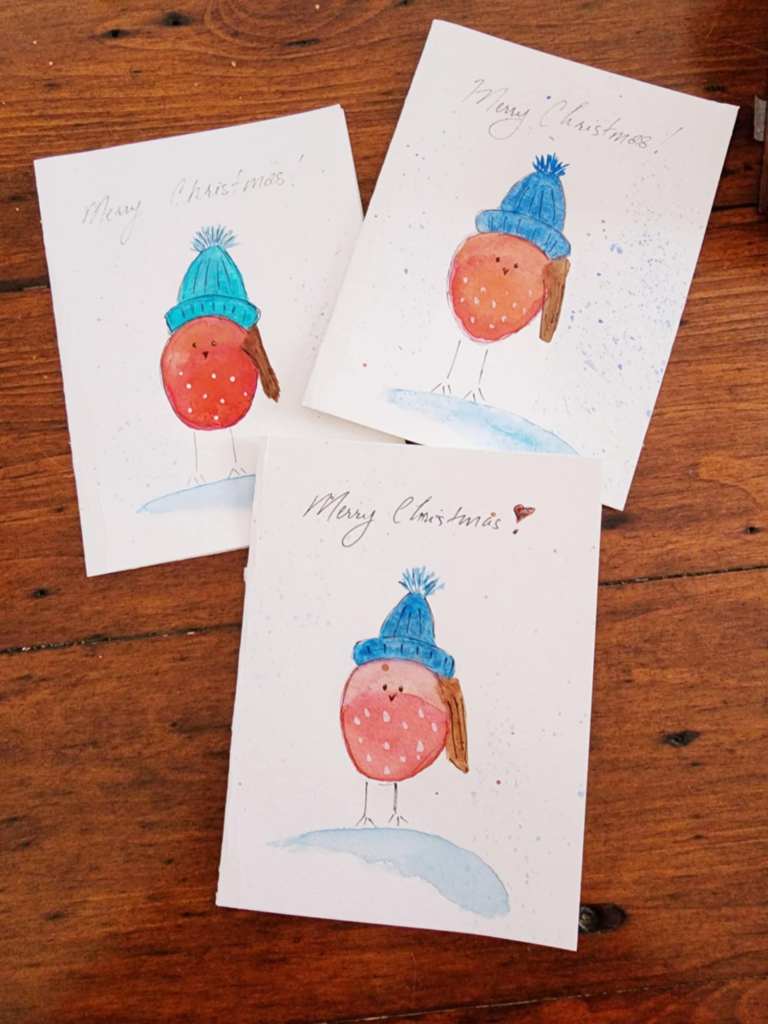
#2 – This year, I made stockings, packages, and birds. Mostly birds, hahaha, though these packages ended up being my favourites. I may make more of them. So simple, and yet festive.
I am a newbie that loves to make my own things, but I need someone to come up with the design for me. I can do by following, but come up blank when it comes to creating my own design ideas. This year’s cards and tags are from mamapandapainter and acuarelas_cecy_catalan. Check them out, give them a follow. They are amazing! Once you see theirs, you will see how very basic mine look, hahaha, but I am so proud and happy anyways.
If you do not do Instagram, look on line for ideas, or you tube videos. There are many out there. Here is one that I found on-line that I think has cute card ideas.
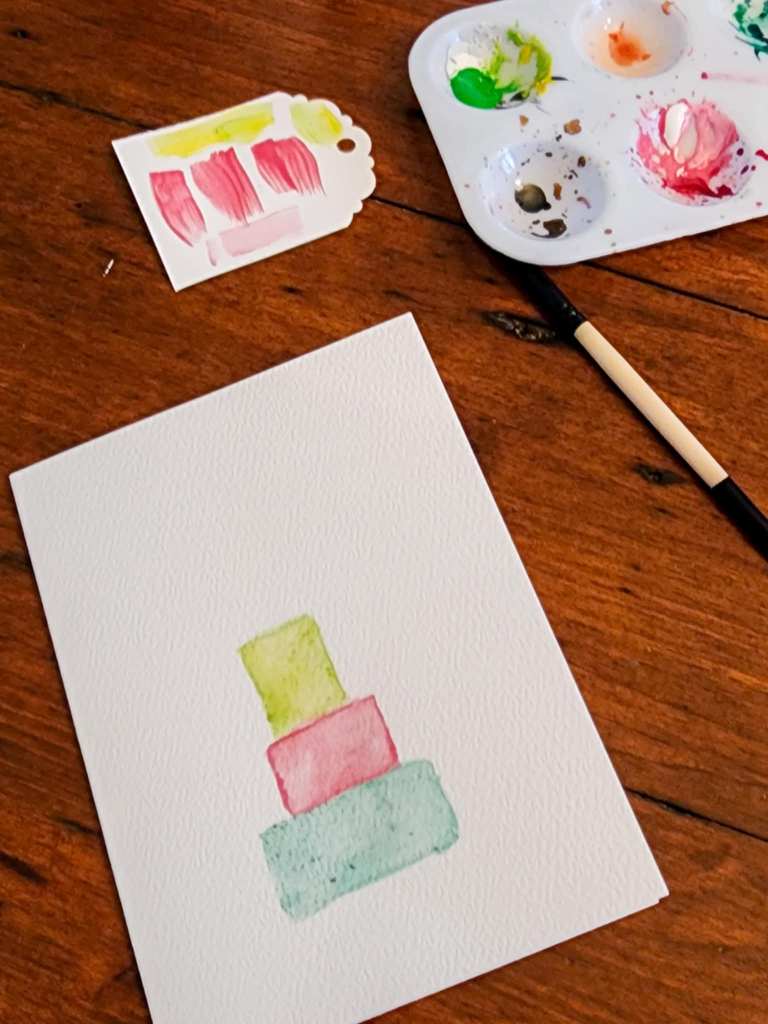


- Paint 3 stacked boxes.
- Use the end of your flat paintbrush to make lines in the box to make it look like patterned paper, and also to make the ribbons. I used metallic paints to make the ribbons and bows, but you can also use a marker or paint pen. Add a wee touch of gold bling to the lines you made in the gift paper, too.
- Make a couple of bows with either the marker or a brush. Basically, it is just 4 short, fat lines of paint. Mine are definitely not fantastic, but don’t worry, the black micro marker fixes everything!
- Paint a red or green tree skirt… or any colour you like.
- Use your fine black marker to go around the boxes, around the bows to make them look like bows, and around the top of the tree skirt. Do not try to be perfect. In fact, the less perfect the lines are, the better it will look!
*As an Amazon affiliate, if you buy an item(s) from one of the links, I get a small commission to support my blog. It does not cost you any more to purchase through my link than if you went to the link on your own : )


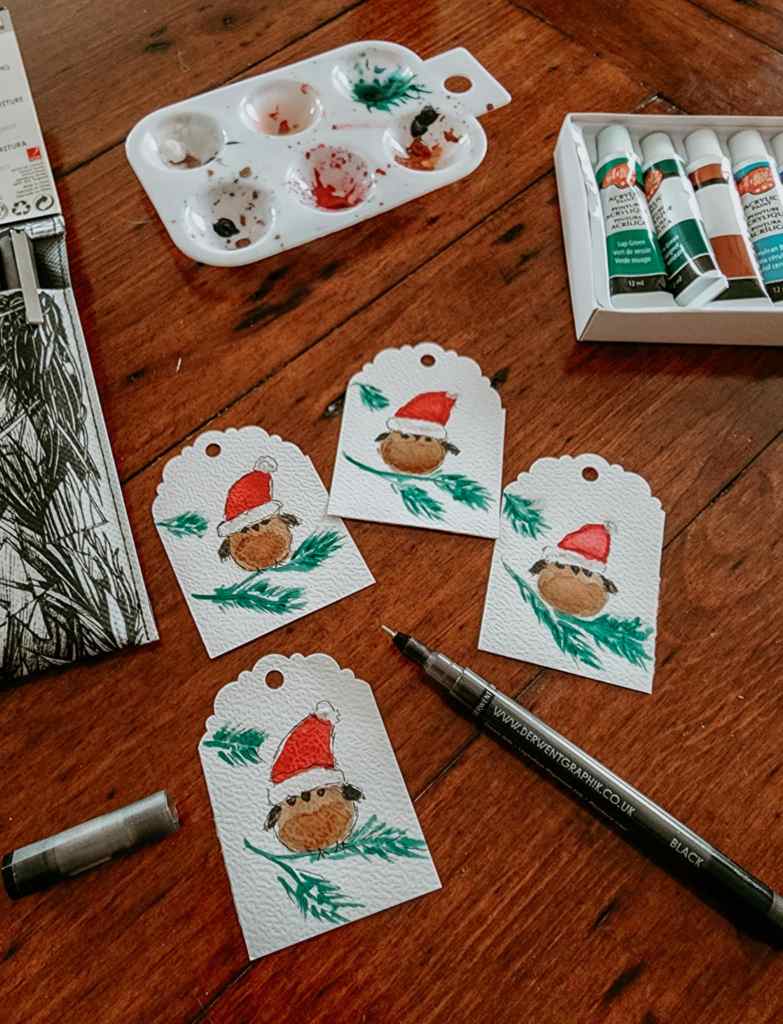
Card Idea #3 or Tag Idea #1
I also made these cute gift tags with little birdies on them. Use premade tags, or use a tag punch to make your own tags. I like the punch as I can make the tags as wide or narrow as I want them to be. Mine is from Stamping Up, but this one is similar.

A Few More Ideas
As you can see, each card is a bit different, bit unique, with different shades. That is the beauty of this. No card or tag will ever be exactly the same.
If you feel the colour is too deep, add a bit of water to water it down. Use the brush to remove some of the paint, or blot it carefully with paper towel. Wetting your brush will take out any hard lines and blend things together.
If you are not sure, think it is too bold, too pale, too something, put it aside to dry for a while and then have another look at it. I really did not like that very vivid funny little bird at first, but I put it aside overnight, went back to it in the morning, and thought it looked just fine.
I find the splattering the hardest bit of all, which is probably odd. I am afraid of ruining the picture at the very end. Practice on scrap paper first. Try a few different methods to see what works for you. My daughter, an actual painter, uses an old toothbrush. I do the finger method, smacking the brush on my finger. Here is a video with a few different kinds of splatters.
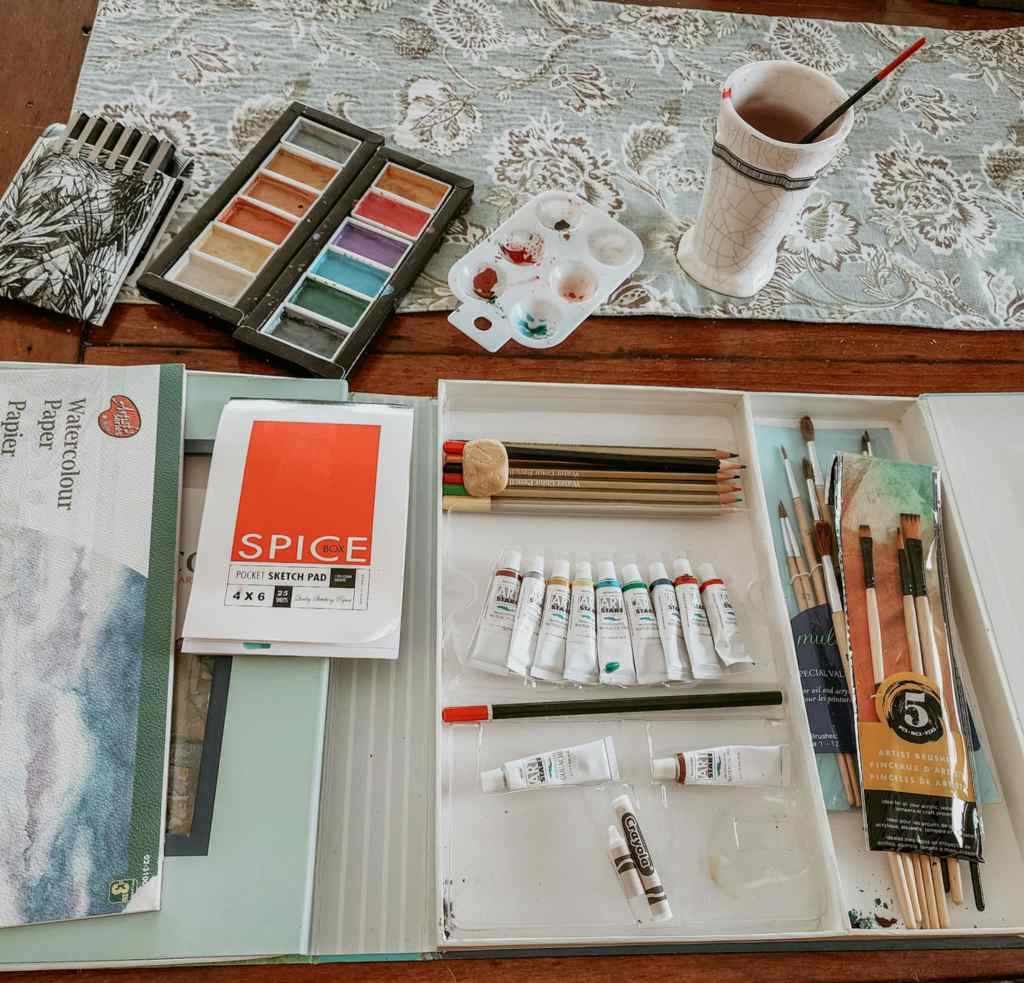
These are most of my card painting supplies. I have a few more paints that you cannot see here, plus a gold marker/paint pen, and the acrylic paints, of course. Everything is from the dollar store, our local craft store, Homesense, and Amazon. I am sure you can get kits at Michael’s, too, for a beginner.
As Jamie Oliver always says… it’s just that easy.
If I can do this, you can do this! I promise! It just takes some trial and practice. Use your scrap papers. Get together with a friend, a glass of wine, or a cup of tea, and try a few different things. It is so much fun with a friend. If you are hesitant, play around with it at home alone first, till you feel more confident. If you live in the area, come hang out with me and we will play together : )


Leave a reply to Sunday Potager Ramblings #59 – The Marigold Potager – A Zone 3 Prairie Garden Cancel reply