
Updated October 2025.
If you are fairly new to growing garlic, or maybe a seasoned grower looking for some tips on how to get bigger bulbs at harvest, these 5 easy steps will make it super simple to get amazing results each year.
Luckily, garlic is one of the very easiest crops you will ever grow, plus is super satisfying and fun to harvest your very own, homegrown, yummy bulbs. Garlic needs very little care after planting, almost takes care of itself, and is not prone to pests.
In fact, garlic is actually pest repelling, so can be planted amongst other vegetables, roses, or perennials to prevent aphids, mites, and other garden insects. It is also not attractive to deer, rodents, or bunnies as it is so smelly.

Kinds – To source out great, organic garlic to plant, start with local growers and farmer’s markets. Some garden centers and supply stores, depending on where you live, sell bulk garlic as well as pre packaged types.
If you are in a zone 5, or better, you can grow Softneck garlic. These are the ones that you often see in braids hanging in restaurants, kitchens, or markets, and are also the bulbs you buy at the grocery stores. Softnecks have smaller cloves than hardnecks, but twice as many of them. They mature earlier (are harvested a month or more before the hardnecks), and last 9 to 12 months in storage.
In the colder zones, like my zone 3 prairie garden, we grow what is called Hardneck garlic. It has a stiff flower stalk that grows in the middle, called a scape, which starts growing about 4 weeks before harvest.
Hardnecks are hardier, have more varieties available for us to grow, and have a sharper, deeper ( I daresay, better) flavour. Their average storage time is 8 to 9 months, though may keep longer.

How Much To Grow- depends on two things. How much space you have, and how much garlic you use.
I like to grow between 80 and 100 bulbs per year. That gives me enough to use in cooking, to share with family, friends, and neighbours, plus have enough to plant again in fall. (Though I will often buy an extra 3 to 5 bulbs to add variety to my stash). Others say to grow 15 bulbs per person.
In a regular 4′ by 8′ bed, you can fit in 80 to 100 cloves, depending on your spacing (more on spacing further down the page). Don’ be afraid to order more than will fit in your designated garlic bed as extra cloves can be grown between flowers/plants, or use them for cooking.
- Softneck garlic (silverskin or artichoke) – has 10 to 20 cloves per bulb, so you will need 1 to 2lbs/5 to 10 bulbs to fill your 4×8 bed.
- Hardneck/Porcelain garlic (Music, French, Leningrad, Yugoslavian, Northern Quebec) will have on average 4 to 7 cloves per bulb, so you will need 2 to 3lbs or 20 to 25 bulbs.
- Hardneck/Marbled Purple Stripe or Rocombole (Red Russian, German Red, Ukrainian, etc) will have an average of 5 to 7 cloves per bulb so you will need 2lbs/20 bulbs.

Step One: Determining your best planting time.
Garlic is very hardy and has a fairly large planting window, though should be tucked safely in the ground 3 to 6 weeks before your ground freezes solid.
Planting is done anytime between mid-September and mid-November in the PNW, though I have planted as late as December and noticed no difference in the harvest. Here on the prairies, the planting window is shorter. Early October seems to be the preferred time, but anytime late September to late October works just fine.
Late September to end October seems to be the most common planting time that works across most all the Canadian provinces and the northern States.
If you are in zones 0 to 2, you will want to plant mid August to mid September.
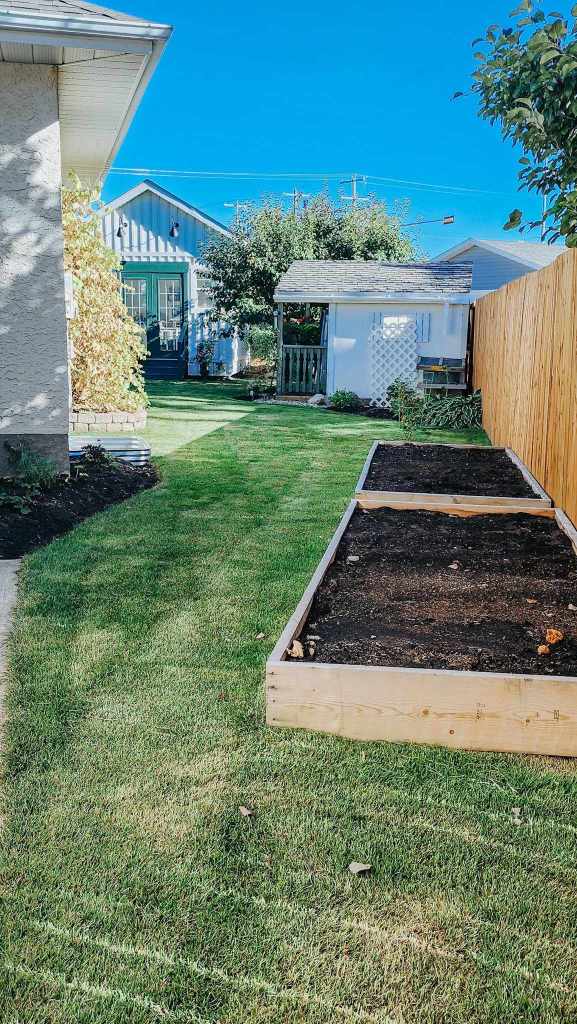
Step 2 – Bed Preparation.
Garlic needs rich, well draining soil to grow large and thrive. If you are building a new bed, buy good quality garden soil that is rich in compost.
If you have an existing bed, top dress with 2 to 3 inches of compost or well composted manure to feed the soil. Compost/manure is the perfect amendment for soils that tend to be heavy in clay, or sandy and porous.
You will need your bed to be a full sun location, with a minimum of 8 hours of sunlight per day.

Step 3 – Prepping The Cloves
Break open your garlic bulbs and separate the cloves. Do not crack them open more than 24 hours ahead of time to prevent them from drying out. Use only the biggest, plumpest cloves for planting, leave small ones for cooking. Try to keep the papery skins on to prevent pathogens from entering.

Step 4 – Planting The Cloves
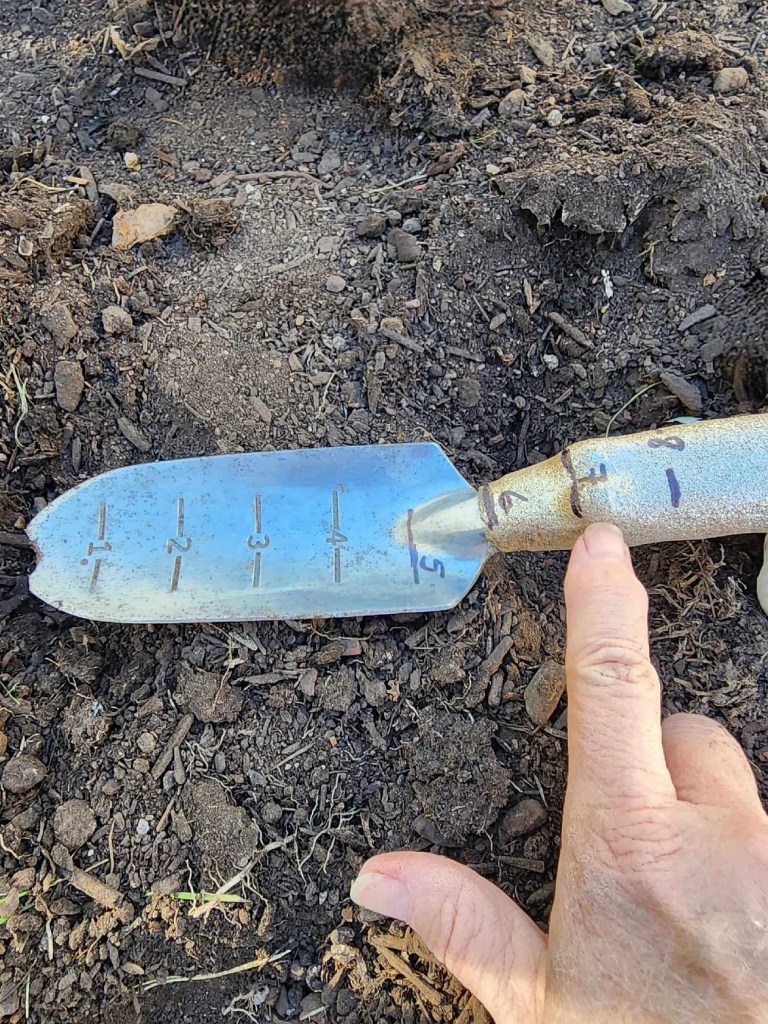
The depth of the clove makes all the difference to your success. In warmer climates, mild winter zones, you want to go 2 inches down. Simply push the garlic clove into the ground, pointy end up, so that the point is one inch below the soil’s surface level.

In cold zones, you want your clove 4 inches deep, with the tip just 3 inches from the soil’s surface.
*note – winter growing in raised beds can be problematic in central Alberta because we get Chinooks (warm spells) that can thaw out the soil in the beds, and then they refreeze when temps go down again, which can turns roots and bulbs to mush.
To avoid worrying about this freeze and thaw, if you wish to use a raised bed, make sure your raised bed is open to the ground so that it remains frozen along with the ground. Avoid planting very close to the sideboards as they warm up faster in the sunshine. Also, do not plant in tall raised beds, keep them low to the ground.
This is not a problem in the warmer gardening zones, free to plant in any kind of raised bed without worry.
You can plant the cloves anywhere from 4 to 8 inches apart. The closer together they are together, the smaller the bulbs will tend to be.
The recommended spacing for growing large garlic bulbs is 6 to 8 inches apart, though some will do as much as 9″. Garlic Farmer Guy uses 7″ spacing, so that is how I usually roll, as well. I figure if it is good for the professionals, it is good for a home gardener.
I am finding that I am using more of a 6 inch spacing between each clove and each row, in order to fit in my 80 to 100 cloves in the garlic bed.

Plant in staggered rows, with 6 or 7 inches between each clove all the way around.
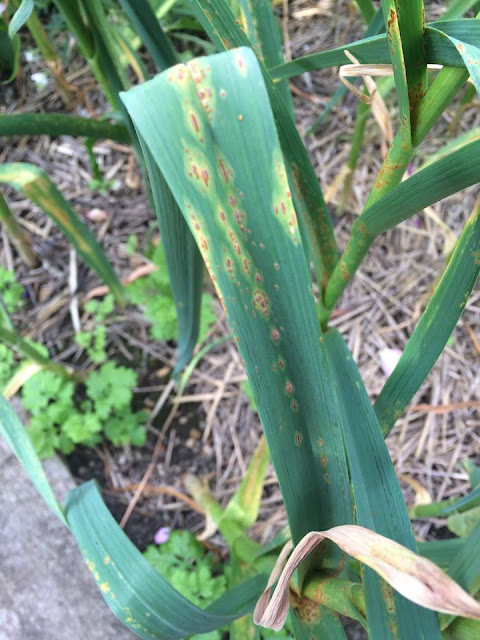
In rainy spring areas, like the west coast, give them as much space as you can for good air flow. If they are close together during a very humid or wet spring, do not have great air flow, they are prone to rust. Rust is a fungal disease that streaks the leaves orange and stalls out the growth of the bulbs. If only a few leaves have rust, they can be cut off to prevent spreading. If many leaves show signs of damage, is best to lift and harvest as the rust will cause the bulbs to stop growing. Do not compost the leaves.
Do not plant garlic cloves that are soft, blemished, missing their skins, or growing fuzz.
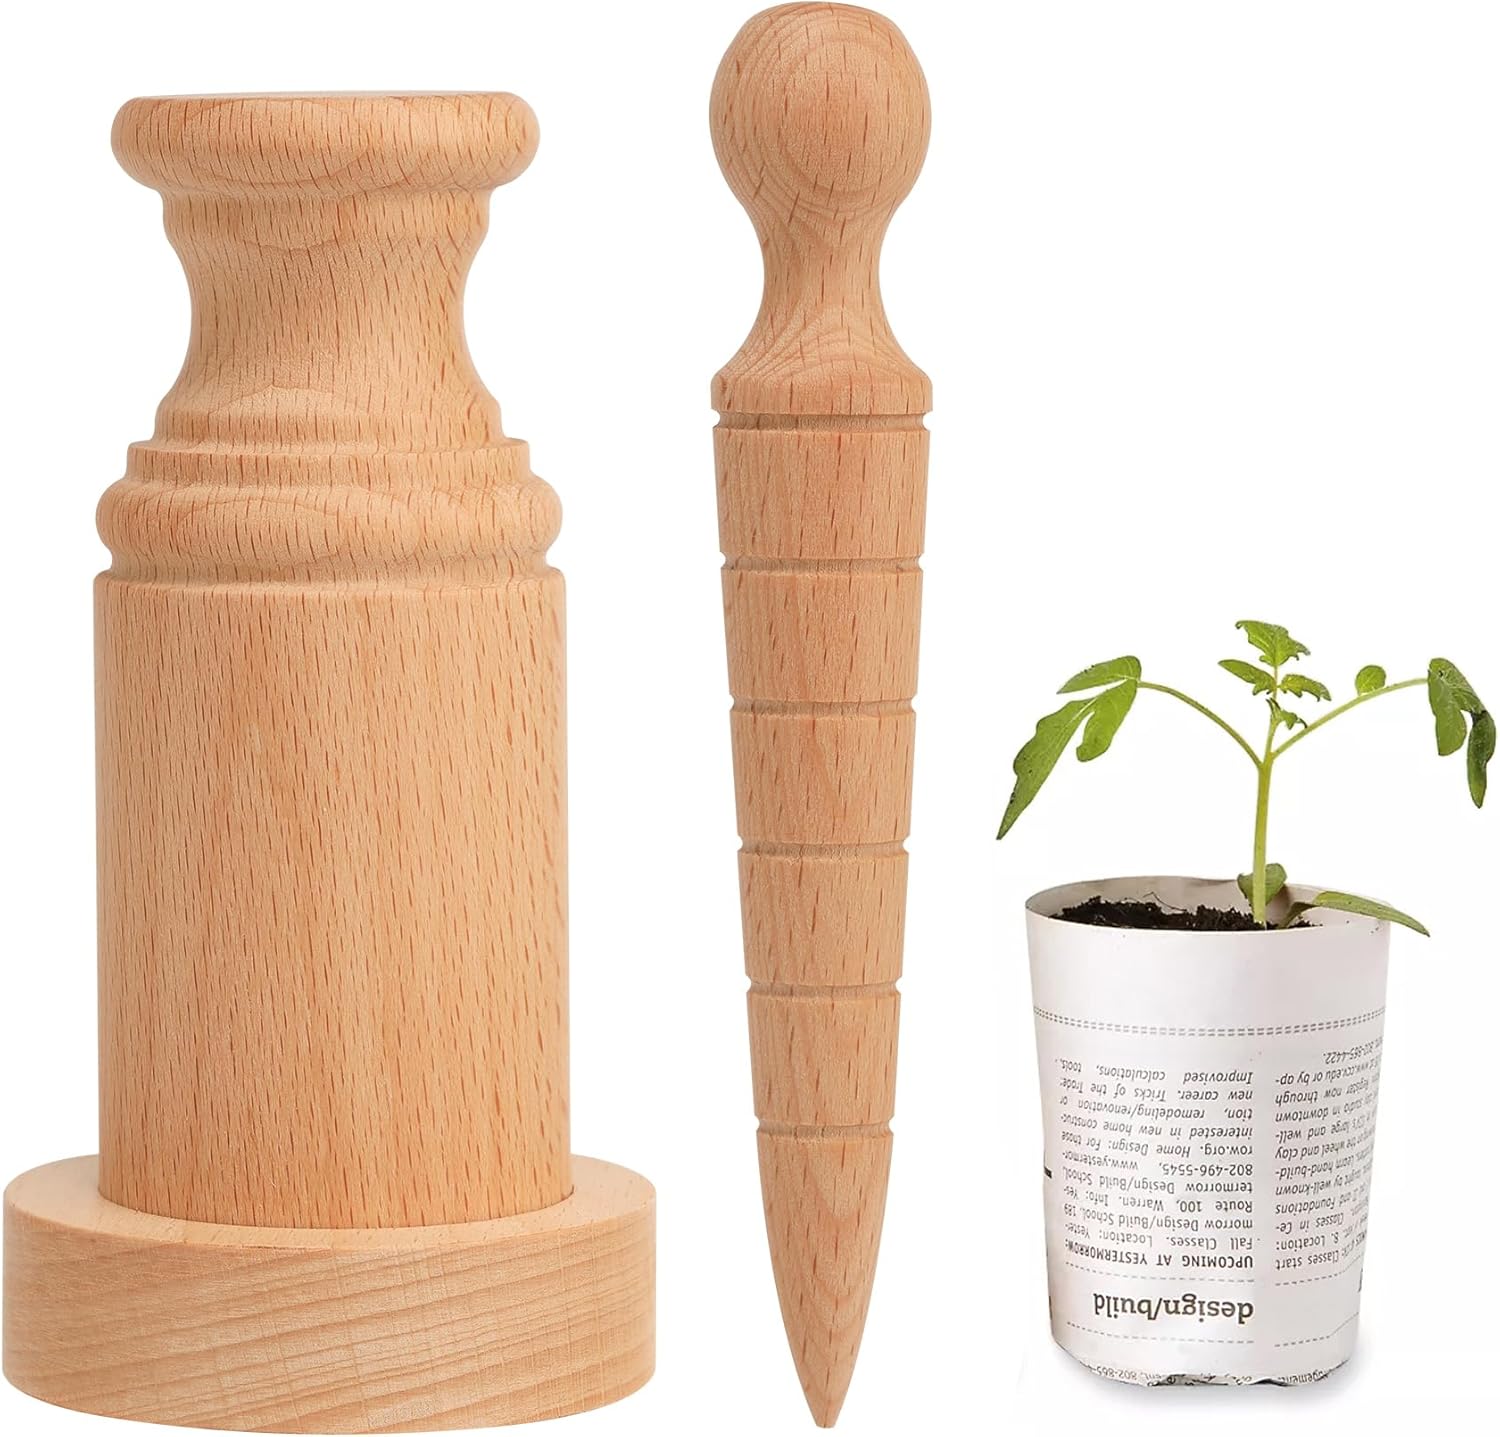


Wooden dibber and pot maker. / Hand Dibber with scale / 3″ wide bulb auger
DISCLAIMER – On this blog, I may sometimes use affiliate links, which means a small commission is earned if you make a purchase via the link. The price you pay will be the same whether you use the affiliate link or go directly to the item without using a link. Thank you for your support.
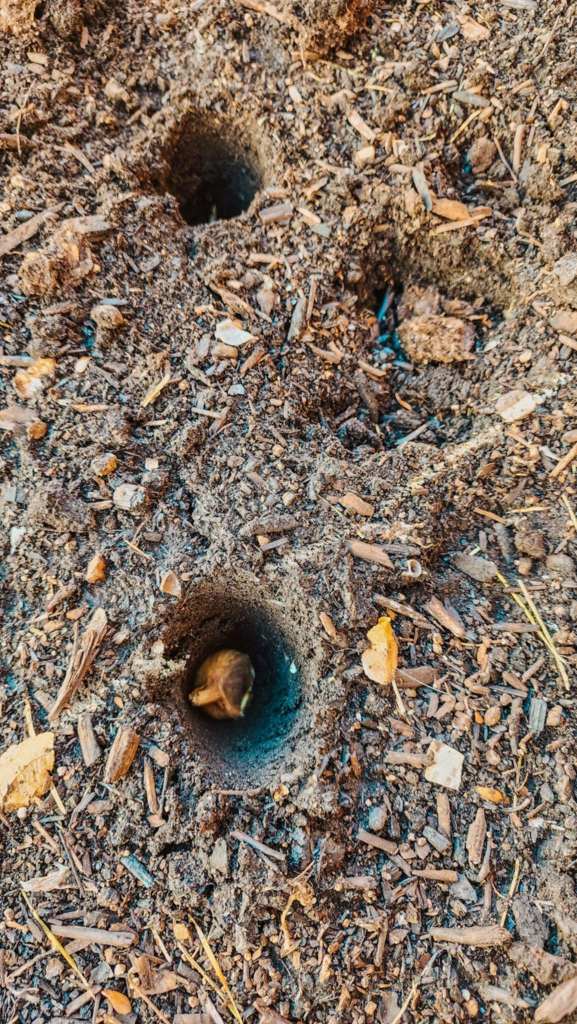
You want soft, friable soil for your garlic to root into nicely. Use a dibber, scoop, small shovel, or auger drill bit to make the planting holes. If your soil is really soft, you may just be able to push the clove to the depth you need it at, without any help.
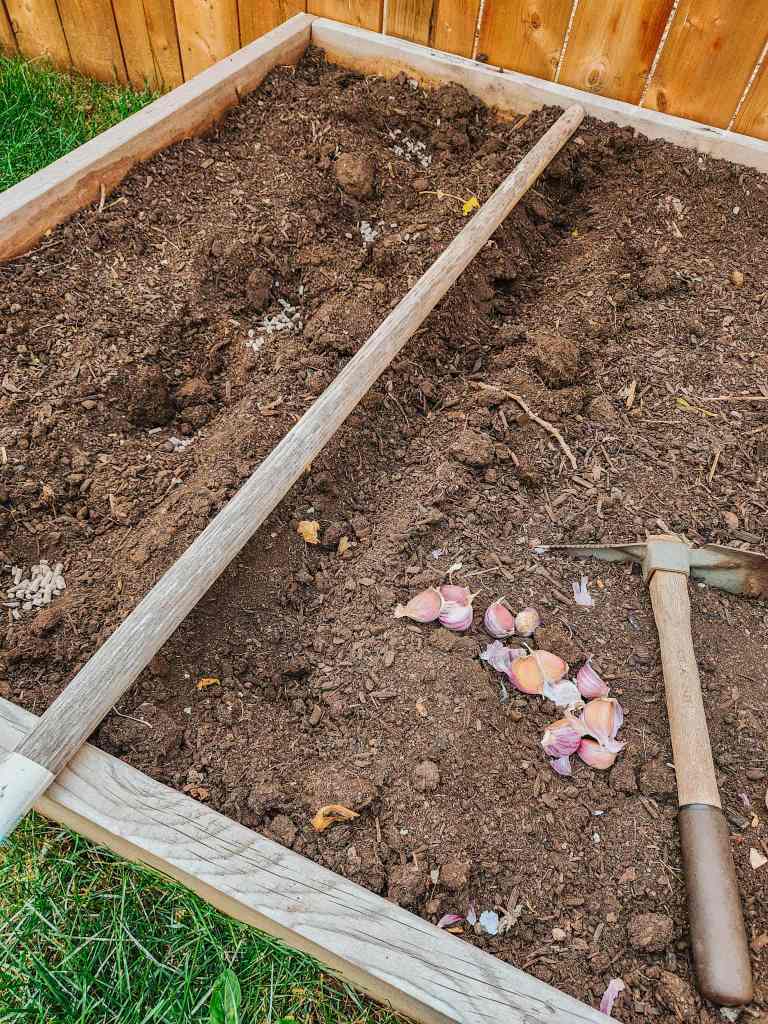
If your soil has become compacted over the summer, you need to loosen up the soil. I used my trusty mattock (I use this tool more often than any others) to loosen the soil in the furrow first, way down deep so the garlic can make good roots. You can also use a shovel or garden fork to loosen the soil.
I then pushed in the cloves so they were 6 inches apart and topped each clove with some hen pellets (compressed chicken manure pellets).

Feeding Your Garlic Cloves..
- Top dress the bed with 1 to 2 inches of compost or manure.
- Feed with the compressed hen pellets, as I have above.
- Some swear by bonemeal for bigger bulbs and good roots, plus a bit of bloodmeal for the nitrogen (aka strong leaves).
*Tip- The main thing to note is to have the fertiliser above your cloves, regardless of which type you choose. This will ensure that the fertiliser feeds the cloves from above (also do this with flower bulbs) as the snows melt and the rains begin. Each time you water, they will get a bit of feed.

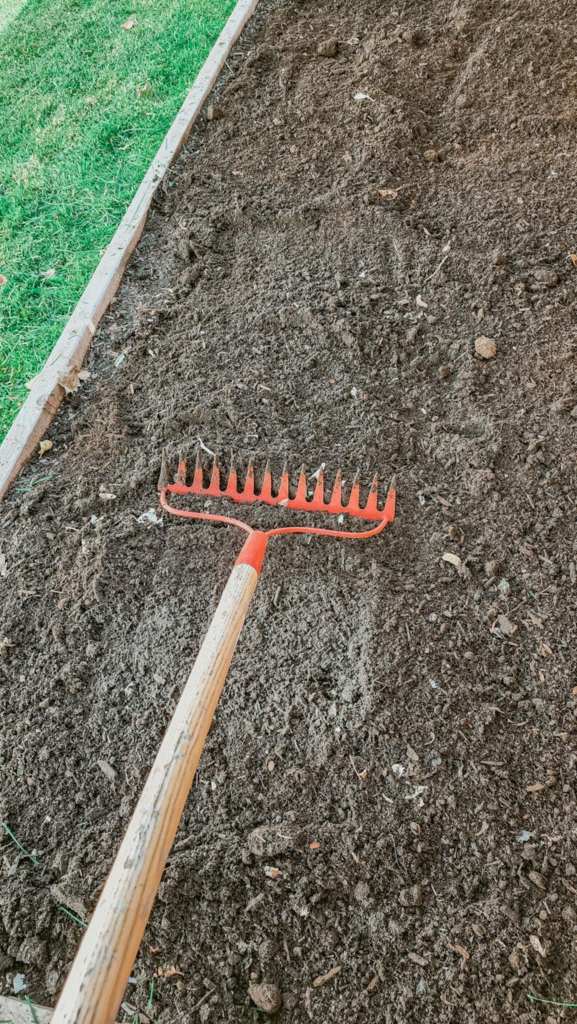
Rake out the bed to fill the holes and smooth it out. That’s it.
Step 5 – Water & Mulch
Water in the garlic to help settle the soil. This is an optional step as the rains or snows will soon come.

COLD ZONES- Mulch with straw or leaves when the weather turns cold but before the garden freezes up and top with snow all winter long to insulate the cloves till spring.
WARMER ZONES- I never mulched on the rainy west coast as the straw provided safe harbour for slugs, pillbugs, and earwigs (all of which may burrow into/eat your cloves), plus they promote rust and fungal diseases in spring.
In warmer zones, your garlic may sprout during the fall or winter, this is fine, not to worry. Alternately, the opposite is true in colder areas… your garlic may not sprout until well into spring. That is also fine. Not to worry. Garlic is pretty hardy!
That is it. Your garlic has been planted, is good to go. You need not worry about it again till spring.

In Spring…
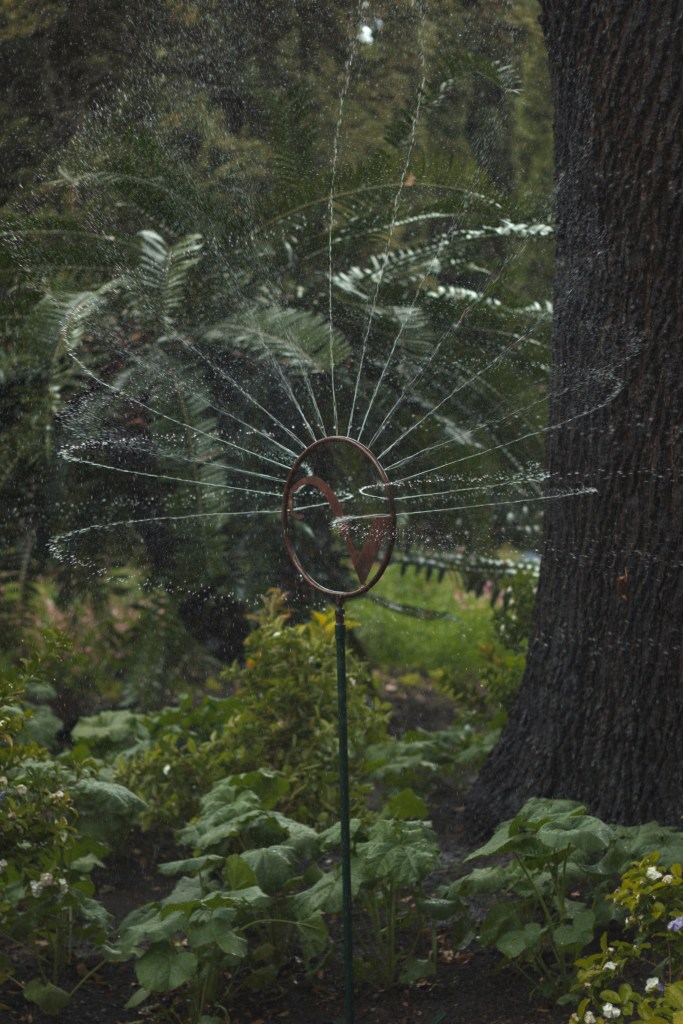
Remove the straw once the snow is gone (April ish). Start watering once every week or two. I like to use weeping hoses. They make life easy. If you have a drip system, they are great, too. Both save on water as it goes where you need it to. Do not water during the last 2 to 4 weeks before you lift the bulbs.
Optional – To feed in spring, sprinkle the top of the soil with blood meal, alfalfa meal, or an organic slow release vegetable food like Acti-Sol. You can also add a light layer of either compost or manure.
The garlic will be ready to lift about 4 weeks after scapes form. The leaves will have dried halfway up the stalks, leaving just 4 or 5 green leaves at the top.
Loosen the soil with a garden fork, careful not to stab the bulbs, gently pull the garlic bulbs out of the loosened soil.
For more in-depth spring information, see HERE.

Lay them out in a shady, airy spot to cure for at least three weeks, but longer if you can.


Leave a reply to Prepare Your Garden for Winter: 12 Easy Steps – The Marigold Potager Cancel reply