Many years ago, when I first decided to run a ‘plan your annual food garden layout’ workshop, I thought it was going to be pretty easy. Give everyone a plan or two to work from (like the ones you see advertised by Better Homes and Gardens), talk a bit about how to plant, how to grow food crops, boom, done.
As I started to put it on paper though, I realised that it was not nearly that simple. We all like to eat and grow different foods, have different needs from our annual food garden, have differing yards with more or less sun, wind, wildlife, and varying experience with growing.
Therefore, without coming to your house, it is not possible to give you a set plan and say here you go, plant your garden like this. However, if you follow these steps, I have made it make sense (I hope) so that you will have a food garden that works for your family, growing what you like to grow and eat.
Planning out your garden layout takes much longer than the actual planting up does so is a good idea to do it up well ahead of time. Can you wing it? Just grab your seedlings in spring and plant them out,? Of course you can!
If, however, you want to grow as much as you can and want them to thrive, is good to make at least a cursory planting plan. You can change things about a bit as you start planting (I do it all the time, I am fickle like that, haha) but I like to have a basic idea of what veggies I am planting where.
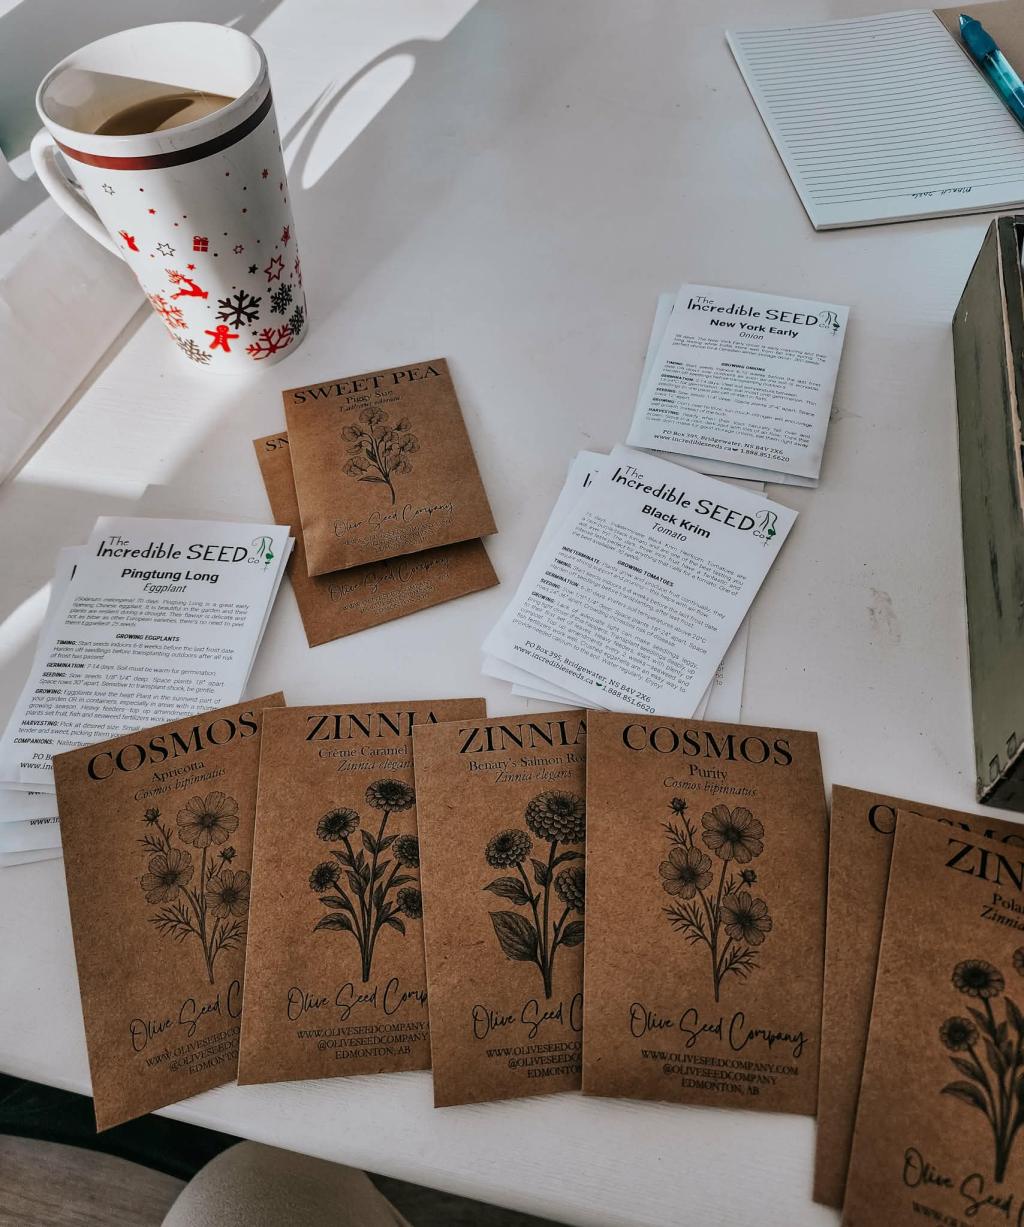
Planning out your beds, what to plant where, takes a lot of time, no matter who you are but especially if you are newer to gardening. Professional growers who make a living growing groceries in urban gardens, say that making the plan is the most time consuming part. So grab yourself a cup of coffee and some snacks, find a quiet space to spread out and work, dive in.
There are TWO parts to making a planting plan. First, deciding what you are going to be growing. Second, figuring out what to plant where for the best results.
The Steps in Deciding ”What To Grow’
What does your family eat? Make a list of all the veggies, fruits, berries that each member of your family eats on the regular, from parents to teens and toddlers, too.
- If you do some pre-planning first, you will know exactly what to buy and thus save money.
- Whether you start from seed or buy seedlings from the greenhouse does not matter.
- If your family loves smoothies, you will want to plan for lots of greens like spinach, kale, lettuce, plus carrots, beets, strawberries…. Whatever goes into the morning smoothie.
- If you eat a salad daily, you’ll want to grow a variety of greens/mesclun.
- If you only eat a certain vegetable on occasion/only one person in the family likes it, buy it at the shop and save that growing space for something everyone eats. Example: I am the only one who eats parsnips, so we buy them the once or twice a year that I eat them, but we instead grow lots of carrots and beets.

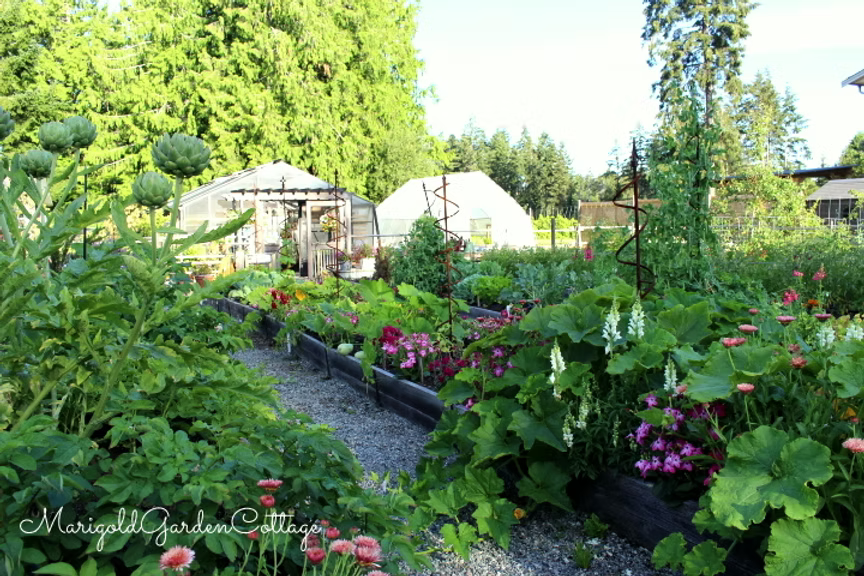
How much space do you have in your garden? If your garden is roomy, not problem. Grow all the things. In my last garden, I had room for it all. Anything I wanted, including hundreds of carrots for the mastiffs and pumpkins for the grandkids.
At this house in town, I have to be pretty choosy. We have about a tenth of the garden space and I need to grow flowers, too.
If you have to pick and choose, some like to grow the more expensive items and buy the cheaper ones at the grocers. Some like to grow more of things they can freeze, dry, store, or can. Others grow just the things they want for fresh eating in summer and leave the rest.Squash takes up a lot of room and is relatively inexpensive, so you may want to leave the zucchini and butternuts off your list.
I love to grow what we eat daily in summer, plus extras for canning or freezing to use in the winter. I have no problem throwing in a new bed, if needed ; )
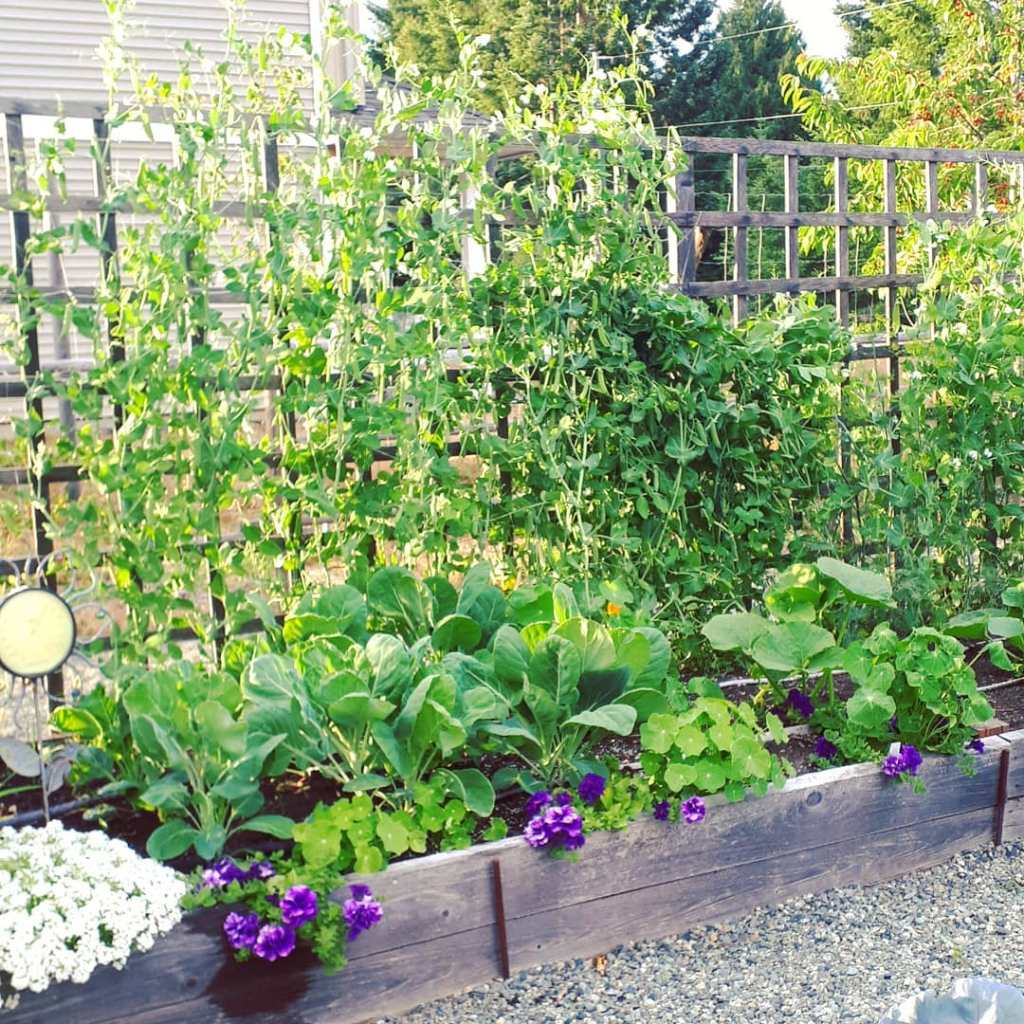
Keep in mind that you do not have to just grow them in traditional beds, you can use pots, planters, hanging baskets (for lettuces and peas), and window boxes.
Grow your food vertically, too, to save space – on trellises, fences, stakes, or obelisks. Peas, beans, squash, can all grow upwards.
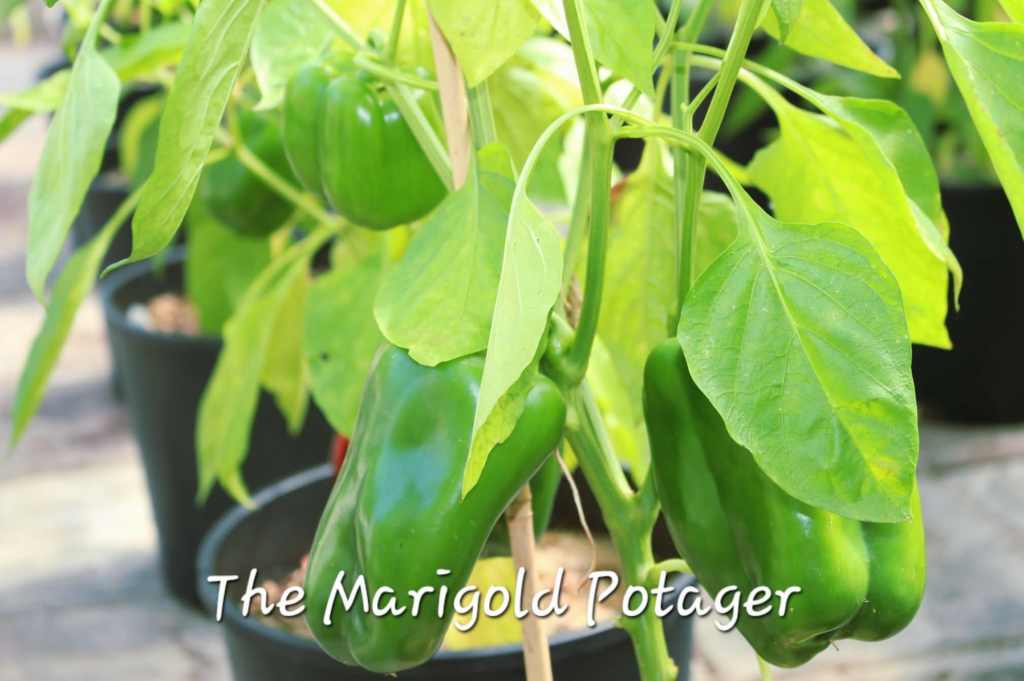
Potatoes in pots are great. I also grow all my peppers and eggplants in pots as they produce better that way.
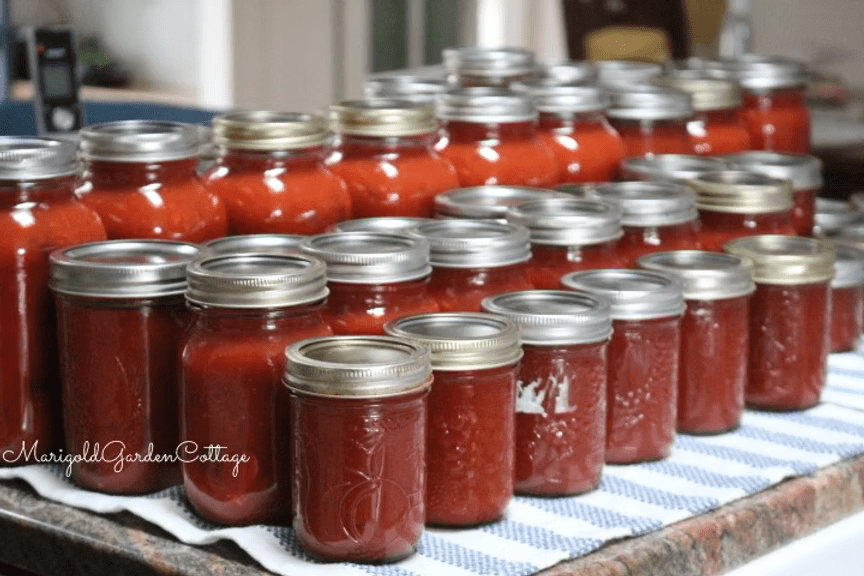
Do you do any canning? Dehydrating? Freezing?
- If you make salsa or sauce, plant lots of paste tomatoes.
- If you eat dried fruits, grow sour cherries (the Sweetheart series is wonderful and super hardy), strawberries, apples, rhubarb, etc..
- Freeze extra peas, beans, broccoli, even whole tomatoes (remove the core).
- Make sauerkraut, pickled beets, pickled beans? carrots?
- Some veggies store fresh in a cold room, like spaghetti squash and carrots.
- You can also dehydrate your garlic for homemade garlic powder/salt
- Grow and dry your own herbs
- Grow your own chili powder, cayenne, and paprika powder from peppers
Know your garden zone. Here is a really good planting guide. Google up the last average frost date for your area, put it into the box at the top and it calculates the planting/sowing dates for you.

How to put a plan on paper
Now the hard part… putting your plant list down on paper so you know what to plant where, because not everything is planted at the same time.
You will get better at this with experience. With time, you will just know how far apart your plants are grown and their water needs so will be much less time consuming to figure out the plan. You will also get to know your yard and garden to know what thrives best where.
I am going to share some guidelines to help you get started. Don’t stress about it, truly! Just plant and try things out. Guaranteed that most all of your plants will thrive and produce if you have good soil and sunshine.
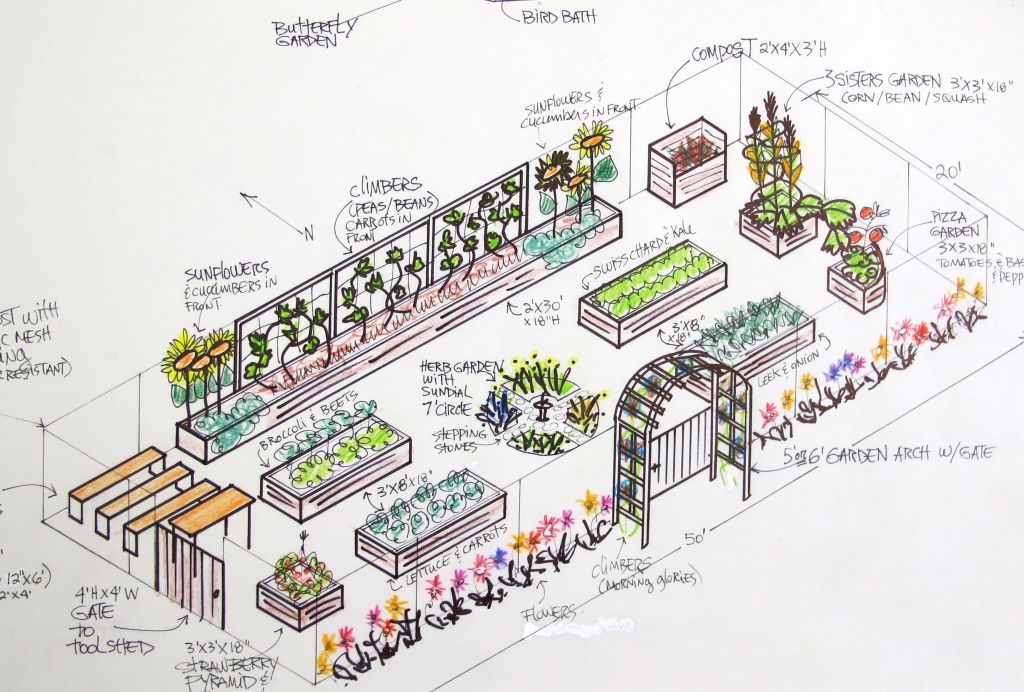
- Draw out your garden beds on grid paper, or computer paper, in your journal, wherever you like. I usually draw it out quickly in my journal so that I can look back on it next year.
- Your drawing can be as simple or as fancy as you like.
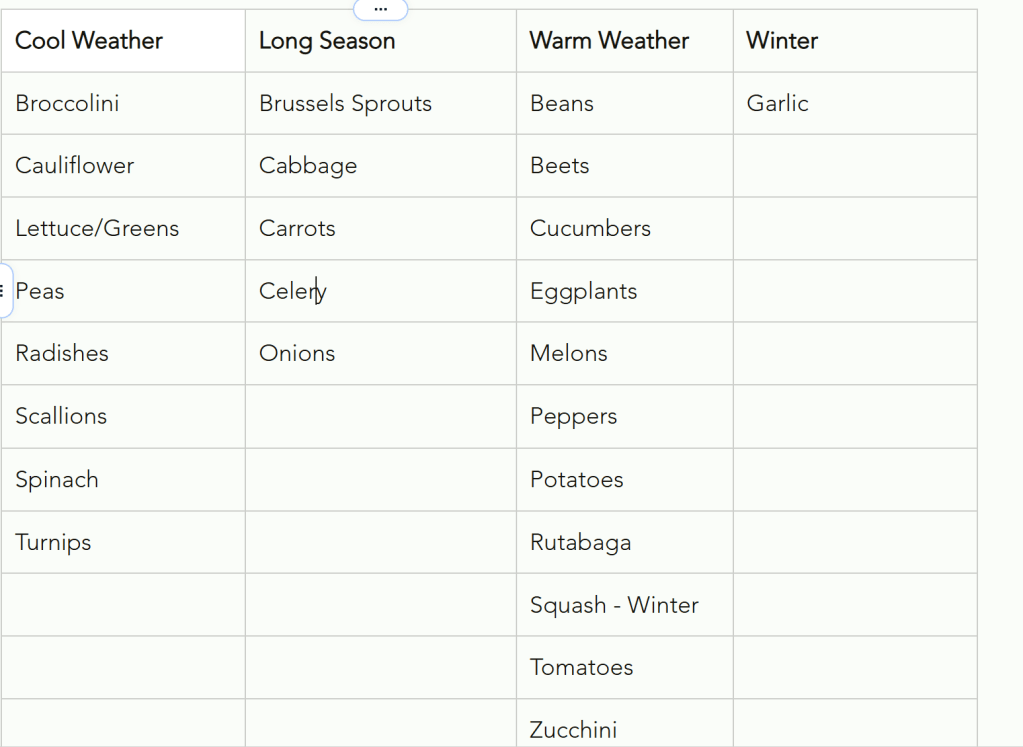
- Put the veggies from your ‘what we eat’ list into three columns… cool weather, long season, and hot weather. Knowing their needs will help you plot them out on your plan, making sure that you do not plant up your prime tomato location with long season crops.
- Cool Weather – planted in spring, harvested before the summer heat comes. April or early May. Leaves empty rows/pockets to sow your warm weather crops in.
- Long Season – like to be sown into cool soil, before the summer crops. They have a long growing season of 80 to 100 days till maturity. Plant in late spring and harvest for Thanksgiving.
- Warm Weather – a heat lover that cannot tolerate frosts so is planted after last frost, in May or early June.
- Winter – Garlic. Plant in October, harvest in July or August, depending on your garden zone.

Sow more seeds in empty spots after you harvest the crops. Lettuce, bush beans, greens, turnips, carrots are some ideas of what you can grow for quick crops in small spaces. Or toss in some flower seeds for a fun burst of colour.

Most all fruits and veggies will need 6 to 8 hours of sunshine to thrive and taste richer, sweeter, better.
- Veggies that make (juicy) fruits, like tomatoes, cucumbers, peppers, corn, artichokes, eggplants, beets, onions, carrots, etc will all need more sunshine.
- Veggies that make just stalks and leaves prefer less sunshine – lettuce, kale, scallions, cabbage can grow in almost full shade.

- Put veggies with the same watering needs together, in the same bed (root crops/tomatoes and squash/peppers and eggplants/brassicas).
- Water less often but deeply to develop great strong root systems, and thus healthier plants. I use these flat weeping hoses that you see in the above picture.
- Water deeply once or twice a week, every 4 to 7 days.
- Do not water in the evening as wet soil or leaves causes powdery mildew.
- Potatoes, onions, carrots, beets, broccoli, cabbage, just about everything only needs one good, deep soak a week.
- A sprinkle (or a sprinkler) only wets the surface of the soil, does not water the roots of the plants.
- Give tomatoes a good, deep water every 3rd or 4th day, even less after they have green fruits on them. Overwatered tomatoes and peppers will be very bland, watery and flavourless. Let them go dry in between each watering so that they develop that rich flavour.
- Peppers and eggplants are only water once a week.
- Squash can go with once or twice a week.

Spacing is key for plant health and to prevent powdery mildew.
If you are new to gardening, follow the spacing recommended on the seed package or the plant label. You will have great veggies as they will have room to grow and you will get to know how your plants grow.
If you have been gardening for a few summers now and are familiar with how plants grow and size up, shake it up a bit and try something new… intensive planting. Plant everything just a few inches closer to each other and make the rows closer together. Only do this if you have good air flow in your garden.
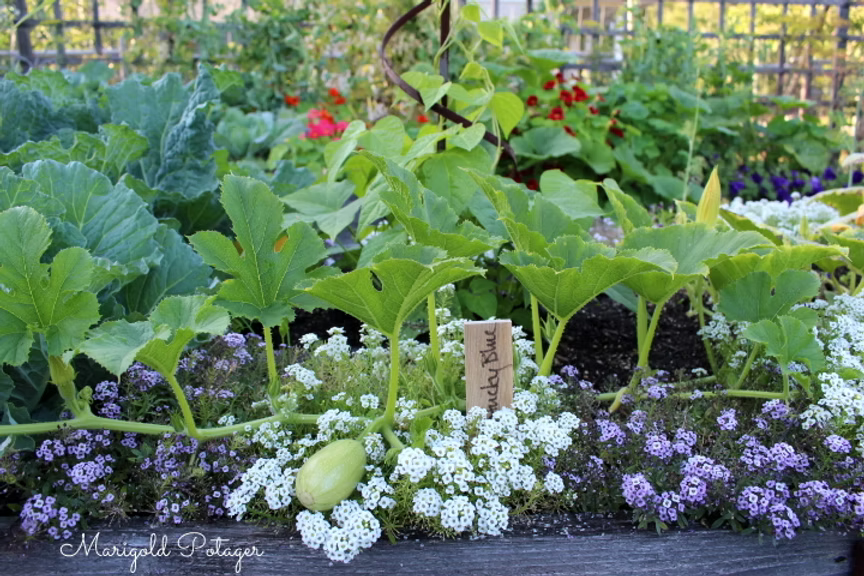
Interplant tall plants with sprawling plants or with root crops. Grow spaghetti squash at the base of your corn or onions between your cabbages, carrots between your kale, cauli, or broccoli. Plant a bit more intensively for a bigger harvest. If you want to read more about this, it is often called interplanting or French Intensive gardening.
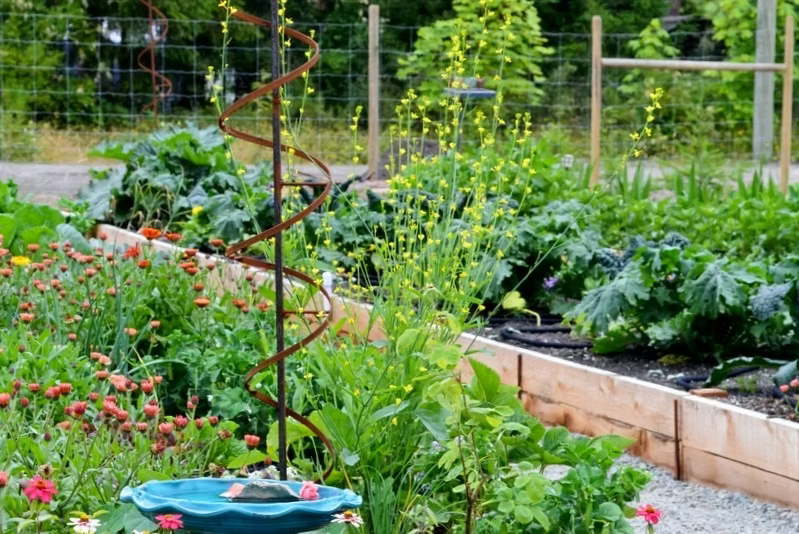
Add flowers and herbs to your garden to attract beneficial insects and pollinators. The beneficials will keep your garden pest free and the bees will pollinate your veggies.
- Add a border of annuals, or put a row of flower like calendula, marigolds, or alyssum between your crops, especially the ones that tend to get buggy, like the brassica family.
- Grow perennials that you like in your beds, too. Rose, lilies, anything flowering will attract even more beneficial insects and pollinators.
- Interplant tomatoes with basil, parsley, and marigolds.
- Interplant carrots with onions and calendula
- Cabbages, kale, broccoli, etc… grow great with sweet alyssum.

Keep notes on what thrived and what did not. If you think something would have done better in a different location, mark that down in your journal for next year.
Do not get discouraged if something does not work out. No one ever is 100% successful with everything they grow. Mother Nature loves to throw wicked curveballs. Some years have a wet and cool spring so pollination is spotty for less produce or weirdly shaped tomatoes and strawberries. Some year is so hot and dry that plants bolt (go to seed) before we get to eat them, or the plants just languish in the heat.
The Gardener’s Motto is … There’s Always Next Year ; )


Leave a comment