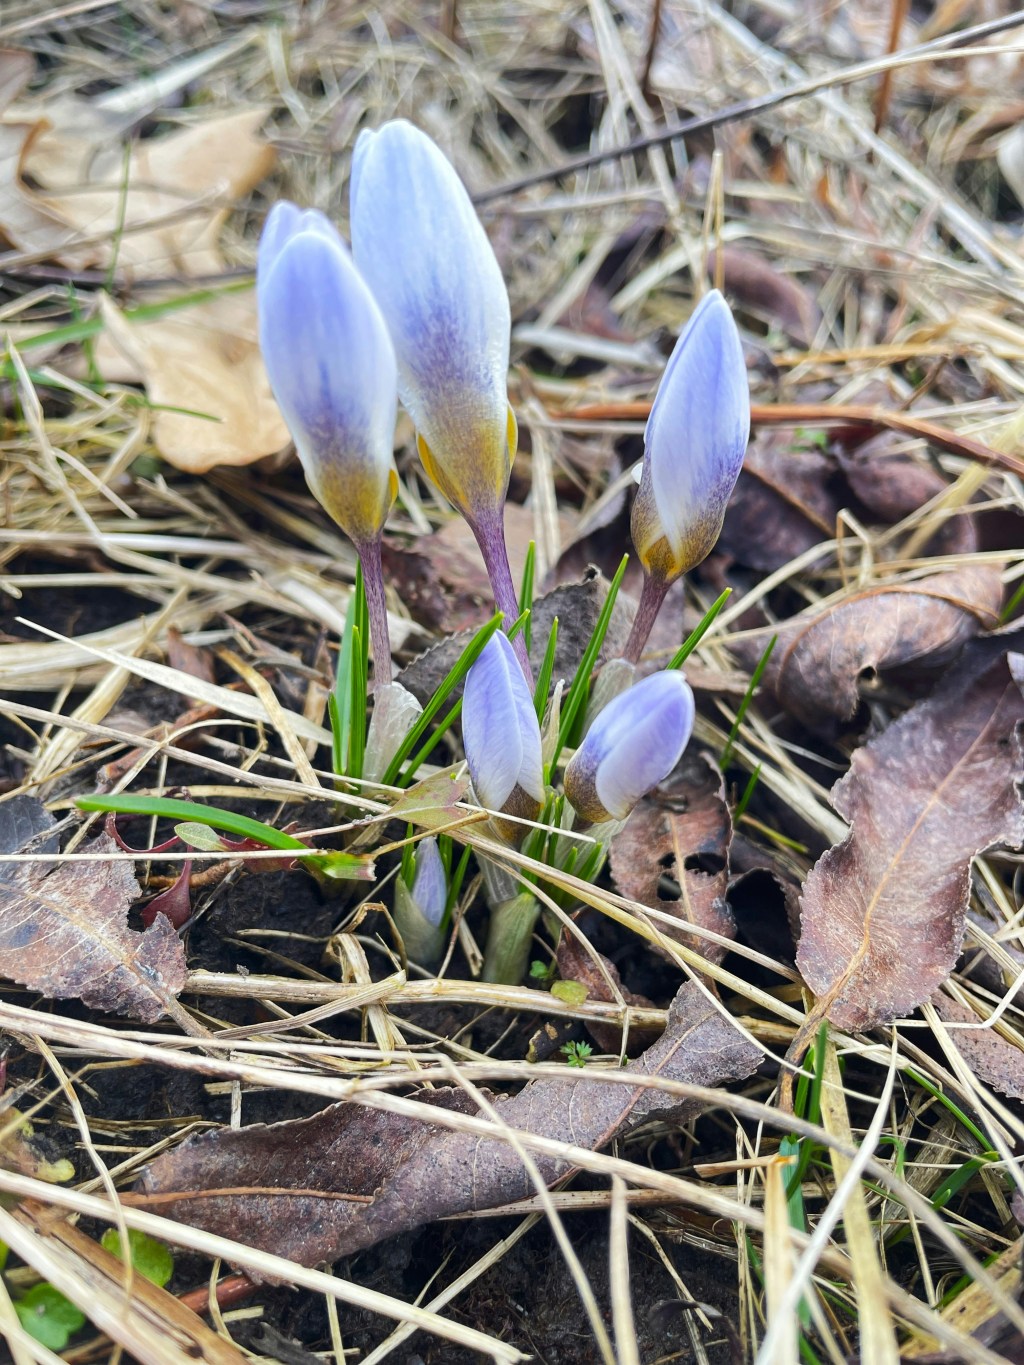
Spring is just 5 days away and we are set to have double digit plus degrees here on the prairies! Yippee!
I am hoping to spend a lot of time in the potting shed this week, and will spend this afternoon in there taking more cuttings, starting seeds, and generally puttering about. Nothing better than playing with soil to have you feeling like spring is acutally here.
All winter, I have been thinking of how I am going to cover my brassicas and/or onions this spring and summer. I think I finally have a plan…
Brassicas (cabbage, cauli, broccoli, brussels, kale) and onions are cool season crops so can be planted out late April to early May, here on the prairies. I really want to get the cover in place shortly after planting, before the bugs come out to play.
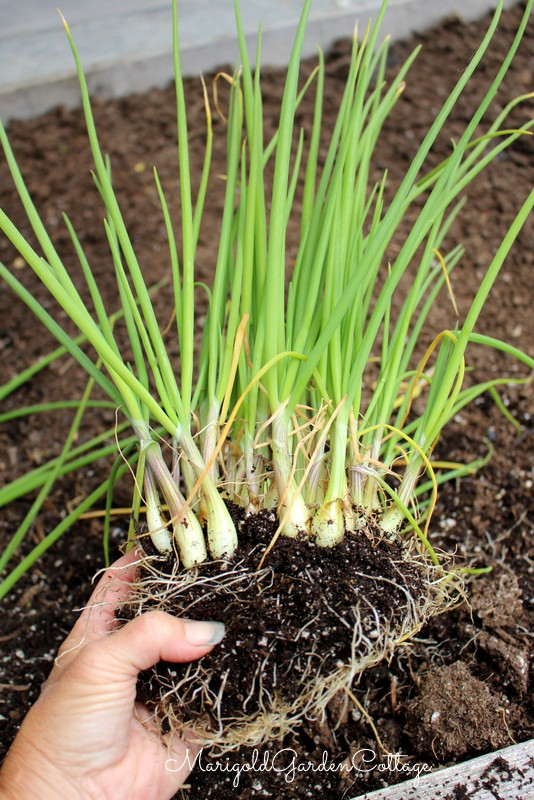
Brassicas are very attractive to aphids, white fly, cabbage moths and their offspring… Well, they tend to be very buggy vegetables so is prudent to cover them with insect netting. My onions succumb to onion maggots. I lose a good portion of them each year, even though I interplant them in different areas of the beds. The maggots are fly larvae.
I mention this now so that you can start sourcing out your insect netting for your brassicas and onions, plus decide how you want to cover them, as planting time is not far off now.
By the way, I don’t want to just lay the netting on top, pinning it at the sides, as I want it to look a bit more ‘bougie’ than that ; ) Also, it has to be easily accessed from both sides, ideally, in order to be practical.
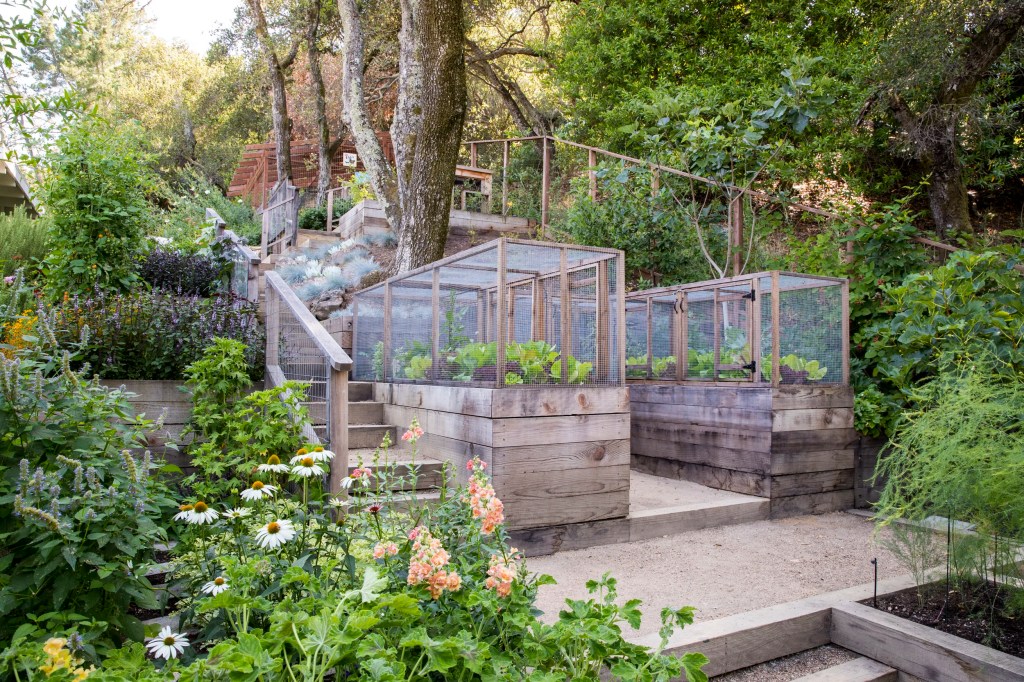
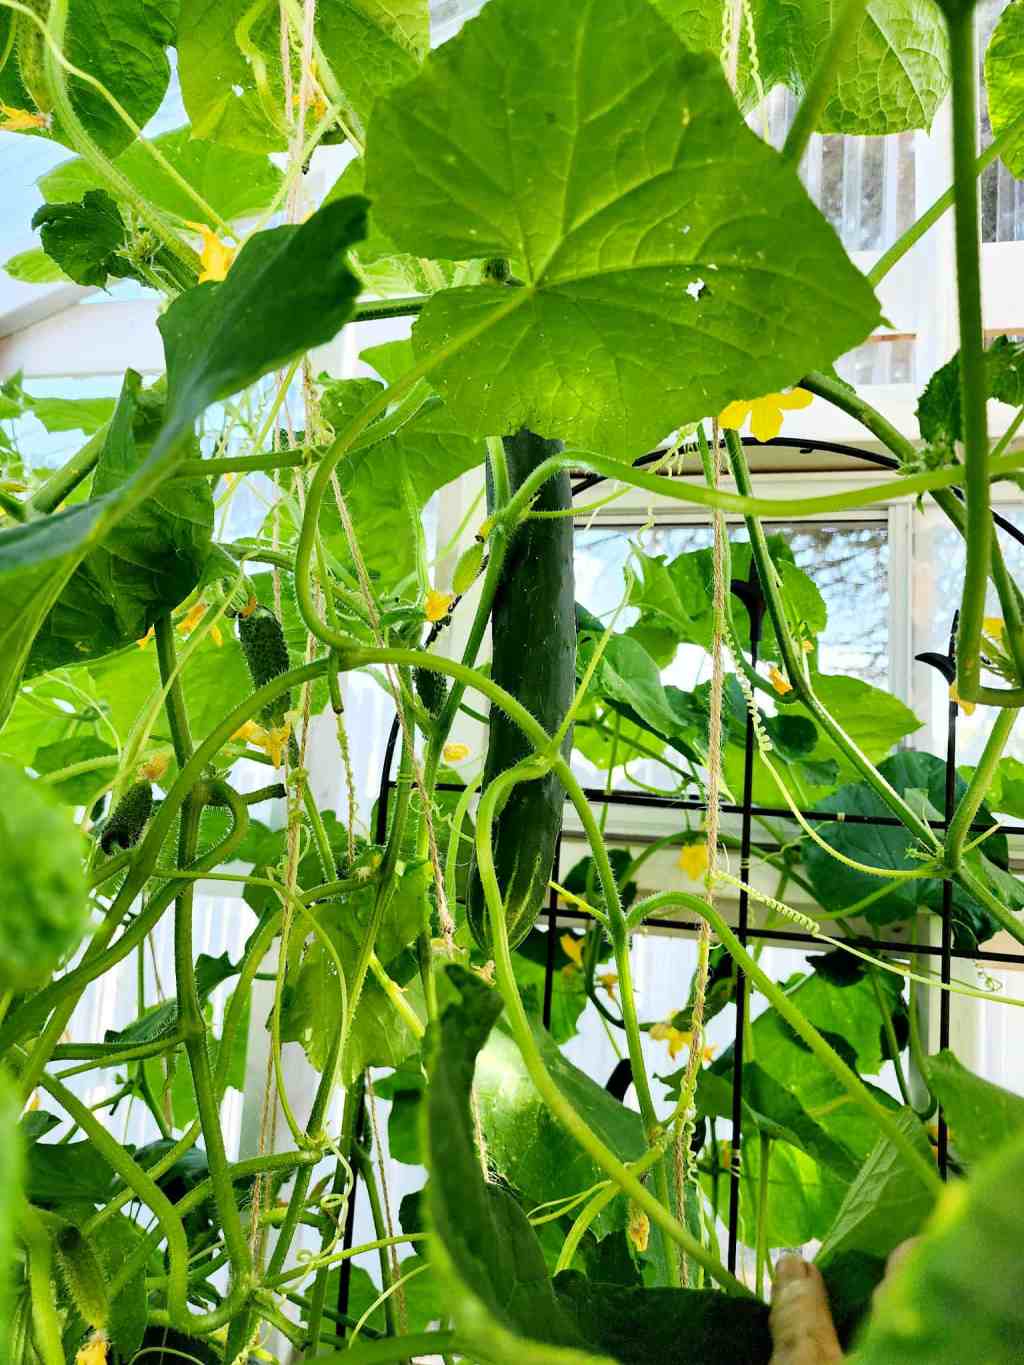
You may recall this photo from my Sunday Ramblings about a month ago? These hillside raised beds are covered in wire mesh, like chicken wire, to keep out birds, deer, squirrels, etc. I need a much finer mesh, actual insect netting, to keep out the bugs. Look very nice and tidy. Here are my options for this covered brassica bed…
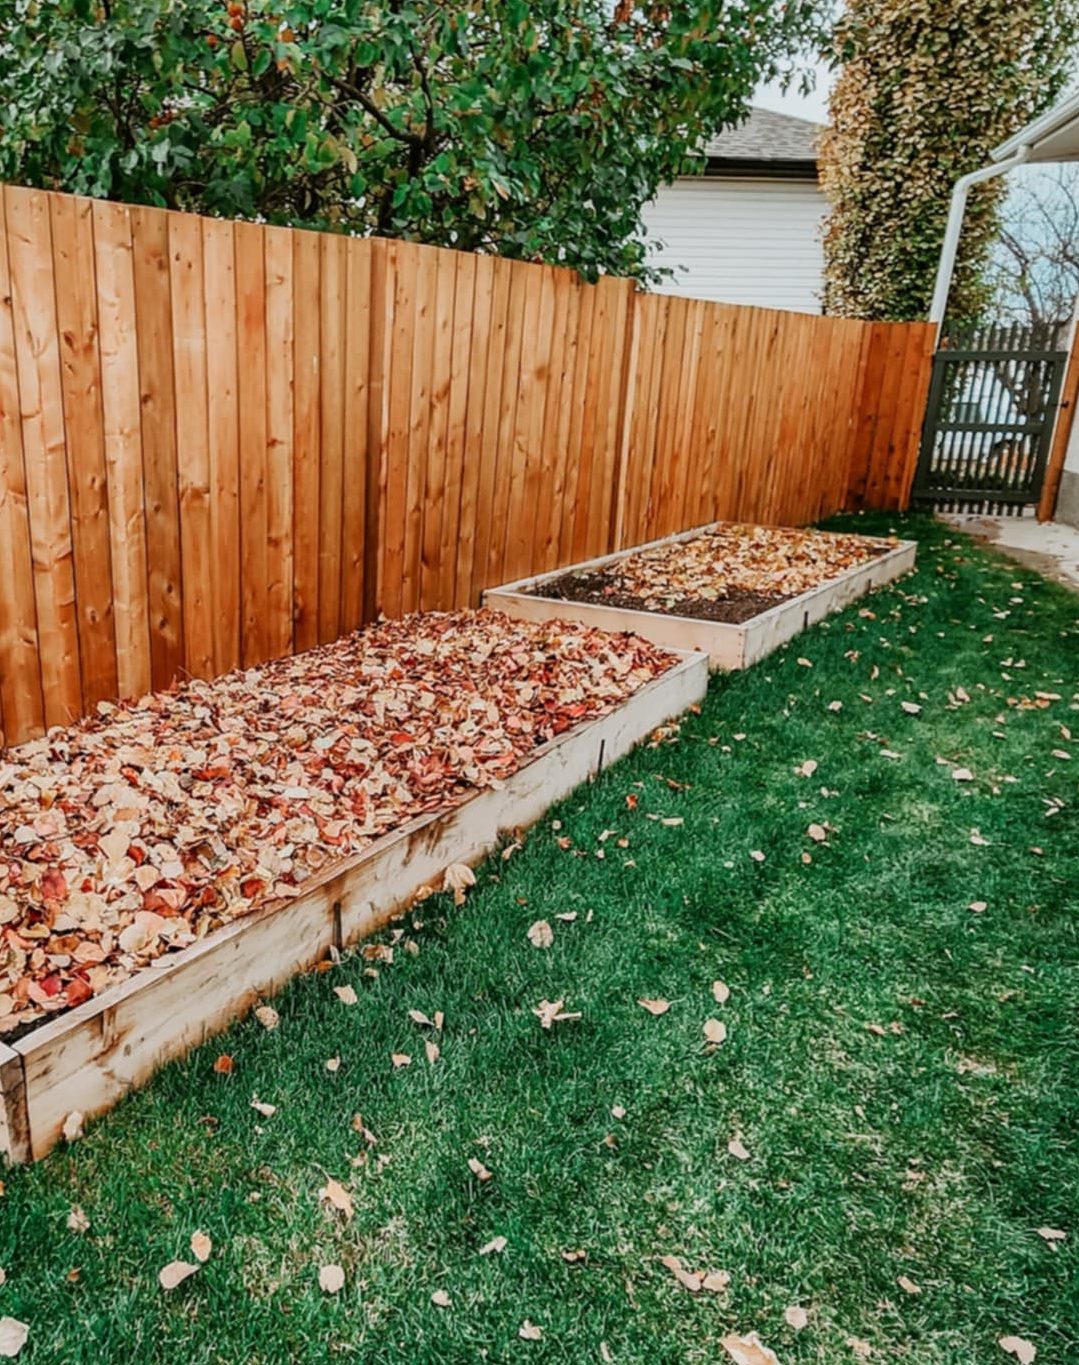

- The first one, by the fence, is my least attractive option as I would have to get down on the ground to access the veggies and they would only be accessible from the front. This bed is in a part shade location. The bed is 4’x10′.
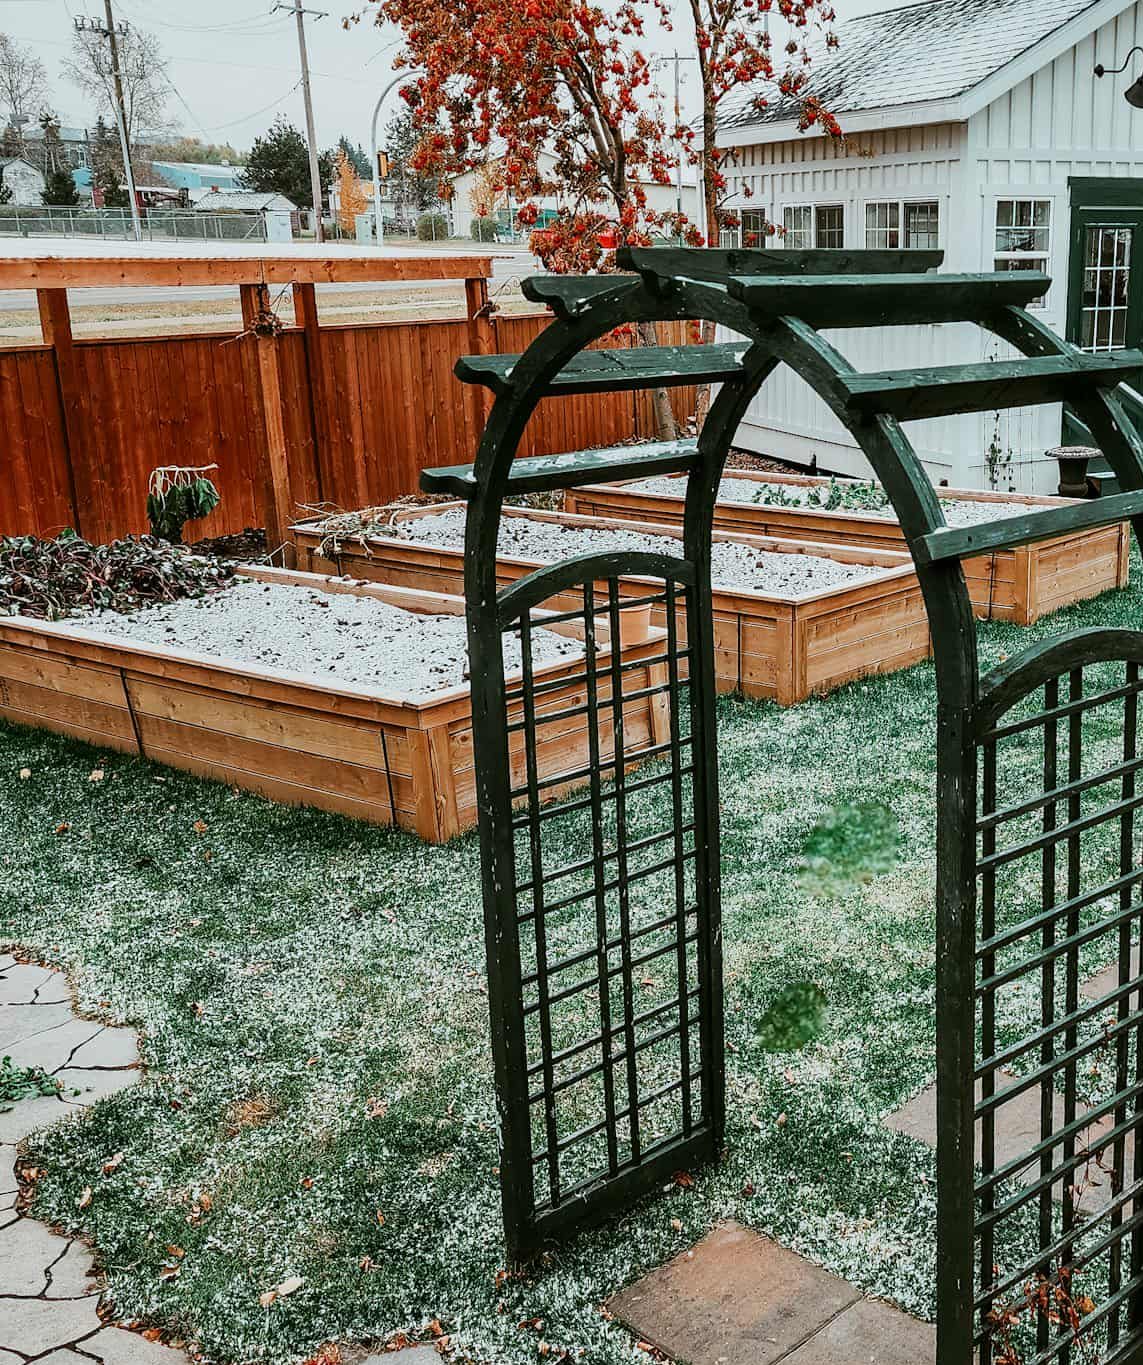
- Build a cover on one of these raised beds. Doors on both sides for easy access, this bed is 2 feet high, so it would be easy to plant, care for, and access the veg. This bed is 4’x12′.
- This is my favourite idea. Screen in that entire covered section by the fence. Make it into a screenhouse (instead of a greenhouse). Easy to staple the netting onto to 6×6 posts. The two beds are each 3’x6′. They get a lot of sun… until the wooden raised beds are planted up and growing. Then it is more shaded for part of the day, perfect for growing greens. Just need a single door to get in.
What would you do? Are you making a hoop frame? Or something fancy schmancy?
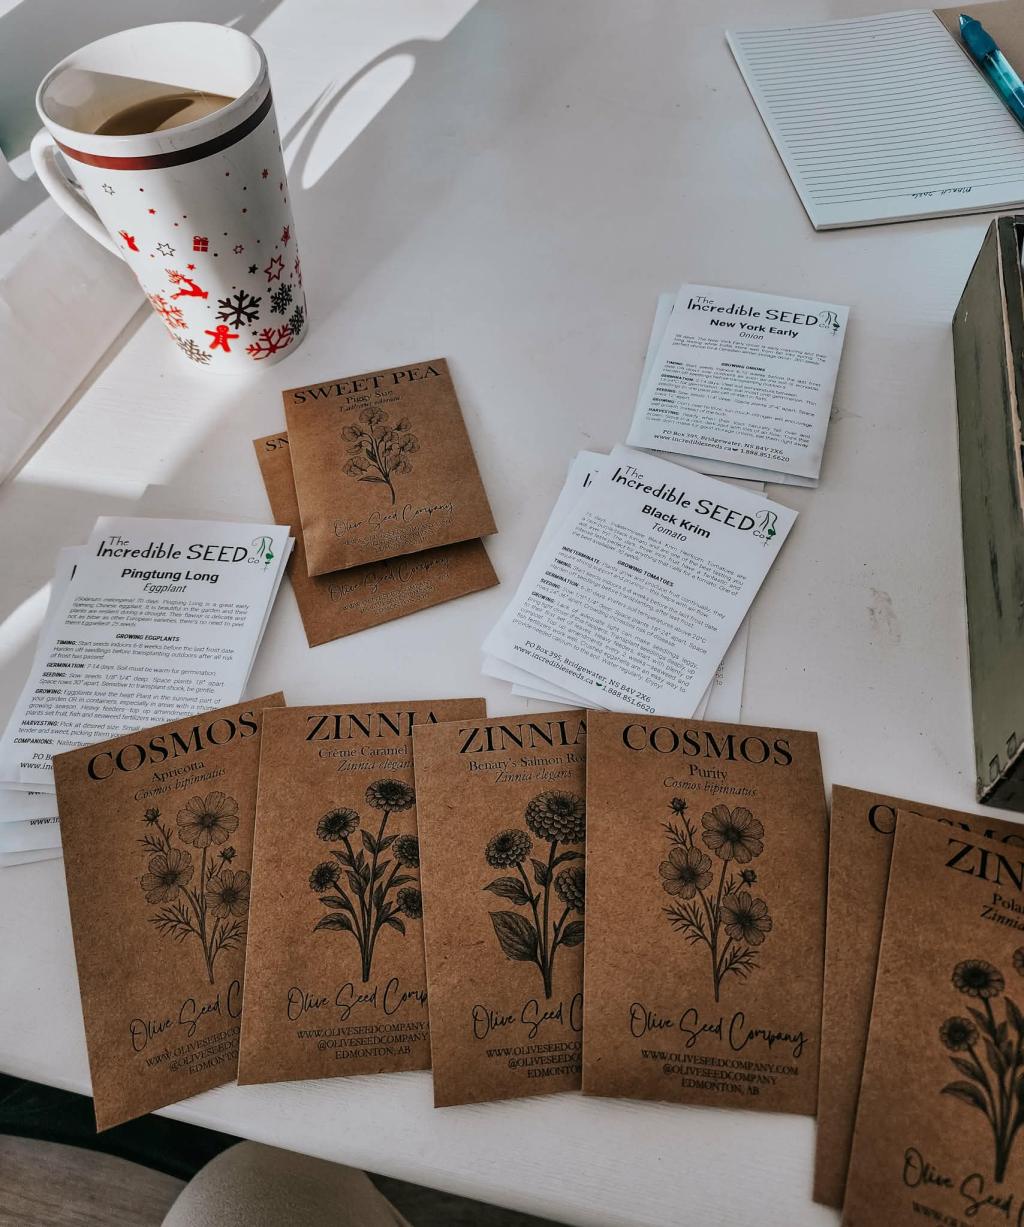
Seeds To Sow This Week
- Sweet Peppers
- Tomatoes
- Artichokes
- Celery
- Onions
- Leeks
- Eggplant
- Herbs
- Sweet Peas
- Echinacea
- Rudbeckia
- Yarrow
- Delphiniums
- Larkspur
- Calendula
- Marigolds
For central Alberta, much of the prairie regions, you can start anything that has been mentioned in the past few posts, all of the above, and anything that says 8 to 10 weeks before last frost.
On the west coast, I always went by April 29th for last frost date in Nanaimo (I’m not buying into that April 10th nonsense ; ) so you can start anything that says 6 weeks before last frost. I’d say anything that says 4 to 6 weeks prior to, as it depends where on the coast you are located. You can also still start all of the above. See March Ramblings from my old Nitty Gritty Potager blog.
Other Bits
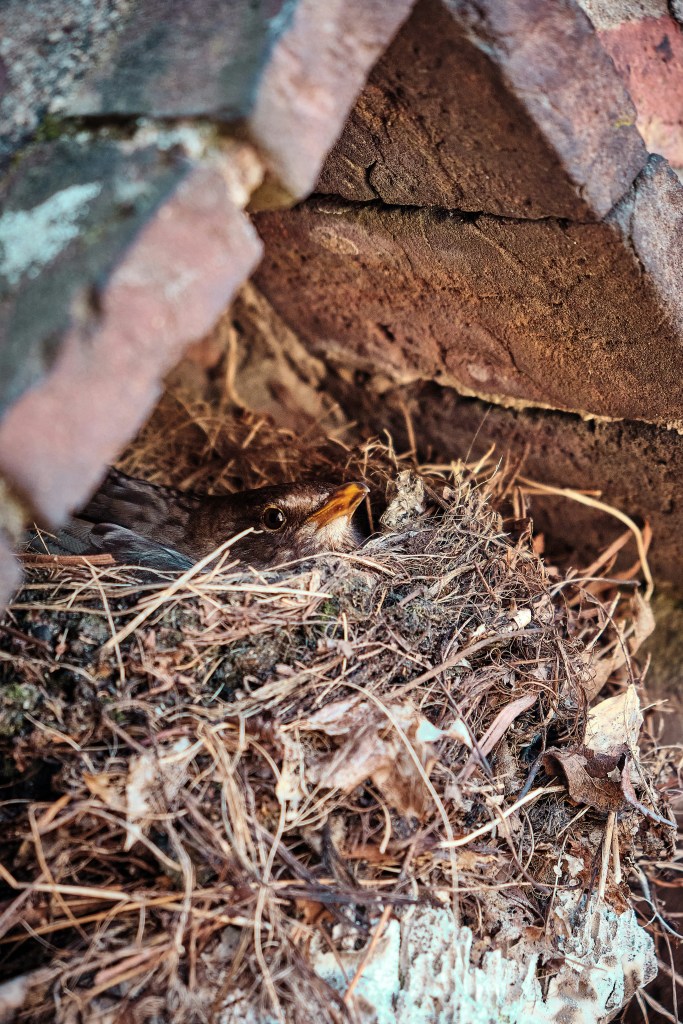
I found this in my memories from a Wildlife Rescue page regarding BIRD NESTING MATERIALS.
Please DO NOT offer yarn, string or human hair for birds to build nests! Every year St. Francis Wildlife receives wild birds, both babies and adults, with this material wrapped around their feet. It can sometimes result in the bird losing its foot or entire leg from the yarn/string/hair slowly tightening and cutting off circulation .
DO NOT offer laundry dryer lint either. The lint collected in your dryer filter may seem like ideal nesting material, but it isn’t. It will soak up water and may be steeped with chemicals unhealthy for birds, such as remnants of detergent and softener. ( I will add… especially now with all these scented beads and things! )
Also a warning about offering pet fur. If your pets are treated with flea/tick/lice treatments which stay on the fur, this can be harmful to birds collecting it for nesting material. DO NOT offer pet hair that has been exposed to any chemicals.
Birds have plenty of natural materials for nest building: twigs, dried leaves, grass and flower stems, pine straw, shed snake skins, Spanish moss, lichen, etc. Thank you!
I have no Q&A today as I have been pretty silent on social media. We have had so much running around to do, it is so hard to fit it all in.
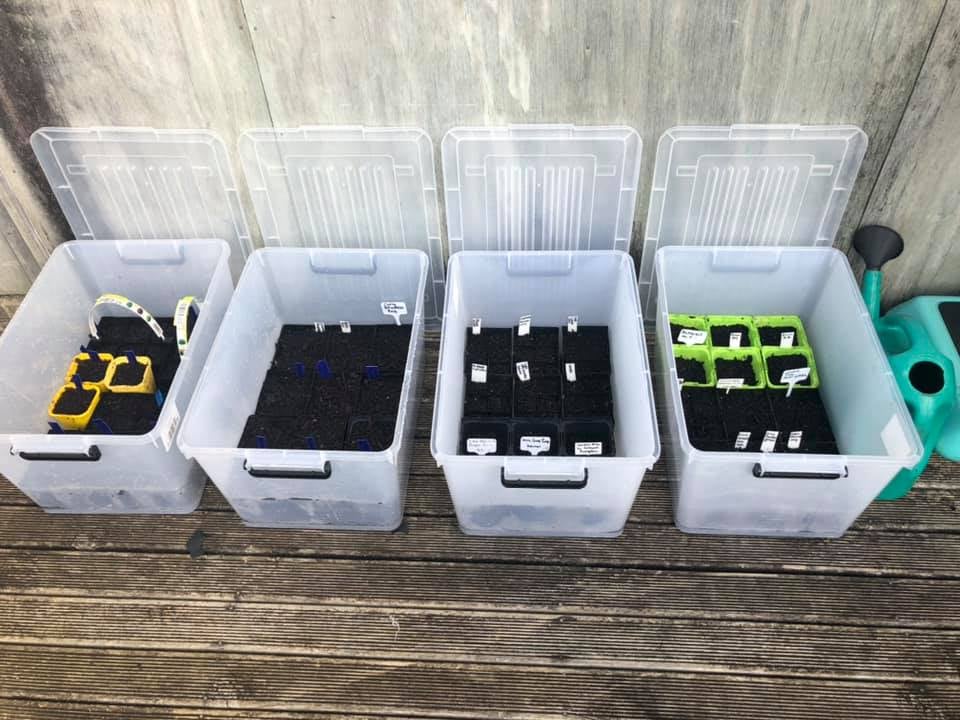
Don’t forget about this tip, if you have no greenhouse. Place your seedlings in clear totes with clear lids. Place your seedlings in the totes. Easy to water, feed, care for.
Stack the totes outside during the daytime for lots of light but to stay at about 10°C (50°F). If they tend to get too hot inside, open the lids for a few hours. This is great for hardening off seedlings. Bring the totes inside at night, if temps are below 5°C.
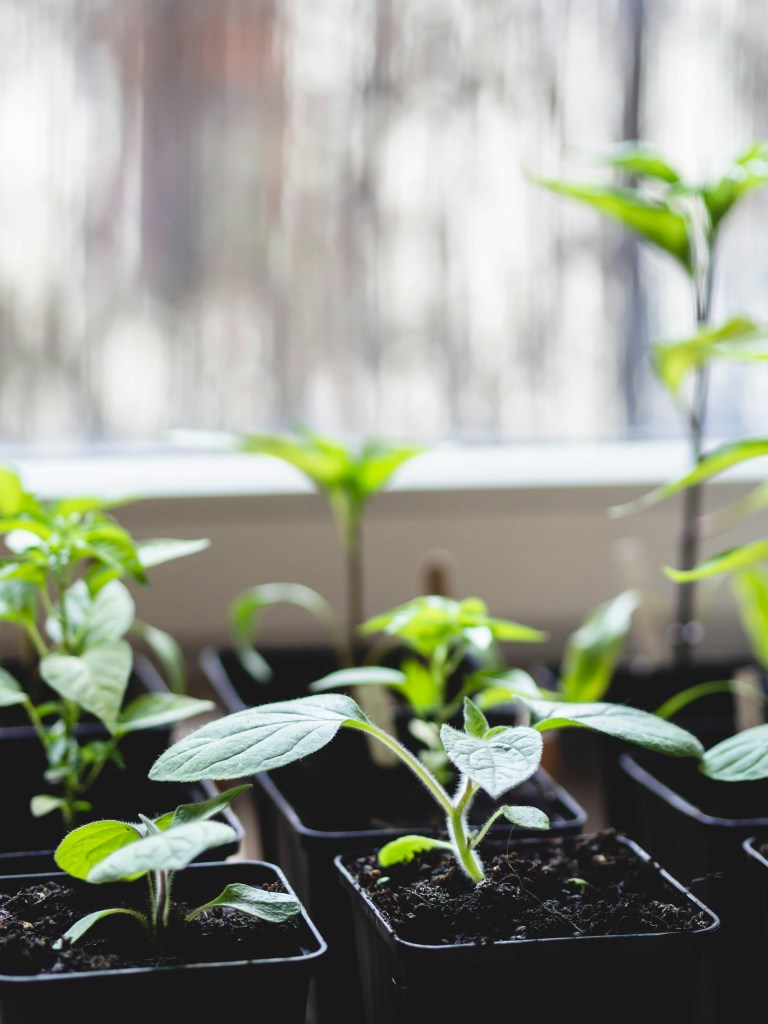
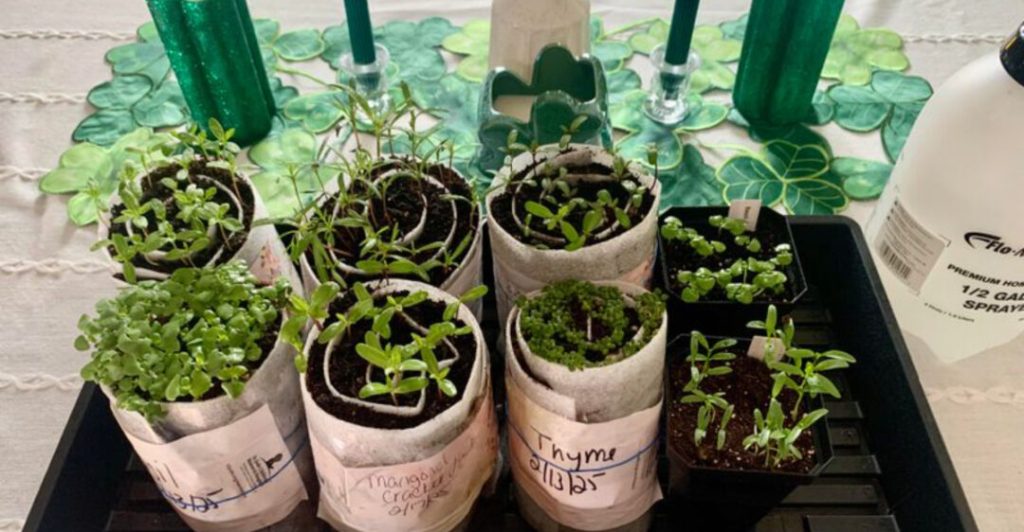
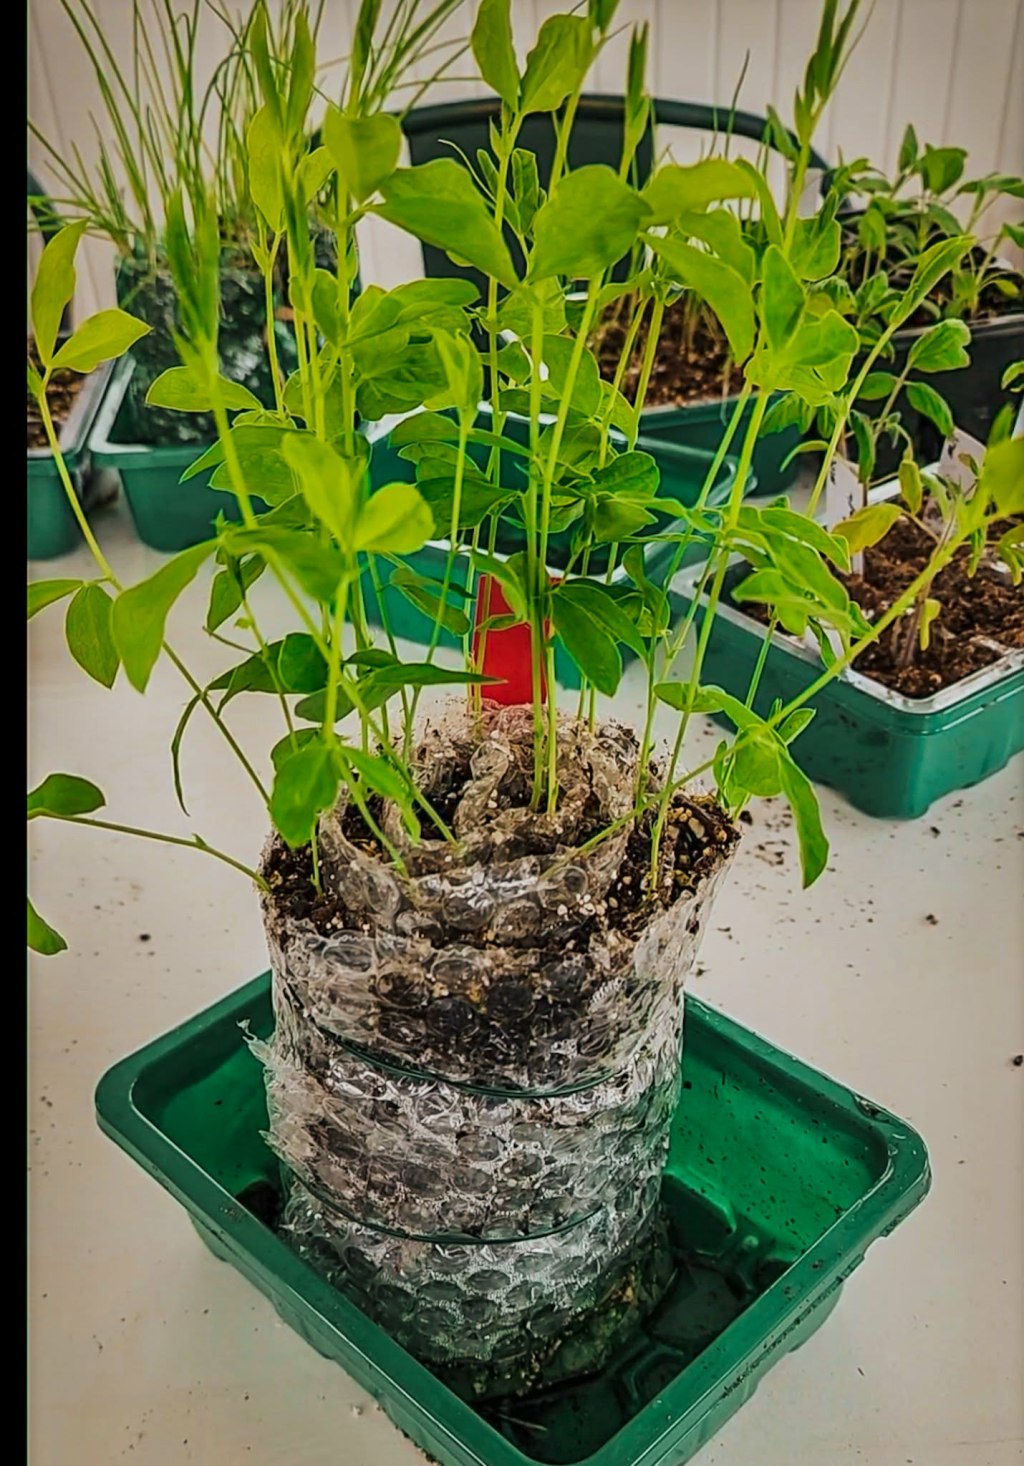
My seeds are all up in the potting studio, I will take photos and share them with you, this week. The snapdragons are so tiny! Hard to believe how delicate they look and then how lovely, tall, and stalky they turn out!
I hope to get a video done, too. Stay tuned! Trying to find time to do it all ; )
If you are local, check out the workshops. I promise, you will leave here inspired and excited for the gardening season ahead.


Leave a comment