This weekend is Thanksgiving (Canadian), which means that most of us have likely finished pretty near most of our harvesting. This is, after all, the weekend we enjoy eating much of that garden bounty.
Beets, cucumbers (pickled), tomatoes (roasted), carrots, parsnips, turnips, and squash, lots and lots of squash will be enjoyed this weekend. Mostly in the form of pies ; )
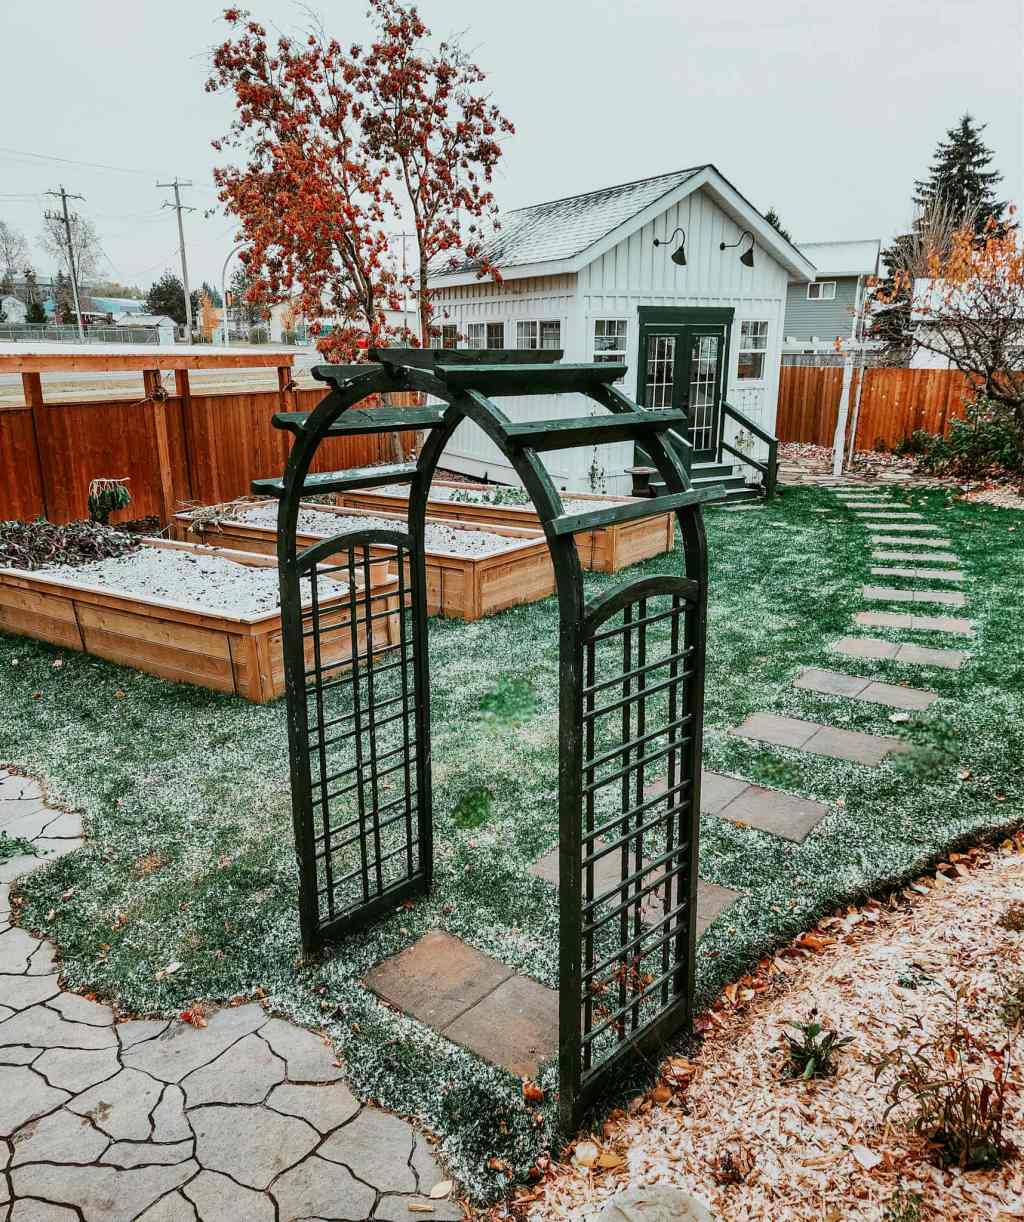
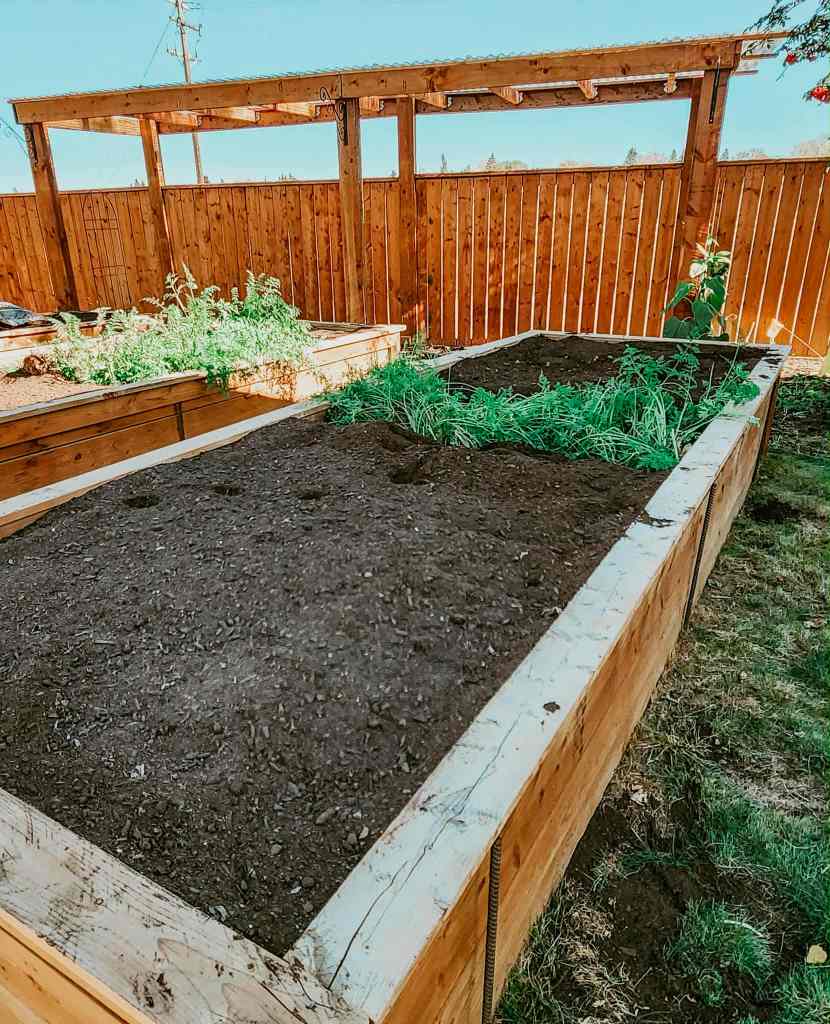
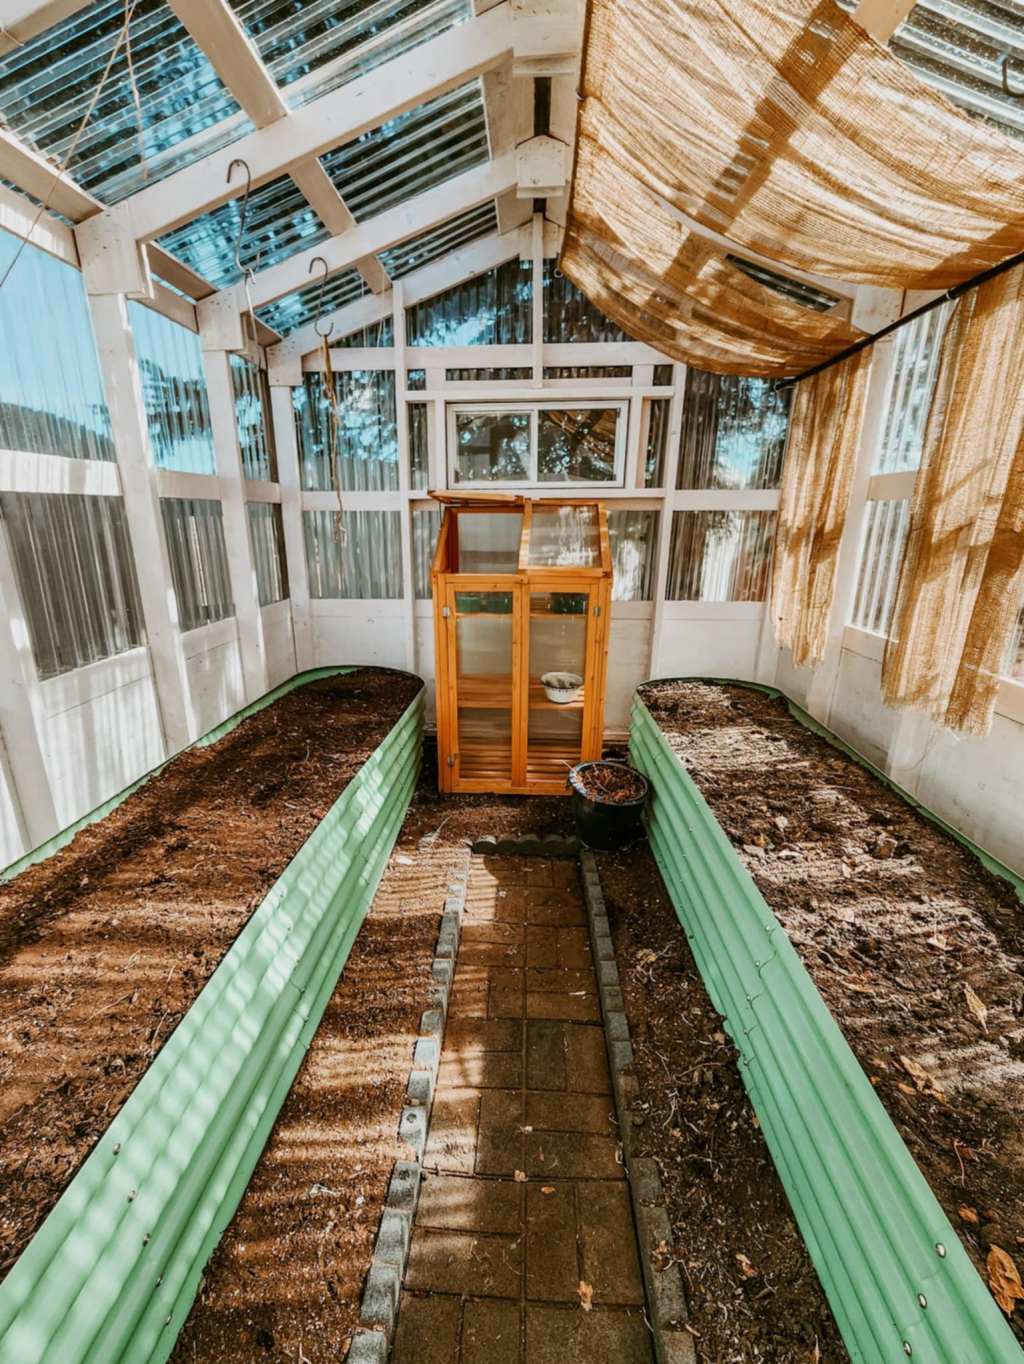
Preparing your beds for winter now will set you up for success in the spring. Taking the time in fall for these easy tasks, you’ll be ready to go for the next growing season. No waiting around in spring, you will be ready to roll.
Here are the 5 quick and easy steps you need to know for putting your garden to bed for winter.
1. Clean Out The Beds
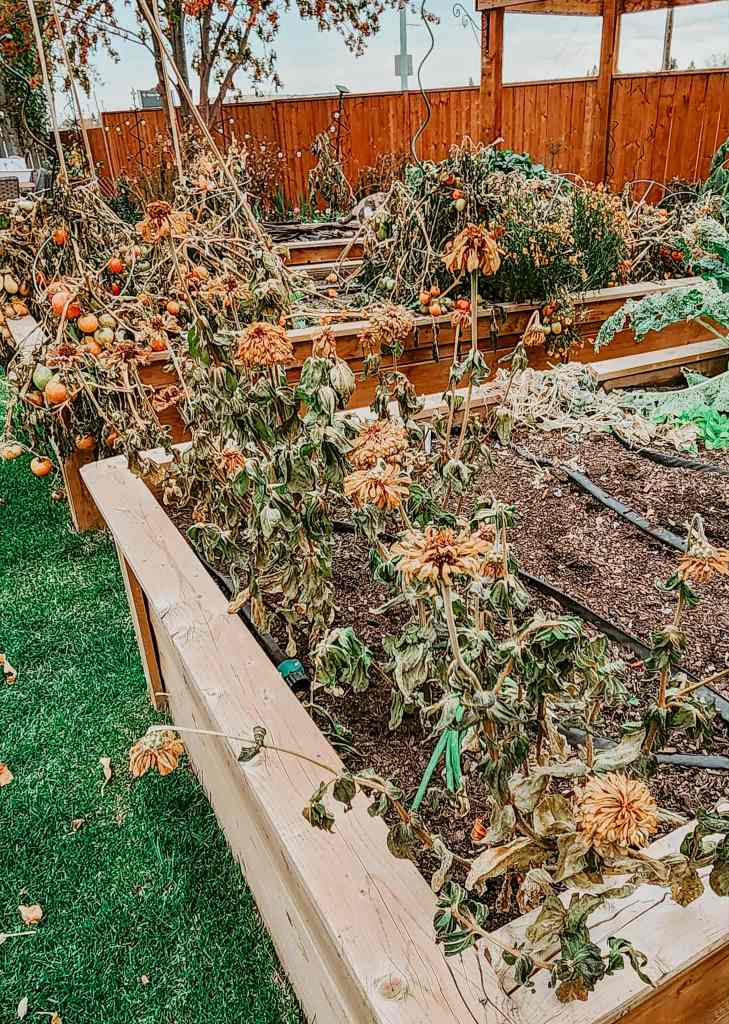
Harvest the last of your vegetables, anything that is not staying in the bed this winter.
Here in a zone 3, only perennial veggies and berries will be left in the garden (strawberries, asparagus, rhubarb, garlic, and herbs) as nothing grows through the winter months.
- Remove spent companion flowers. Give them a shake to drop their seeds in the bed. Some, like alyssum and calendula, will overwinter for free flowers next spring.
- Harvest remaining vegetables. For me, that is the root crops of beets and carrots, that have been left in the garden to sweeten up with a few frosts.
- Clean up the vines, leaves, garden debris. Pop those in your compost bin. Yes, even if they had powdery mildew. The spores will not carry over in your compost as p/m is physiological – due to the fall weather.
2. Weed The Beds
- Remove weeds. Pull any visible ones that have blown in with the wind and then run a hoe through the top inch or so of topsoil to disrupt any weed seeds that may be germinating just below the soil’s surface, ready to pop up in spring.
- Make sure to get the edges of your raised beds really well as that is where weed seeds tend to cluster.
- You especially want to get any weeds with flowers or seed heads on them. If they have time to scatter those seeds, you will start your spring with a big battle.
*tip – raised beds that you fill with garden soil or a mix of compost and organic matter (lasagna garden) will always have less weeds in them than an in ground garden.
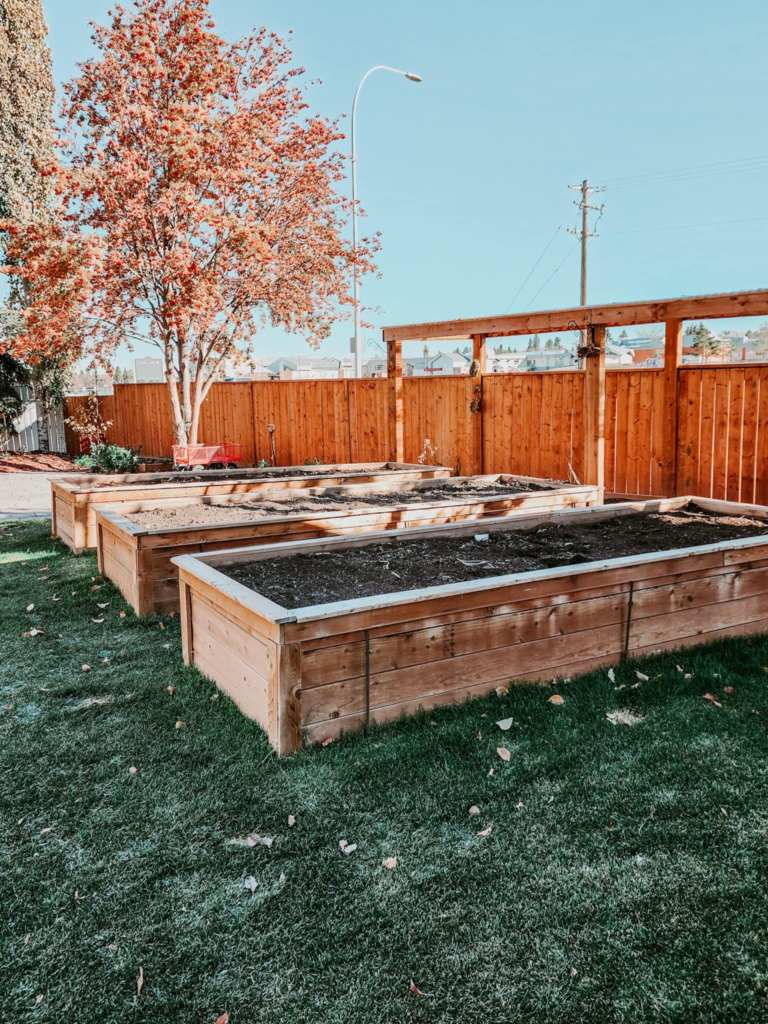
3. Top Dress To Feed Your Soil
Feed your beds with compost or manure. Manure is sold by the bag at most all garden centers or box stores. Compost can also be purchased in bags or in bulk from a landscape company.
If it’s an established bed, add 1 to 2 inches deep across your bed to keep the soil covered over winter, suppress weeds, and keep the soil life busy. The worms and microbial soil life will break it down to release the nutrients to feed your crop next spring.
If you have very poor soil and are not having much luck with your crops, add more. Add as much as 6 to 8 inches, if need be. Do not buy garden soil, buy bulk compost and spread it right on top of your beds. In spring, you will have the perfect medium for a great crop. Do not till, mix in, or turn. Just layer it on so that weed seeds are buried deep in the soil, never to see the light of day.
*Tip – if you top dress/feed your beds in the fall, you will not have to wait for the garden centers, box stores, and landscaping companies to start selling/delivering before you can start your gardening in spring. Also, we topped off our greenhouse beds in spring this year and ended up with ‘hot’ compost. Many seeds and seedlings died in that compost for the first few weeks. If we had received this compost in the fall, it would have had many months to cool down and finish up.
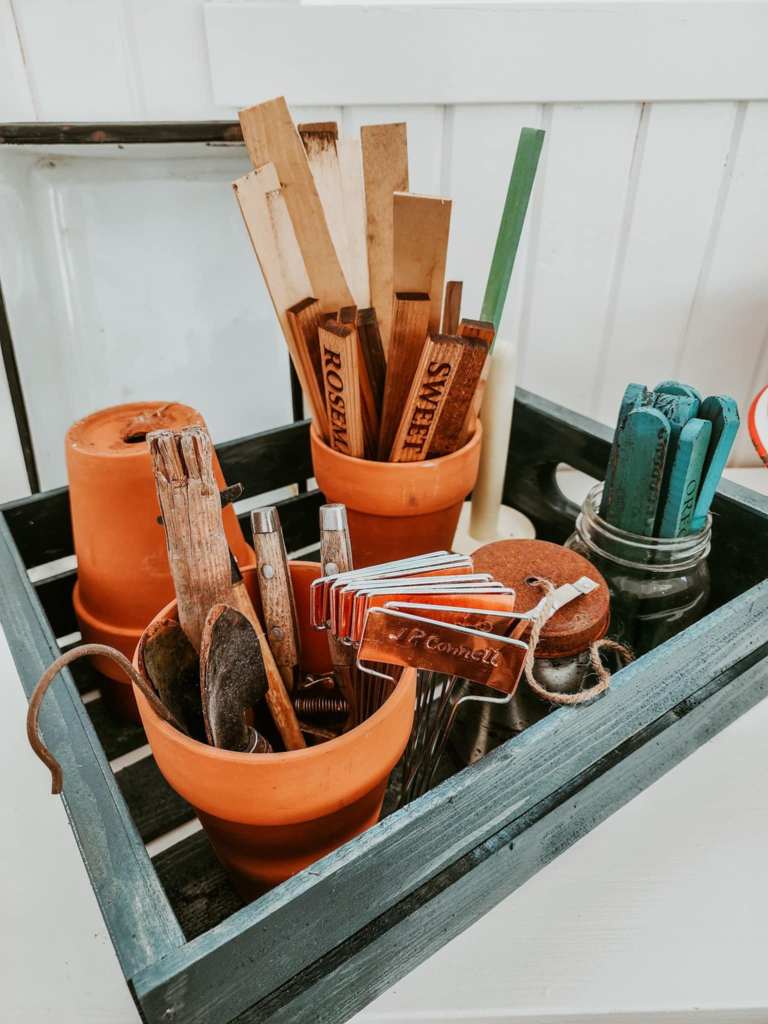
4. Check & Put Away Accessories
- Check your weeping hoses for holes or damage before hanging them up in the shed. Discard broken ones and put ordering new ones in journal for early spring.
- Put all your labels and plant markers some place where you will easily find them again in spring.
- Drain drip lines. Lines can be left outside but bring timers, filters and such inside for winter.
- Stack away tomato cages, stakes, plant supports…
*Tip – Clean and organize the shed in the fall so that you can easily find things in spring.
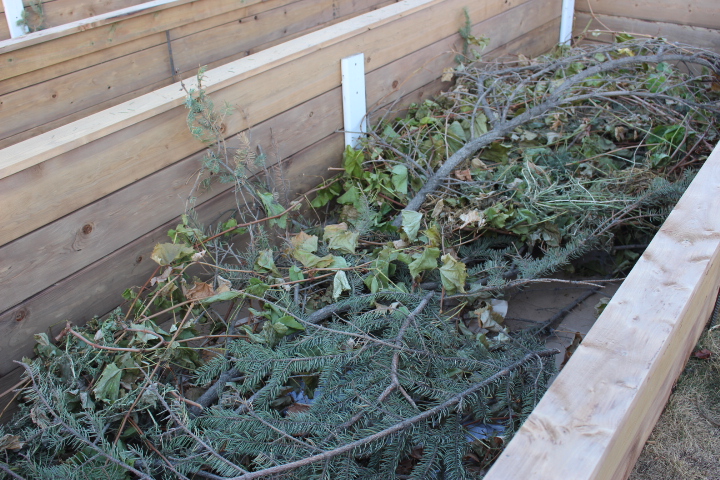
5. Make Repairs & Start New Beds
- Fall is the perfect time to make repairs to the beds.
- It is also the perfect time to build/buy a new bed. Toss in your garden scraps from the veggie beds, any tree trimmings (grape, hops, and virginia creeper vines), a bale of straw, even bagged potting soil, if you find a skookum deal. Top it all with compost and your bed will be ready to plant up in spring.
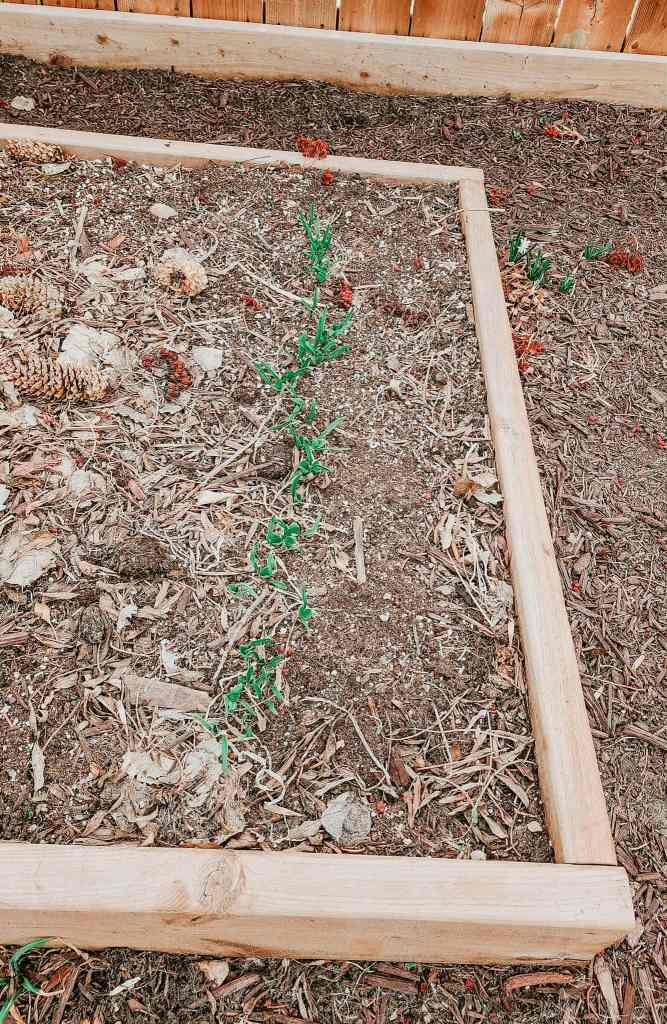
*Tip – pick up some carrot, spinach, and lettuce seeds to sow at the end of October/early November. They will germinate in spring when the days are long enough and warm enough for earlier crops. In warmer zones (6, 7, 8), you want to wait till winter solstice to sow the seeds.


Leave a comment