Hello! Can you believe it is already back to school time? Just about official fall? The summer fairly flew by, as always.
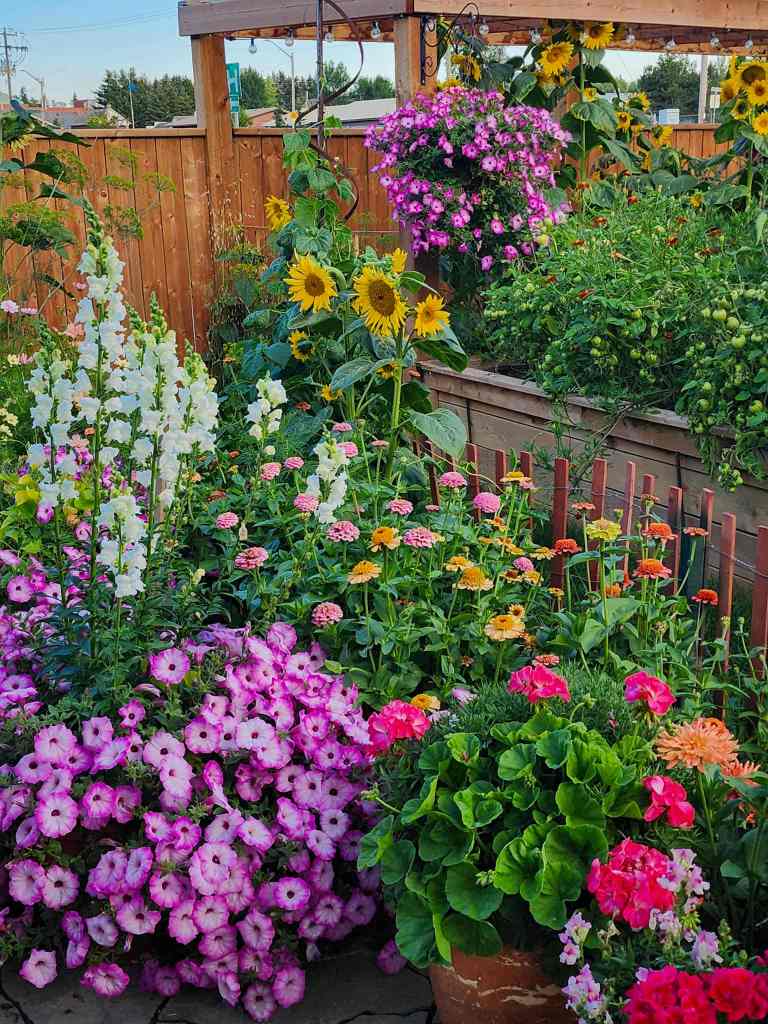
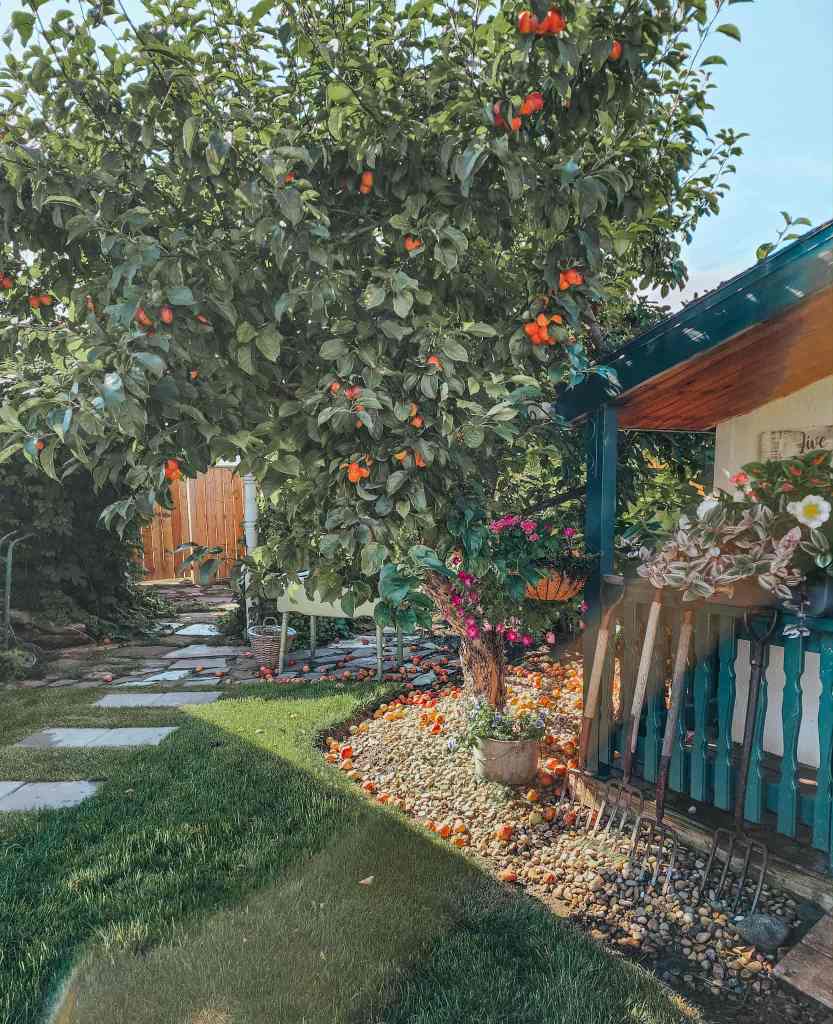
I love the fall season. I think it is my favourite season of all. Apples ripening on the trees, flowers still blooming in the garden, vegetables to be harvested daily, cooler temps, glorious fall colours as the leaves change and cool season flowers show off their glory… zinnias and cosmos and sunflowers blooming everywhere… well, anyway, so much to enjoy at this time of year.
While the daytime temps are very high with this lovely late heatwave we are having, the mornings and evenings definitely feel like fall.
Early September Tasks
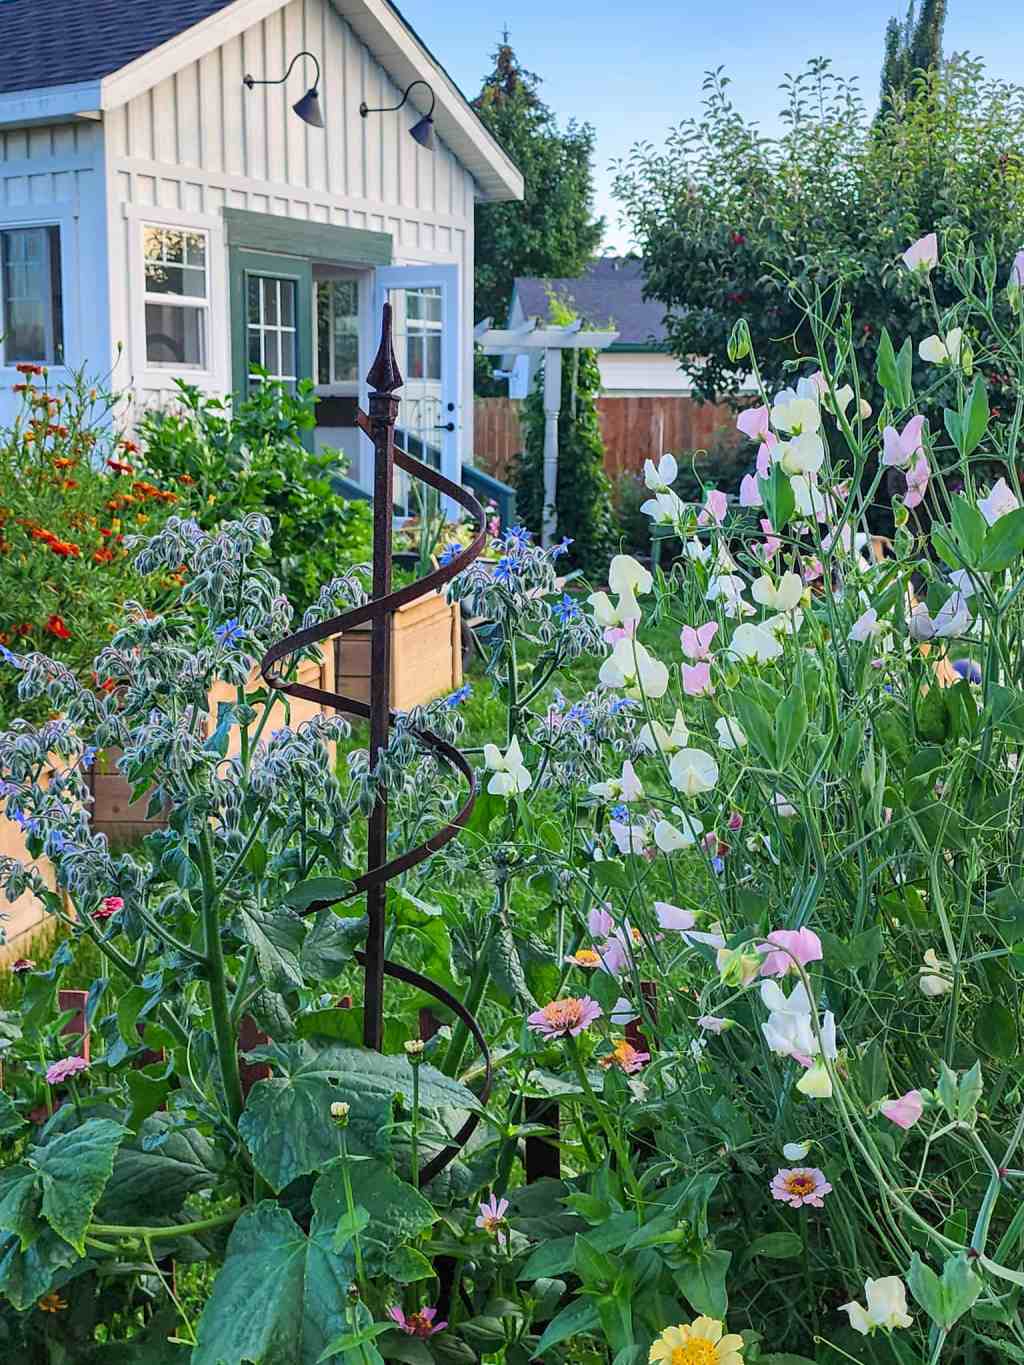
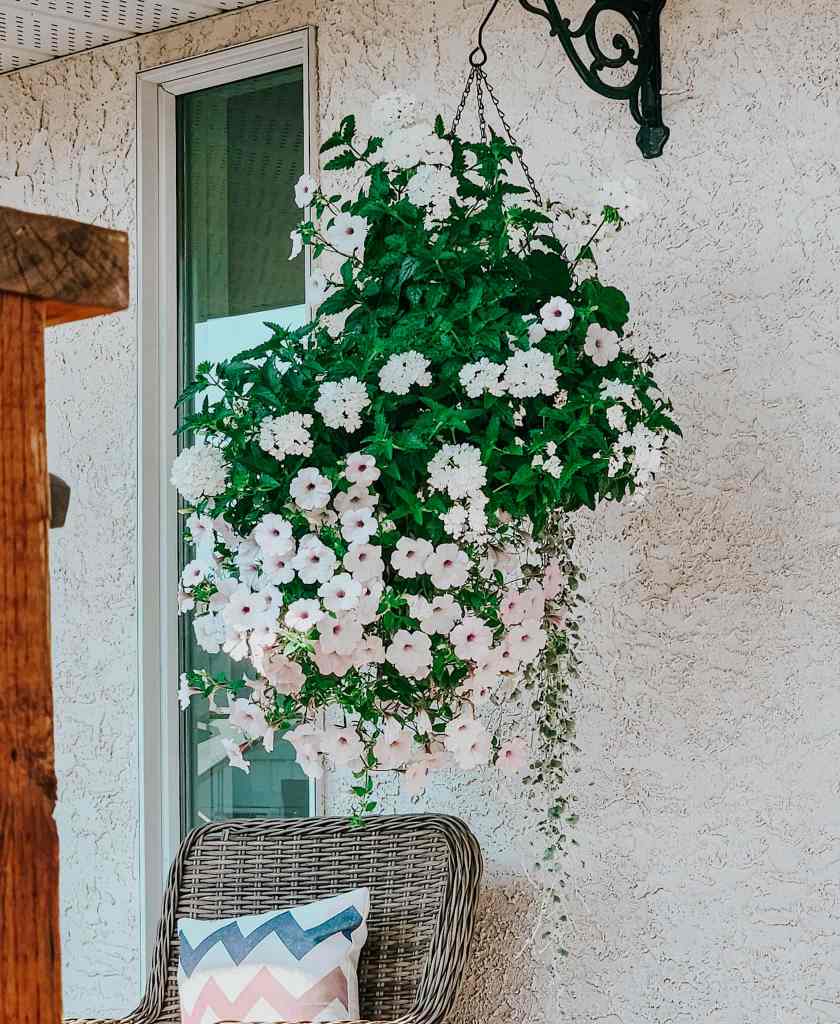
I have been loving my summertime pots and gardens. Everything is thriving, lush, full… and very pink (in my yard, that is). It somehow seems out of place now that it is starting to feel like fall has arrived.
So, I will be taking apart my lovely planters, baskets, and gardens. Sending them off to the compost pile, cleaning up the pots, putting them away in the shed… and planning for Hallowe’en (hahaha!).


I will stop watering them this week so that the foliage wilts down and the soil dries out. This make it easier for us to remove the plants from the pots and baskets.
Hubby is going to dump the smaller pots into the garden beds, soil and all, to add new soil life and micro organisms to the gardens, but we will leave the soil in the big pots and just refresh them with compost next year.
If you are planting autumn colours in your pots now, just add a bit of compost or bagged manure to feed the new plants till frost or snow takes them down.

The canna lily in this pot is huge. I saved it over winter last year and will be doing that again this year. To overwinter cannas is super easy.
- If it is large like this, you want to lift it from the pot. If it is smaller, you can just leave it in the pot.
- Cut off the flower stalks and leaves. Cut down to about 6 inches tall.
- If it is huge, like this one is, you want to divide the root ball in half or even into quarters.
- Place the root ball(s) into a pot, cardboard box, basket, etc… pop into the cold room/garage, potting shed. Some place cool but not freezing.

If you live in a cold zone, like my zone 3 prairie home, you can put pot and all into the cold room (cut off the foliage) and pull it out again in spring. It is fine going dry. I water about 2 or 3 times/winter, if I remember.
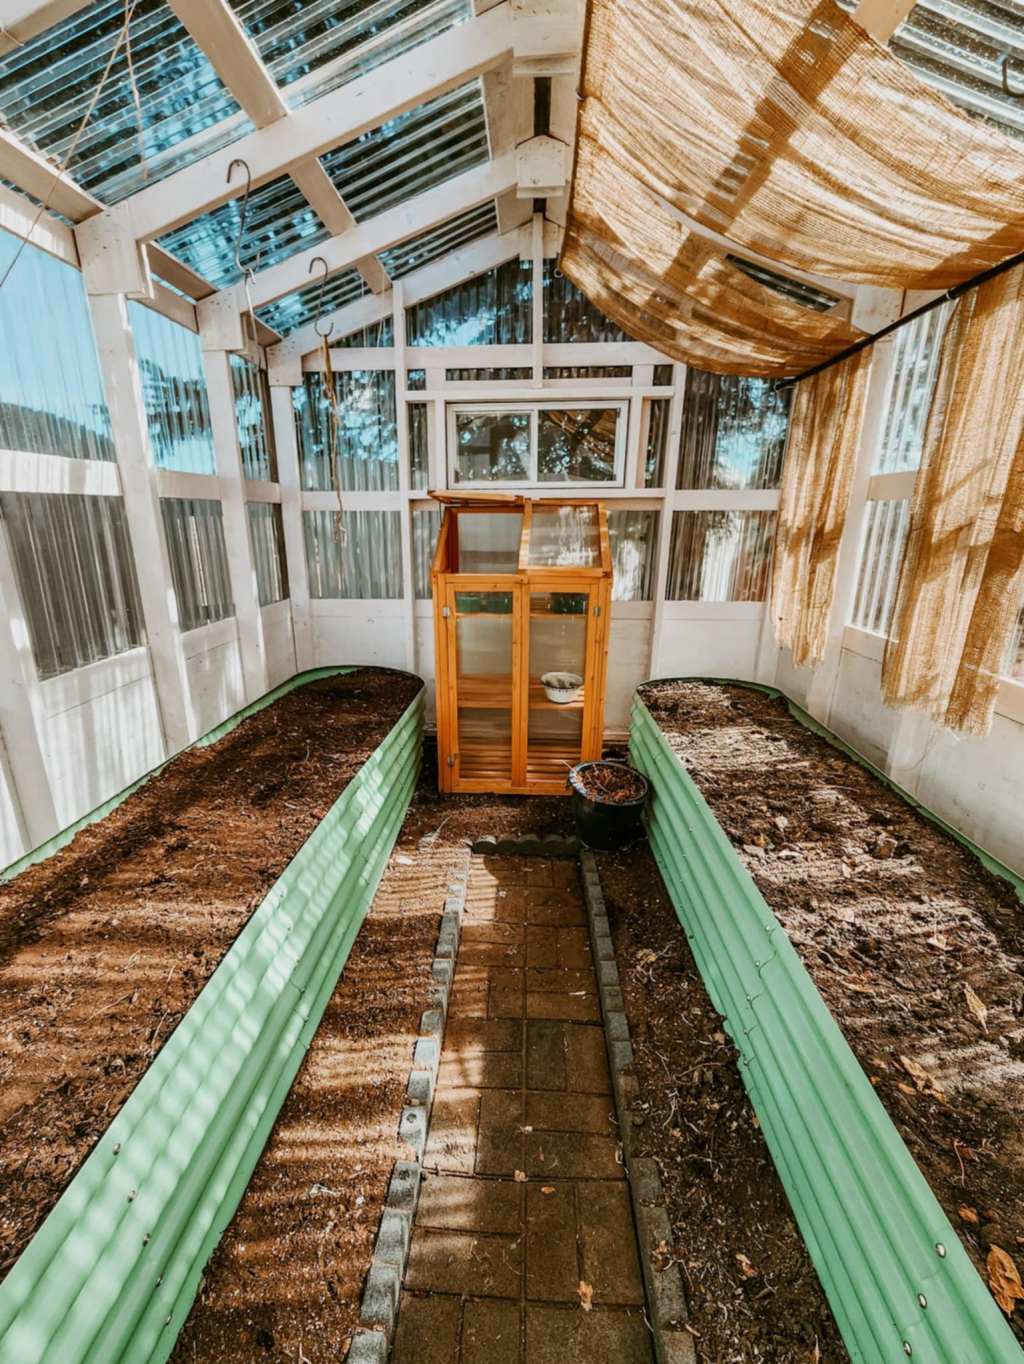
If you live in a warmer climates (zone 7 and 8), you can just take your pot and put it into a hoophouse or unheated greenhouse. It is fine going dry. I water about 2 or 3 times/winter, if I remember. You may want to upsize the pot if yours look like this one in the picture above. We had a heck of a time removing that from the pot in spring ; )
A client of mine (in Ladysmith) used to lift her cannas, divide them, put them into large pots that she kept on her deck for the winter. They were under the eaves so they did not drown in the west coast winter. In summer, she would plant them into her beds, giving the backyard a very tropical vibe. It all starts with just one canna : )
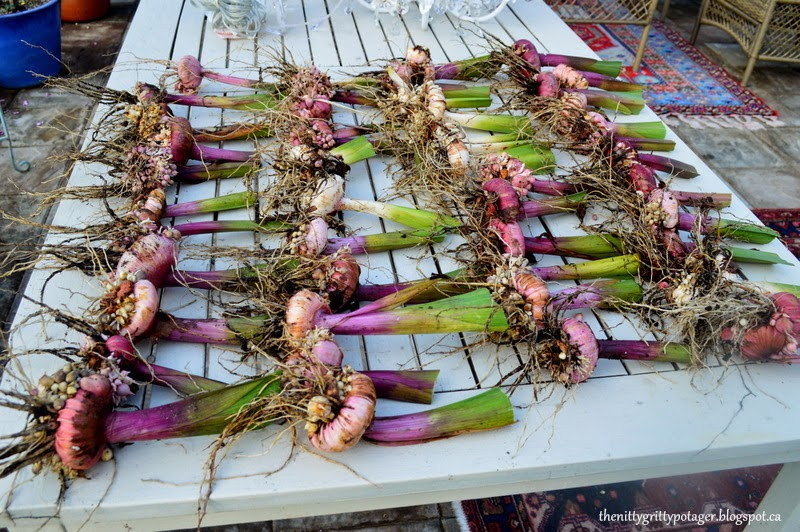
- Lift your gladiolas when they finish blooming. Cut back the tops to about 6 inches long.
- Cure in a warm, dry area with good airflow. If placed in a cold, humid area, they will not dry properly, this will lead to rot and mould.
- Lay them out on newsprint or cardboard, never on the bare concrete, and leave for 2 to 3 weeks in a bright, warm greenhouse, shed, warm garage, or furnace room.
- When fully cured (dry), remove the little cormlets, trim the roots, and trim the tops. If the old corm is still attached, remove and compost.
- Place the dry, cured corms in an ice cream pail, box, or paper bag with some barely moistened peat moss, potting mix, or pet cage shavings.

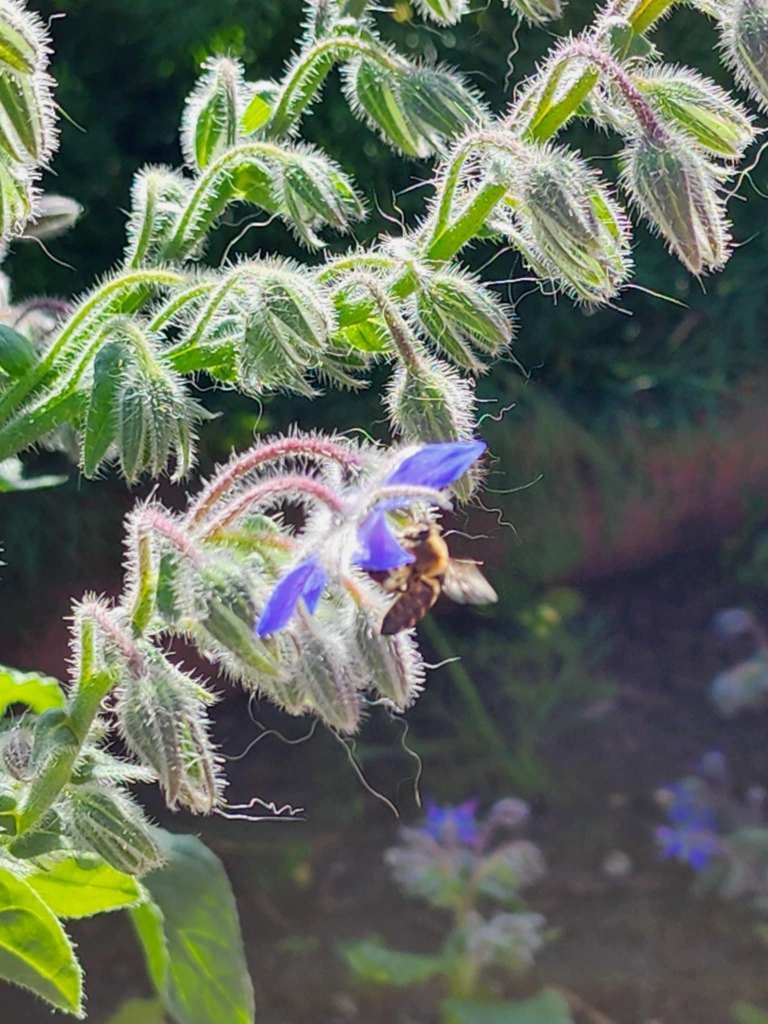
I am happy to say that my entire yard is just buzzing with bees. Lots and lots of the big bumbles this year, but bees and pollinators of all sorts and sizes. I have also attracted chickadees and some other birds to the yard, so my spring goal came to fruition.
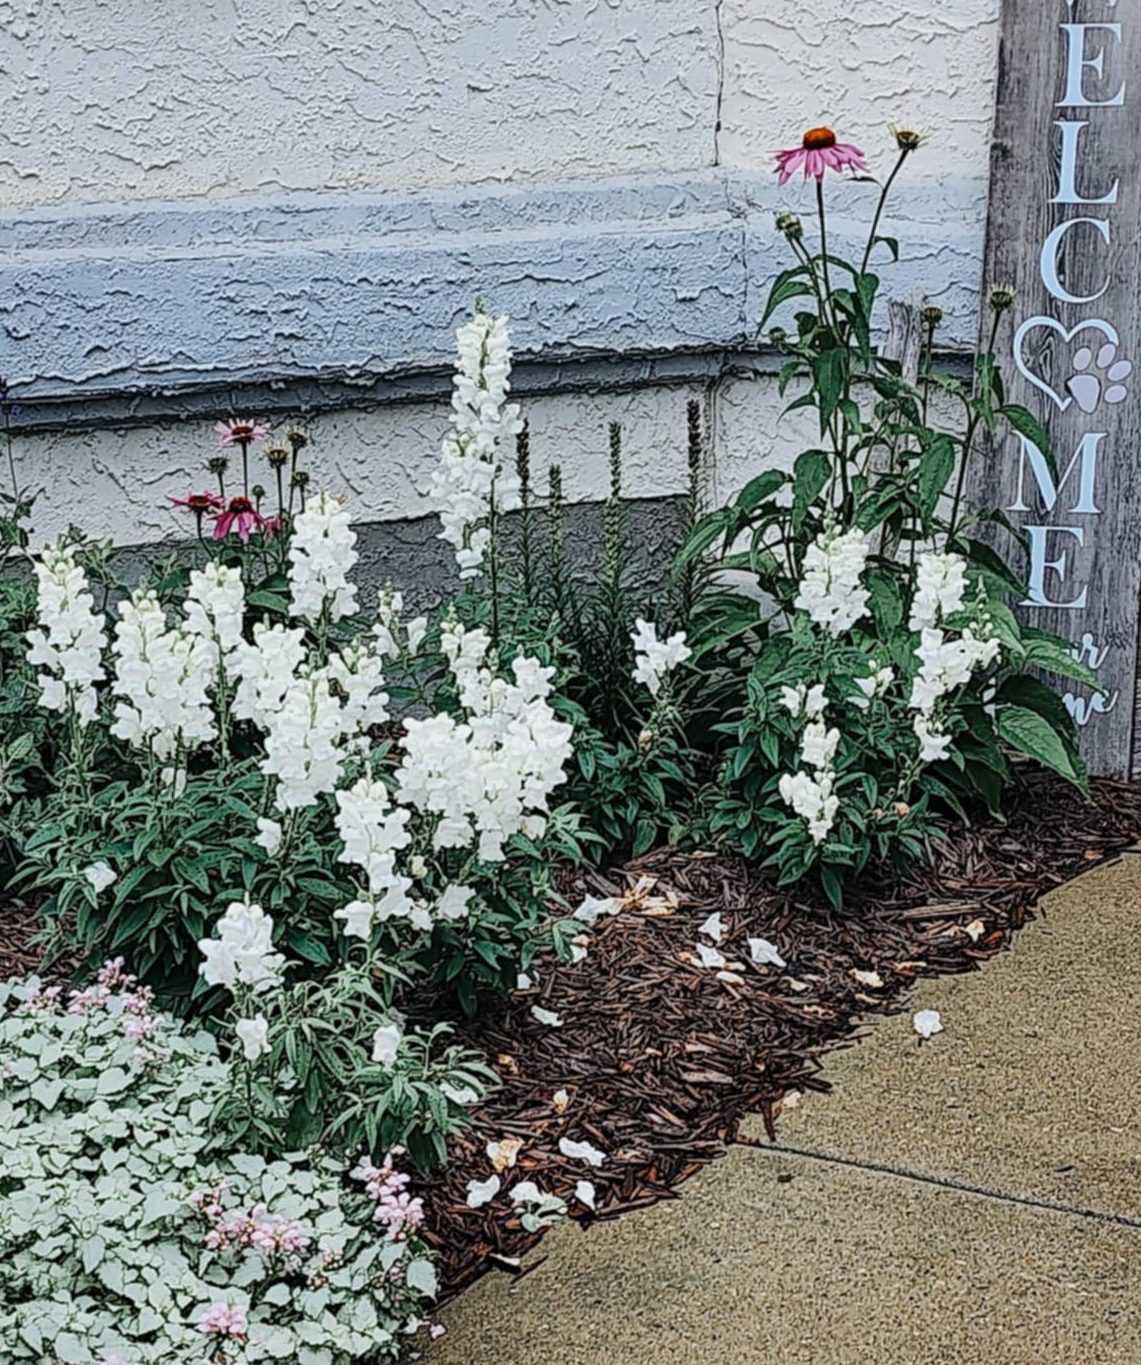


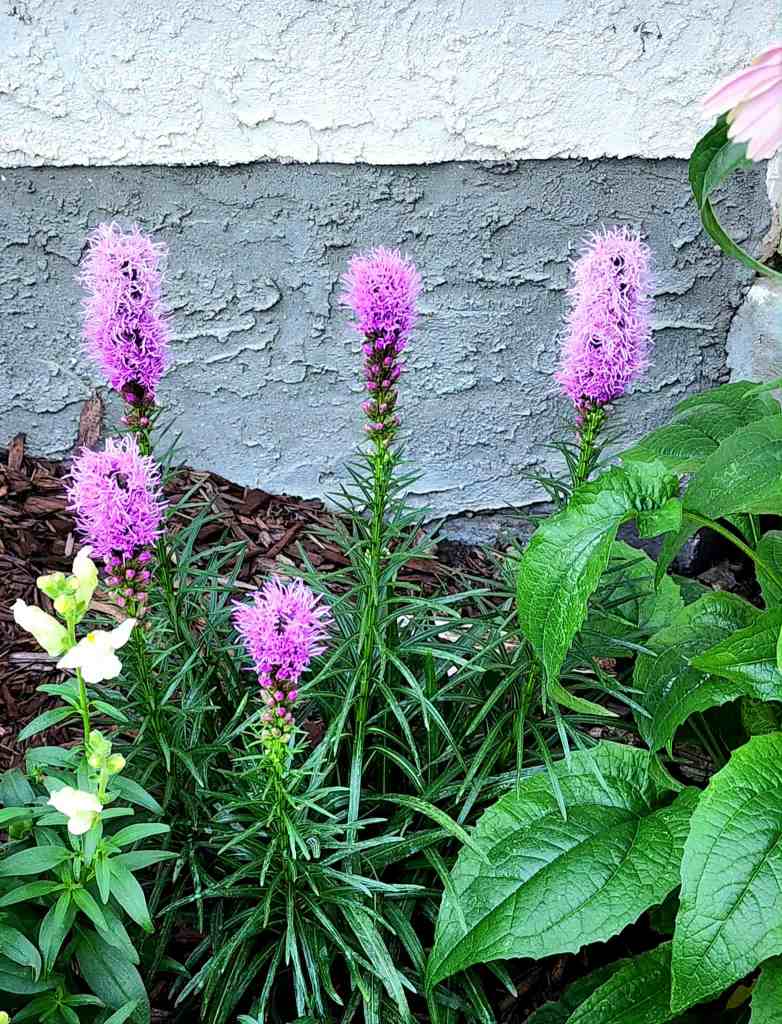
I wanted lots of birds and bees, and I got them! I have been watching them as they buzz from blossom to blossom and can tell you that the bees love white salvia (middle picture) the best! They like the blue ones, but love the white ones. They love snapdragons, you just see their big bumble butts sticking out of the blossom. Open petaled roses are a favourite, as are the zinnias.
A few really important things to note…

- Stop pruning. Full stop. That is it. Do not prune trees, shrubs, perennials, anything that you want to overwinter. Pruning promotes new growth. The last thing you want this late in the season is new growth. It is time for them to be shutting down for winter.
- Stop fertilising anything besides annuals (assuming you wish to keep annuals flowering for a few more weeks). Fertilising, as above, promotes flowering and growth, which is not what we want this late in the season.
- Stop pest control. Stop using any and all bug remedies, even the so called organic ones. I just had an discussion with someone who was claiming that DE is not a pesticide. Anything used to kill bugs is a pesticide. The gardens are full of activity from bees, pollinators, ladybugs, hoverflies, and other beneficial insects. Yes, you are also seeing more pests right now, more aphids, whiteflies, and leaf hoppers, maybe caterpillars, too. Just leave them be. The birds will eat lots of the caterpillars and other bugs right now (did you know that hummingbirds also eat bugs?). The ladybugs are out there feasting before they go into hibernation. Bees and hoverflies are happily buzzing from flower to flower. If you use something on the aphids, you are killing bees, ladybugs, hoverflies, parasitoids, too.
- By the way, I have had aphids on my dahlias but the ladybugs are out in full force, taking care of business.
- Use water to get rid of bugs. A strong blast of water on your dahlia buds will get rid of those black aphids. A strong spray will get rid of some of the whiteflies and leafhoppers that are all over your grapes, virginia creepers, hops…. Knock them down and out with a spray every day or two to lessen the damage on the foliage.
- Ignore the fall webworms and other caterpillars on your trees. While they eat the leaves of the trees and are creepy, they will kill your aspens, fruit trees, etc… Those leaves will soon yellow (some already are) and fall, the trees have begun to ready for winter, so losing their foliage at this time of year, will not matter. Plus, the birds will feast on the caterpillars.
- Wood wasps will not harm you, or your deck. If you see these ugly looking things, rest assured that they do not sting, do not bite, they are just after rotting wood. If you have a bit of rot on your deck boards, they make take a few bites, but it is very little. They are not destructive like termites or carpenter ants. Leave them be, they will flit off to the next deck to look for a bite.
- BTK is a friendlier weapon against caterpillars on your food crops. If you did not get your garden netted in spring and the caterpillars and cabbage moths are after your cabbages, broccoli, cauliflowers, kale, etc… While BTK will not harm other insects or birds, is safe to use, netting is by far the most organic, most earth, bird, bee friendly method.
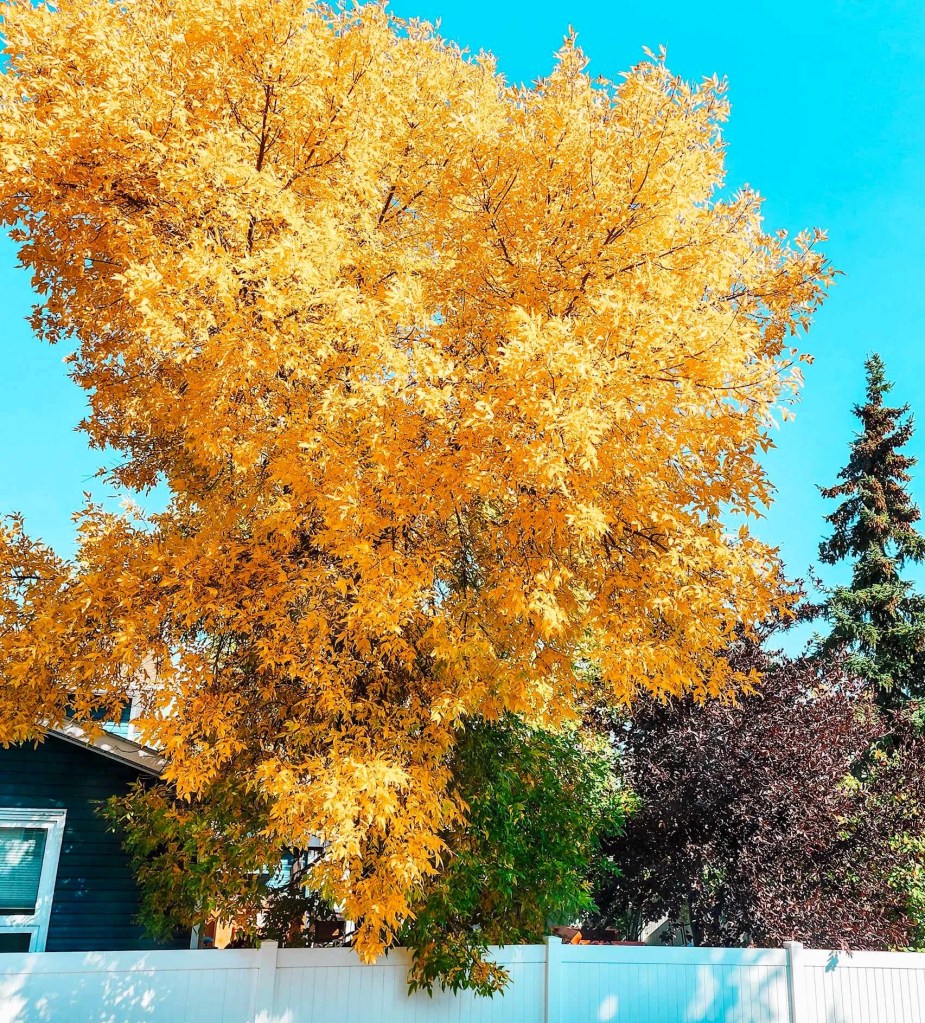
A Tip from the pros about watering your trees in fall… Don’t.
The pros say that if you are watering your trees at this time of year, you are keeping them green and growing. Stop watering now until they have lost all their leaves. This is kind of a hardening off process that helps them get ready for winter.
After they have lost all their leaves is when you can give everything a good, deep soak.

Powdery Mildew
You may be finding mildew on cukes, zukes, squash and pumpkins. This just comes with the time of year, no point in doing much about it as the heavy morning dews will just keep bringing it back. ‘Tis that time of year.
Mildewed leaves can be tossed in green bin or composted. The mildew will not harm the soil in any way. To prevent mildew in summer, make sure that you have great air flow around your plants, and water at soil level in mornings (ideally). I have so many leaves as I grew pumpkins, winter squash, and zucchinis this year, that some will go in the bin and some will be placed with the potted plants on top of the beds to rot down and feed the soil.
- To store potatoes, let the tops die back completely, go brown and wilty. Lift them, wash them, lay them out to dry, and place in a cardboard box in your cold room, garage, potting shed… You want to place them where they will stay above freezing but cool and dark. The cardboard box works great as it absorbs moisture, does not allow it to build up inside the box, and keeps the light out so they don’t go green.
- To Store Onions – When your onion tops start to fold over at the neck, push down any that are still standing tall. Leave them sit for a few days so that they stop growing, start to shut down, and cure better for storage. If you are going to use them right away, you do not need to do this. Once the tops start to wilt, lift the onions and place them out to cure. Ideally in a shaded area with good air flow. If you wish to braid them, wait till the tops are brown and no longer full of moisture to prevent mould from setting in. I cut the tops off, clean up the roots, store in a basket or box.
- The carrots are being left in the raised bed as long as possible. I want a couple of good frosts to sweeten them up before I harvest them. Water once a week till harvest. Then you cut off the tops and bottom, wash, dry, and place in a plastic bag with a few holes punched into it and a paper towel. Replace the paper towel once a month in winter, place in fridge crisper, they should keep nicely till next summer. Truly!
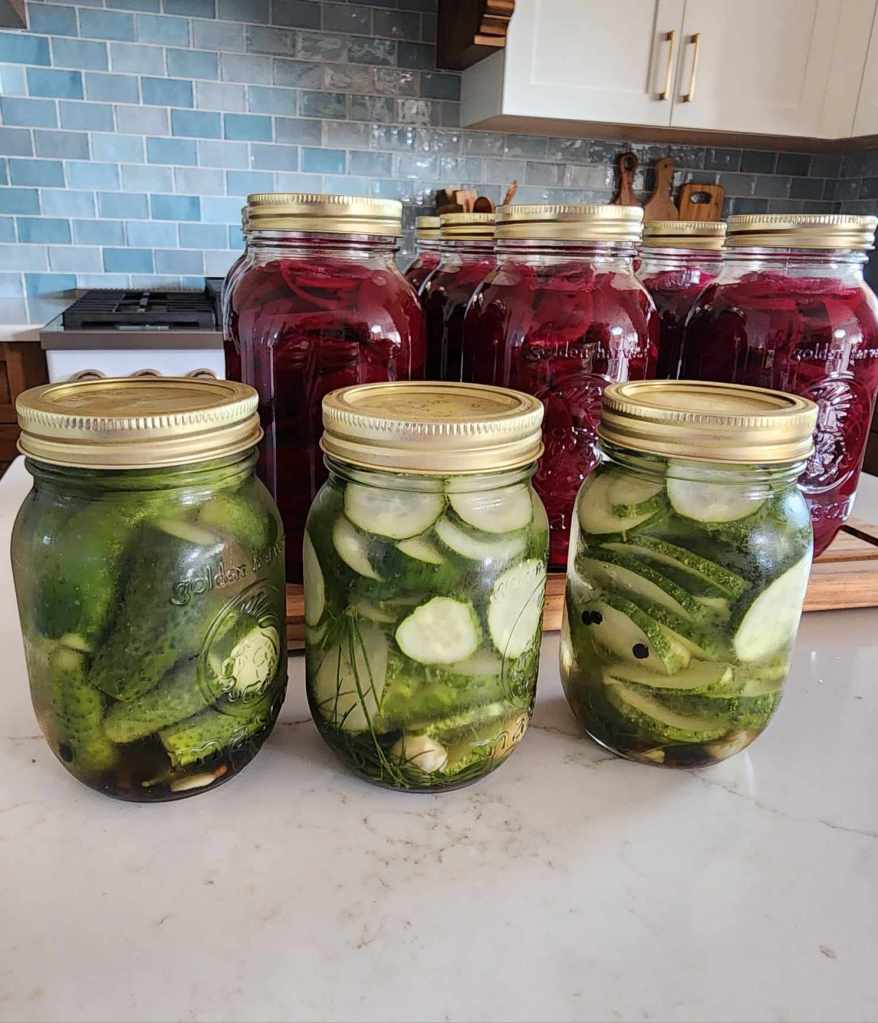
- My cukes and zukes are still going strong as we just had summer arrive a week ago. They are late but look great and are producing like mad. We are making quickles with the gherkin type cucumbers and making the long English cucumbers into what we call burger toppers – sliced pickles.
- Beets will be harvested for pickling and some stored in the garden for roasting at the Thanksgiving dinner. Till then, they will stay in the garden and be watered once a week.
- The bean tower is going crazy. Lots and lots of yummy Kentucky Wonder pole beans.
- I have celery growing so well, baby lettuces, scallions, basil and other herbs, etc… all being harvested when needed.

I like to start with a new day timer/journal in late summer. To write down my thoughts on this year’s garden while everything is still fresh in my mind. What did well, what did not, and what to change. I have already planned next year’s planters and baskets!
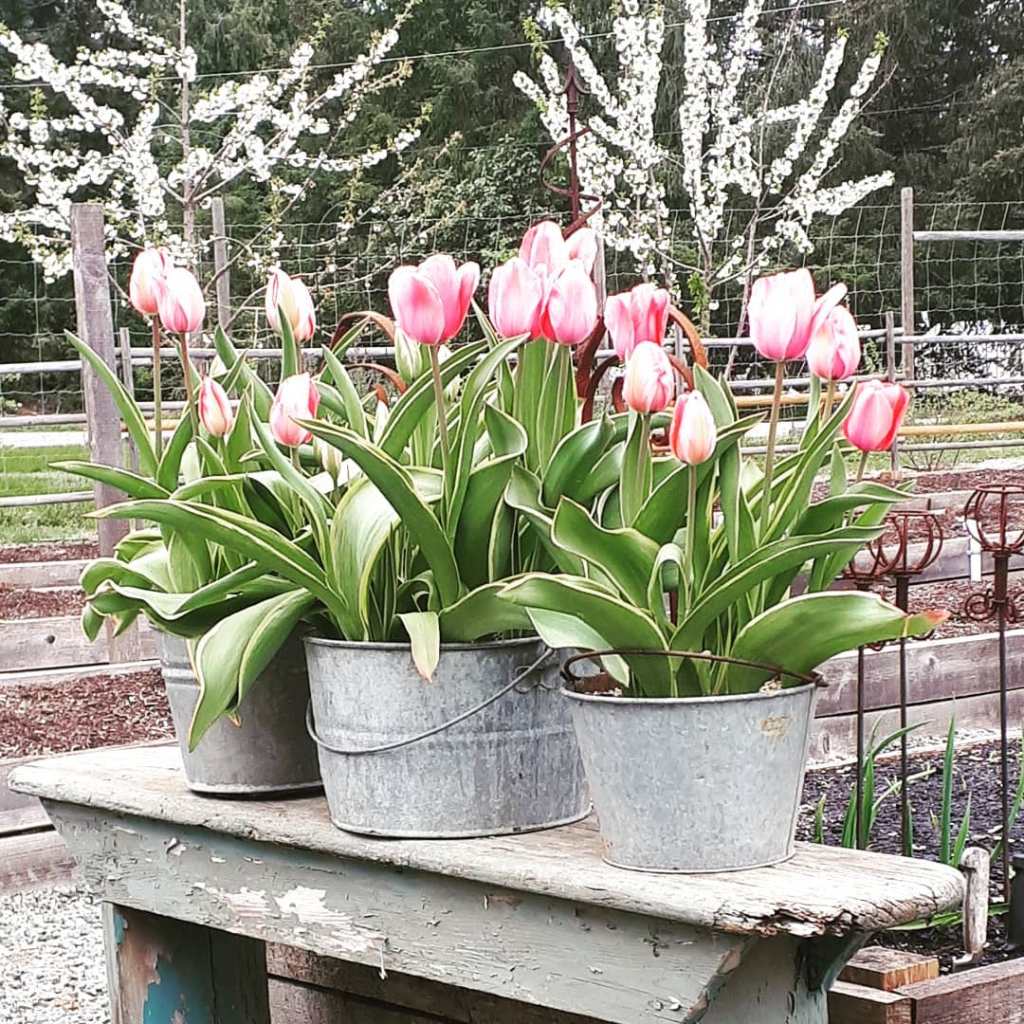
There will a lot of white next year ; ) White geraniums, white verbena, white bacopa, white begonias, white lobelia, white nemesia, silvery white petunias, silvery trailing dichondra.
There will also be a lot of blush pinks… apple blossom begonias, pink and white striped petunias, sparkling rose verbenas, blush pink nemesia and lobelia, plus fuzzy green and grey helichrysum licorice vine,
If you are in for this with me next spring, let me know in the comment section below : )
Prepping for Spring 2026…
- Sow seeds for echinacea, forget me nots, scabiosa, cornflowers for earlier blooms next summer.
- Divide peonies.
- Stop deadheading your zinnias, cosmos, dahlias, marigolds, calendula, nicotiana, larkspur…. Allow them to brown up so that you can save those seeds for next year.
- Order spring bulbs and garlic to plant this fall, in late September or early October.
- Take cuttings from your summer annuals for next year – fuchsias, salvias, geraniums.
- If you want to take in your geraniums (pelargoniums), remove them from their pots, pinch off any yellow leaves and finished blossoms to tidy them up a bit. I like to take off quite a bit of their growth. Check for bugs. You may even want to spray them with a soap spray to ensure that you are not bringing bugs into your home. Pot them up into 6 or 8 inch pots with fresh potting soil. Place in a bright window, away from your house plants until you are sure that they are pest free.
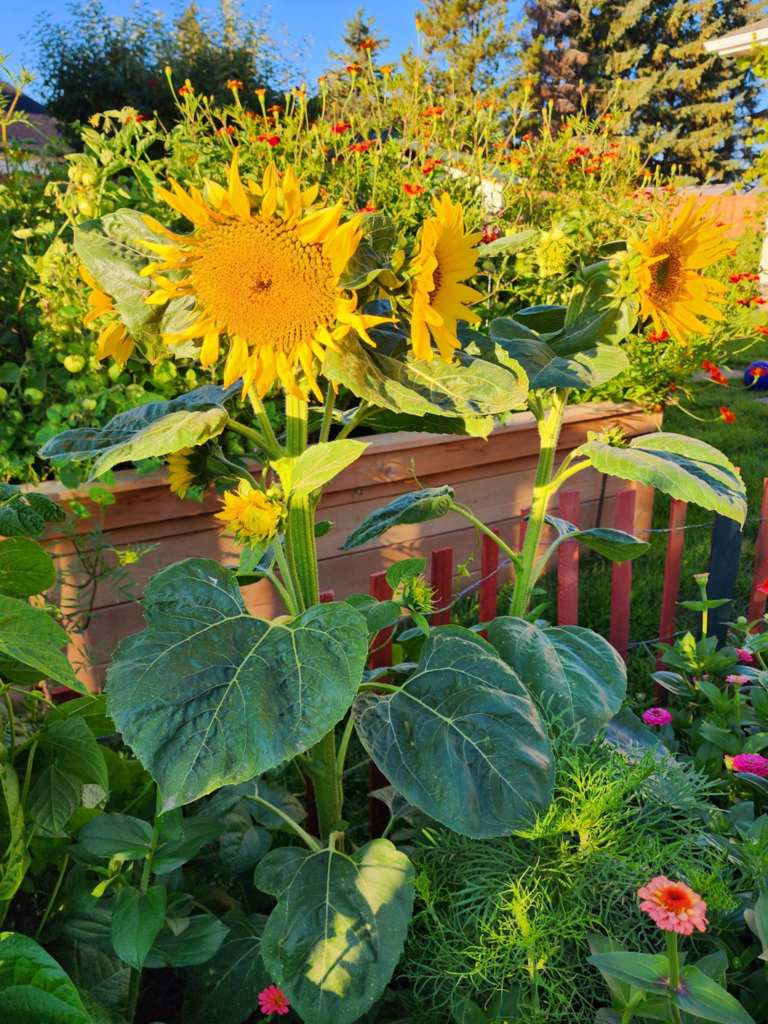
- Leave sunflowers standing for the birds to enjoy the seeds. Or, once the seeds are ripe, cut off the flower heads and nail them to the fence, hang them from something, or lay them on a table.
- Keep weeding! To smother weeds, cover them weeds with newspaper, cardboard, or brown craft paper. Water the paper, cover with mulch to keep it in place.
- Make new beds by lasagna gardening – layered beds. Lay down cardboard/newspaper, water in, top with tree trimmings, grass clippings, garden waste, straw, leaves, then top that with manure, soil, or compost. Let rot down over the winter, ready to go in spring.
- I love raised beds so we have both wooden ones and metal ones. These metal ones are sturdier, stronger, will last longer than these ones. (I have both kinds ; )
- Edge your garden beds to make clean lines, clean edges. It will look so sharp!
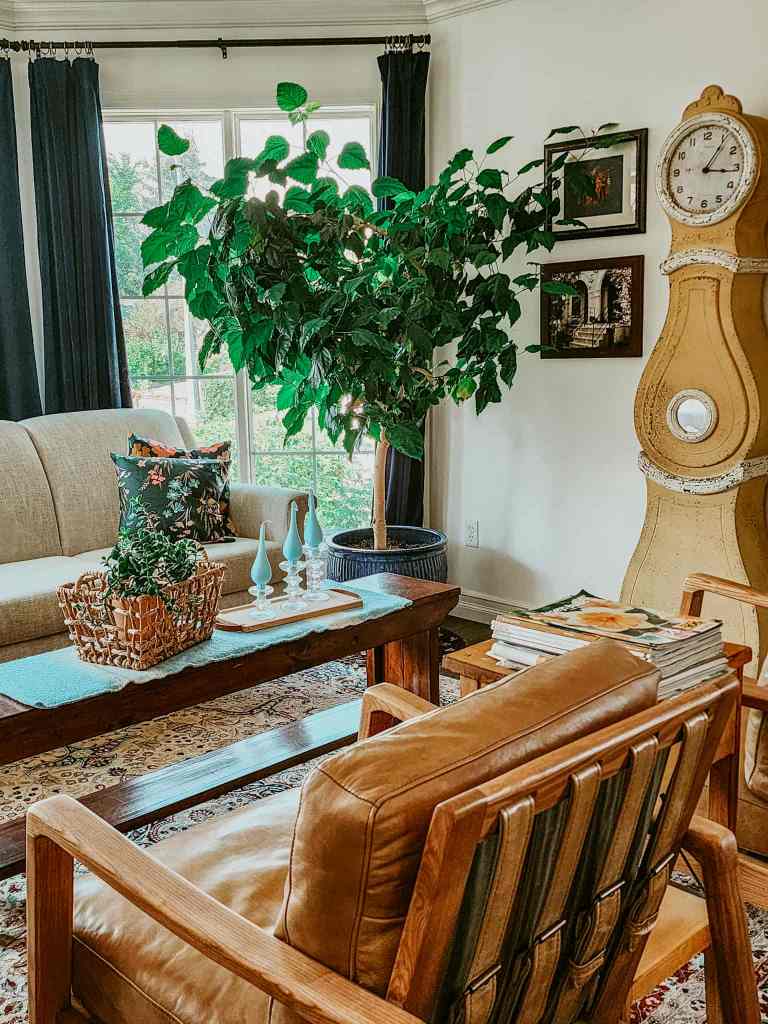
Last but not least… repot your houseplants if they need repotting while you can make the messes outdoors.
FAQ’s
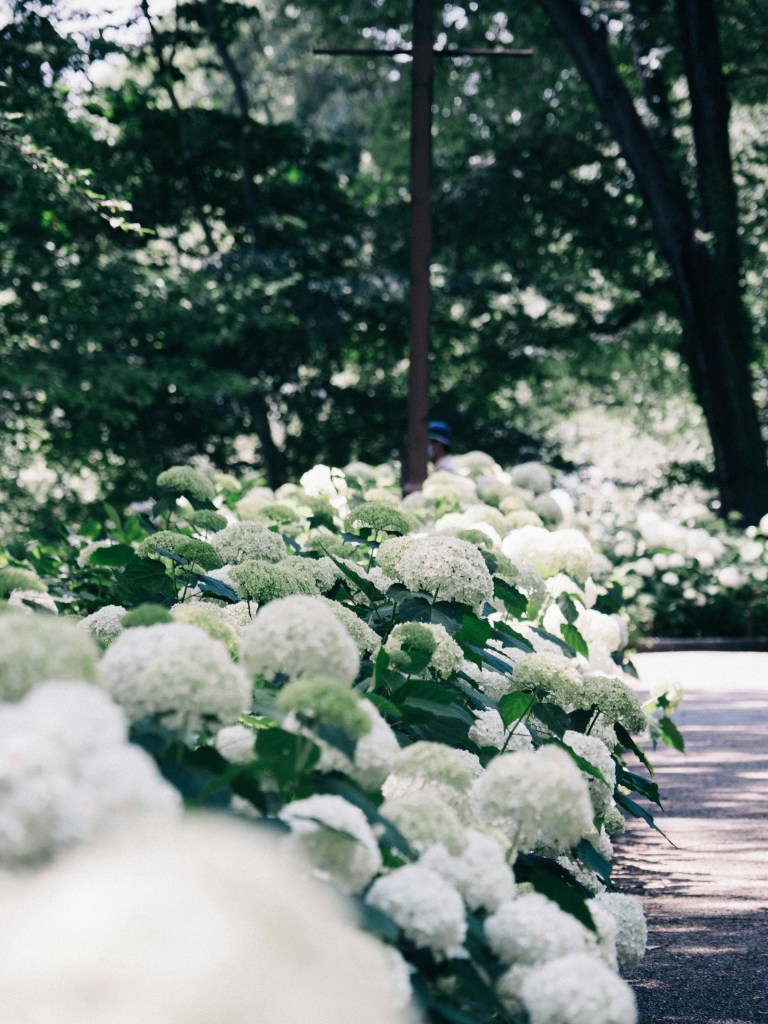
Question #1 – How/where do I cut off my hydrangea blooms!?
Tanja – Great question! You can prune your hydrangeas in the spring or fall. In fall, after all the leaves have died off and the flowers have gone brown. You do not want to do it too early, or you will be promoting new growth… not what we want at this time of year.
To prune most hydrangeas smooth leaf hydrangeas, you can take them down by just one third, or as far as 6″ above the ground. They flower on new wood so will make their buds in the spring. These are the round ball type hydrangeas, like Annabelle and the new Incrediball and Invincibelle.
Panicle hydrangeas are the cones shaped ones, like Lime Light, Pinky Winky, etc… They also bloom on new wood so can be pruned in spring or fall. Take them down by 30% or 1/3 of the stem’s overall height.
Cut just above a bud (the spot where the leaves grow out of). If there are two or three flower heads coming off of one stem, you can either cut each head off and call it good, or go the main stem and cut just above a bud. This might depend on how tall your hydrangea is and what height you want that branch to be at. I usually will go to the main stem bud.
Oakleaf hydrangeas (they have leaves that are shaped like oak leaves) bloom early in the spring (only grow in the warmer zones, we cannot grow them here on the prairies). They bloom on old wood so you want to prune them right after they finish flowering. If you prune them later in the season, you will have taken off next year’s blooms (just like lilacs).
Question #2 – Can you compost powdery mildewed leaves?
Tanja – Yes, absolutely! Powdery mildew is physiological (weather and elements) and will not survive the composting process.
Happy September ~ Tanja
I think this post is kinda long enough, eh? More questions or comments? Ask them below! I would love to hear from you : )


Leave a comment