
You all, the weather has been wild. We went from cold winds every single day (that was sucking the life right out of the plants… and me!) to tons of rain, followed by sunshine and more rain. The plants are loving it, of course.
Our grass had been on the verge of going brown already in June, but is now lush and green again… not sure for how long, but the rain has been welcome.
Summer has finally arrived (sort of). This morning was still just 13 degrees and that felt pretty darn chilly!
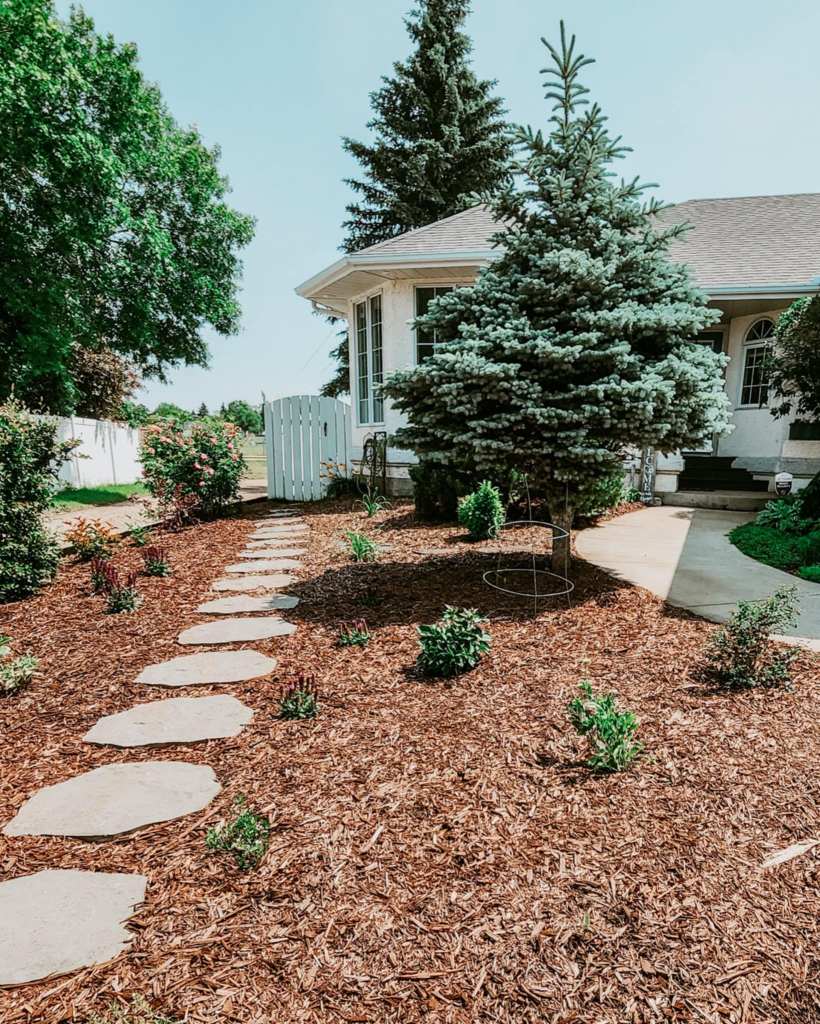
To fill you in on the new front yard….
It still looks kind of sparse and will do so for quite some time yet. Can hardly wait till it fills in. I do not, however, want to fill it with plants just for the sake of filling it. I am waiting until I find the plants I am looking for to add them to the mix, plus these ones will grow and spread as they mature.
- We removed the sod.
- Raked out a good 4 plus inch layer of compost over the entire front yard.
- Planted new shrubs to eventually fill in the hedgerow. We went with an assortment of shrubs as the former owners had already started one of those… sort of. They had planted a variety of shrubs, but they are all spaced very far apart. We filled in the gaps with…
- A variegated dogwood, yellow twig dogwood, Amber Jubilee ninebark, purple leafed sandcherry, a white rugosa rose, and a Dwarf Korean Lilac. We should have lovely colour in either leaves, flowers, or the stems to add interest year round.
- My real reason for planting this hedgerow is to appeal to the songbirds. My 9 year old grandson has a cotoneaster hedge that is just loaded with little birds. He fills the feeders, makes sure they have water, takes super good care of his bird friends. Must admit, Nannie is a little bit jelly of his birds, hahaha.
- We planted a variety of small shrubs and hardy perennials (deer and bunny resistant) in hues of purple, white, and a bit of pink.
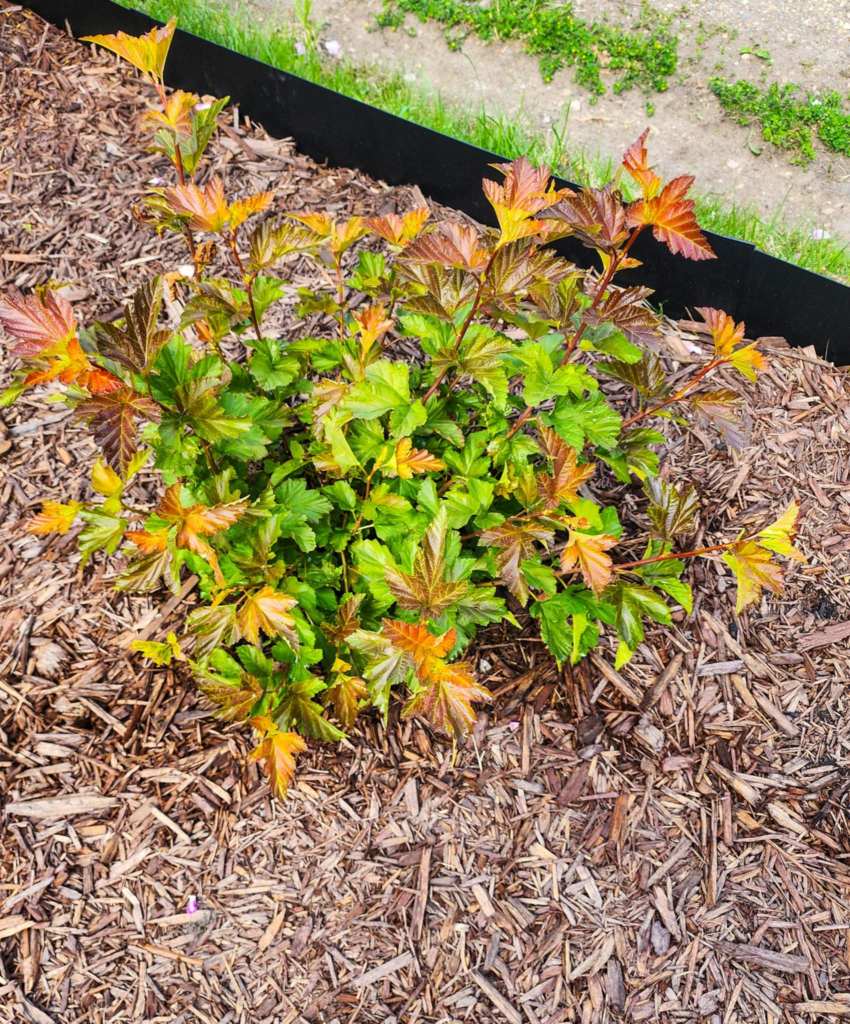
- Last of all, we put in a 8 inch high metal edging to keep the mulch in our yard and the grass in the back alley (or side alley, in our case). It is super sturdy and looks sharp.. as in good looking, not actually a cutting kind of sharp. We put in black metal edging, hubby felt it would go better with the rest of the house, but I really, really wanted to do the rusty ones.
Sowing & Planting – Now that you can see where your empty pockets are, you can plug in some seeds or seedlings into those spots. I am going to take a couple of cuttings from my trailers, dip them into root starter, and pop them right into the baskets for added colour wherever I have an empty spot.
In the food garden – Some of you may have empty spots from harvesting lettuces, spinach, perhaps broccoli and the like, and some empty pockets may be from cutworms, grubs, root maggots, etc… all the gross little things (urgh). Whatever the reason, there is still time to fill in those empty spots with things that have a short maturity date. I like to stay under 70 days, but the shorter the better. (the maturity date is on the seed packet – it will tell you how many days it will take to go from germination to maturity, aka harvest time).
The goal is always to have no soil showing. This keeps moisture in and weed seeds from blowing in. As long as you have good air flow around your garden beds, you will not get powdery mildew. Use weeping hoses to keep your beds watered (turn them on for 15 minutes every 3rd of 4th day.) If you have a timer, set it to go off around 4 or 5 in the morning.
What to sow…
- Carrots – baby carrots like the round ones (Paris Market, Romeo) or tapered ones like Kuroda, Chantenay, Napoli.
- Beets.
- Bush Beans. Pole beans take much too long to mature, so stick with the bush beans, which will likely all be 50 to 60 days maturity).
- Lettuce – if you have a good spot for them, they do not like heat, so a morning or evening sun location is best. Butterhead, romaine, and loose leaf types tend to be more heat tolerant)
- Kohlrabi – this is the time to plant kohlrabi. It likes to start warm and finish growing in the cool of late summer, early fall.
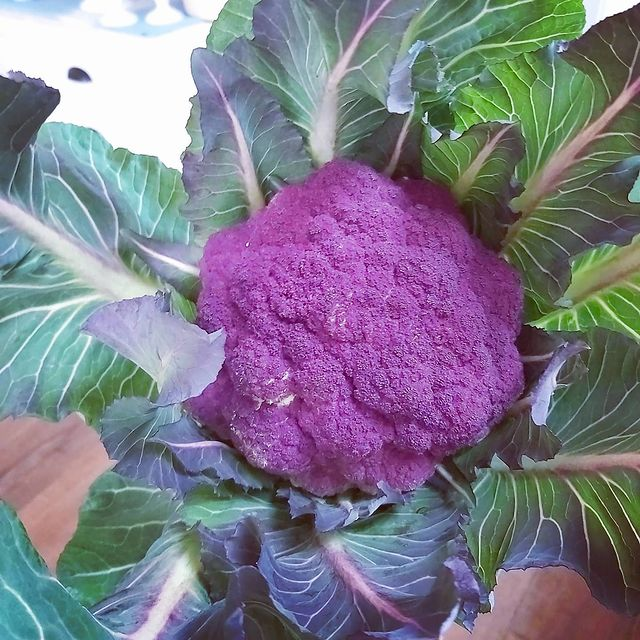
Those of you in warmer zones should be thinking about starting your winter and spring harvest seedlings soon. I kid you not. Start your purple sprouting broccoli, winter cauliflowers (make sure they are winter ones – the purples tend to do really well!), kale, cabbage)
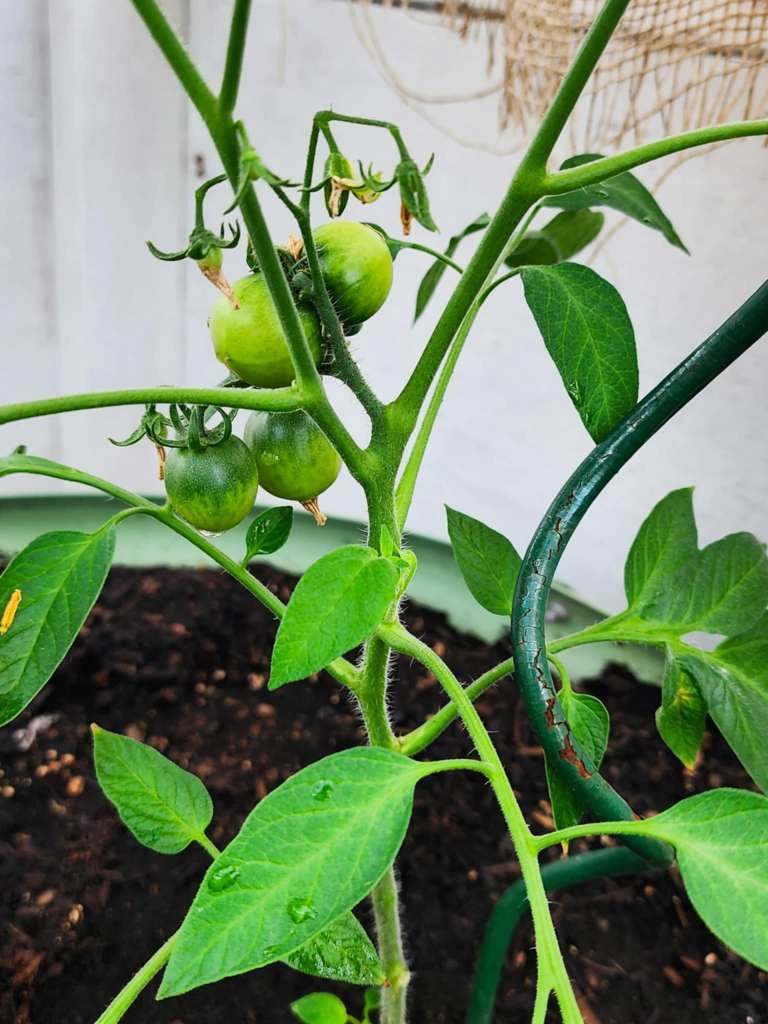
Tomatoes... are flowering and fruiting. Things are looking good for the tomatoes thus far! I have them in 3 different locations this year. Going to see where they fare the best. You know how I love a good trial. Maybe, with luck, they love all three spots so we end up with a huge batch of tomatoes.
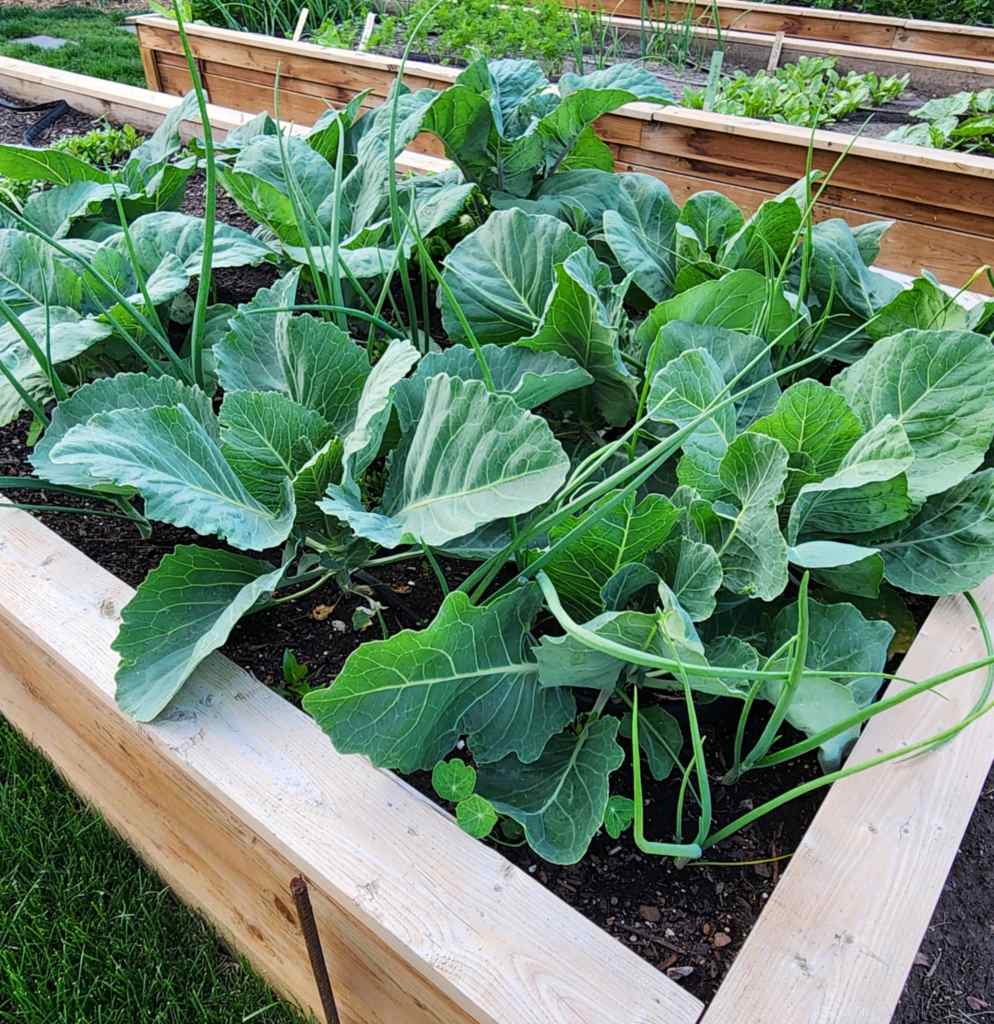
Mine are all growing in raised beds so need no additional fertiliser as the beds were topped with compost in spring (despite what Miracle Grow would like to lead you to believe, healthy garden soil does not actually need or benefit in any way from additional fertiliser ).
If yours are looking peaky though, maybe you have very poor soil, or are growing in pots, you will need to feed them. Feed with compost tea, manure tea, or a tomato food every week or bi-weekly, as recommended on the container. This pepper food would be great for both peppers and tomatoes, has kelp meal, and all the nutrients to keep your tomatoes happy with healthy green foliage, lots of fruiting, and ripening, too. In pots, top the soil with a tablespoon or two of epsom salts once a month (this is not needed, not recommended in garden beds).
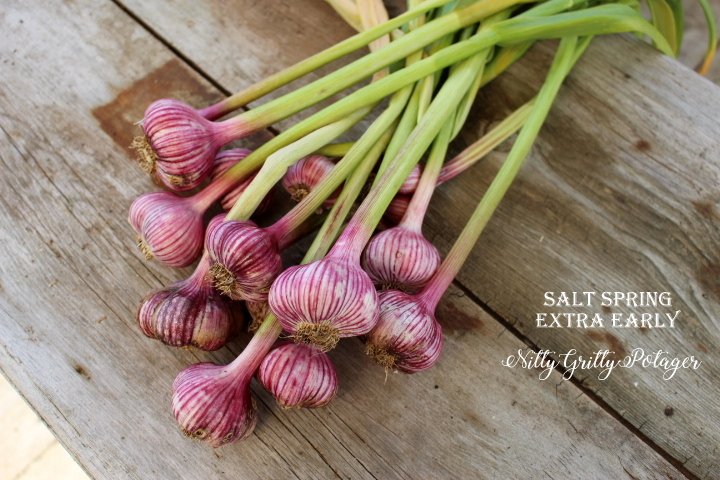
Garlic has just made scapes here, so it is going to be ready to harvest in about 4 weeks time. I will stop watering in two weeks time, to make sure the garlic is not water-logged and cures well.
I lost a ton of garlic. Or rather, a bunch of them simply did not come up. This year, I only had about 1/3 of my garlic come up. Sob! I think I may have buried them too deep? I am having a hard time converting from a zone 7 to a zone 3. (In a Zone 7 you just plant them 2 inches deep, with the top of the garlic one inch below the surface.) That said, I did talk to the local garlic farm and she said it is always a bit of a guessing game here on the prairies. Said they have often gone too deep and sometimes not deep enough. Sigh, lol. Good to know that it is not just me, but that does not make me feel better about the small harvest this year. Nothing to share with the neighbours at Christmas time.
Anyway, this fall, I will only go down about 3 or 4 inches and then heavily mulch the bed after a few good frosts. Crossing my fingers for a fine crop next year.
If you are already at the harvesting stage (only 4 green leaves at the top of the stalks), lift and clean off the soil, hang or lay out to cure. I like to cut off the roots while they are still soft and to peel one layer of skin off of mine right at harvest. This removes the soil from the bulbs so that they cure well and do not get blue/grey mould. It is so much easier, too, than waiting till they are all dry!

Weeding – a constant, even in the heat of summer. Purslane seems to be everywhere this year. Where on earth did it come from? It is out front in the rose beds, it is in the pathways, it is in the raised beds. Honest to goodness, seems to sprout new ones over night. Keep on picking! This stuff will quickly take over your beds and crowd out your seedlings. Apparently, it is edible and some find it yummy so if you like, check out how to eat it when you pull it from your gardens. I will not be joining you on that journey ; )
In summer, our clay soil tends to bake into concrete, the best time to weed so that you get roots and all, is after a rain or after you have watered the garden.
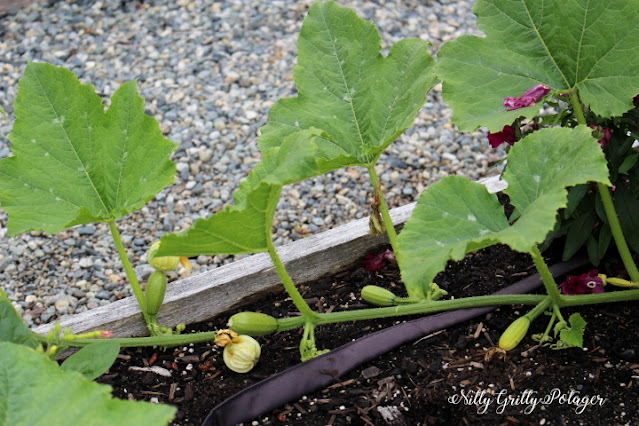
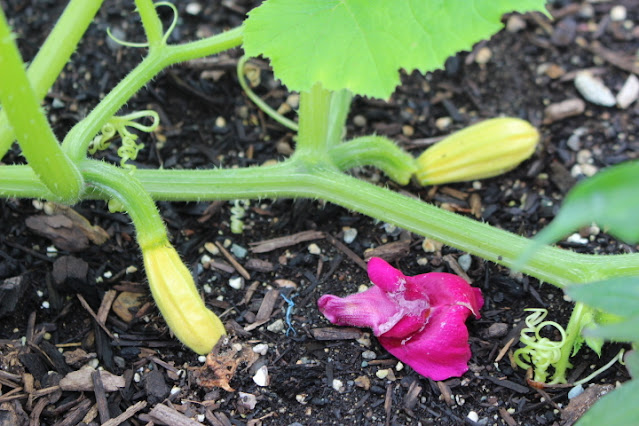
Winter and Summer Squash – In the top picture you can see the spaghetti squash putting on loads of wee little squash… but in the bottom picture you can see two of them have yellowed and withered. This is normal. Nothing wrong with your plant or your soil, those blossoms just did not get pollinated.
Squash of all kinds, winter and summer, make both male and female blossoms, these blooms are only open for one day. You need both a male and a female to be open at the same time for pollination to occur and this can sometimes take a while. Once they do, the bees go from flower to flower to pollinate them. Some folks will hand pollinate the females in order to ensure pollination.
What can you do about it? Plant lots of squash. They do not have to be the same kind to pollinate each other… can be zucchini, pumpkins, pattypans, etc… ideally it is summer squash that pollinate summer squash, winter with winter, but do not stress it if not. As long as there is a male and a female flower blooming at the same time, you will get squash : )
Ps, this cross pollination only matters if you are going to save the seeds. Seeds saved from squash growing close together will give you frankensquash. It does, however, not affect them at all this year.
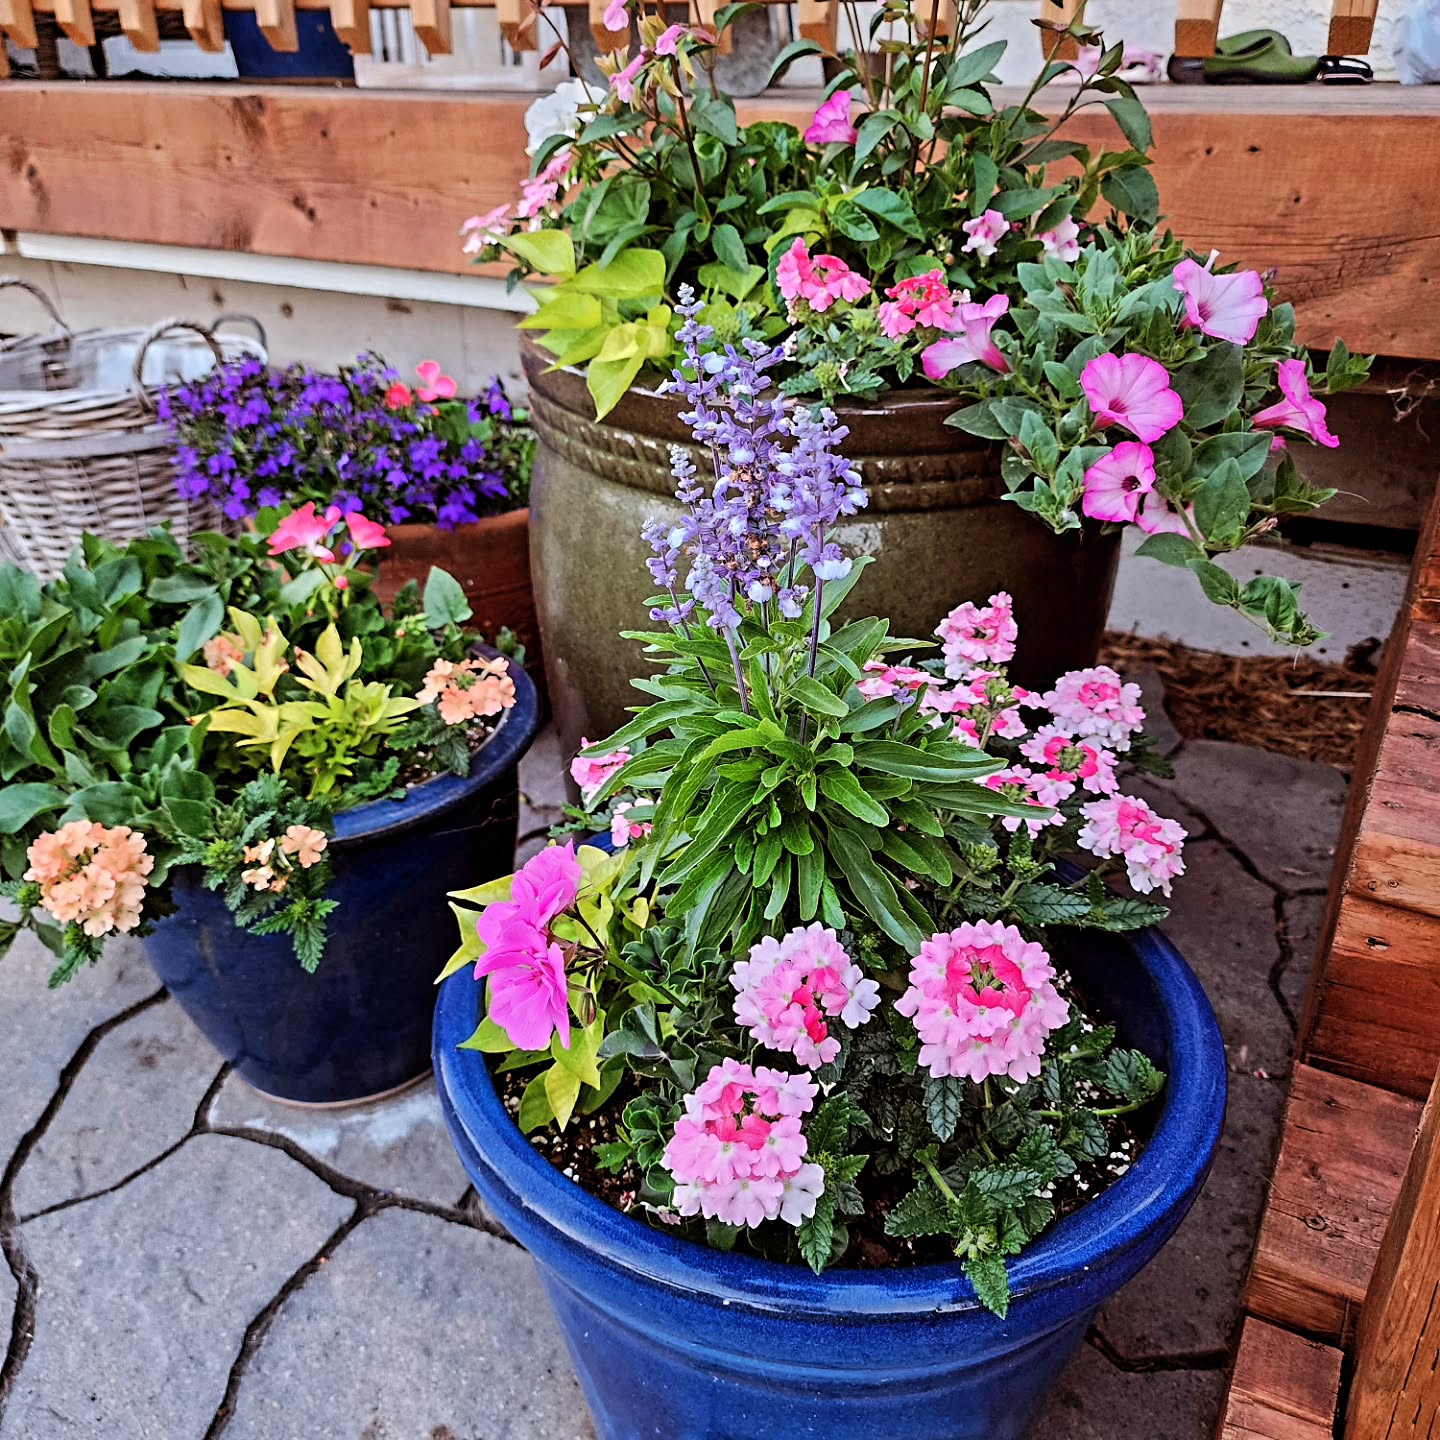
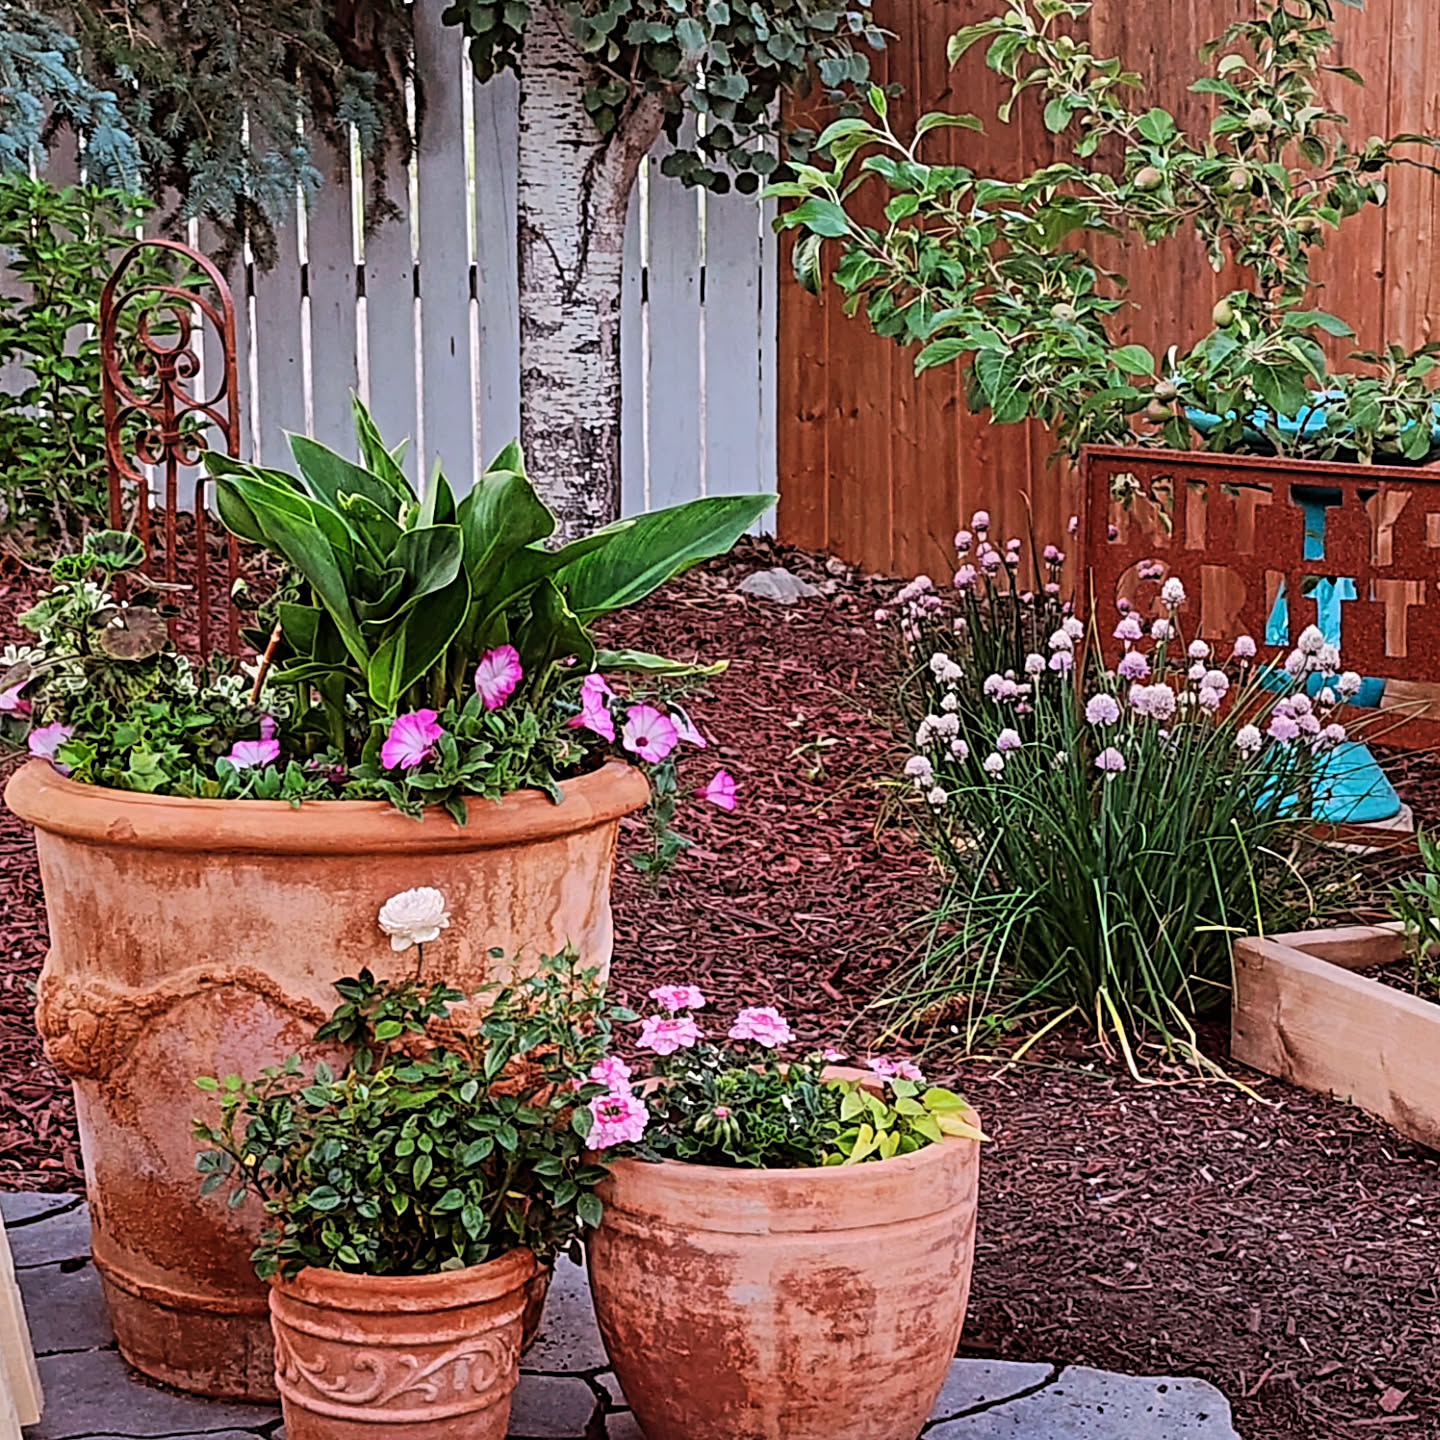
Feeding – Anything growing in pots, planters, or baskets will need a feed this month.
Annual flowers need a weekly or bi-weekly feed in order to keep blooming as they will soon use up the nutrients in their pots/baskets. I use a general 15-30-15 or similar, something with a bigger middle number to keep the flowers blooming all summer long.
Peppers and tomatoes in pots get a tablespoon or two of Epsom salts on top of the pots. Tomatoes are fed with an organic tomato fertiliser every now and again, peppers only if they look peaked and need a boost. If you live on the island, Buckerfields sells Plant Pro liquid tomato food. It works great and is not pricey.
In the garden – I do not usually feed anything the veggies in the garden as the soil is fed with compost and manure annually and sometimes we add organic feed to the planting hole. Everything should be performing nicely.
If your soil is not up to snuff yet, if it is new and you are just starting to build it up, you can either feed the plant or feed the soil once or twice a month. To feed the plant, use a liquid seaweed or manure tea to spray onto the foliage or water in with an organic vegetable food. To feed the soil, side dress between the rows and around the plants with really good compost or manure, they will get a slow feed each time you water.
Pest control – Your flowers should be all starting to flower and thrive now, attracting all sorts of beneficial insects to your garden.
If you were to sit in the garden and watch for a bit, I bet you will find ladybugs or other insects taking care of your pest problems. One summer, as I picked peas, I noticed a few green aphids crawling around in the pathway. They must have been hiding in the vines and fallen off while I was picking. While I kept doing my thing, I saw a few ladybugs in the area, as well. During the short time that I was out there, they had already taken care of quite a few of those aphids. I just walked away and left them to their business.
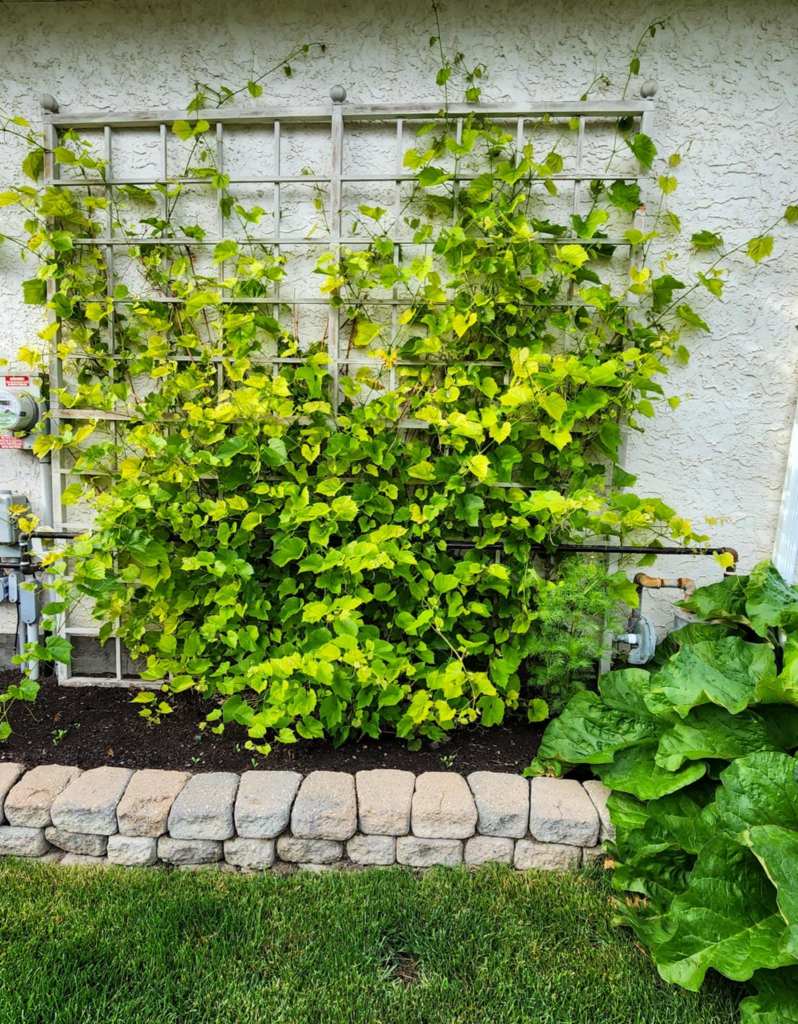
This grape vine above had leaf hoppers early this spring. I started blasting it with a strong jet of water each time I watered the bed or went by it with the hose. It does not tend to get rid of the adults, but thought I might dislodge any eggs…. Well, it seemed to work. It now has no leafhoppers on it at all. Not sure if it was my water spray, but what a win.
Please do not spray with anything, even organic safe sprays, if you do not have to. Wait it out a bit to see if nature does not help you out with that. You might just be pleasantly surprised : )
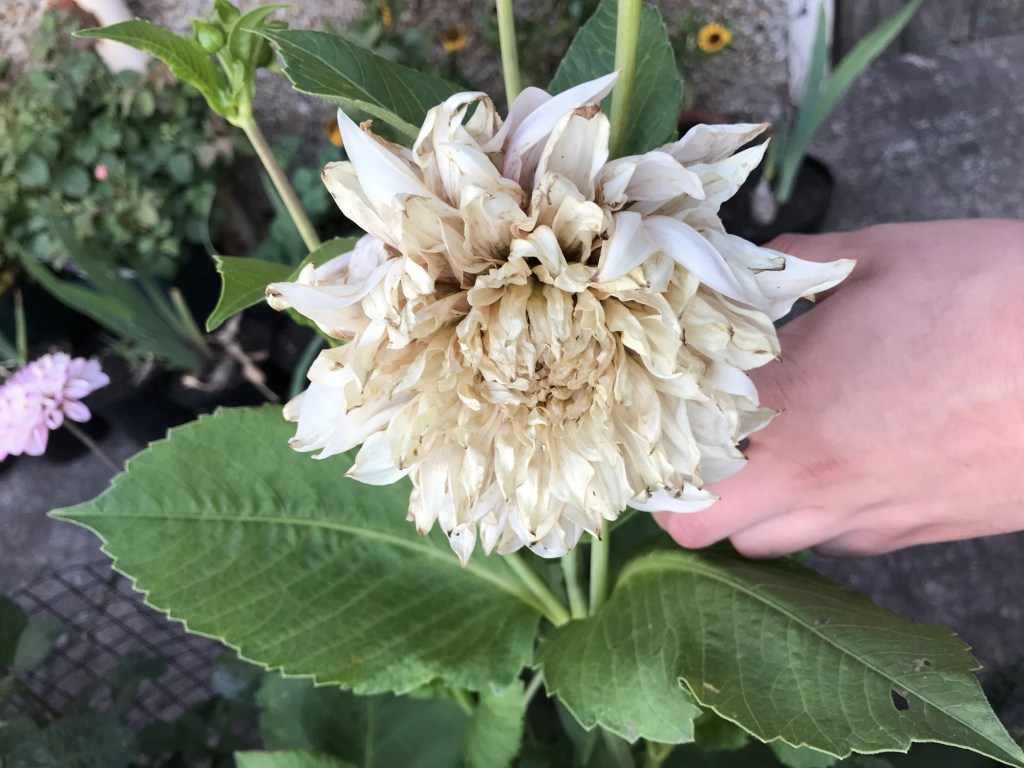
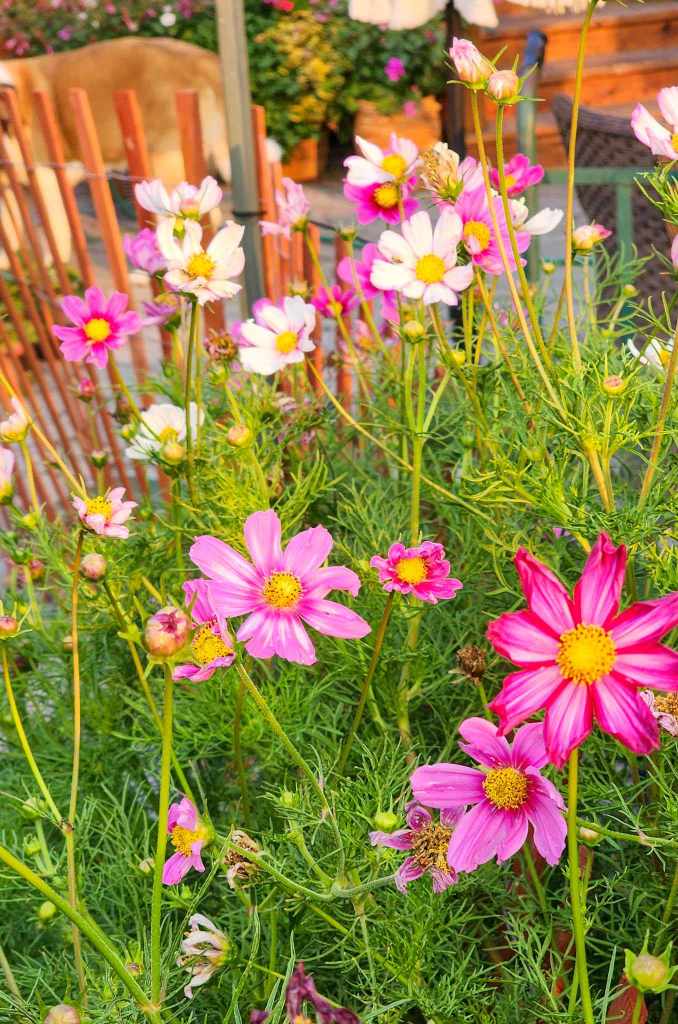
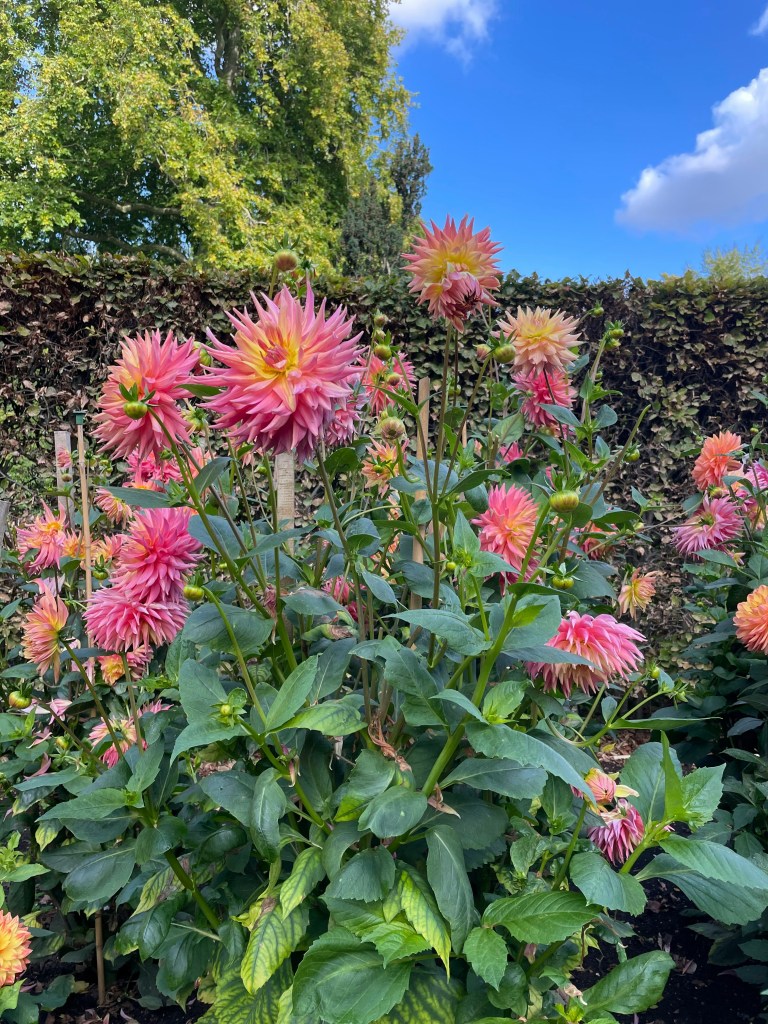
Thrips – If your rose buds are not opening, or are twisted with brown lines in them when they open, you have thrips. If your cosmos, zinnias, and dahlias look streaky, a bit twisty, or do not open properly, you have thrips.
Thrips are teeny, tiny little bugs that are the size of one of your bottom wee eye lashes. What can you do about them? Nothing. Nada. Zip.
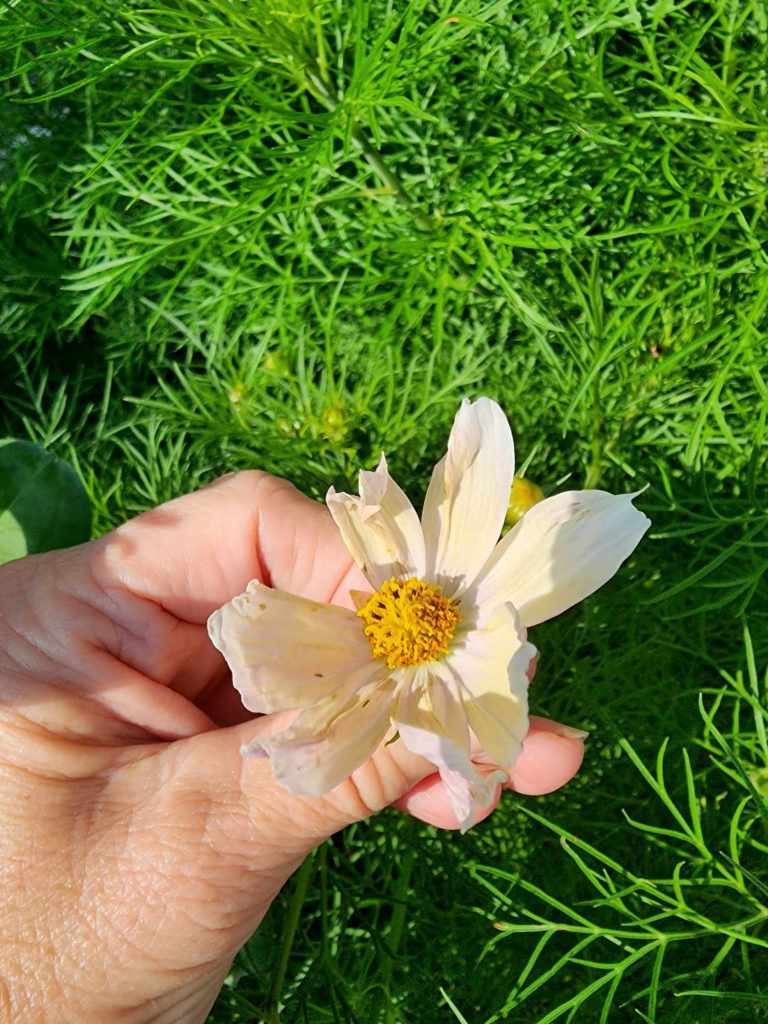
If you spray with something, you will not kill the thrips as they hide deep in the buds, so you will just kill bees or good bugs that happen to land on the flowers.
The only thing you can do is wait them out. Deadhead your affected buds and flowers off, wait for them to cycle out and the next blooms will be amazing. It is frustrating, I know. I get it. But you will appreciate the new buds and flowers all the more for it.
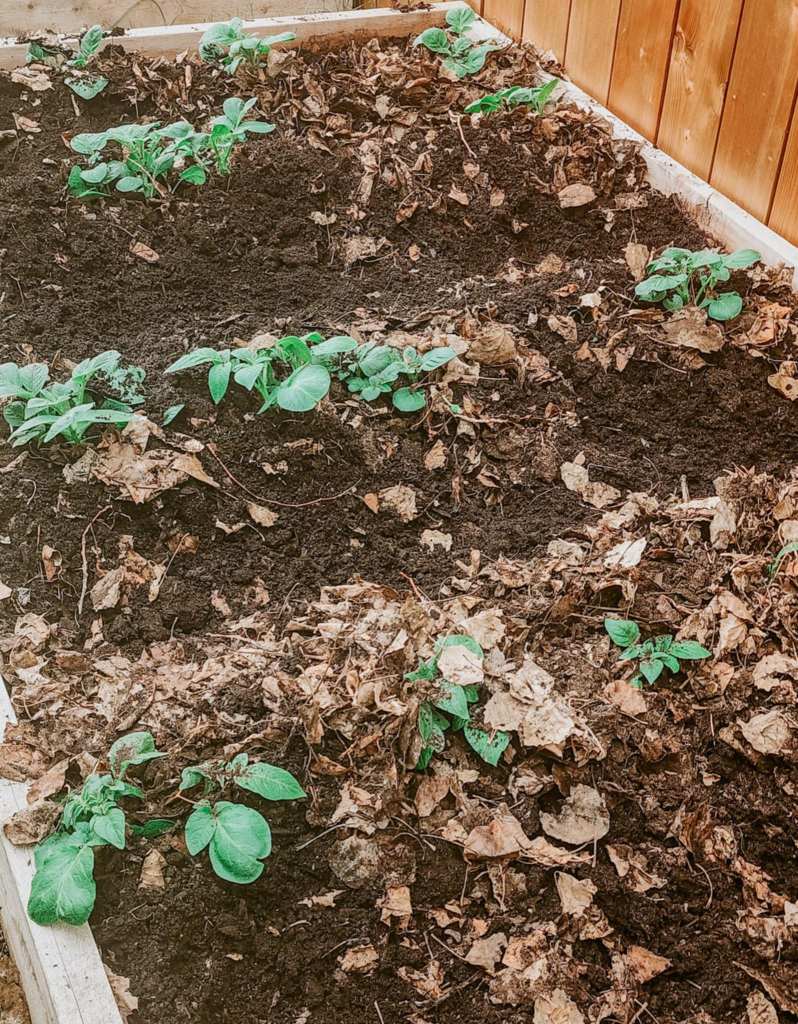
Potatoes – are up and up and up. I only got to hill them once before they got away from me in the rains. Either way, we are getting spuds this year.
Chopping Time – it is time to deadhead your chives or they will spread like mad.
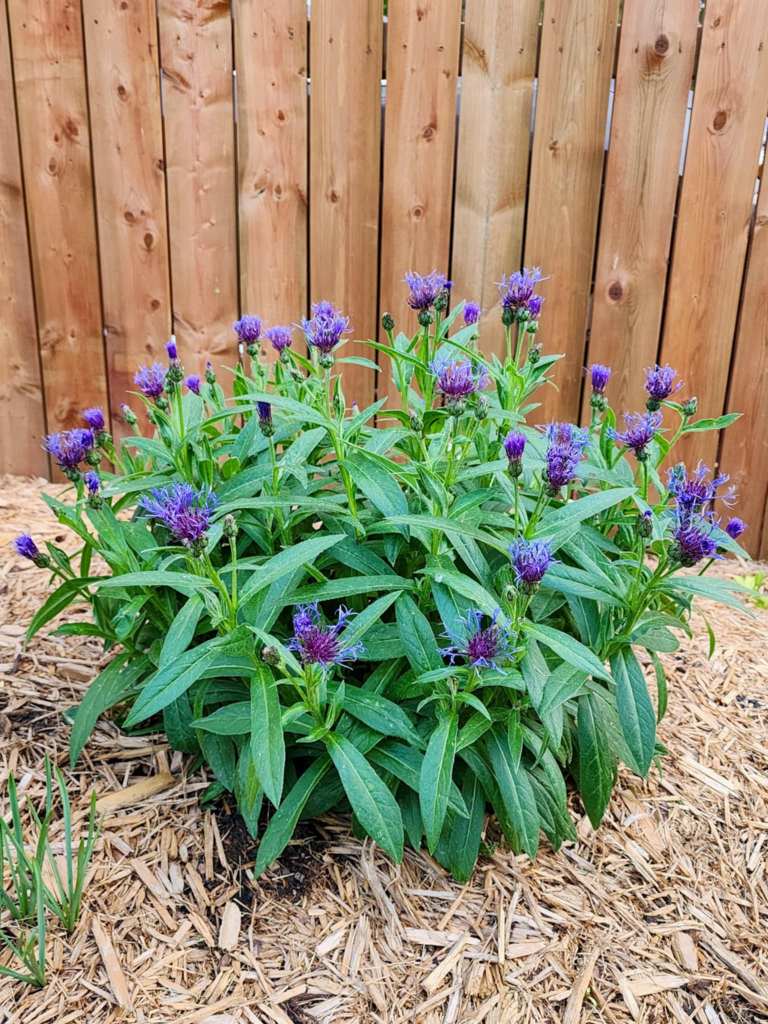
Cut back your catmint and lavender for a second flush of blooms in a few weeks time, also your bachelor’s buttons.
Deadhead your perennials that have finished blooming – salvias, thrift, larkspur, monkshood, etc… as needed.
You may need to trim your hanging baskets, too. Give lanky petunias, overgrown bidens and lobelia a haircut. They will bounce back with new blooms in a few weeks time.
I have been looking to find roses that will fill me with love and joy. Zone 3 roses have to be hardy, they need to overwinter in minus 40 degree winters and hot as heck summers. This weather is not for the faint of heart.
These are some of my all time favourites that I have found here to feed my soul…
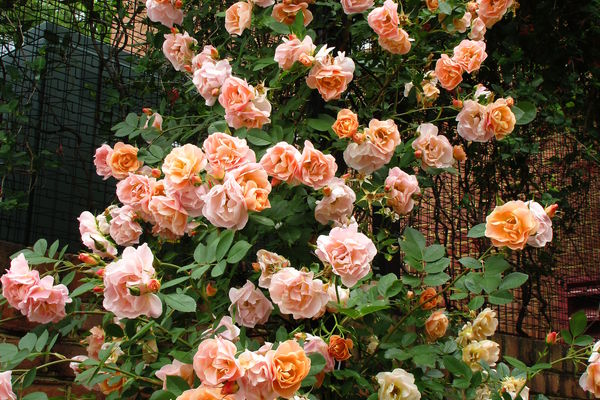
Peach coloured roses –
- Olds College – Olds College Rose was named after the 100th anniversary of Olds College, Alberta. It has beautiful peach coloured, double flowers from June to September. This hardy rose was developed by Morden Research and Development Centre in Manitoba.
- Above and beyond – Part of the First Editions series of roses. This large-flowered climber is a very different rose for colder climates. Above and Beyond™ from First Editions® combines extreme cane hardiness, reliable spring flowering and vigorous growth. Orange flower buds open in prolific clusters of five or more apricot colored semi-double to double flowers. Plants bloom in mid- to late-spring with sporadic repeat flowering in summer. With extreme cane hardiness, Above and Beyond™ can be a climber or a nice large free-standing shrub in colder regions where plant die back from cold is not an issue. This cane hardy, large-flowered rose blooms reliably in spring making it a welcome addition in colder climates and is very resistant to fungal diseases.
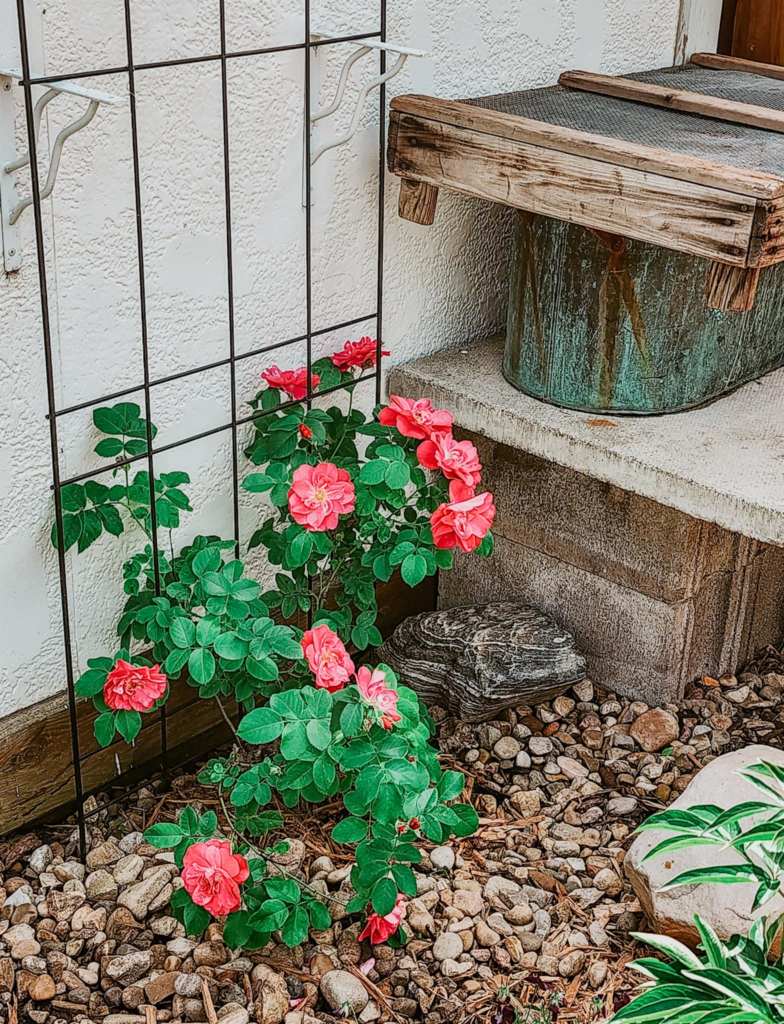
- Chinook Sunrise – A hardy, low-maintenance rose. The roses are an exotic coral color that will fade to pink blooms. Part of Canada’s national rose breeding programme and this is the second addition to Vineland’s 49th Parallel Collection of Roses. Introduced in 2019. Black spot tolerance and winter hardy.
- Morden Sunrise – This one is a little bit more yellow than peach. Fragrant, semi-double blooms are held in trusses of up to 15 flowers, opening orange, aging to bright yellow and finally creamy white. A low-growing, hardy shrub with upright canes and glossy, deep green foliage. Height and width 2 to 3 feet.
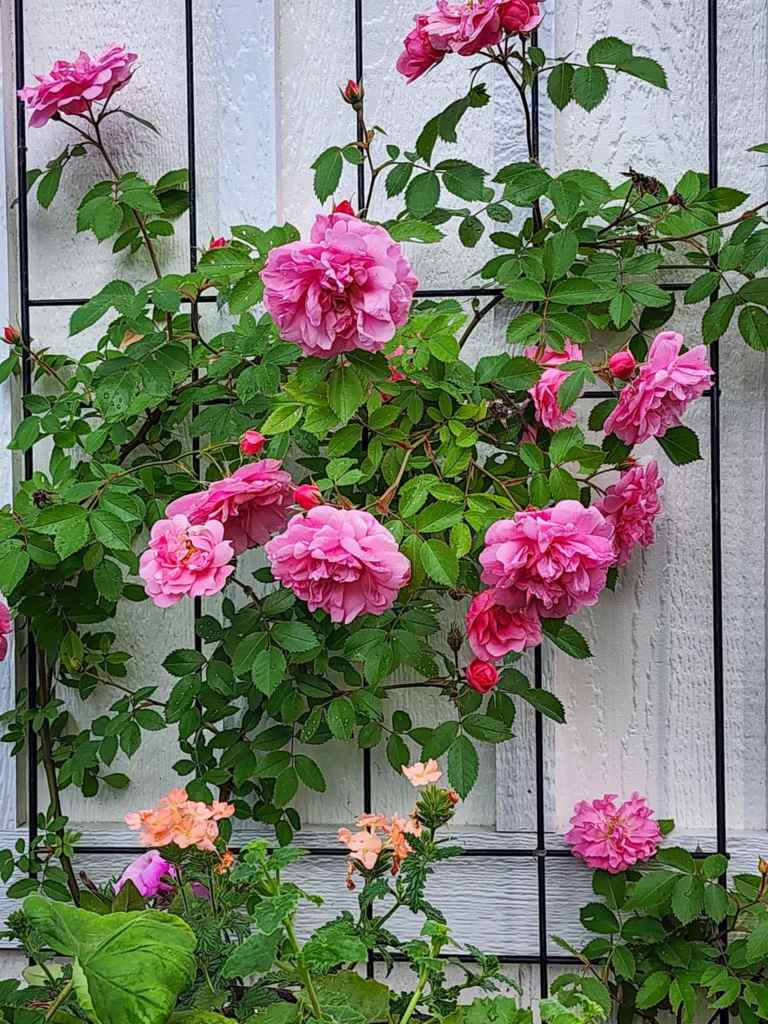
Pink Roses…
- Morden Blush – Attractive, pointed buds open to exquisite, full double blooms in shades of ivory to light pink with deeper blush centers. Continuous flowering is followed by large hips in fall. Bush is compact, reaching 3-4 ft. tall and 4 ft. wide.
- Lambert Closse – A hardy and disease resistant shrub with full pink blooms repeating from June until frost. Forms an upright bush up to 3 feet tall and wide. This rose is part of the Canadian Explorer series and is named for Raphaël Lambert Closse (1618 – 1662)
- John Cabot – Double, rosy pink, fragrant flowers bloom freely in mid-season with fall repeat. Climbs 8 to 12 feet or can be grown as a shrub. Glossy, medium green, disease-resistant foliage. An excellent climber for cold regions. This rose in the Canadian Explorer series is named after Italian explorer and adventurer John Cabot (c. 1450 – c. 1499).
- John Davis – I love this one so much that I have 3 of them! A beautiful, hardy climbing rose known for its rich candy-pink blooms and exceptional cold resistance. Bred in Canada as part of the Explorer Series, this rose was introduced by Agriculture Canada in 1977 and remains a favorite among gardeners in colder climates.
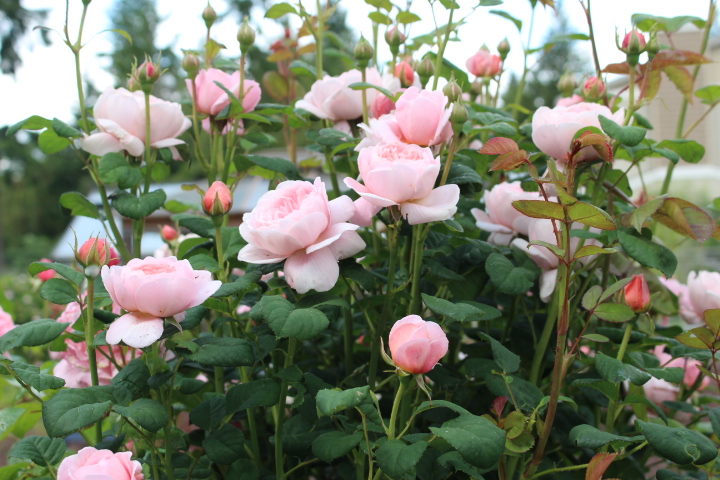
I was watching a video someone took of their Calgary garden in one of the garden groups on Facebook. You all, there was a pale pink David Austin rose that looking like it was about 4 feet tall. So, obviously well established, and it was thriving.
So… I went on a rose hunt. What pale pink DA roses are a zone 4. The one in the video was not The Queen of Sweden as the flowers were not growing facing upwards, like the queen grows…. but, she is a zone 4! Here are some others that I found. There are more, lots more, but these are in the colour that I would like. Now to find a vendor….. Anyone coming this way from the island, lol?
- The Queen of Sweden
- The Alnwick rose.
- Sydonie
- Carefree Wonder
Stop feeding your roses, tree, and shrubs this month, btw, if you tend to give them something other than a shovelful of manure or compost. They need to start hardening off for winter. If they have tender, young, new growth before winter hits, you are apt to lose the whole shrub, not just the new growth.
- Keep deadheading for now though! For more roses.
- Deadhead your sweet peas, too, to keep them in blooms!
- Add supports to hydrangeas, dahlias, sweet peas.. anything that is starting to need a bit of help.
I think that is it for now… it seems I had a lot to share this month ; )


Leave a comment