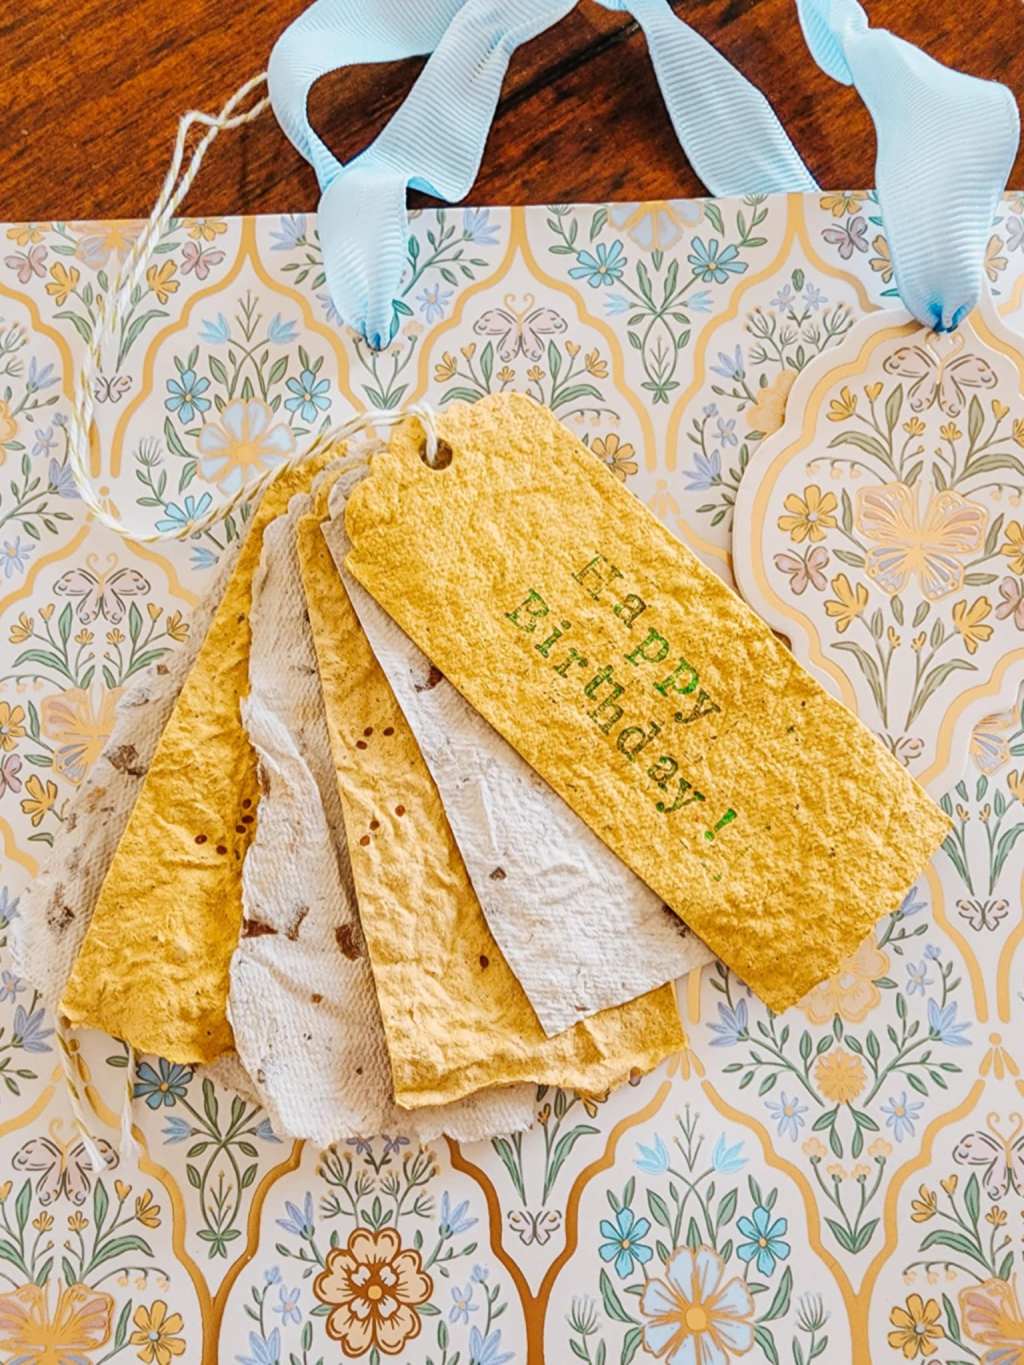
I made a lovely batch of plantable seeded gift tags for Easter and my daughter’s birthday.
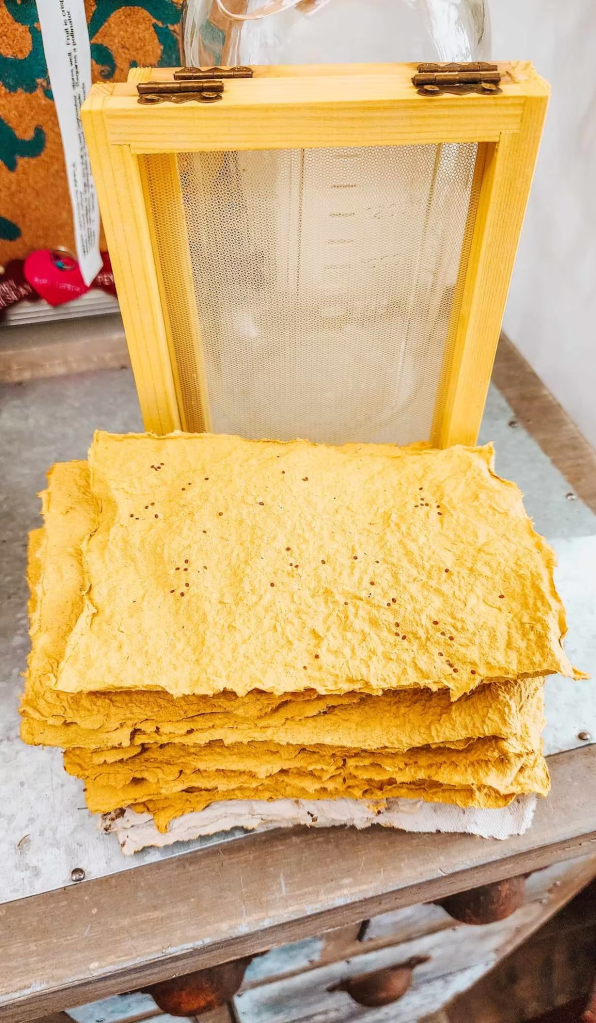
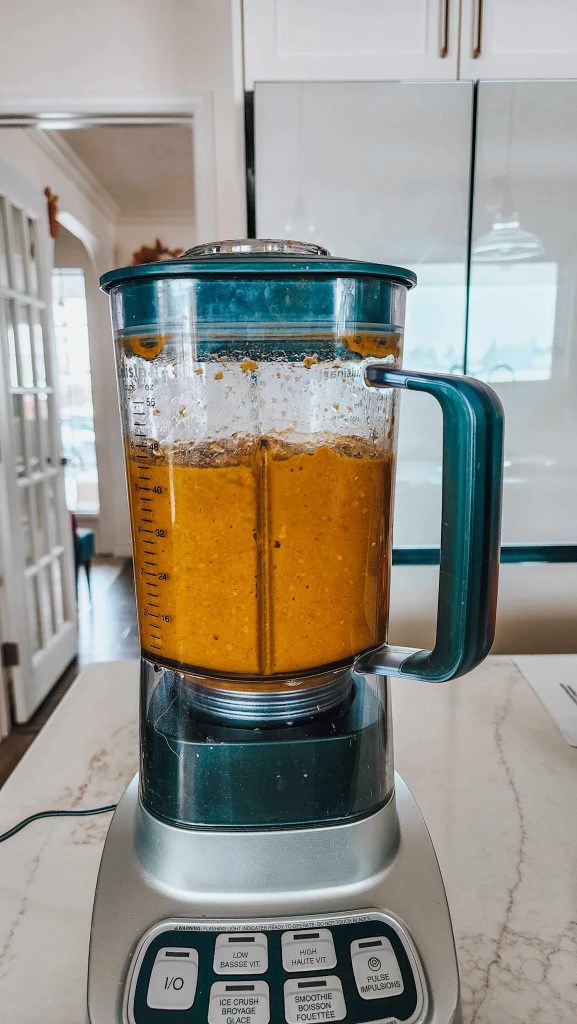
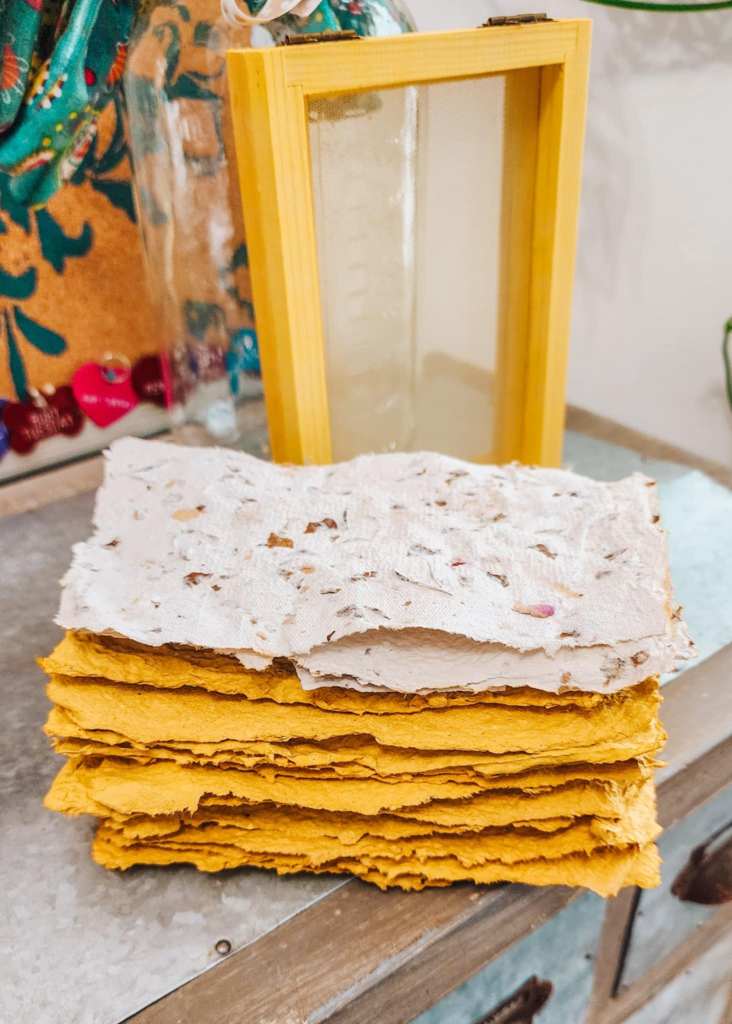
The water was tinted with turmeric to turn it into golden yellow paper. It turned out so well! That colour just screams Easter, eh?
I just tidied my office a couple weeks ago, to get my tax stuff all in order, and ended up with a whole bin of scrap paper (old bills, inserts, envelopes). I saved them all to make into handmade paper and gift tags.
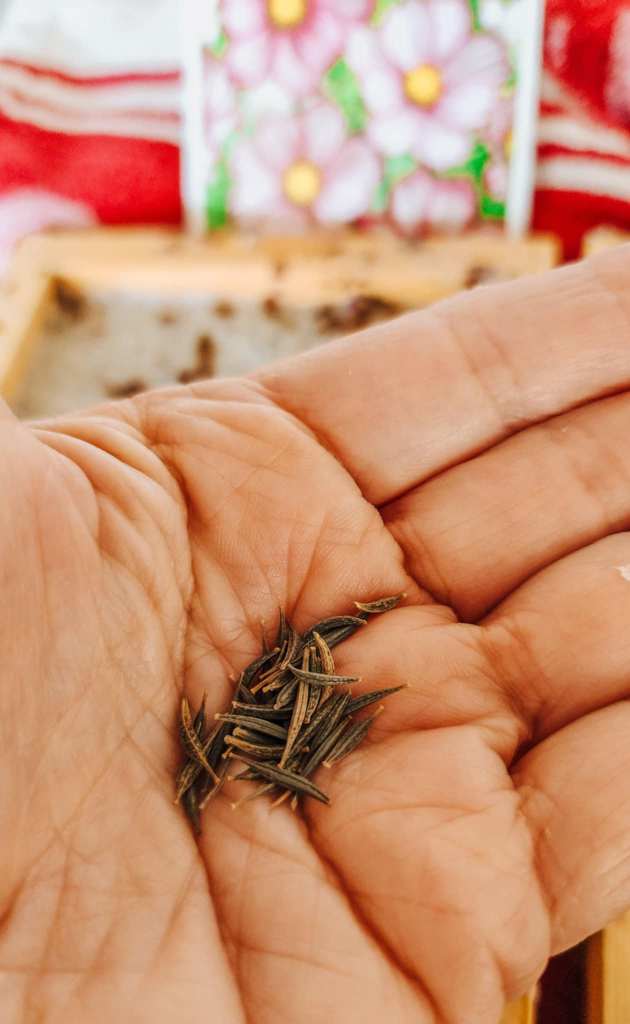
I had also put aside some cosmos and alyssum seeds to sprinkle on top of the paper, to make them plant-able. It’s a gift tag that does double duty… is a gift tag with your message on it, and a gift of flowers, too.
Check out how the turmeric even turned the moulds yellow – cool, eh?
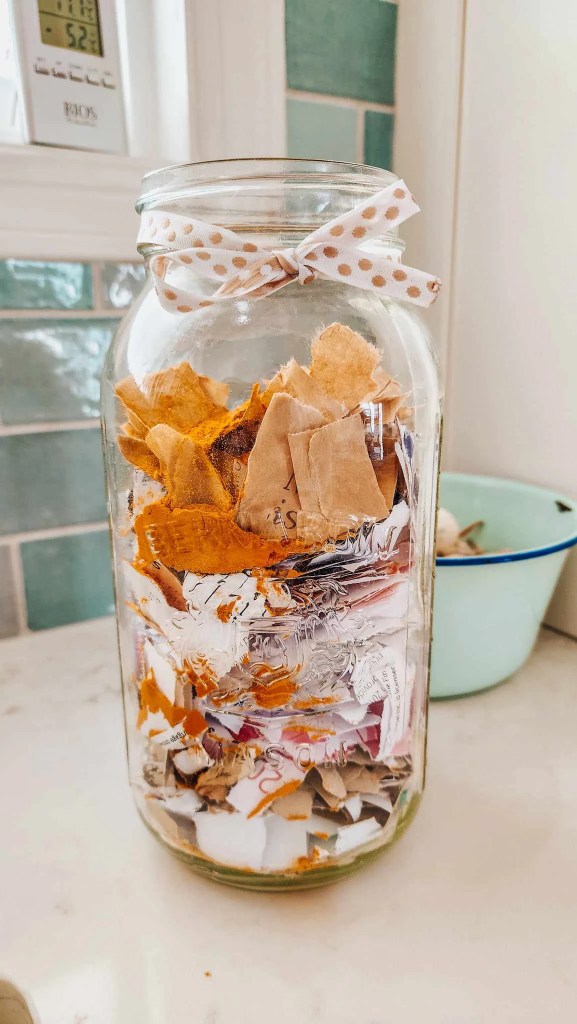
- Tear paper into small squares and drop them into your jar. I use a very large mason jar for my paper making.
- I added almost 2 tablespoons of turmeric.
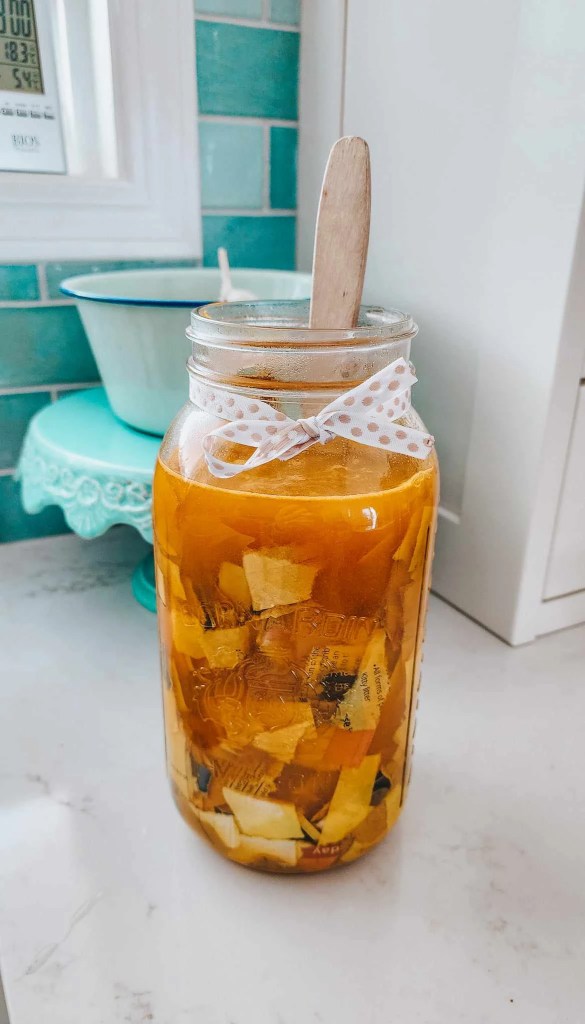
- Pour hot water into the jar ( I let my kettle come to an almost boil point).
- Let steep for 12 to 24 hours, or more, then blend in your blender till the paper is mush. The finer your paper mush is, the finer/thinner your paper will be.

- Pour the mush into a shallow wash basin, add more water, enough water to cover your mold.
- Swish the water so the the paper is suspended throughout the water, place your mold into the water and let the paper bits settle into the tray.
- Lift your tray up, drain off the excess water. Place on towel to drain some more.
- Sprinkle seeds on to the ‘sheet’ of paper while still quite wet in the mold.
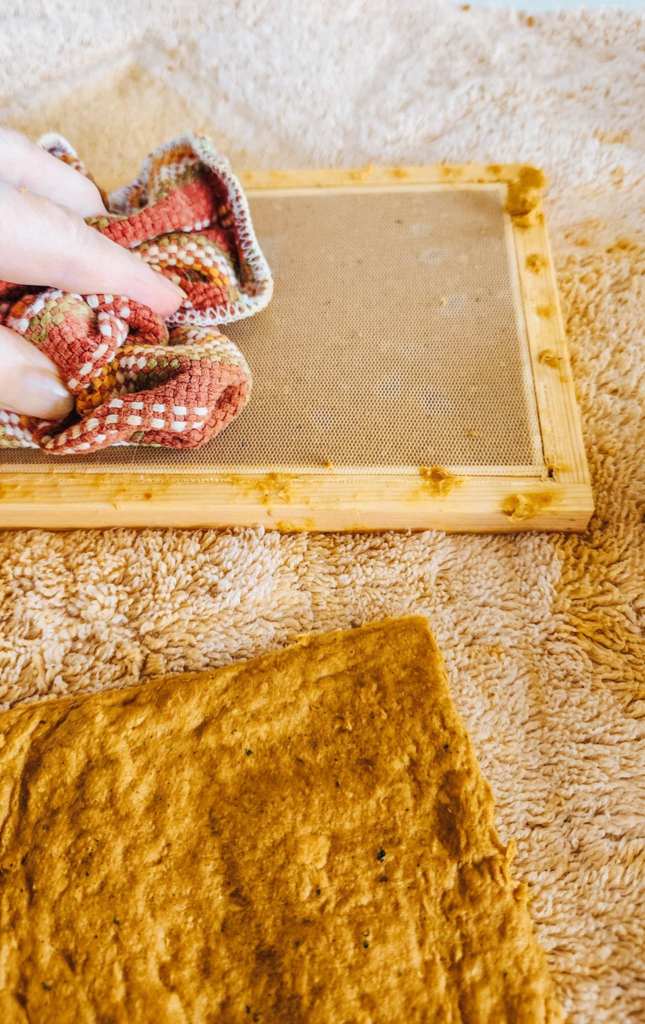
- Flip the screen over top of the paper mush. Place on a tea towel or rag. Use a sponge or dishcloth to blot the paper through the screen.
- Lift the top off of the screen. Dump the sheet of damp paper upside down onto the towel, blot dry.
- Lift the mold to leave the piece of paper to dry on a towel. Some of my sheets were quite thick so they took 24 hours to dry.
- To help them dry faster, move on to a dry towel, if needed, once they are firm enough to move without damaging them.
- Cut, trim, make into whatever size you like.
The turmeric worked really well, as you can see, kept it’s colour really well. I love the deep yellow hue, prefect for Easter. Use more or less to whatever tint of colour you want it to be.
I also used an old yellow towel, just in case they yellow colour does not come out. I mean, it is a dog towel so not a big deal, but still. My hands were yellow for 2 days.
Here is a how to video that I really like.
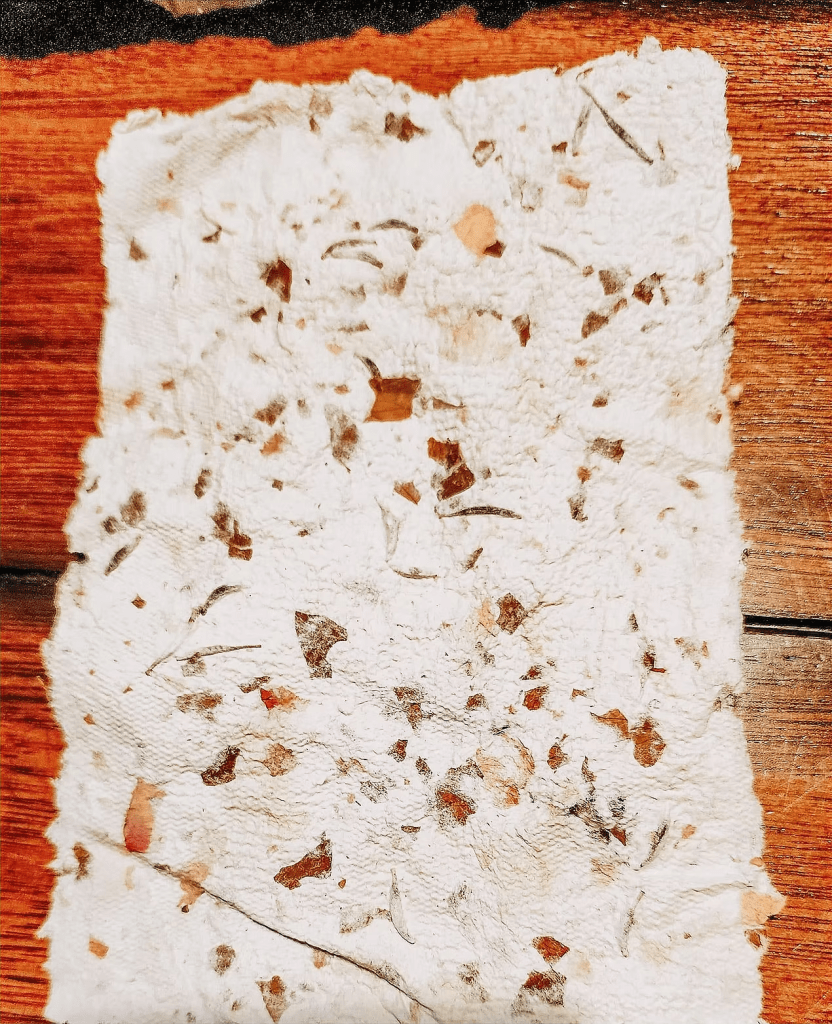
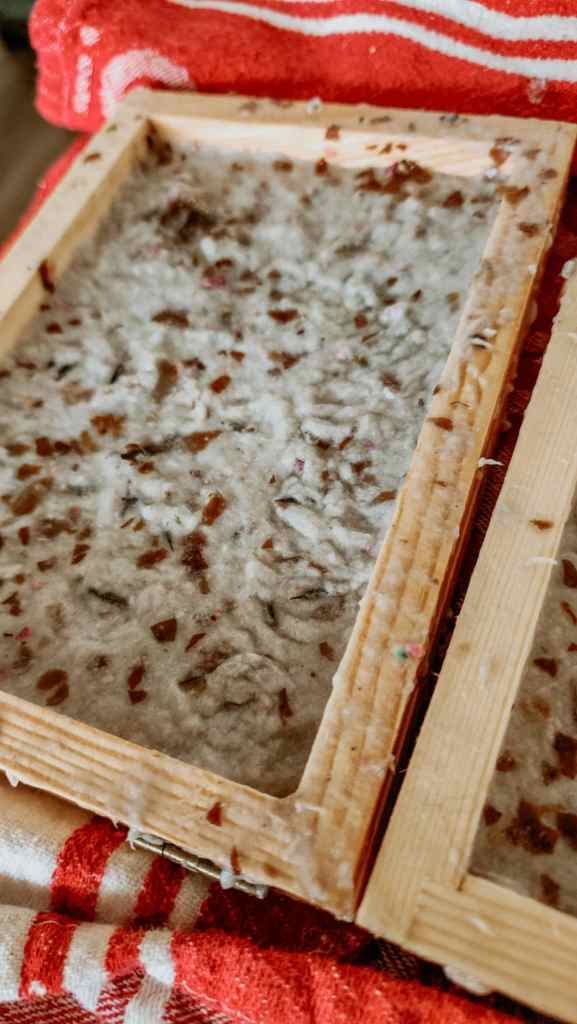
This is my white handmade seedy paper. I added bits of roses and those long skinny things are the cosmos seeds. Love the way it turned out.
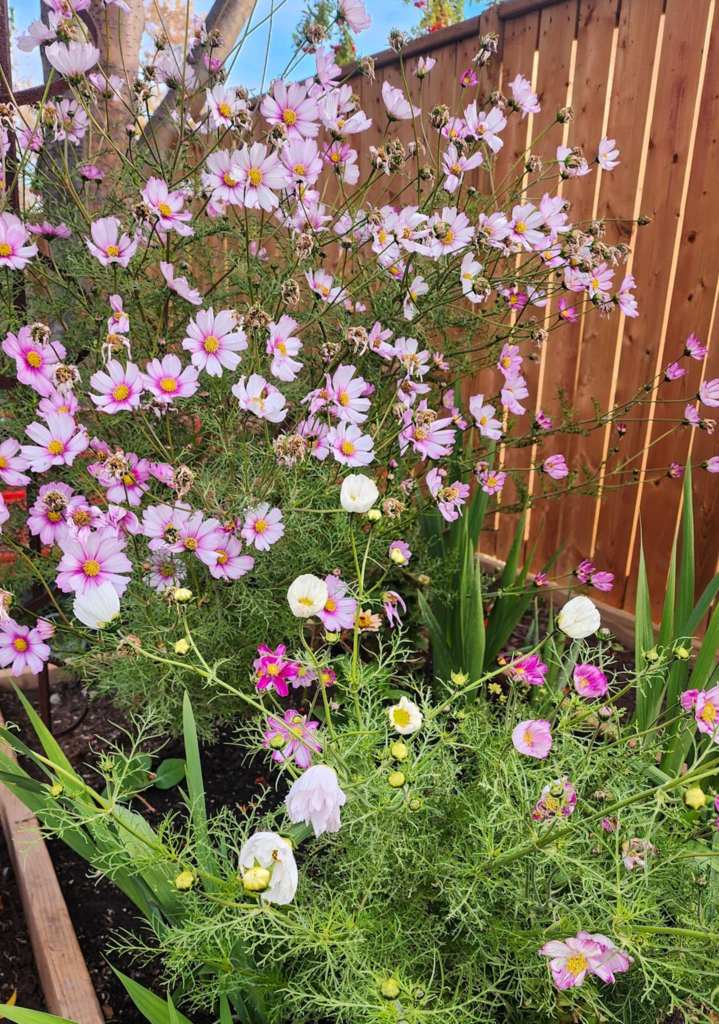
These two clumps of cosmos were started from seeded paper. They thrived all summer long.
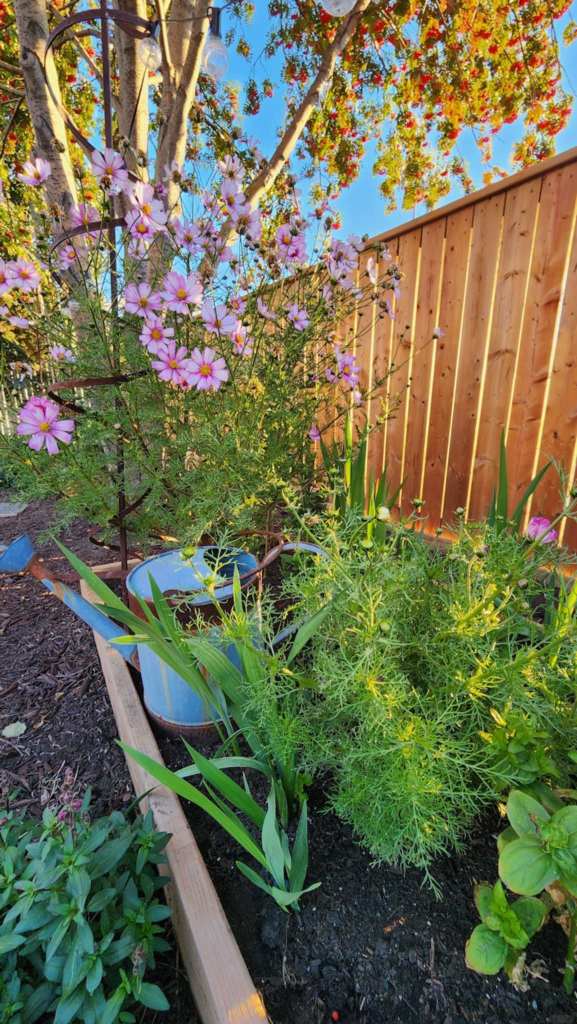
I think that the pulp helps them stay damp so that they germinate better, faster, really well.
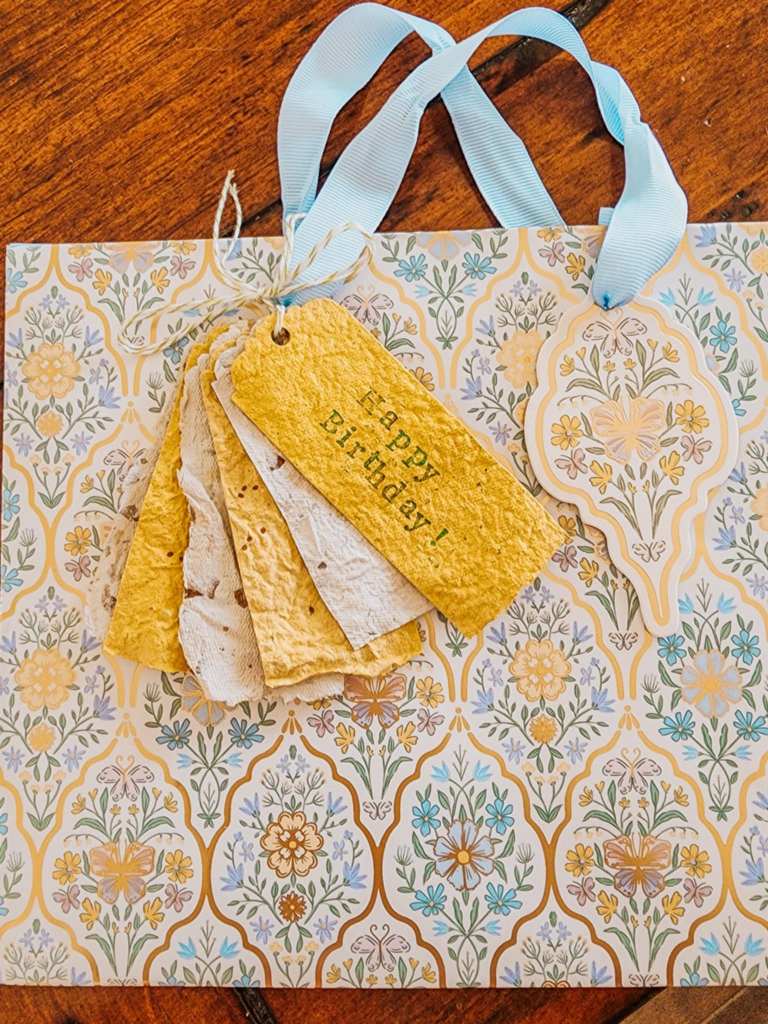
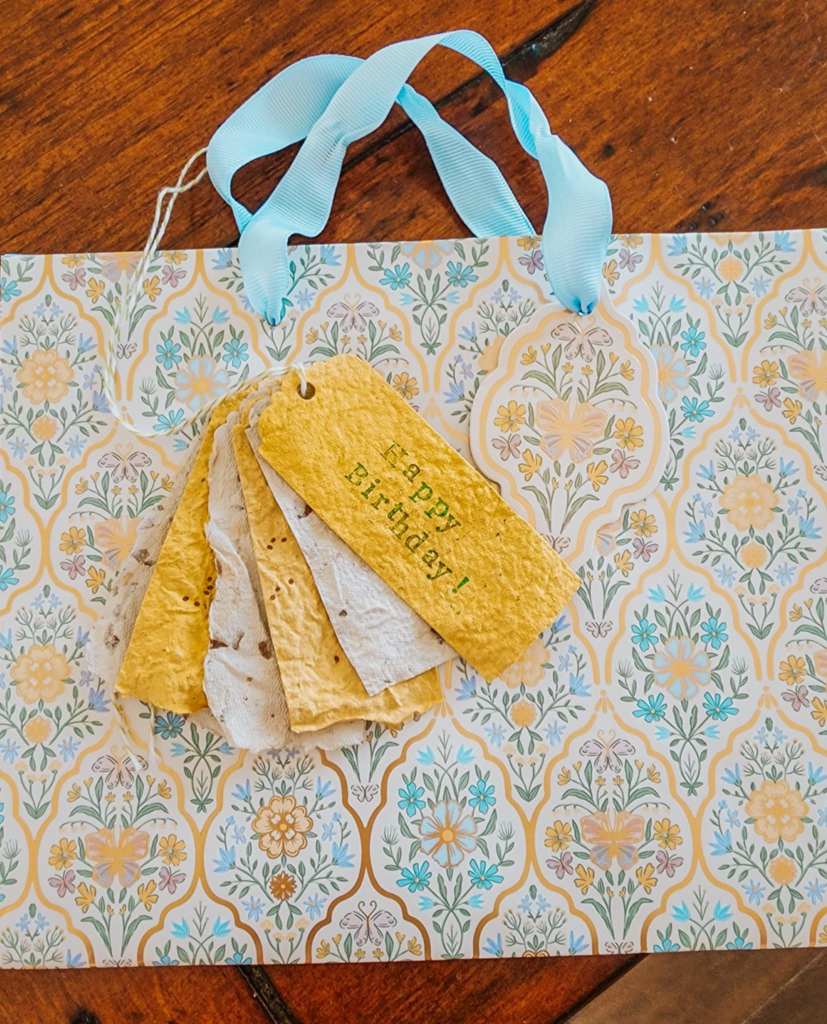
To make the seedy paper into these plantable cute little gift tags, this is what I did…
- I cut the paper sheets into strips, being careful to not cut into the seeds.
- I then used my tag punch to trim the top into a gift tag and make the hole.
- Added some pretty twine, ribbon would also look cute, and used some letter stamps for the Happy Birthday.
I made three of each type of seed/colour of paper, so that she can plant 3 clumps of each. They say that odd number plantings are always the most attractive look in the garden.

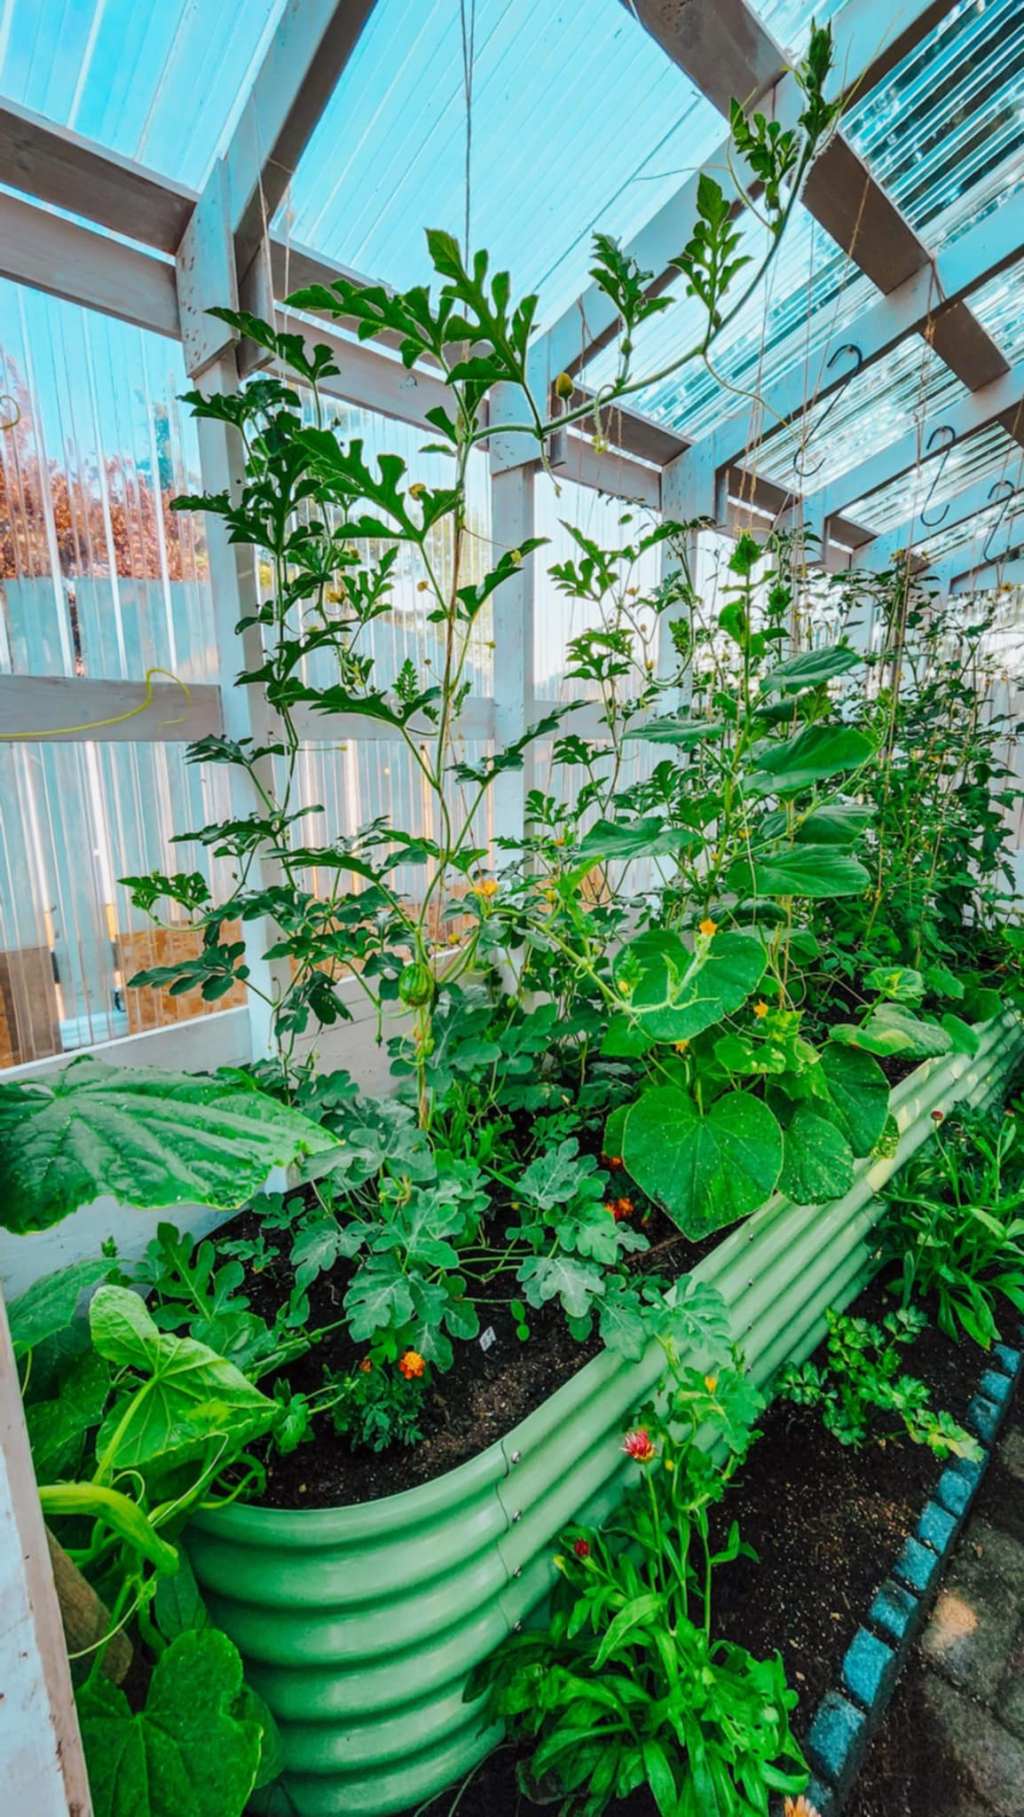
To plant in my own garden, I like to cut each sheet into 3 or 4 pieces. The gem tagetes (also called signet marigolds) will be planted up in the greenhouse.

Give the gift of flowers. It is fun, it is easy, and it is inexpensive.
It makes growing your own seeds easier, as well.


Leave a comment