
When I first starting thinking about running ‘plan your potager planting workshops’, I thought it was going to be pretty easy. Do up a ready-made planting map/plan to work from, talk a bit about how to plant and grow everything, bingo, done.
As I started to put it on paper though, I realised that it was not nearly that simple. We all like to eat and grow different foods, have different wants and needs from our gardens, have differing yards with more or less sun, wind, wildlife, and varying experience with growing.
Without coming to your house, it is simply not possible to give you a set plan and say here you go, plant your garden like this.
However, if you follow these steps, I have made it make sense (I hope) so that you will have a food garden that works for your family, growing what you like to grow and eat.
Planning out your garden takes much longer than the actual planting up does, but is also a whole lot of fun. Do this in the winter, or early spring, so you are ready to go when gardening season begins.
Can you wing it? Of course you can! If, however, you want to grow as much food as you can and want everything to thrive, it’s a good idea to make at least a cursory planting plan. You can change things about a little bit when you are planting (I do it all the time, I am fickle like that, haha) but I like to have a basic idea of what veggies I am planting where so that I do not use prime garden bed real estate for something that is less needy (than my tomatoes).
There are TWO parts to making a good planting plan. First, decide what you are going to be growing. Second, figure out what to plant where for the best results.
Planning out your beds, what to plant where, takes a lot of time, no matter who you are, but especially if you are new-ish to gardening. Even professional growers, who make a living growing groceries in urban gardens, say that making the plan is the most time consuming part. So grab yourself a cup of coffee and some snacks, find a quiet space to spread out to work, and dive right in.

The Steps in Deciding ”What To Grow’
Make your grow list based on these 4 things….
1. What does your family eat? List all the veggies, fruits, berries that each member of your family eats, from parents to teens and toddlers, too. If it is not practical to grow it in your garden zone (aka pineapples), leave it off the list.
If your family loves smoothies, you may want to plan for lots of greens like spinach, kale, lettuce, plus carrots, beets, strawberries. Whatever goes into your morning smoothies.
If only one person in the family likes a certain vegetable, it is probably better to buy that item at the market and save your growing space for other things. If you like parsnips, as I do, but no one else will touch them, do not waste the space. We now buy me a few parsnips from the farmer’s market in the autumn, when I am craving them in my pan-roasted veggie dish.
It is easy to get carried away at the nursery, but if you go in with a list, you will know exactly what to look for/buy, and you save money.
*Whether you buy seeds or starter plant does not matter, all that matters is that you are growing great organic food for you and the family.
2. How much space do you have in your garden? If your garden is roomy, fill it up with all the things that you eat. In my last garden, I had room for it all. Anything I wanted, including pumpkins for the grandkids. We now have a tenth of the garden space, so I have to be a bit choosy.
If you have to pick and choose, here are some ideas for how to decide…
- Grow the vegetables and fruits that cost more at the grocery store, and buy the cheaper ones.
- Or, grow more vegetables for canning, jamming, freezing, drying, or storing in the pantry for the winter.
- Or, if you are not a canner, grow just the things your family wants to eat fresh in summer.
Squash takes up a lot of room and is relatively inexpensive, so you may want to leave the zucchini and butternuts off your list.
Potatoes are relatively inexpensive and take up a lot of room, too. I have occasionally had to leave them out of my planting scheme for the year.
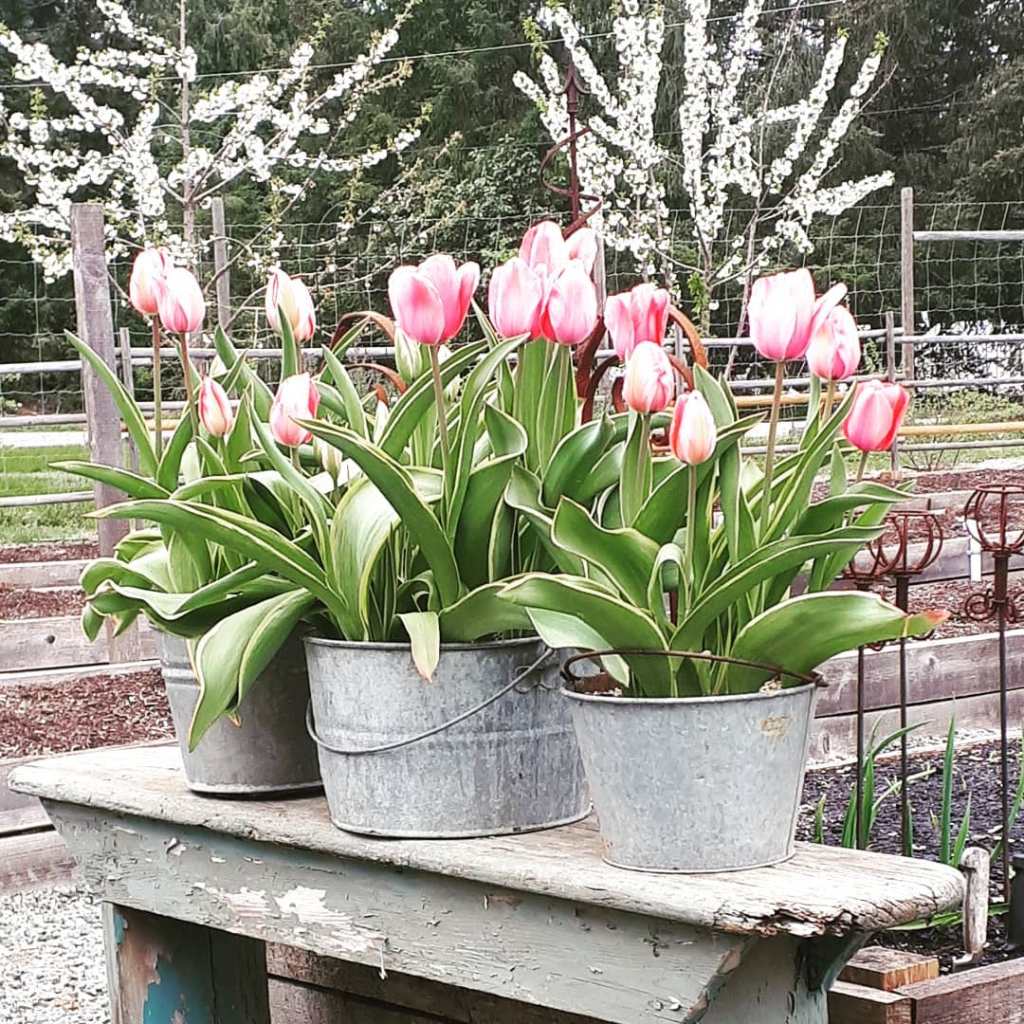
Keep in mind that you do not have to just grow them in traditional beds. Use pots, planters, hanging baskets (for lettuces and peas), and window boxes. Grow your food vertically, on trellises, fences, stakes, or obelisks, to save space. Peas, beans, squash, can all grow upwards. Potatoes in pots are great, saving that space for other things. Peppers and eggplants prefer being grown in pots!

3. Do you do any canning? Dehydrating? Freezing? If you make salsa for Taco Tuesdays, sauces for pasta nights, pizza sauce or ketchup, you’ll want to plan for a lot of tomatoes.
If you like dried fruits, grow some sour cherries (the Sweetheart cherry series is wonderful and super hardy), strawberries, apples, rhubarb, etc..
Freeze your peas, beans, broccoli, tomatoes (whole).
Make sauerkraut, pickled beets and carrots? If you do any of this, add those fruits and veggies to your grow list.
- Some veggies store fresh in a cold room/fridge – spaghetti squash, carrots, beets, rutabagas…
- Some are jarred/canned to make into jam, sauce, salsa…
- Some are pickled – pickled hot peppers, pickled cucumbers, beans, and carrots.
- Fruits dehydrate really well – cherries, pears, apples, strawberries.
- You can also dehydrate your garlic for homemade garlic powder/salt.
- Grow and dehydrate your own herbs – mint, parsley, oregano, basil, thyme, rosemary.
- Make your own chili powder, cayenne powder, and paprika powder from homegrown peppers.

4. Know your garden zone and climate so you know what you can grow and when to plant it. Here is a really good planting guide. Google up the last average frost date for your area, put it into the box at the top and it calculates the planting/sowing dates for you. Ours here in central Alberta varies from early May to the May long weekend. I use May 21st to be on the safe side.

How To Put Your Plan On Paper
Now the hard part… putting those plants down on paper so you know what to plant where. You will get better at this with experience. With time, you will just know how far apart your plants are grown and their water needs so will be much less time consuming to figure out the plan. You will also get to know your yard and garden to know what thrives best where.
I am going to share some guidelines to help you get started. Don’t stress about it, truly! Just plant and try things out. Guaranteed that most all of your plants will thrive and produce if you have good soil and sunshine. Some veggies will not do as well and that may be because of the weather, the season, the variety, pests, etc… there are so many factors that come into play and most of them are out of your hands. Plan, plant, harvest, enjoy your harvest.
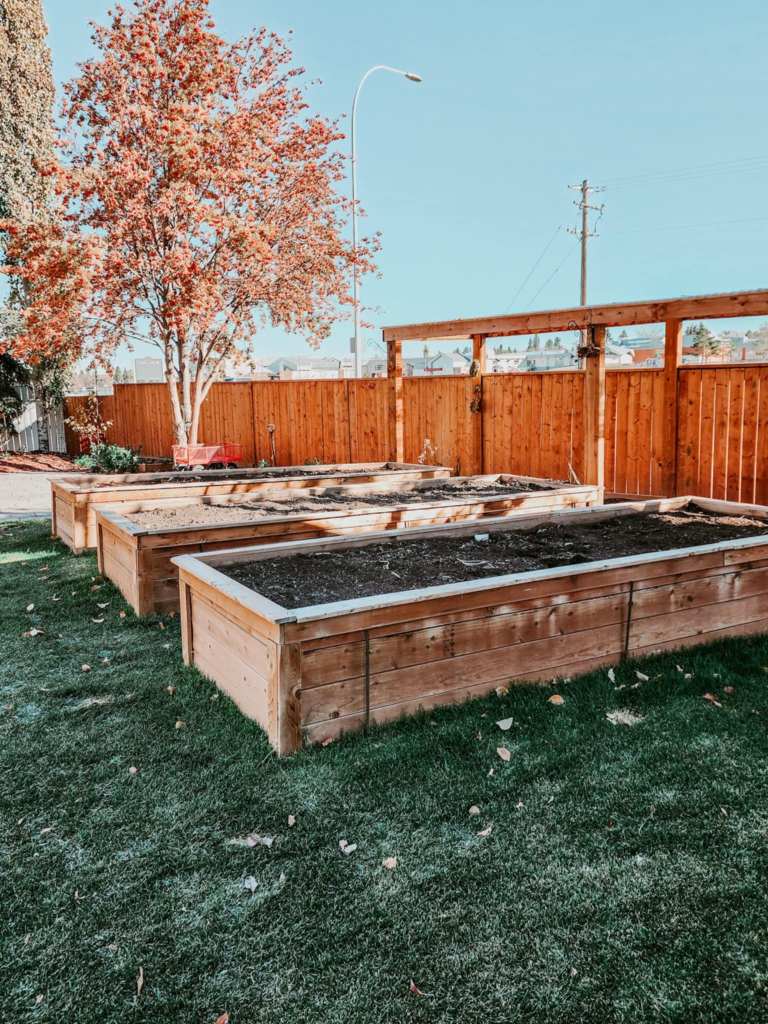
1. Draw out your garden beds on grid paper, computer paper, in your journal, wherever you like. I sometimes put mine in the journal so that I can look back on it year after year, and sometimes I just draw out my yard and gardens on a sheet of paper, take a copy of it for next year so I do not have to redo it annually. Your plan does not have to be fancy, just a fairly good idea of the size of the beds and draw them big enough that you can plot in the veggies that you want to grow in each bed.
Your drawing can be as simple or as fancy as you like. Make it very detailed or just plan out the must haves and fit the others in at planting time.
2. Put trees, shrubs, and perennial vegetables on your plan first. Apples, cherries, pears, etc – If you are planting fruit trees or shrubs, they are going to take a few years to start producing. Decide where they will go so as not to shade out your garden beds, but still get a good 8 hours of sunlight. Fruits and berries are always sweeter when they get more sunshine.
Next, decide where perennial and long lived fruits/veggies will go as they will stay in place. These are things like asparagus, horseradish, rhubarb, and strawberries (not perennial but are only replaced every 3rd or 4th year). There is nothing worse than planting asparagus and then deciding that you have have to move it in a year or two as it takes 3 to 5 years before you really start to get a good harvest.
3. Put the annual vegetables from your list into three columns… cool weather, hot weather, and long season. Knowing their needs will help you plot them out on your plan, making sure that you do not plant up your prime tomato location with long season crops that are planted early but not harvested until late summer.
You may want to make two copies of your garden so that you can plan out your cool season and long season crops on one copy, your heat lovers on the other copy.
Cool Weather – planted in spring, harvested before the heat comes, bolts in summer (or grow in in a shaded area). Sow more in mid-summer (July) for harvest in fall.
Warm Weather – heat lovers that cannot tolerate frosts or cold temps.
Long Season – have a long growing season of 80 to 100 days till maturity. You plant in spring and harvest in fall. Things like the brussels can even handle snow! You plant them in spring and harvest for Thanksgiving. Parsnips and Leeks would also go into this column, if you are growing them. I would put kale in this row as it is not pulled out for summer like the other cool season crops. I have entered my grow list on the chart below.
| Cool Weather | Warm Weather | Long Season | Winter |
| Broccolini | Beans | Artichokes | Garlic |
| Cauliflower | Beets | Brussels Sprouts | |
| Lettuce/Greens | Cucumbers | Cabbage | |
| Peas | Eggplants | Carrots | |
| Radishes | Luffa Gourds | Celery | |
| Scallions | Peppers | Onions | |
| Spinach | Potatoes | | |
| Turnips | Rutabaga | | |
| | Squash – Winter | | |
| | Tomatoes | | |
| | Zucchini | | |
| | | | |
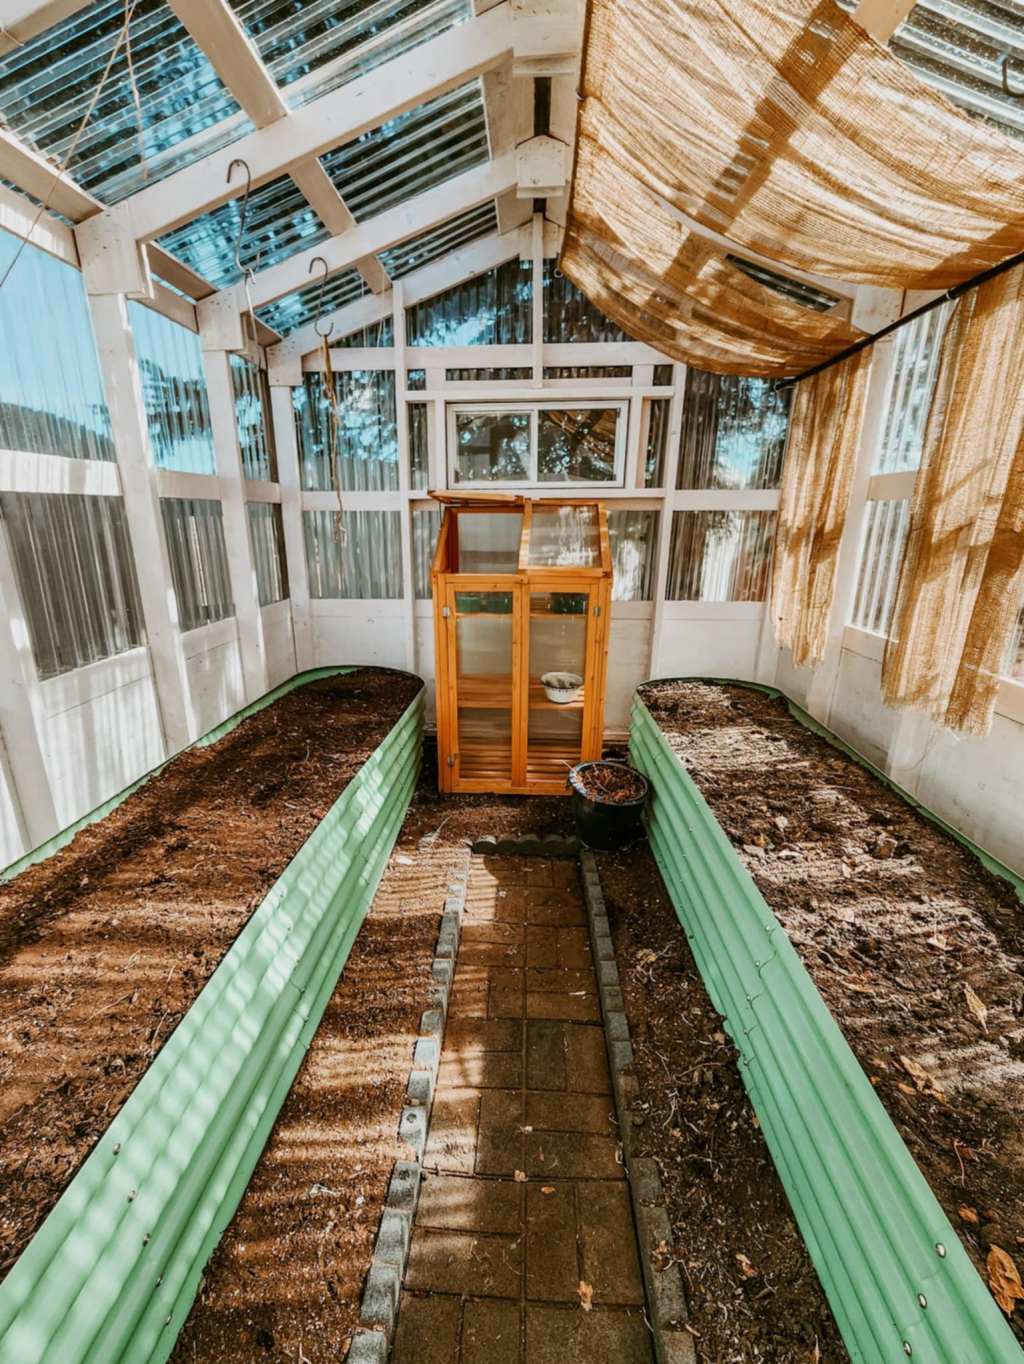
Make sure that everything on your grow list works in your zone. Watermelons and luffa gourds need a lot of heat and take a long time so will benefit from a heated greenhouse to extend the season.
Cool season crops like peas, onions, lettuce and greens can be sown in temps as low as +1°C (35°F) and the other cool season just a few weeks later, at around +4°C (40°F) so mid April and early May here on the prairies, give or take a week or two, depending on the weather.
Sow seeds as early as soil can be worked, or buy/grow seedlings that you can pop into the garden a few weeks later. For continuous food, sow or plant something into any empty spots that come about in the beds as you harvest.

4. Most all fruits and veggies will need 6 to 8 hours of sunshine to thrive and to taste richer, sweeter, better.
Vegetables that make (juicy) fruits, like tomatoes, cucumbers, peppers, corn, artichokes, eggplants, beets, onions, carrots, etc will all need more sunshine
While veggies that make just stalks or greenery will generally need much less sunlight. These are crops like lettuce, kale, scallions, cabbage, brussels, broccoli, cauliflower. They would prefer to only get morning or late afternoon sun, only need 4 to 6 hours of direct sun.

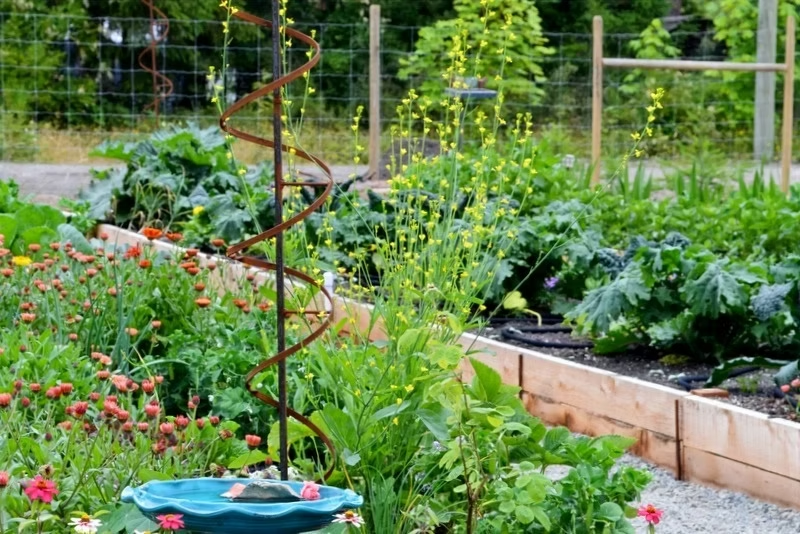
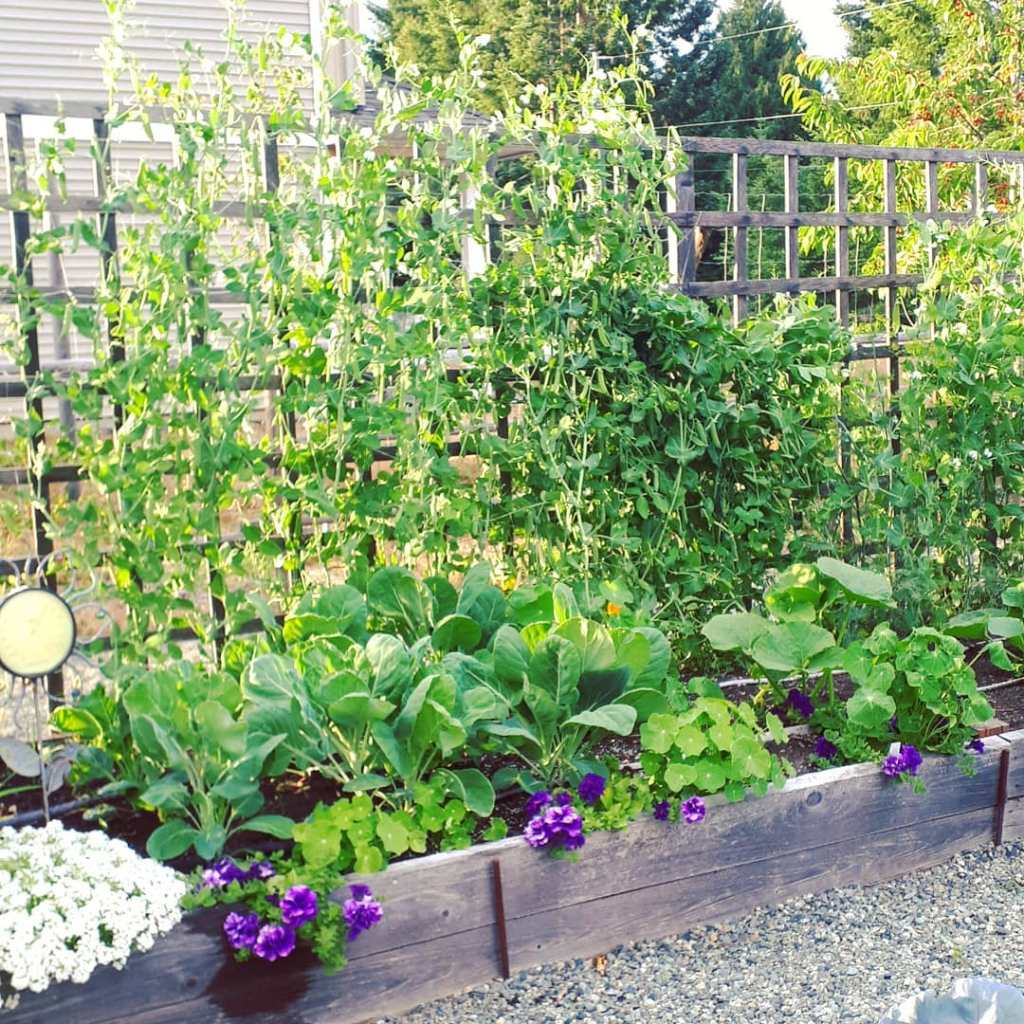
5. Plan for putting veggies with the same watering needs together, in the same bed. Water less often but deeply to develop great strong root systems, and thus healthier plants. I use these flat weeping hoses that you see in the above picture.
I like to grow root vegetables in one bed as they tend to have the same water needs (carrots, beets, onions, rutabagas, parsnips).
If you grow a lot of tomatoes, grow them all in one bed rather than hither and tither. Cucumbers and potatoes do not make great tomato companions.
Most all veggies only require water a good, deep watering once a week, every 5 to 7 days. Do not water in the evening as wet soil or leaves causes powdery mildew.
So, things like potatoes, onions, carrots, beets, broccoli, cabbage, just about everything, only need one good soak a week. If you got some rain during the week, I would still water on watering day unless it was a really long, steady drenching rain. A sprinkle (or a sprinkler, hah!) only wets the surface of the soil, does not water the roots of the plants.
Tomatoes I water every 3 to 5 days with a good deep soak, and the same with squash, though it can easily also go once a week. If you overwater tomatoes, you will get bland tasting fruits, watery and tasteless. You may also end up with blossom end rot if you water too often, or too shallowly. Let tomatoes go several days in between watering so they develop that rich flavour.
Peppers and eggplants only need water once a week. If you water them more often, you will have lush growth but less fruits.
Cucumbers and celery require more water, so I put them at the end of the bed where I can easily give them additional water while I tend to flower pots and baskets.
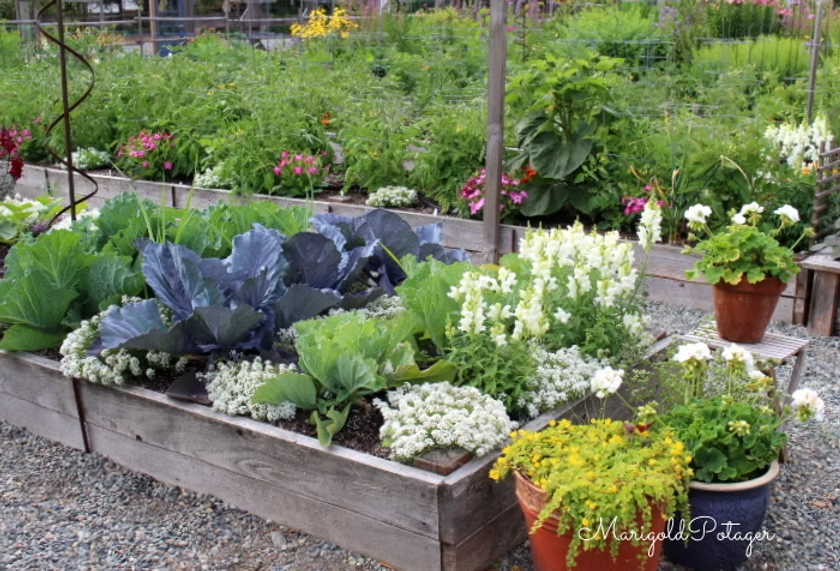
6. Spacing is key. If you are new to gardening, follow the spacing recommended on the seed package or the plant label. You will have great veggies – they will have room to grow and you will get to know how your plants grow. Seedlings are so tiny that it is hard to imagine how large they tend to get – those cabbages will be 18 inches wide in late summer! In this picture, I have 3 cabbages per row in 4 foot wide beds, 3 different varieties of cabbage.
If you have been gardening for a few summers now and are familiar with how plants grow and size up, you may want to shake it up a bit and try something new… intensive planting.
Plant everything just a few inches closer to each other and the rows closer together. Only do this if you have good air flow in your garden. I do this with onions, carrots, beets, peas, beans, cucumbers, potatoes… but not with tomatoes.
Interplant tall plants with sprawling plants, or root crops. Grow spaghetti squash at the base of your corn, onions between cabbages, carrots between cauliflower, broccoli, or lettuce.
Plant a bit more intensively for a bigger harvest. This also prevents weeds and water evaporation as no soil is showing by mid summer.
*Water just the soil, in the mornings, to prevent powdery mildew from starting. If you want to read more about this, it is often called interplanting or French Intensive gardening. I do a lot of this, as you can see in my photos. Anytime you get an empty spot from harvesting, or pulling out due to bugs, pop in a new seed or seedling.
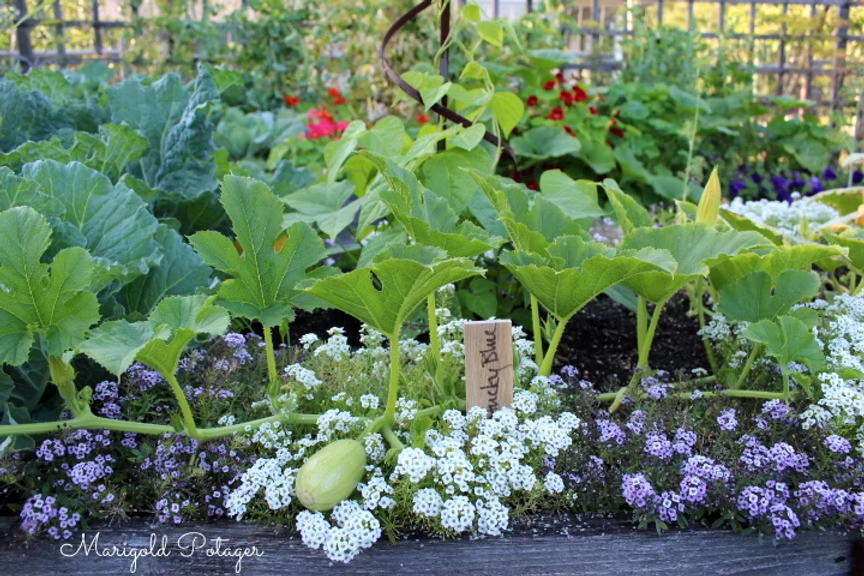
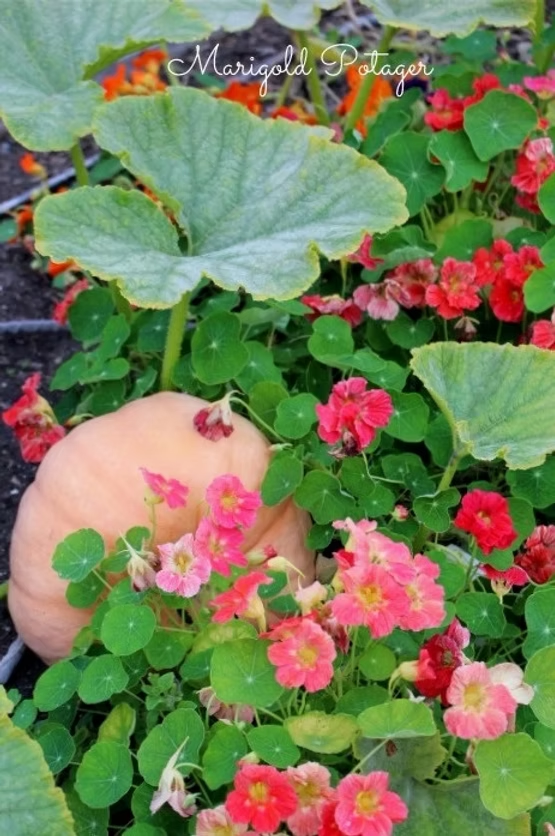
7. Add flowers and herbs to your garden to attract beneficial insects and pollinators. The beneficials will keep your garden pest free and the bees will pollinate your veggies for larger harvests. Do not spray anything, add more flowers (or beneficial insects) if you develop a pest problem.
Add a border of annuals, or put a row of flower like calendula, marigolds, or alyssum between your crops, especially the ones that tend to get buggy, like the brassica family.
Grow perennials that you like in your beds, too, like lilies or roses. Any plants that flower will attract beneficial insects and pollinators.
- Interplant tomatoes with basil, parsley, and marigolds.
- Interplant carrots with onions and calendula
- Interplant cabbage with sweet alyssum.
8. Keep notes on what grew well, what did not, if you think something would have done better in a different location, mark that down in your journal. Keep track of what you sow, grow, plant, harvest, buy… I put down all my ideas, good, bad, big or small.
This is year 13 of garden journaling for me. I have kept them all. Some years I had really fancy planners, other years I had basic note books from the dollar store. It doesn’t matter, just journal!
9. Know that not everything will thrive, and that’s okay. Do not get discouraged if something does not work out. No one ever is 100% successful with everything they grow. Some years we have a wet and cool spring so pollination is spotty and we end up with weird tomatoes and strawberries. Some year is so hot and dry that plants immediately bolt (go to seed) or just languish in the heat…. and that is okay. It is out of your hands. Next year will be better, something else will suffer and others will thrive.
We gardeners are a resilient sort – The Gardener’s Motto is.. there’s always next year ; )


Leave a comment