

Pruning – It is time to think about pruning fruit trees and cutting back roses. If you are in warmer zones of 6, 7, 8 in the PNW, your time to prune is very close at hand. Some of the trees will be in bloom in just a few week’s time.
For us here in the colder areas, we may be pruning towards the end of the month, but most likely not until March sometime.
Prune on a sunny, dry day to prevent fungal issues from taking hold.
Several years back, I found this Stihl mini pruner. It has been the handiest thing for me with my arthritic hands. I find loppers (though I must admit that I love using them!) and pruning saw so hard to use on larger branches, so this mini chainsaw is a life saver. Means I can get things done without waiting for hubby to do them. Hubby wants to get this Milwaukie one instead (as well) since he has lots of batteries for it because his workshop tools are all Milwaukie. This one is affordable and comes with the batteries, has good reviews.

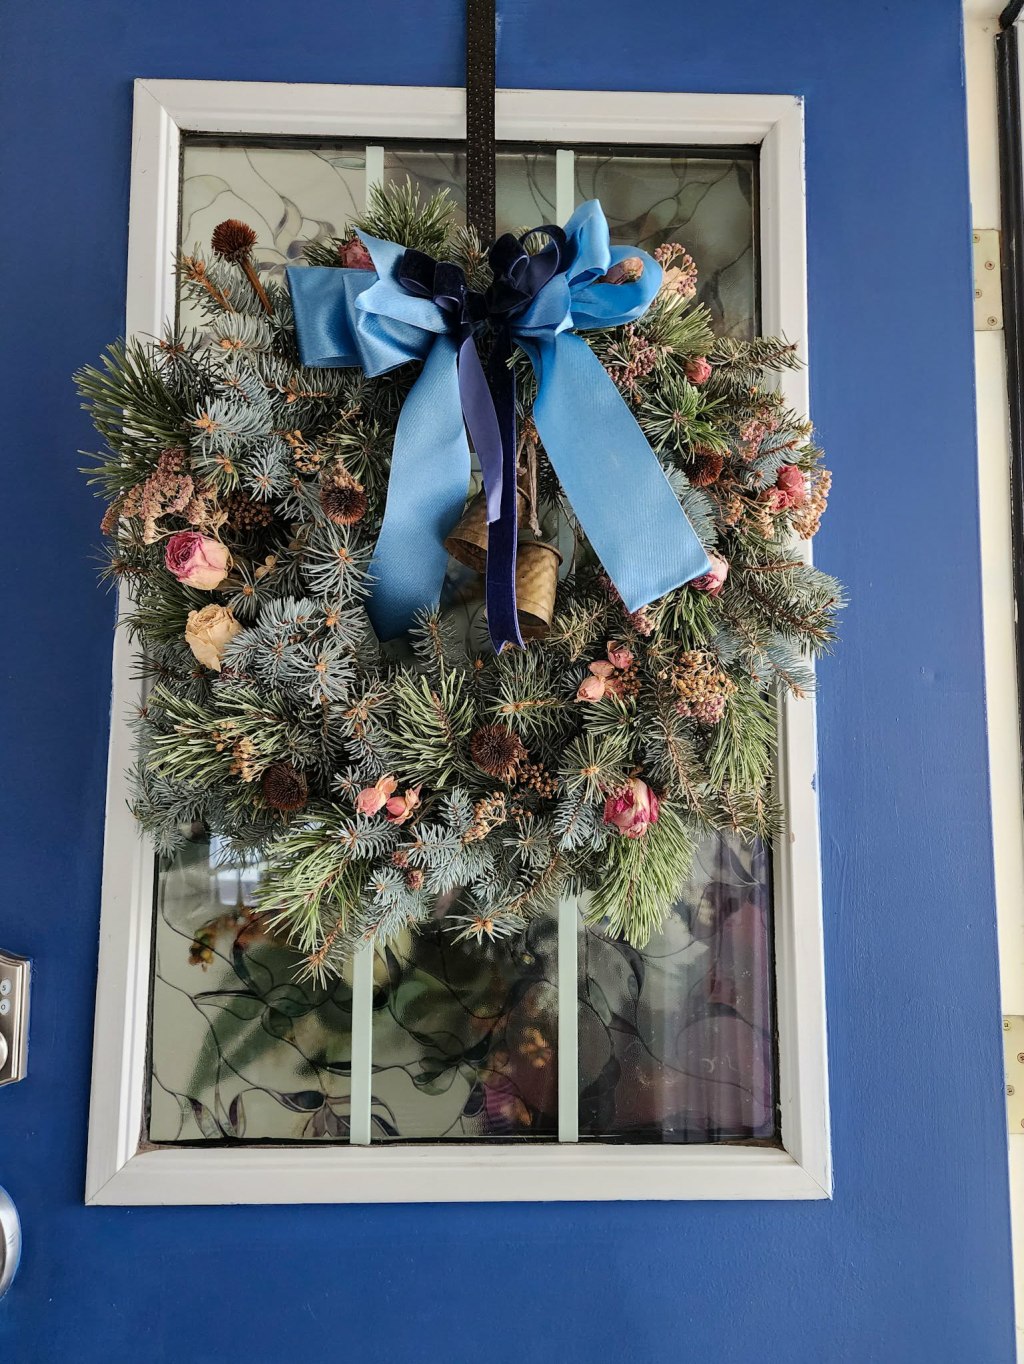
Bring some of those tree trimmings inside for the greenery and blossoms… apple, cherry, plum, forsythia clippings all make for a nice spring feeling… even while winter has us in it’s grip.
Starting From Seed/Seedlings/Greenhouse/Potting Shed
As we start on our indoor seeding adventures, I wanted to mention little things I did when I had my greenhouse business that made my life easier and made for healthy plants. This was when I was growing on a large scale, but still useful for small scale, too.
- Fertiliser Friday – Once I had seedlings in varying stages of growth, some in their own pots, some still in the germination trays but with good growth on them, I would start to feed them with a mild, watered down liquid seaweed feed once a week (foliar spray and water in). I used Friday as the day to feed as Fertiliser Friday just stuck in my mind better. Foliar spray means to spray the seaweed onto the foliage of the plants.
- More Fertiliser Friday – As the plants got a little bit bigger, I would feed them with homemade alfalfa tea. If you prefer, use an organic tomato or vegetable fertiliser. I would also use a 4 litre pump sprayer to foliar spray liquid seaweed onto the leaves.
- Integrated Pest Control – In winter, while the greenhouse (in your growing space), I would put out yellow sticky strips above the seedlings and potted plants. This was not so much for a actual pest control, but rather for monitoring pests and numbers of pests stuck on the cards. Check it regularly for the common culprits of aphids, whiteflies, fungus gnats. If you find evidence of anything, buckle down on your organic pest control immediately. ***Remove the sticky strips as soon as start to leave the door open to air things out, and/or when you start seeing bees or other bugs in the greenhouse, you do not want hummingbirds or bees stuck on these cards.
- Pest Control Sunday – Okay, that one does not exactly roll of the tongue, hahaha, but it helps if you have a regular day to do preventative pest control. Prevention is always the best control. I used the same 4 litre pump sprayer (that I fertilised with) for this, as it was easier to spray under the leaves and to do large quantities of plants. My preferred spray was Safer’s Trounce, but I would also use End-All if I could not find it. ***Please note that this is only to be used inside a closed greenhouse, not outside where it will also kill our pollinators and beneficial insects. To make sure that you do not kill off beneficials, only use when the roof vents are closed and the bugs have gone to bed for the day, with closed doors and windows.
- More About Pest Control – If you do find yourself with an infestation of some sort, or if you know you tend to get issues in your greenhouse or growing space, check out The Bug Lady for the best solutions. I used to purchase Stratiolaelaps each spring to control fungus gnats.
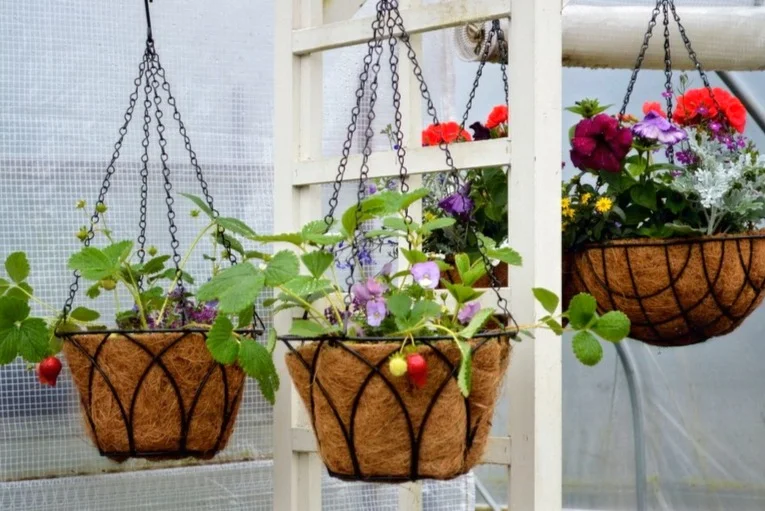
Fun Tip – This is one of my most favourite things to do. As soon as you start seeing strawberry plants or roots at the shops, pick them up and pot them up with some pansies, violas, alyssum, or other flowers to make the basket more colourful, feed the bees, and attract pollinators. Pop the strawberry plants into a garden bed in fall.

Journal &Make Plans
Besides the actual growing food and flowers, planning in my journal is one of my favourite thing to do….it also makes it easier to order exactly what I want for seeds, rather than anything I like that catches my eye (there are so many of those things!).
I haul out all my seed catalogues, my garden mags, favourite garden pics from magazines, and my journal.
Then I start to plan…
Flowers – I like to choose a colour scheme for my hanging baskets/planters/cutting gardens. I used to get together with my neighbour to do this, it was a bit of a fun early bird garden tradition.
I am a bit loosey goosey with my colours while she is so good at picking a scheme and sticking to it. We always chose three colours, but there are no hard and fast rules to this.
- You can go monochromatic with different shades or shapes of one colour, that looks spectacular. I love an all white or all pink scheme. Some will even choose an all green scheme with varying shades and sizes of foliage.
- You can use any and all colours, mix them all together. This is called a Victorian basket. Very popular.
- I go with cool colours, for the most part, as I am not a huge fan of the hot colours. However, a pop of yellow or orange really helps the cool colours come together, so there really are no rules. Plant what you like.
Here are some of the flowers that I am growing in the cutting garden this year, plus the All Canadian seed sources.
This list is for flowers that like cold stratification.
Veggies – I think about what I want to grow this year, what I want to eat, can/process, dehydrate, and freeze.
What to grow for the greenhouse ( I generally grow what I love, sticking to plants that I am passionate about).
What to grow to share with baby girl (my adult daughter and her family), my friends, my neighbours….
Make a garden plan to plot out what goes where even though, truth is, I rarely stick with exactly what I planned in the journal. Not the colour story nor the garden plan, not even the plantings. Some fun, new or unique veggie, flower, seed, plant or colour will catch my eye and there goes the plan. However, it is still time well spent for I do not throw away the whole plan, I just make changes to it. Besides, it makes it possible for me to order the right seeds, roots, bulbs and supplies.
Tips for making your garden plans …
- Do not grow what the family does not eat, you will be wasting prime gardening real estate. If no one but you will eat it, it is a waste of time, money, and space. Go buy that veggie from the farmers market instead, for the one person who does eat it. This is what I now do with parsnips. I love them but no one else does.
- Some folks grow stuff that tends to be fairly pricey to buy (think tomatoes, garlic, asparagus…) and pick up the cheaper items (spuds, onions, or lettuce, etc…) at the grocers or farmers markets. Good use of limited growing space.
- Consider what you want to do with the veggies so that you grow enough… If you are making your own ketchup, tomato sauce, or salsa, as well as fresh eating, then you will need to grow lots of tomatoes, esp of the paste or beefsteak variety. Making sauerkraut, cabbage rolls, and coleslaw? Grow lots of cabbage. Grow lots of onions, hot peppers, beans, etc… if you use them in everything you eat or process. Do your dogs love carrots as much as mine do? Grow succession crops, seeding a few rows several times a year.
We like to make tomato sauce, salsa, and green tomato chow chow each year, so we try to grow everything that we use to make these things. Lots of tomatoes, onions, peppers. My green tomato chow chow is amazing, a super yummy ‘relish’.
Seed Starting – see February’s list HERE.

At the greenhouse, we lined up our seeds in trays, according to their planting times. All the seeds had the planting date (usually a week long window) on the outside of the package. As I was the perennials gal, I would put all the perennial flower seeds in rows according to when they were being started.
I also had a ‘cheat sheet’ that I used to know what I was doing each week and kept track of everything on these sheets. Which seeds I was sowing each day, when I was transplanting them, how many germinated, which seed packets were empty or out of date and needed renewing. and how many plants I had in their 4″ pots to sell by spring. I did just this for months. You start a lot of seeds at a commercial greenhouse ; )
I continued to organise my seeds the same way at my own greenhouse on the island, but only kept track of how many I had to sell, not so much the dates that I transplanted on, etc… and still use this same system now. It makes sense, it works. I mention this in case you think it might help you organise your seed starting.
When buying onion seeds, be aware that not all onions are storage onions. I dropped in at the greenhouse last week to pick up some yellow onion seeds. There were quite a few companies to choose from, but most all were not storage onions. The majority of those lovely, great big, sweet onions usually do not keep well, do not last as long in storage. This means onions like Walla Walla, Kelsea, Ailsa Craig. The grow super big, which makes me really, really want to grow them, but I need onions that keep well in the cold room, ideally all the way till summer. So, grow whichever ones work best for you, it all depends on how fast you plan to use them up.
Heritage Harvest Seeds is selling seed collections this year, suitable for short summers. This Short Season Heirloom Tomato Collection caught my eye, and is a good price for all those seeds. I have tried most all of those varieties. I can tell you that Beaverlodge Slicer is on the tangy side, great for canning. Fargo’s Yellow Pear was my best selling yellow tomato. Stupice has it’s own following, it is a small saladette type tomato, super yummy and prolific. Sophie’s Choice was one of my best sellers, year after year. Anyway, if you are looking for tried and true, they really are that. They also have a Rainbow Tomato package, if you like a variety of colours. Thorburns’ Terra Cotta made my top ten tomatoes list one year… it is super good.

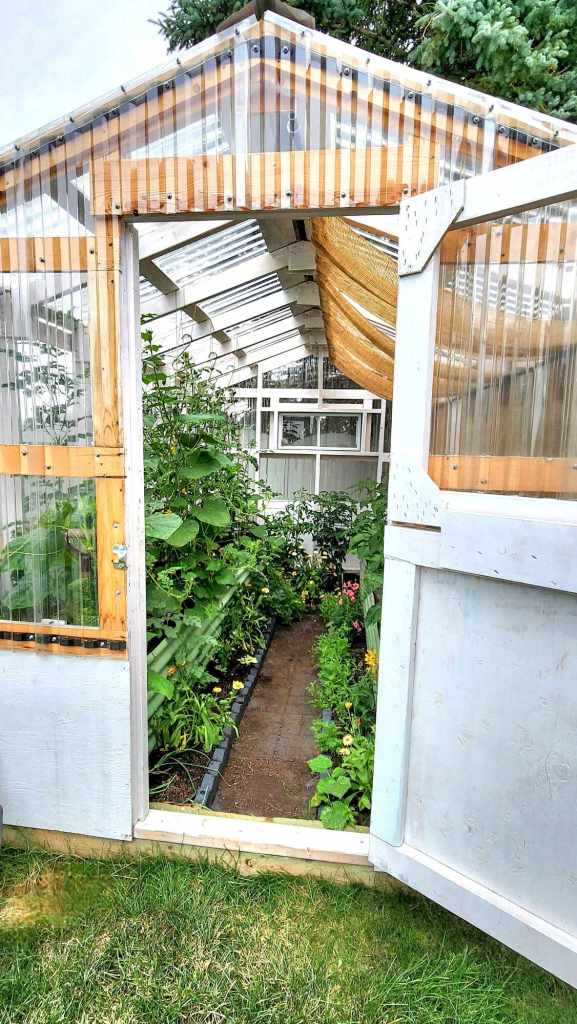
Potting Shed & Greenhouse
It is now time to start thinking about cleaning up your heated greenhouse or potting shed to get ready for the sowing and growing season. I know it seems early, but if you are lucky enough to have a heated space to use, we are getting close to big planting season.
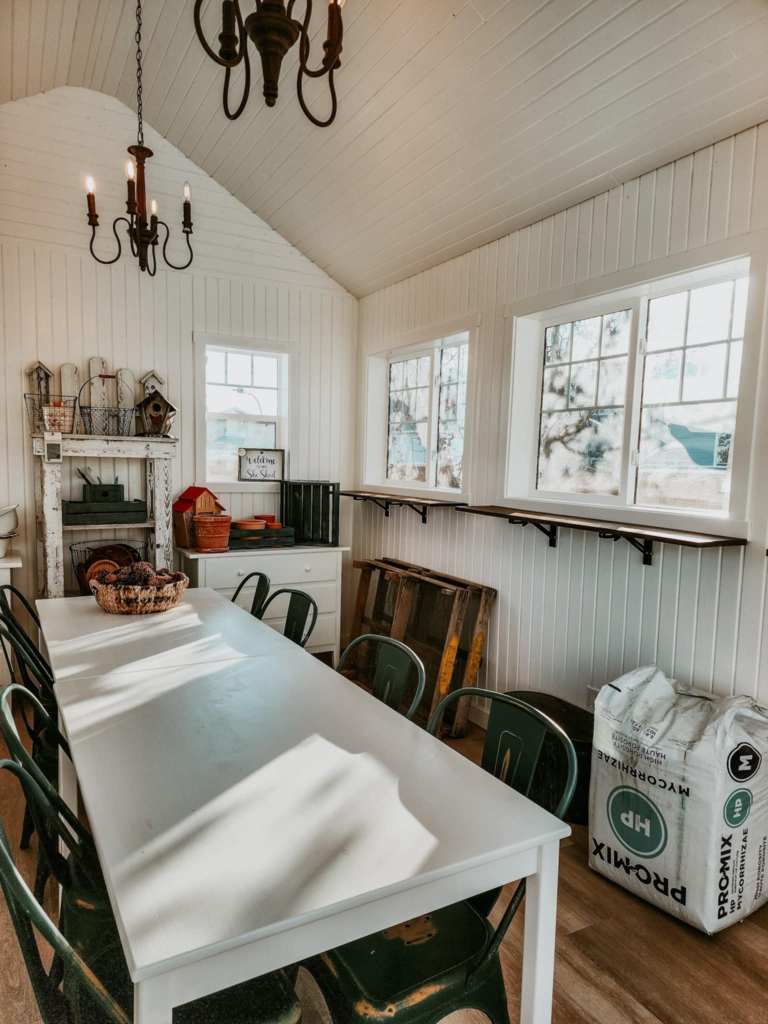
Tidy, clean, and organise the glass house, greenhouse, cold frame, garden shed, etc.. for the season ahead. Get your potting table and supplies ready to go, pull your potting soil, compost, manure into the greenhouse to thaw out.
I wash up and organise my pots and seed trays in the fall, before it gets too cold to play with water, but if you have not yet done so and have access to water, you can do it now.
We used to have a big garbage can full of a 10% bleach solution (to sterilise the trays between use) at the greenhouse, ready to rinse and dip our trays and pots. This might be something that you find helpful.
My potting shed/greenhouse is not set up for water play, so I need to do all that in the fall instead, or wait till I can get into the unheated greenhouse
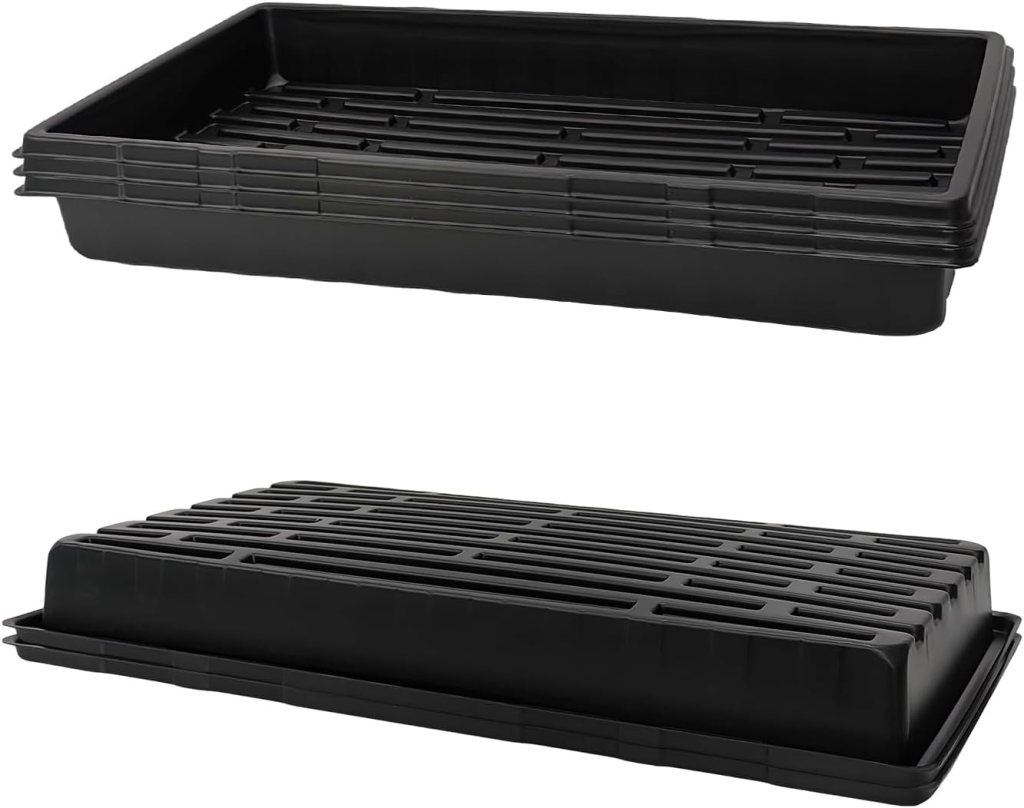
I have been using these little seeding trays for two years now and I am here to tell you that I really like them. Affordable and worth it.
They are easy to store when not in use, take up very little space, work great for starting seeds and cuttings, plus 6 of the little seed trays can be taken out of their green bottom watering trays and put into the large 10×20 trays and fit nicely.

I like to put them all in a big black 1020 tray once they have all germinated to make it easier to move the trays around.
They also have a larger celled seed tray, with 40 cells per pack, that would be great for starting many plants with the same needs… for example, if you wanted to start 40 tomatoes, or peppers, maybe marigolds? petunias? This is such a great option. 4 x 40 celled trays per package.


6 Cell Seed Trays / 12 Cell Seed Trays / 40 Cell Seed Trays
*As an Amazon affiliate, if you buy an item(s) from one of the links, I get a small commission to support my blog. It does not cost you any more to purchase through my link than if you went to the link on your own : )

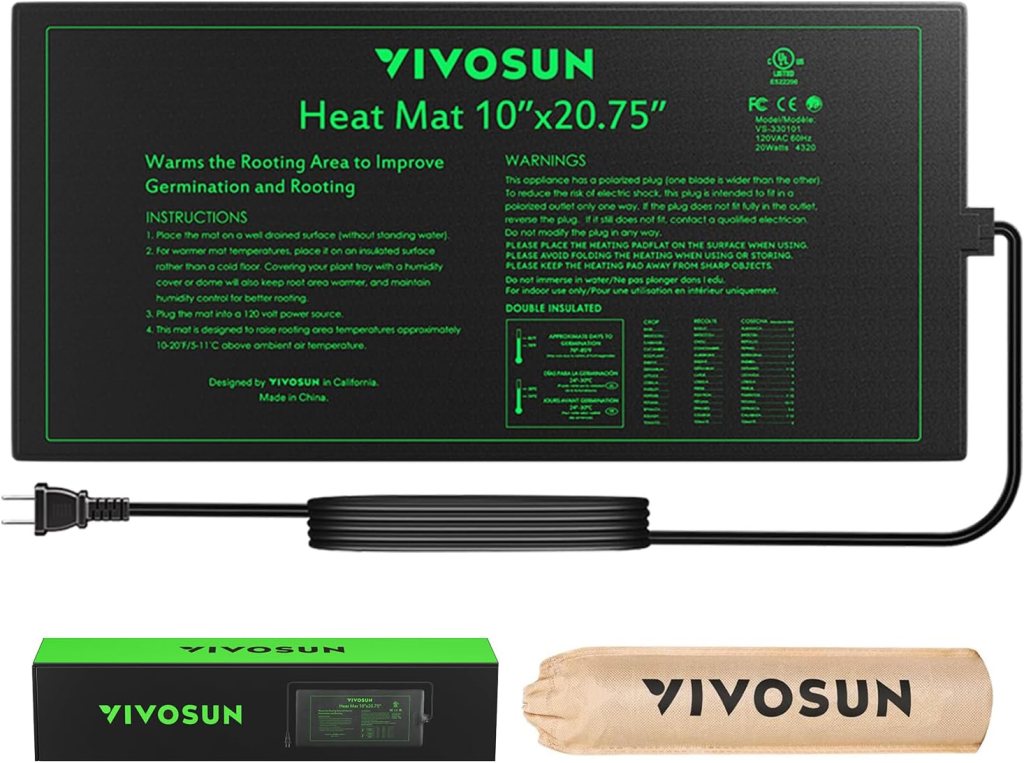
6 Pack Seed Starter Trays / 1020 Trays without holes / Seed Starting Heating Mat
Traditional 6 packs and 1020 trays. Don’t forget your heating mat! That is key for starting seeds. For more seed starting stuff, check out my Amazon Shop page.
Check your tubers and over-wintered plants. I went down to the cold room to check on my canna lilies and dahlias. Both were starting to sprout. Deep sigh. I was hoping they would hold off for a few more weeks yet.
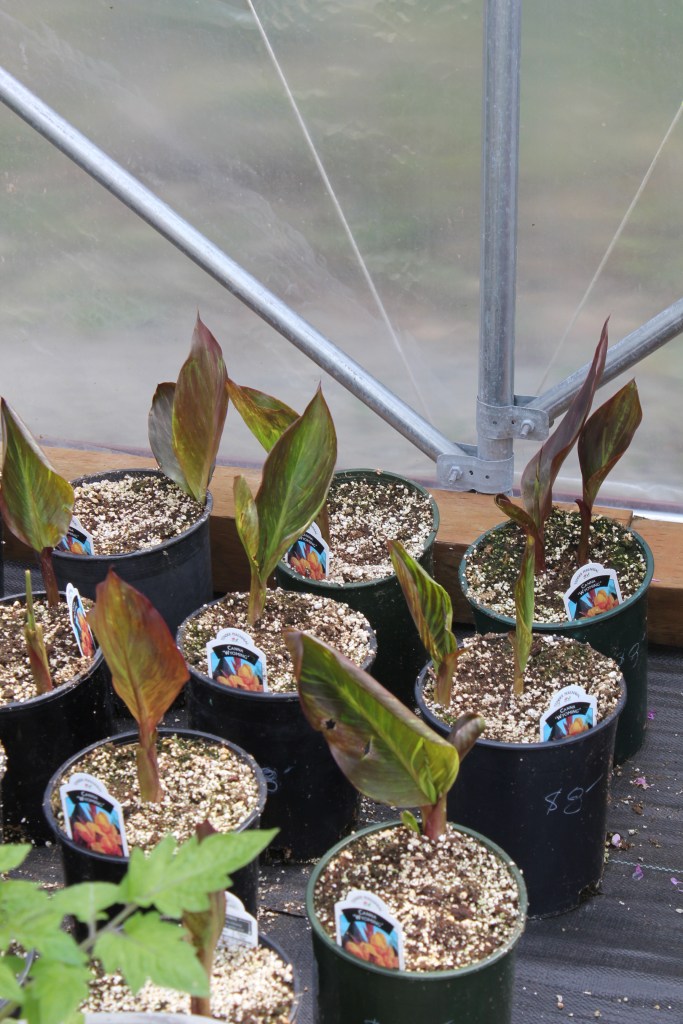
I have left the canna lilies in the cold room for a few more weeks as it’s sprouts were still fairly small. I have time till I have to deal with it. It has a fairly large root ball so I was truly hoping not to have to do anything with it till April or May. Let’s see how it goes with that one. I just gave it a bit of a spritz of water as the soil is super dry, will check on it again in a couple of weeks. If yours is really sprouting, you need to pot it up.
If you are on the west coast, you can just cut them down and leave the cannas in their pots over winter. Tuck them under the eaves, or store in an unheated greenhouse to keep them from rotting in the winter rains.
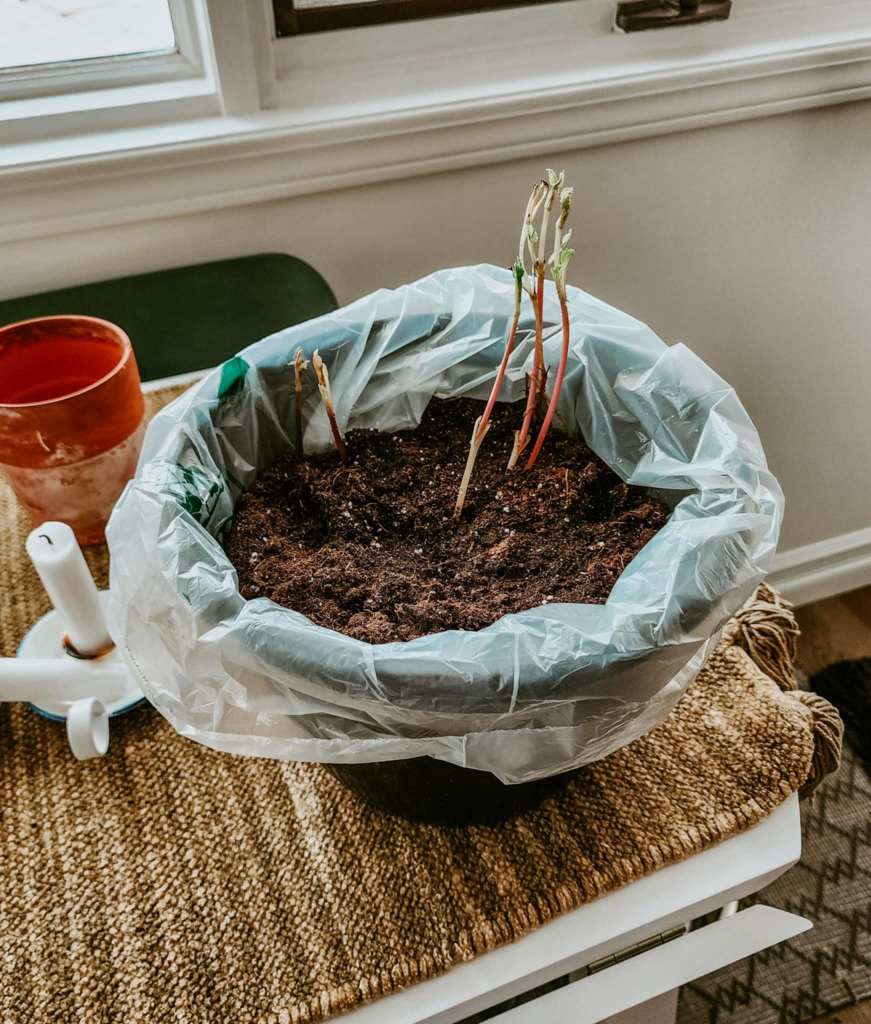
The dahlias I had in the cold room were the very small tubers that I had at the end of last summer, from the dahlias I started from seed. I did not grow any of the large tubers last summer. These little tubers were placed in a small pot with potting soil (you can also use vermiculite), making sure they did not touch each other, and then placed in the cold room. They want cool and dark. Apparently, our cold room has been too warm this winter as they had tall, wimpy sprouts growing in the pot.
They say to put them in a colder area if you find sprouts this early. We usually would try to wake them up in late February or early March, so I am not super early. Therefore, I am going to pot up those little tubers now and keep them in the cool potting shed/garden cottage (10°C/50°F).
I will also take cuttings from those sprouting shoots and see if I can make myself more dahlias. I am hoping to have a very dahlia filled summer this year.

That is all I can really think to share this month. It is not a super busy gardening month yet. I must tell you, though, that I started about 10 types of clematis from seed.
This is completely new to me, have not done it before, so will keep you informed. So far, they are in damp soil, in baggies, on slight heat, and should germinate in about 2 months time.
I bought these seeds from Alla in the Ukraine, last year, after Floret Flower Farm did an interview with her.
Hopefully the seeds are still viable. I got them too late in the season to start them then… but perhaps I should have? Time will tell. Gulp!


Leave a comment