As October comes to a close, many of us gardeners here in the northern hemisphere are ready to take a bit of a break from our gardens, and the yardwork. Even as a super avid gardener, grower, garden blogger, who lives and breathes for growing food and flowers, I am looking forward to a bit of a break.
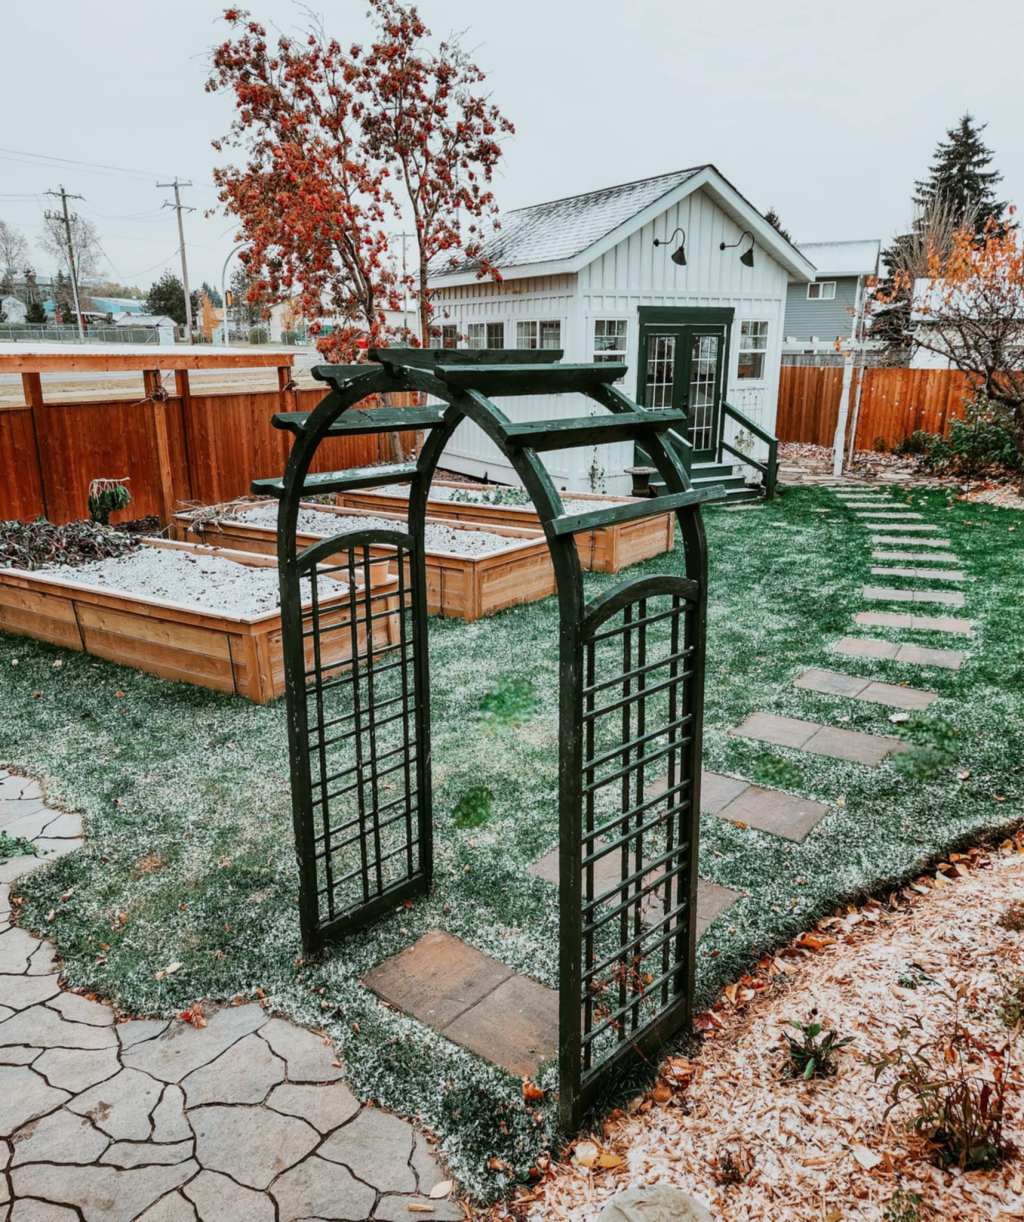
It has been a very odd gardening year for me. A whole lot of things that we had to wait for, plants that died in the meantime as we waited, but there were many wins, too. The visit to the gardens in Saskatoon, the ideas that the cohousing gardens gave me. Best of all though, is that the back yard is finally complete, even the potting shed… finally. Looking ahead to the next gardening season already!
But… we are not yet done for the year! Here are 12 easy things to do to prepare your yard and gardens for old man winter, and make your spring gardening season easier.
1 – Remove Annuals – Leave Perennials Standing. Annuals are more apt to harbour pests or diseases so pull them out in readiness for next year’s blooms. Toss annuals in the compost bin and top dress the soil with a bit of manure or compost.
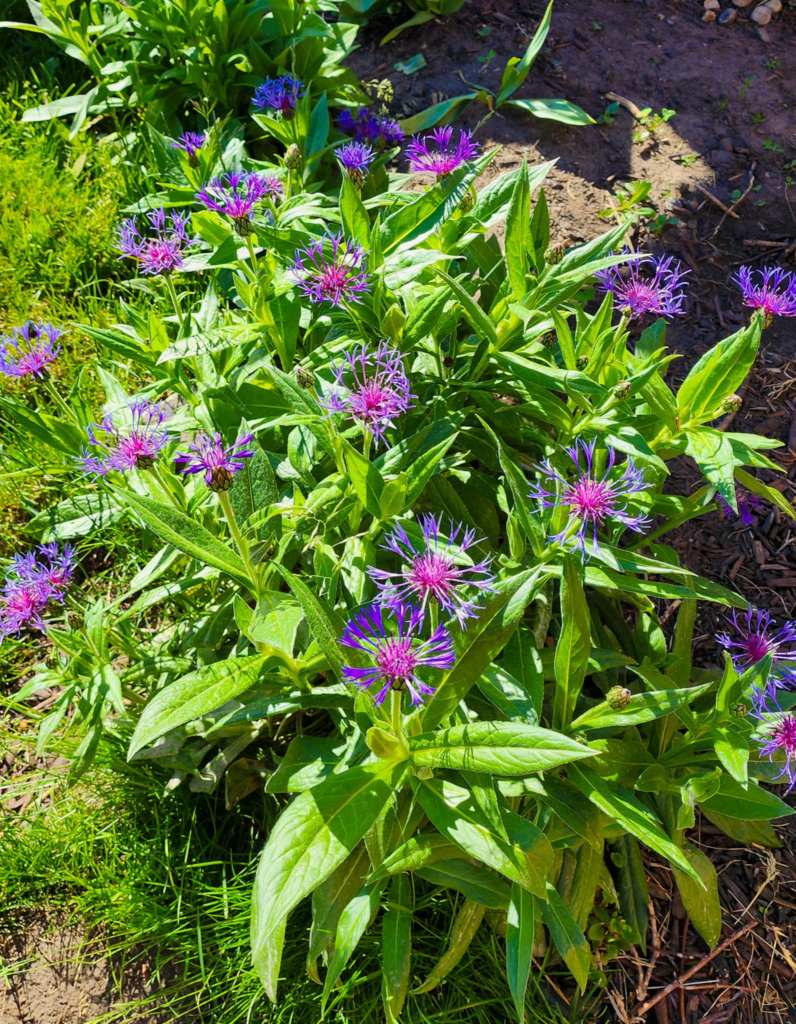
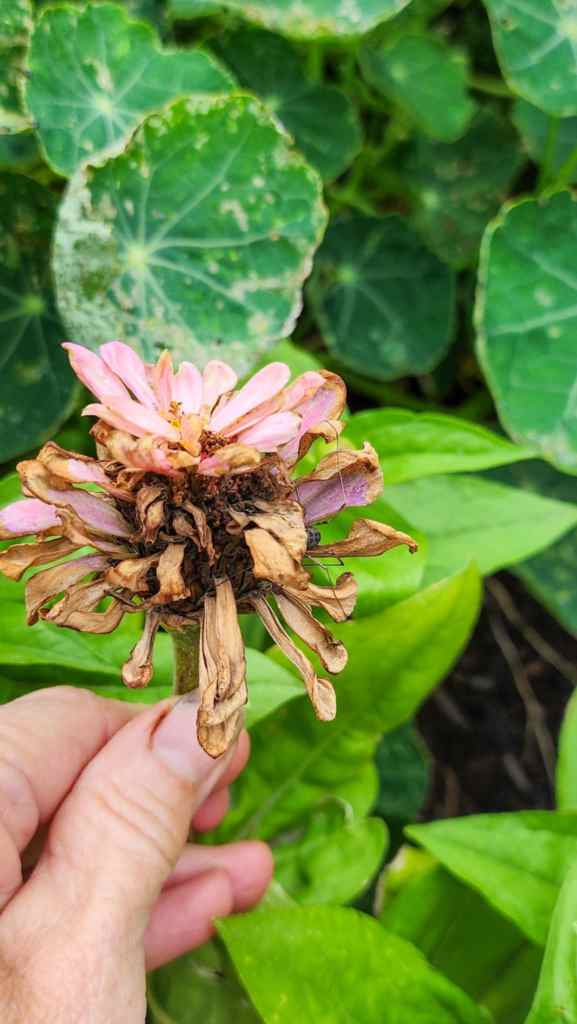
Perennials with hollow stems provide homes for bees and beneficial insects, seed heads feed the birds, and standing stems trap the snow cover in the beds, to protect tender plants and roots from the cold winters. Remove seed heads from heavy self seeders, anything that you do not want to spread by seed (like my lovely perennial cornflower in the picture above).
These will all be so easy to clean up in spring, after the bees and beneficial insects have come out of dormancy. Is easy to rake up the bits and prune things down to the ground for new stems to come up. Most stems, like lilies, just pull right out of the ground in spring.
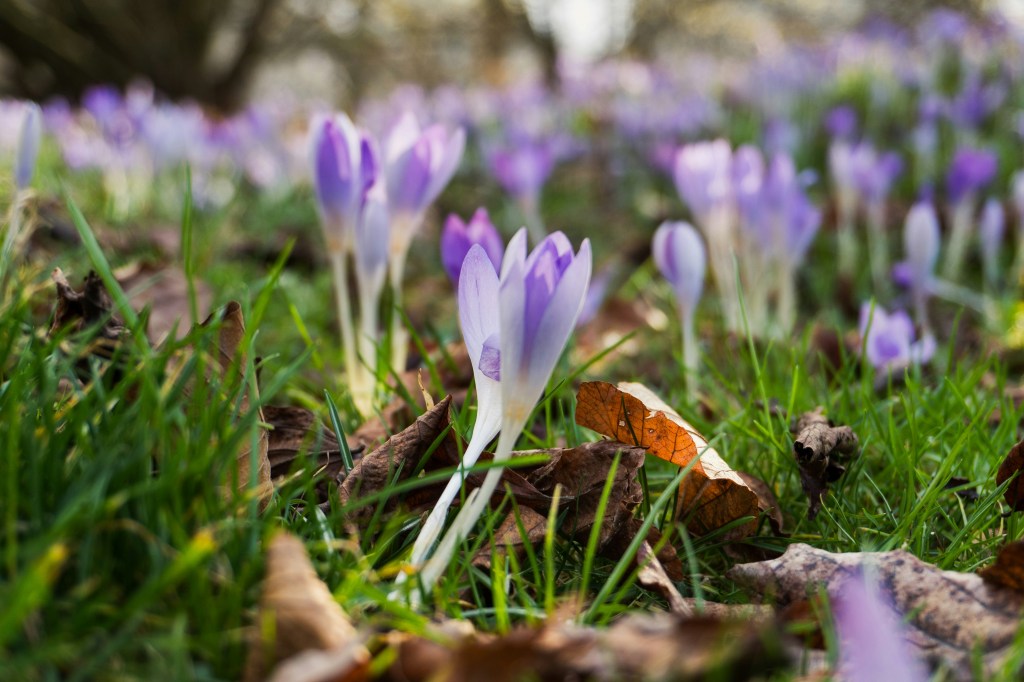
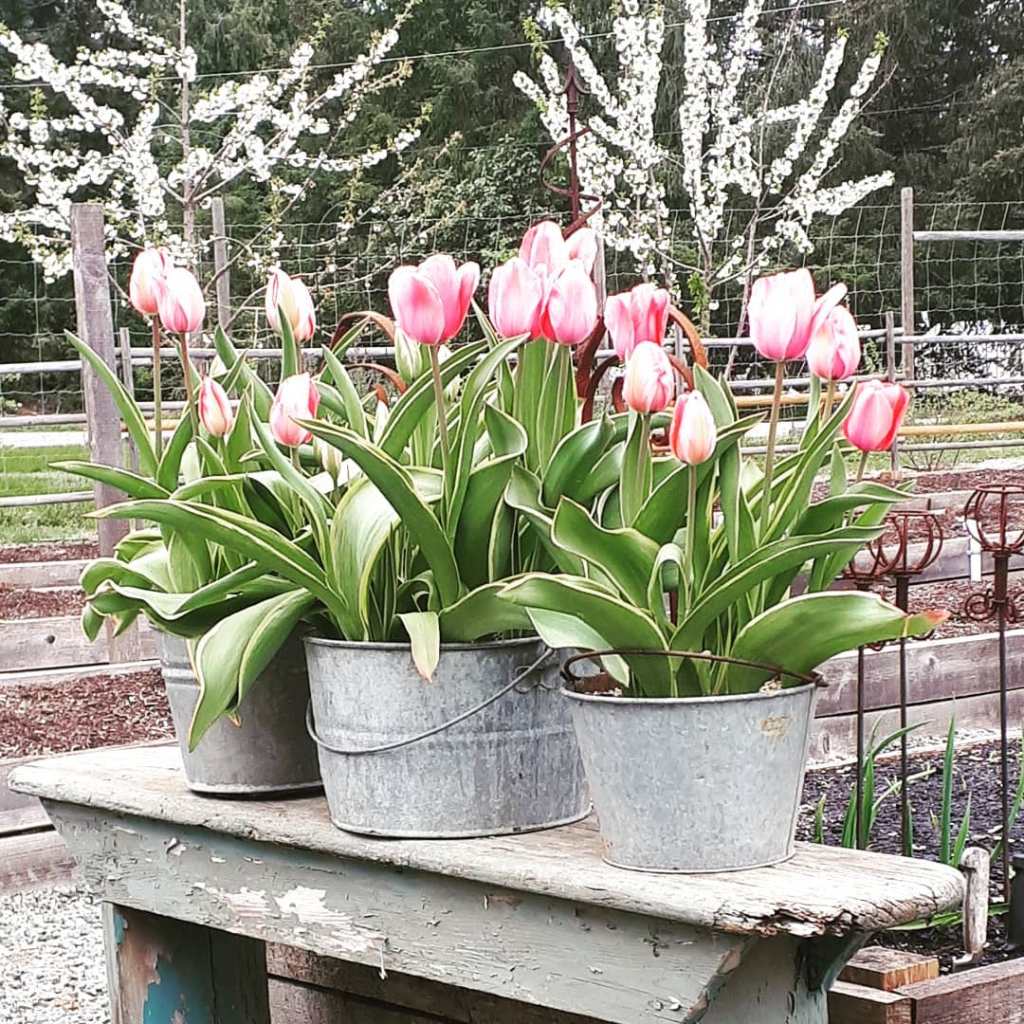
2. Plant Spring Flowering Bulbs. I know you are tired, but keep in mind how much you love and appreciate the blooms in spring, after a long, cold, dreary winter.
My favourite bulbs are grape hyacinths, squill, crocuses, and blue glory of the snow. These are small bulbs that you plant in groups for clusters of colour in spring. They naturalise (spread) so will get bigger and better each year. Plant in the lawn, along pathways, in garden borders, under fruit trees.

After your border plantings, species tulips (kaufmanniania, gregii, turkestanica) will also naturalise, as do daffodils. Darwin and Triumph tulips bloom for many years in a row, with no need to lift them. Plant ‘fancy’ tulips where you can enjoy them in all their glory, and then remove them from the beds after blooming. They rarely bloom for more than a year or two at most.
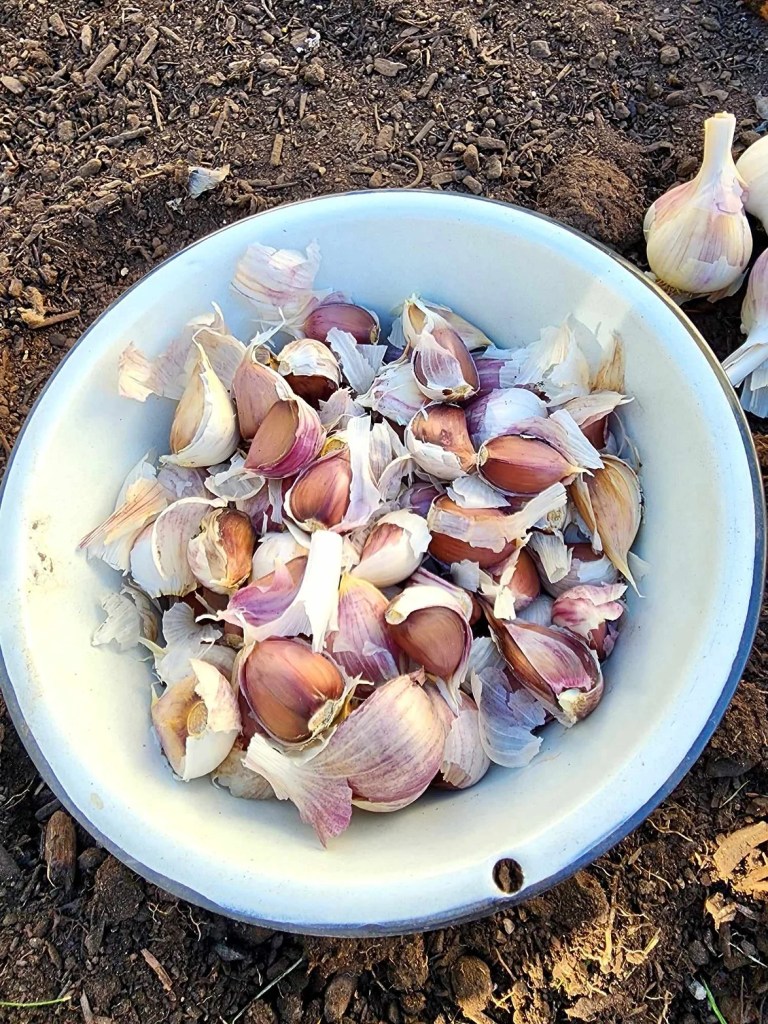
3. Plant Garlic of course. Even if you only have room for a few cloves, you will appreciate having fresh, spicy, organic, homegrown garlic next year to elevate your cooking. It really makes a huge difference. The store bought bulbs simply cannot compare in flavour.
Now (late October) is a great time to plant your garlic in any garden zone, but you can plant till the ground freezes solid in the colder zones, and anytime before winter solstice in the warmer zones.
4. Save Money On Next Years Flowers. Save your own seeds, lift and store tubers and bulbs, bring geraniums indoors as houseplants.
Saving seeds from marigolds, zinnias, nasturtiums, sunflowers, snapdragons, and calendula is the easiest way to save on your flower budget next year. Clip off mature flower heads that are starting to dry. Place in a dry location to fully dry for 2 months. Harvest the seeds and store them in small envelopes. Don’t forget to label with name and date, including the year.

Lift and store your dahlias, canna lilies, and gladioli. Lift from the ground, trim the tops to 4 to 6 inches high. Place in warm, dry place to dry and cure for a couple of days, store in a box or pail of potting soil or peat moss. The cannas do not need the soil, just dig up, let dry for a few days, place into a pot or a bag (leave it open), and store in the cold room, cellar, greenhouse, hoophouse, etc…
If you are reading this on the island, save your cannas! They are dead simple to overwinter. I used to cut it back, left it in the pot, hauled it into the unheated hoophouse, stopped watering, and it was always raring to go in spring when I started watering again. I had a customer who left hers in big pots and kept them on her deck, under the eaves, they just got bigger and better annually. She divided them every few years and so had a dozen or more to add height and colour to her summer garden.
If you live in a dry place, like the prairies, just dry for two days or they may shrivel and dry too much. If you live in a more humid area, like the coast, dry and cure for 5 to 7 days.
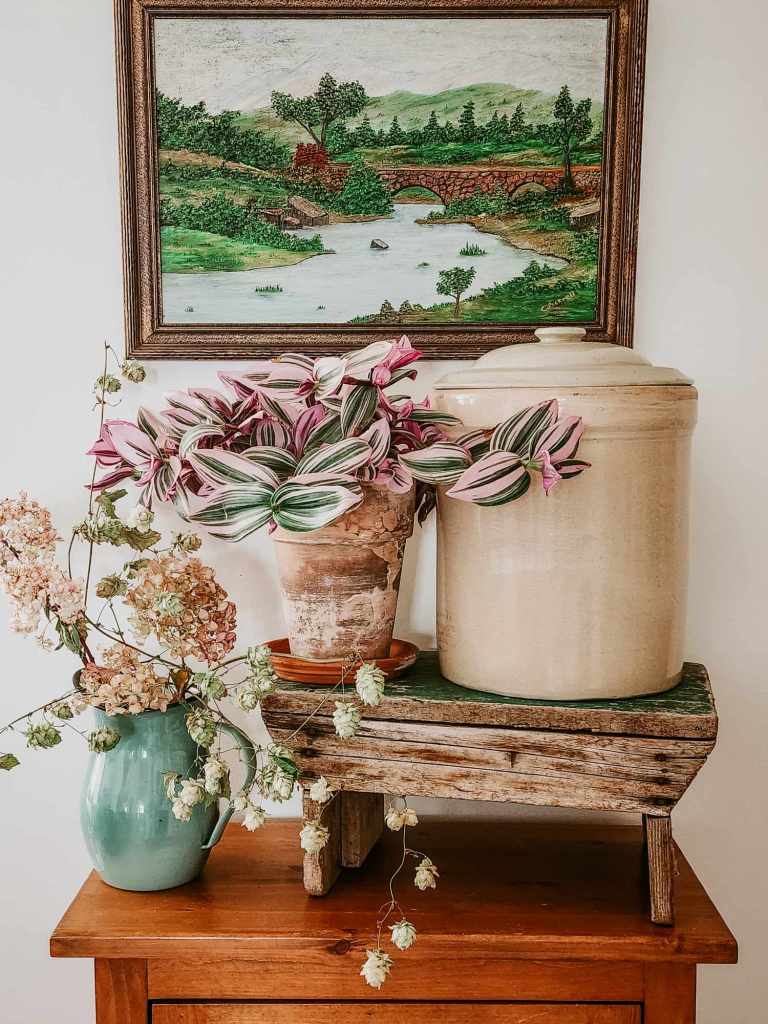
Bring in geraniums and tradescantia as house plants for the winter, start taking cuttings in late winter to use in your planters and hanging baskets.
Trim yellow bits and dying flowers from your geraniums/tradescantias, repot into fresh potting soil, place your potted plant in a bright window. Does not need to be direct light, just by a window is fine. Water sparingly to prevent root rot, they prefer to be kept on the dry side. Start feeding with a mild fertiliser in February.

5. Divide & Transplant Perennials. Dig up your overgrown perennials, like my hosta above, divide into several good sized pieces, transplant into a hole with fresh compost. Water in well. This can also be done in spring if you prefer to wait. But, if you are having lovely weather, like we are this last weekend in October, is nice to get them settled into new homes so they start to root in and get a head start in spring.

6. Make Notes & Take Pictures. Make note of what you liked this year, what you want to do differently next year, what to plant more of, less of, or not at all.
Mark down where you planted new perennials and sowed seeds, take pictures throughout the seasons so you know where your bulbs are in spring and where your perennials are in summer. I also like to draw little maps of my gardens in the journal. They are not artistic enough to share here on the blog, just simple etchings.

7. Protect Tender Plants. Tender plants can be protected with a deep mulch of leaves, shredded bark, or straw. Blueberries are really not a great fruiting shrub for the prairies, but I am determined to try my very best, so I mulch them up heavily each fall.
On the prairies, where forty below happens, plant tender plants close to a driveway, pathway, or deck, so that you can easily shovel snow on them to be insulated from the bitter temps.
8. Leaves. There is so much talk about leaves, what to do and not to do with them. They really are gardener’s gold. They work as a weed barrier, feed the soil as they break down, retain moisture, and make hard, compacted soil friable. They also are a great source of food for birds… not the leaves themselves, of course, but the bugs that sleep underneath them.

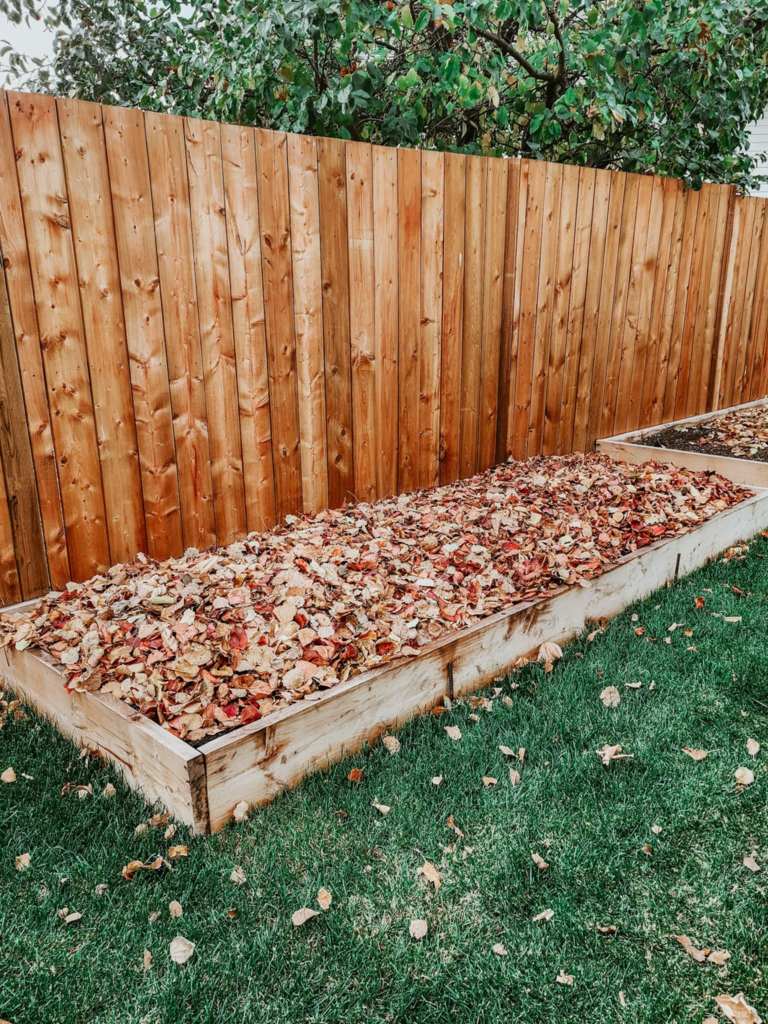
Rake them off your lawn, driveway, and sidewalk, and pile onto your garlic bed and perennial flower beds. I have been feeding my raspberries with leaves the past 2 years (just rake the leaves right into the raspberry patch), and can hardly believe the difference in the soil and how well the raspberries are thriving. If you have compacted soil, or poor soil, leaves are the answer.
Water the leaves so that they do not blow around, as I have done above. You can also cover them with dollar store expandable trellising, snow fence, wire, or mesh to keep them in place.
If you do not have a place for them this fall, rake them into a pile to compost down over the winter. That compost is called leaf mould and is wonderful to use to feed your strawberries, fruit trees, roses, vegetable gardens. Wherever you feel you need an extra boost. Most all leaves can be made into leaf mould. Some leaves that are really thick and waxy (arbutus) take longer to break down, but they will given time. even Black Walnut leaf compost can be used in the garden. It is their roots that are the biggest problem with the juglone, but the leaves have very little in them by the time they fall from the tree in fall. If you mix them with other organic matter to make your compost, that trace becomes miniscule.
Leave the leaves. They are good things, as Martha would say.
9. Mulch Your Soil. Mulching your gardens and around your trees (no volcanoes!) will protect and feed the soil, adds protection to the plants in the garden, maintains soil temperature in winter to prevent frost heaving. Some plants are completely uprooted during heavy freeze and thaw cycles if not well mulched.
As above when protecting vulnerable tender plants, use shredded bark, composted pine bark, leaves, or straw.

10. Protect Young Trees. When they sell you a fruit tree at the nursery, you will see a white tube, or sometimes a white plastic spiral around the base of the tree. Keep this tube!
Take it off for the summer and put it back each fall, until your tree is more mature, to protect it from mice and rabbits in winter. If you have a taller spiral or tube, that is even better, as it may also protect your tree from deer rubbing their antlers on it and shredding up the bark of the tree.
If too much of the bark on your tree is damaged or chewed away by rodents, it will not survive. Rabbits and mice like to chew on the bark of young trees in winter, if they chew too much of it, or completely girdle the tree (remove the bark in a circle all the way around the trunk), the tree will not be saveable.

11. Water in your trees, shrubs, perennials for the winter. Keep watering your trees and shrubs, and newly planted perennials till October, or November, depending on the weather. This fall has been dry, we have not had a lot of rainfall, so giving them a good soak now is a great idea. Mulch will keep in the moisture and help prevent frost heaving. None of this is something you have to worry about if you live on the wet west coast.
After giving everything a good water, don’t forget to disconnect your hoses from the hose bibs (aka tap). Put your hoses away, or leave them on the hose reel but remove the watering wand so that it does not hold water and crack in winter.

12. Sow Seeds Now. Zone 3 and 4
Sow carrots and beets in rows or blocks. They will start growing when the days are long enough and the soil is warm enough for earlier harvests. Lettuce can be grown near a warm wall, where the snow tends to melt first in spring. You can also try onions. If you have extra onion seeds, they do not germinate well, if at all, in year two, so you might as well sow them and see what happens.
Flowers – larkspur, delphiniums, sweet William, alyssum, nigella, poppies,
For those in warmer climates, do not sow carrots or beets right now as they will germinate and start growing in your warmer temps. In spring, they will not start growing again, but will rather go to seed. Sow your carrots around winter solstice, when days are short and the soil temperature is cold.
Flowers – In addition to the the flowers listed above, you can also sow your sweet peas this fall for much earlier blooms in spring. Do not soak the seeds, they will get enough moisture from the ground, and watch them come up in March! Keep an eye on the birds and bunnies though, they love those fresh new shoots in spring.
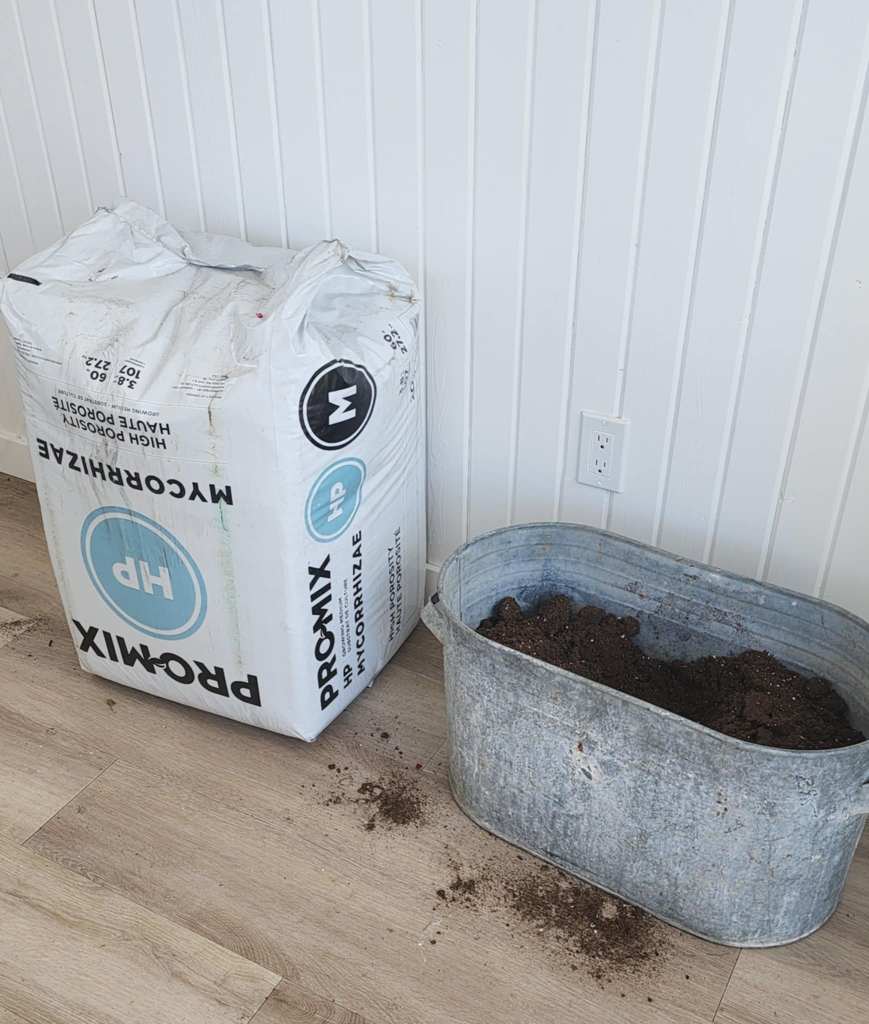
Bonus Tip – Pick up a bale of potting soil now so you are ready to roll in winter with your seeding. Yes, the bale is upside down and I did not want to flip it over just to take a picture of it ; )
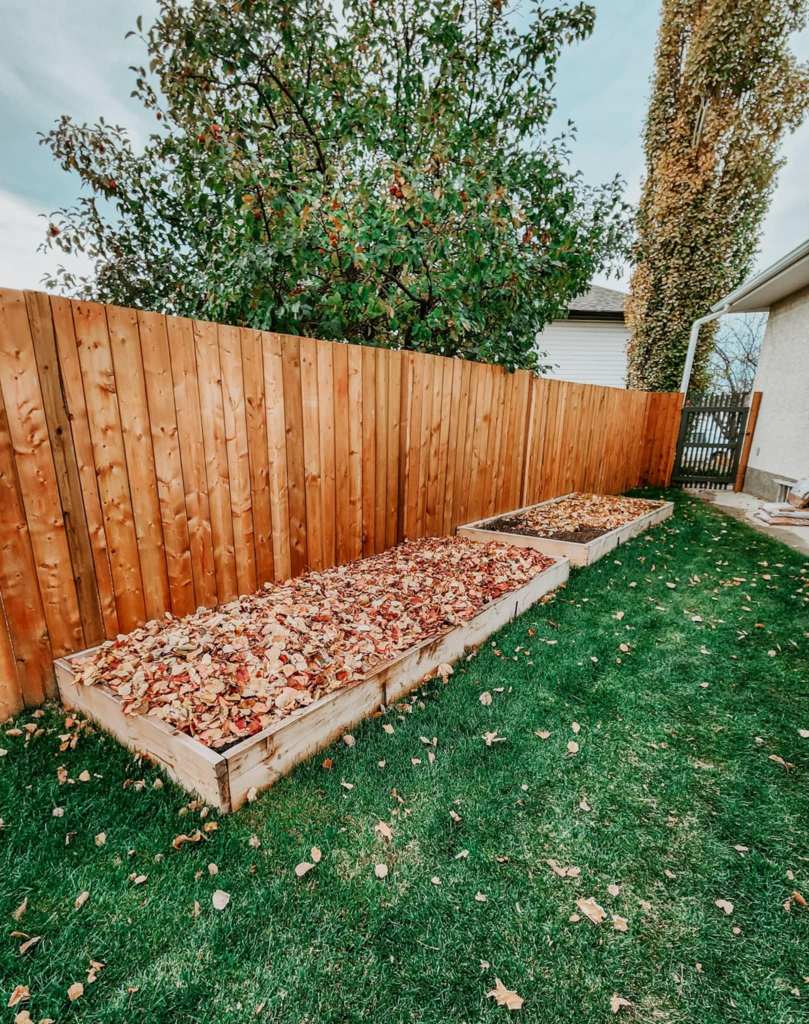
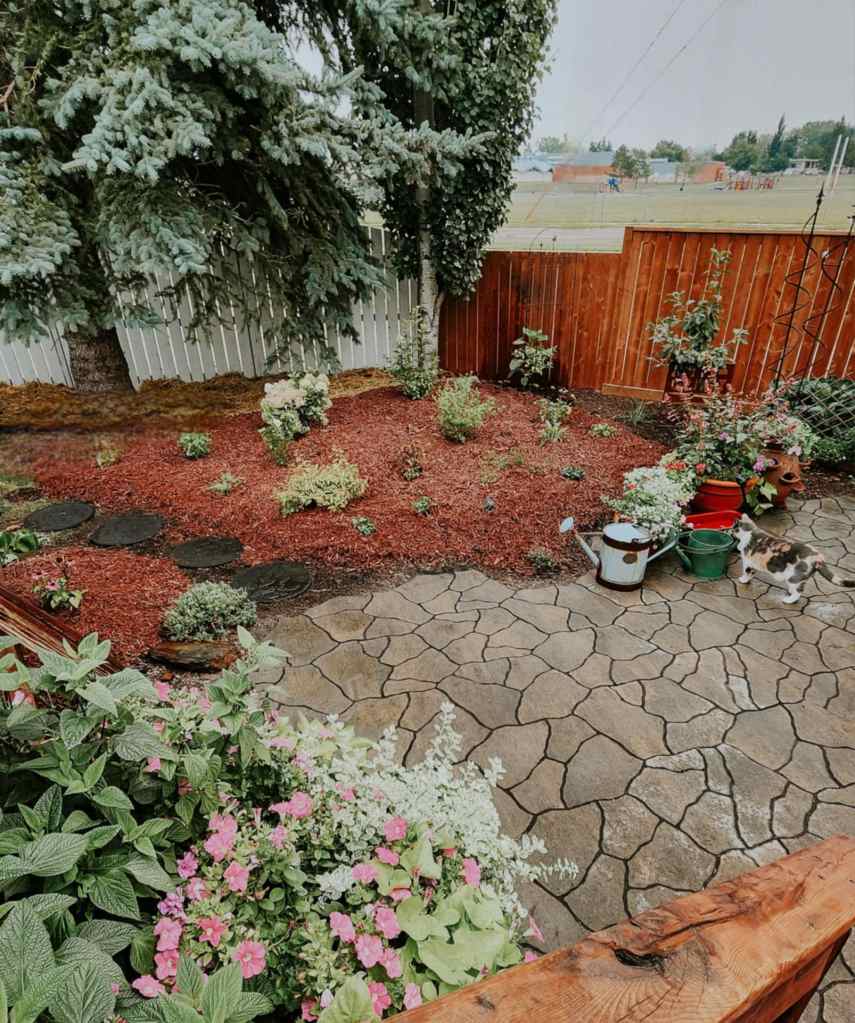
Check out all the leaves that still have to fall on this side of the yard, eh? My neighbour’s apple tree sheds into my yard, which is just fine with me… it also sheds beautiful big Battleford apples into my yard sometimes, hahaha. The backyard has even more leaves yet to fall. Looking forward to all that goodness for my gardens!
My garden is in a zone 3/4, in central Alberta, on the prairies. However, I have lived, gardened, and taught gardening on the wet west coast, also, so I give tips for both regions, plus everything in between. I’m a no dig gardener so do everything I can to keep the yard eco friendly, a haven for birds, critters, and bugs. All the bugs. If caterpillars want to overwinter in my leaf piles, they will either be eaten by the birds (yay) or turn into a lovely moth in spring. These are all good things.
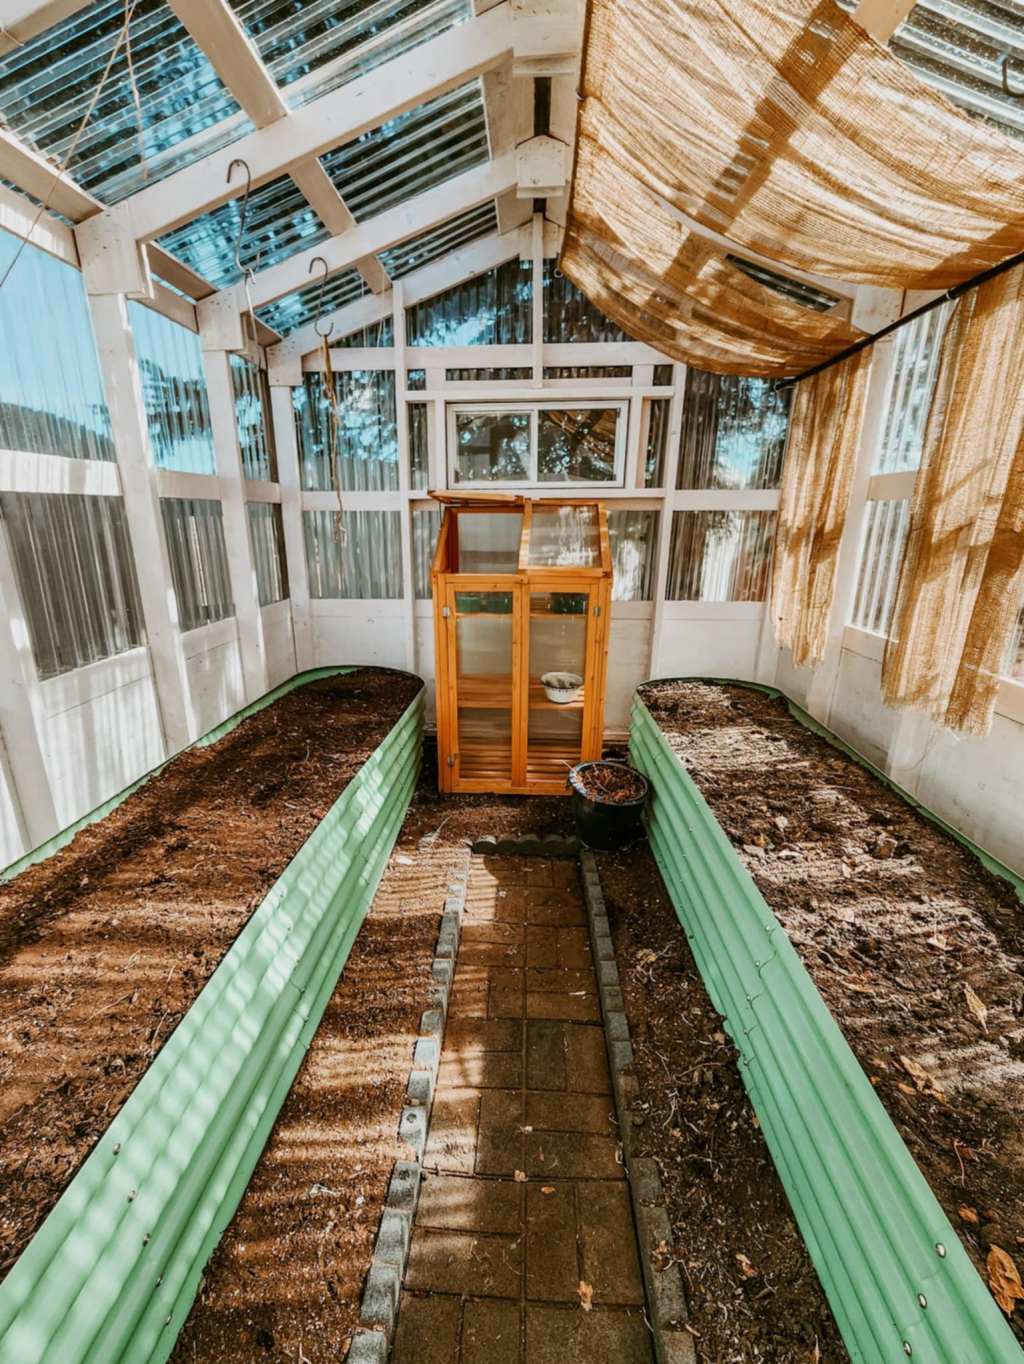
Here are my 5 tips for putting your food garden beds to bed for the winter as I do things just a little bit different to ensure that the beds are healthy, organic, and thriving, but weed and pest free next year!
Can you think of anything else that I forgot to mention? Anything that can be done now to make your spring garden clean up easy peasy? What would you add? Wishing you all a long, lovely fall to get all your chores done before winter begins in earnest. Tanja


Leave a comment