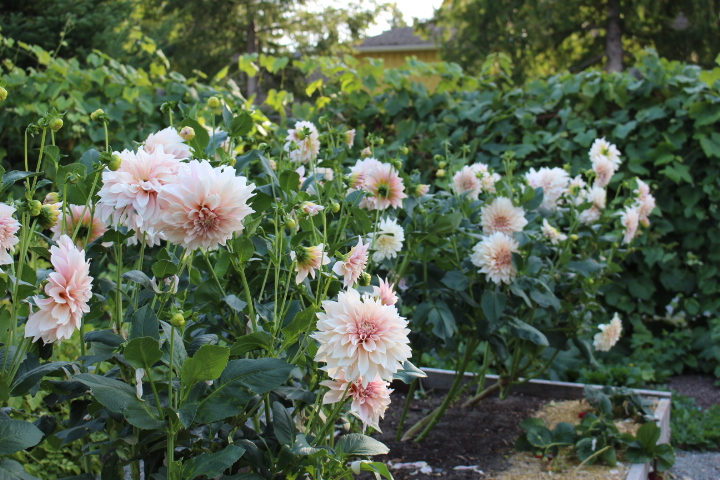
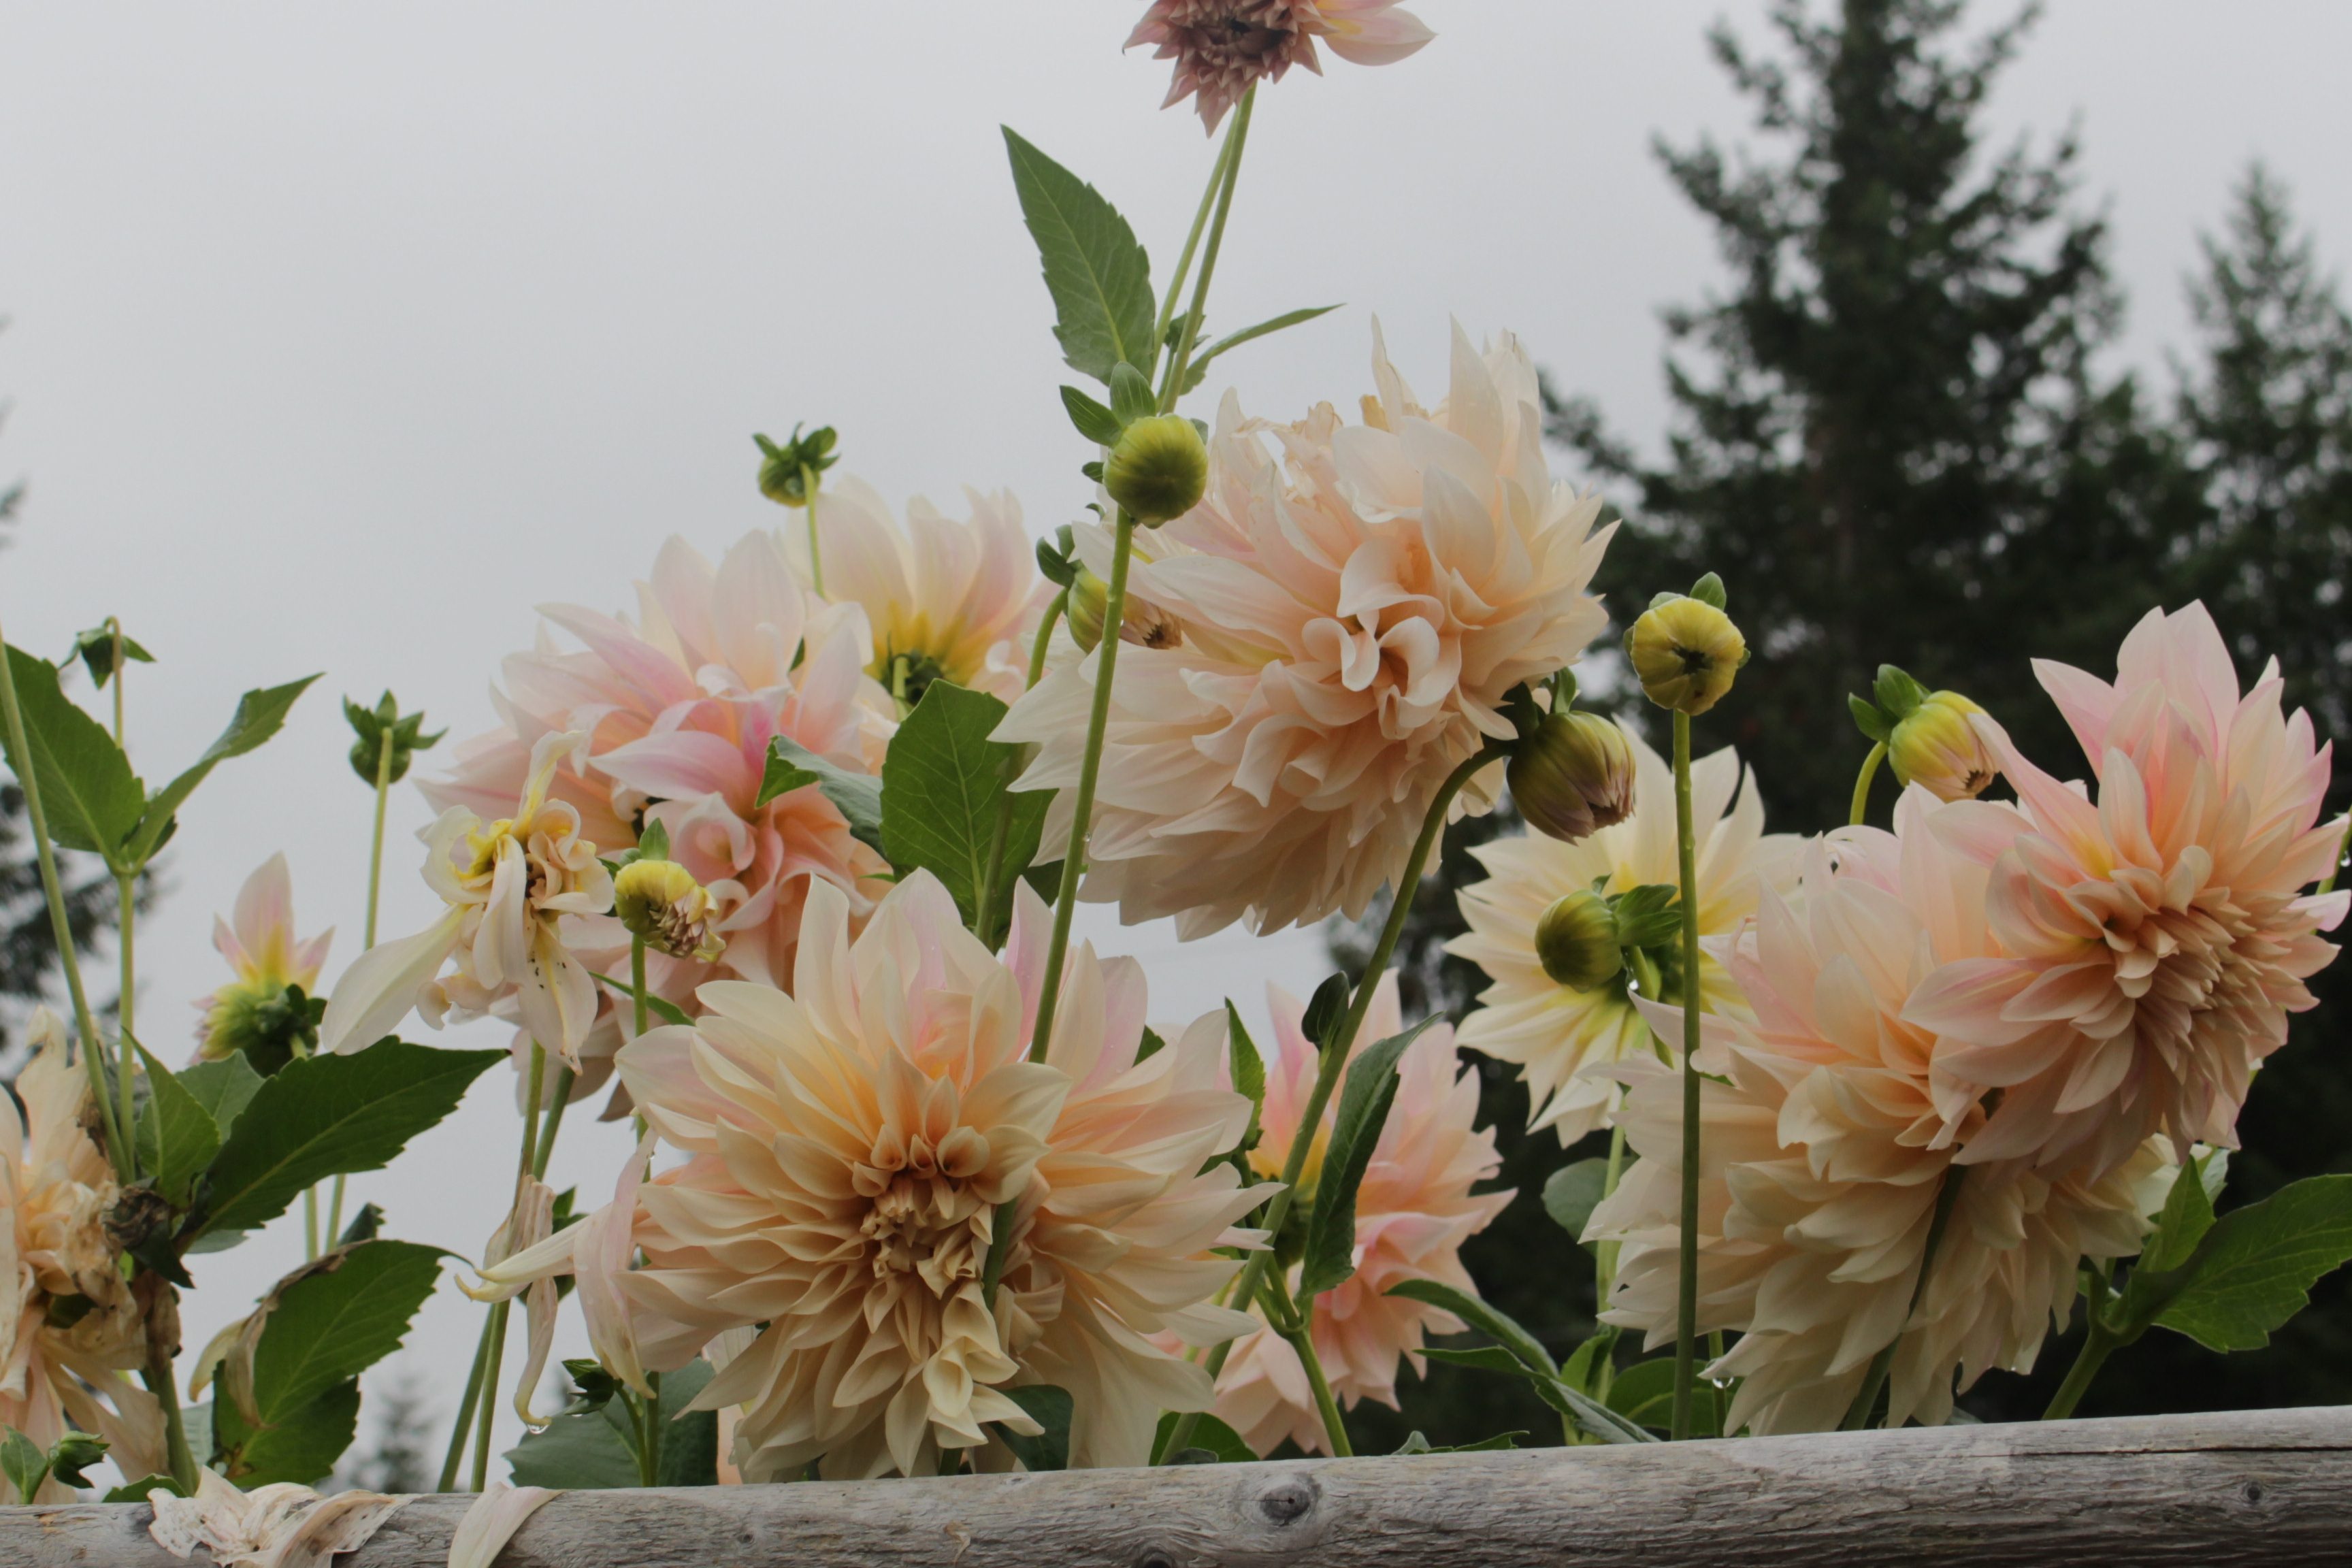
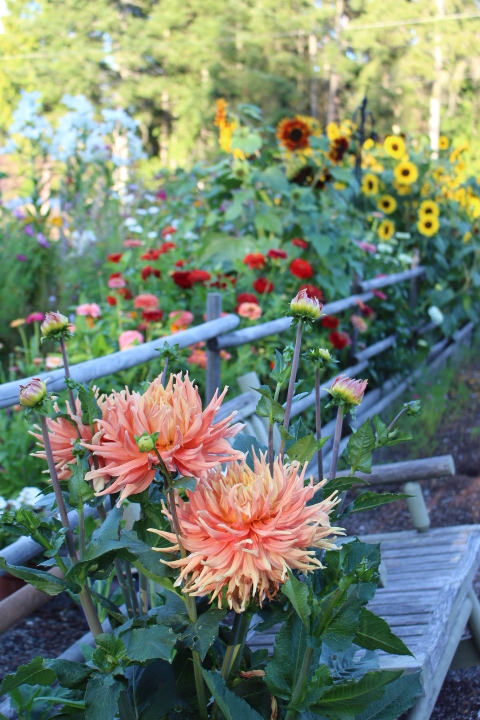
I have fallen back in love with dahlias this summer.
Don’t get me wrong, I have always liked them and have grown them most every summer since I began my gardening journey, over three decades ago, but this year something special happened.
This year, Floret Flower Farms came out with a bunch of amazing dahlias one could grow from seed. You can read how to grow dahlias from seed here.
I have grown dahlias from seed many, many times in the past, but these ones are so very pretty, so special, that they just really renewed my love of dahlias.
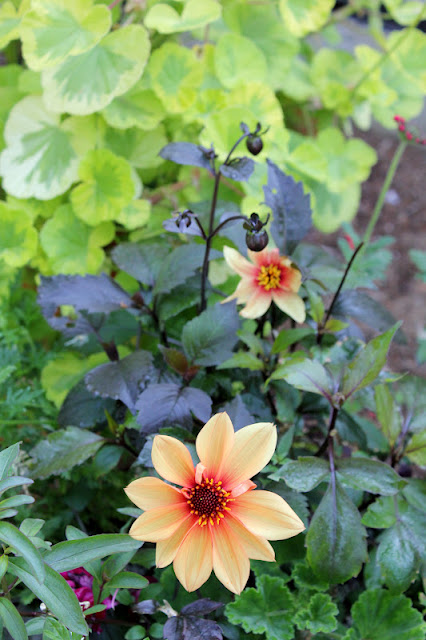
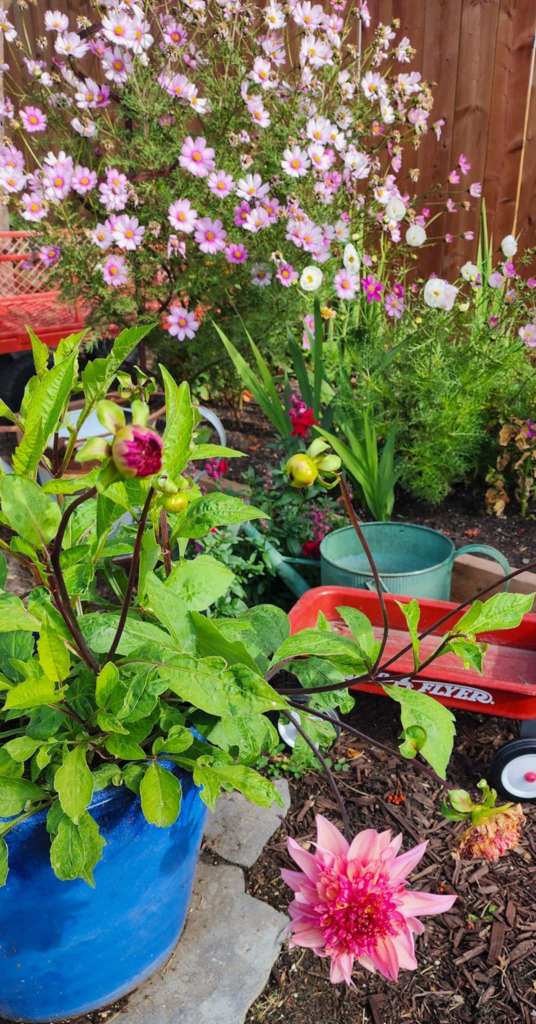
Bishop’s Children were the first seed dahlias I grew. I wanted that dark purply green foliage as a contrast colour in my pollinator flower bed. The blooms may be pink, red, apricot, yellow, or orange. I think there is a white one, too, but don’t hold me to it.
Renee’s Garden Seeds has 3 different dahlia varieties to grow from seed. All are easy to grow and very pretty. You can get up to 50 plants (seeds) for under $4. That is one heck of a deal!
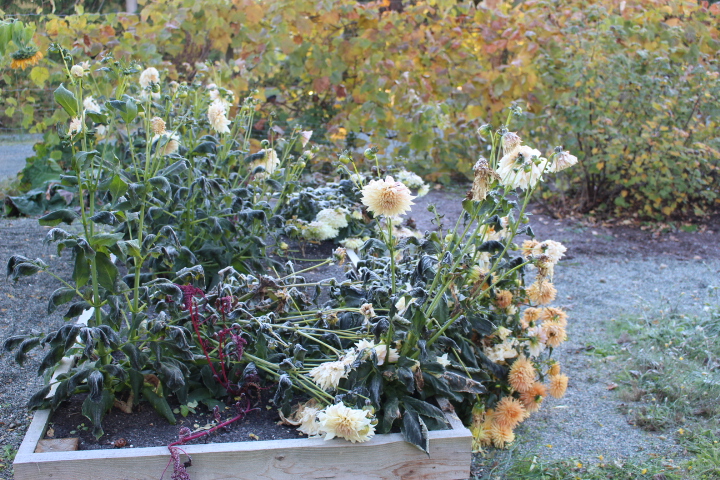
Dahlias keep blooming late into the fall season… until a good frost hits them. They then suddenly look absolutely dreadful, are limp, black, soggy.
This is when you want to lift your tubers. The frost will have killed the foliage, but the tuber is just fine. In zone 8 and above, you can leave your dahlias in the ground year round, in zones 5 and below, you always want to lift them. In zones 6 and 7, some years the dahlias will overwinter just fine in the ground, but you lose them in a hard winter.
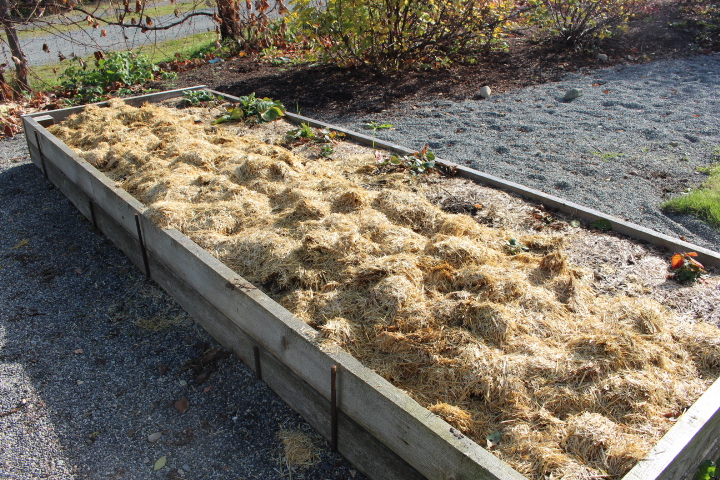
I occasionally left mine in the ground at the zone 7 acreage, mulching them heavily with straw, and had fairly decent luck with them coming back. I found that the biggest problem was actually due to rodents or bugs eating the bulbs, but rotting can happen if you do not have great drainage.

How to Overwinter #1 – Leave Them In Their Pots.
If you are growing them in pots, you can simply leave them in their pots. Trim the plants down to just a few inches above soil level. Store in a cool, dark, dry place, like a heated garage, greenhouse, potting shed, basement, store room, cold room. Mine is going into the cold room, along with the canna lily. The temp in there is between 4 and 8 degrees Celsius in winter (40 to 46°F).
You want the temperature to stay above freezing, but ideally, 10°C or less (50°F).
Make sure that your soil is quite dry before you put the pot into a cold room or the tuber will rot over the long winter months.
In spring – pull the pots out in March to a sunny, warm window. Give them just a little bit of water. Do not make the soil soggy. You should start seeing new growth starting after a couple of weeks. Keep your soil on the dry side to avoid rotting out the tuber.
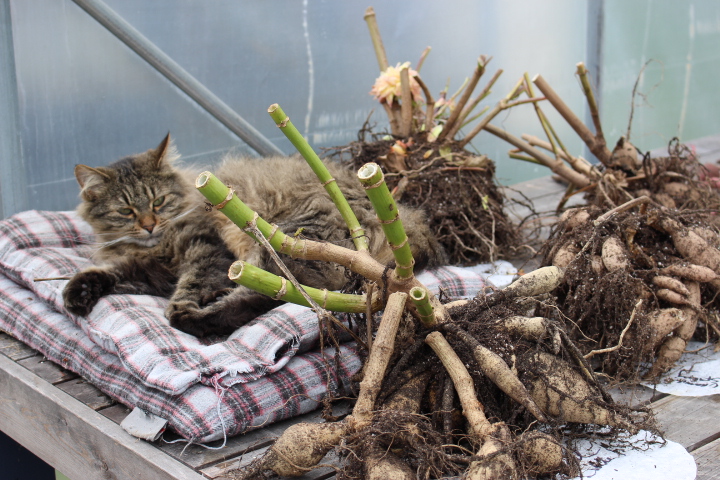
How to Overwinter #2 – Lift The Tuber & Store.
If you have them planted in the garden, or have no room to store pots indoors, lift and store in a paper bag, cardboard box, or loosely in a pot or pail till late winter.
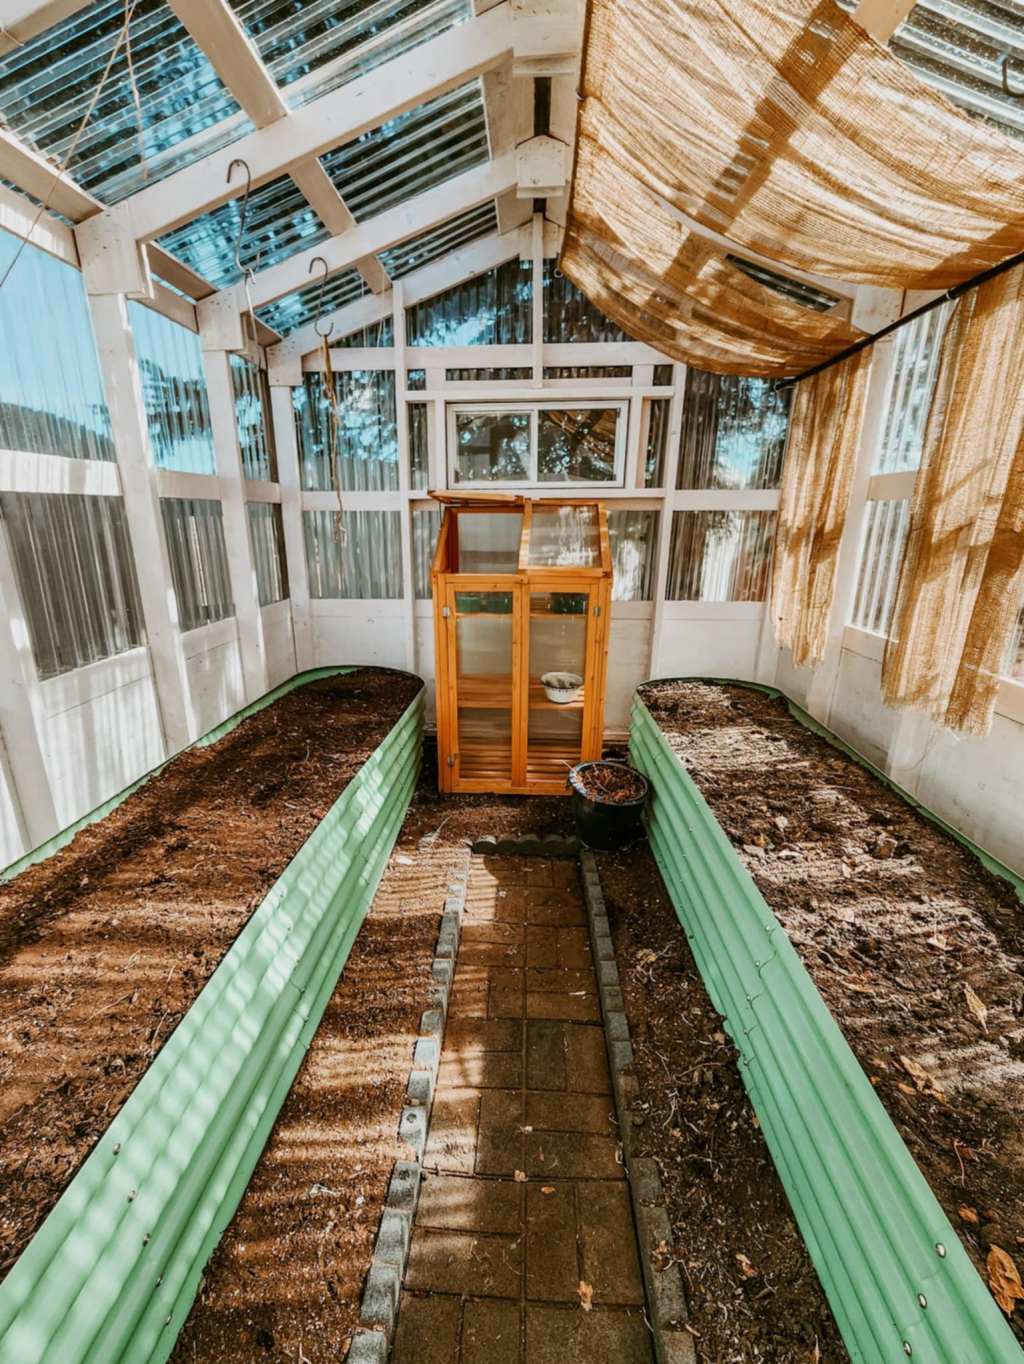
Cut the stems to 4 to 6 inches high. Lift the tubers with a garden fork or spade. Brush off the soil. Leave out to dry in a warm and dry area for a couple of days. A bright, warm greenhouse table works well. If you are in a humid zone, dry them for a week or so, here on the super dry prairies, just for a few days.
It is too cold to cure them in the greenhouse or out on the deck this year, so a sunny window, a sunroom, heated potting shed, or even a shelf in the furnace room works well. You just want warm and dry for a few days.
Put peat moss, perlite, vermiculite, or potting soil into a paper bag, a cardboard box, a pot or pail. I use potting soil as that is what I always have at hand, and have placed them into a pot. Nestle the tuber(s) into the medium, making sure they do not touch each other.
Store dark, cool, and dry till spring. This is probably the hardest part. In my zone 7 heated greenhouse (kept at 5°C), I just covered them with soil and pushed the cardboard box under one of the tables. They like the cool and humid of the greenhouse and always did fine. No additional work required.
At my last prairie home, I had a closet under the stairs that stayed quite decently cool. I put them in a box with potting soil, tucked it far back where it was coolest, and pulled them out in late winter.
I do not have such a closet at this house, so will pop them into the cold room, which stays just above zero by a few degrees all winter, and has a bit of humidity, too.
A spare fridge also works. I think we gardeners all need a storage fridge for our root vegetables and bulbs!
In spring – check on your tubers regularly for sprouting. If you see growth happening, pull them out of storage and pot them up. If you do not see sprouting, remove them in March to pot up. Make sure they are firm and healthy. If they are squishy, they have rotted out and are not worth planting. Plant the tuber into the pot with the top stem part of the tuber just an inch below the soil surface. Water in sparingly, again, making sure not to make the soil too wet or the roots will start to rot. They prefer to be kept on the dry side as they get their strength from the tuber, not the roots/soil.
Do not place place them in a hot, sunny window in the house as that will make them leggy. Try to find that sweet spot with bright light but a cooler location, 15°C degrees (60°F).
When you have growth happening, begin to fertilise weekly with liquid seaweed or kelp fertiliser.
If your tuber is large, you may wish to divide it into several tubers for more dahlias. I find it easier to see the eyes in spring for dividing, than in the fall.
How to Overwinter #3 – Save The Seeds.
I am obsessed with the thought of saving my own dahlia seeds. If you are also doing this, please note that they will not come true to their parentage. Thanks to the bees, each and every seed will become a different and unique flower, not two will be the same. They will even vary in colour from seed to seed. Don’t you just love trying new things?
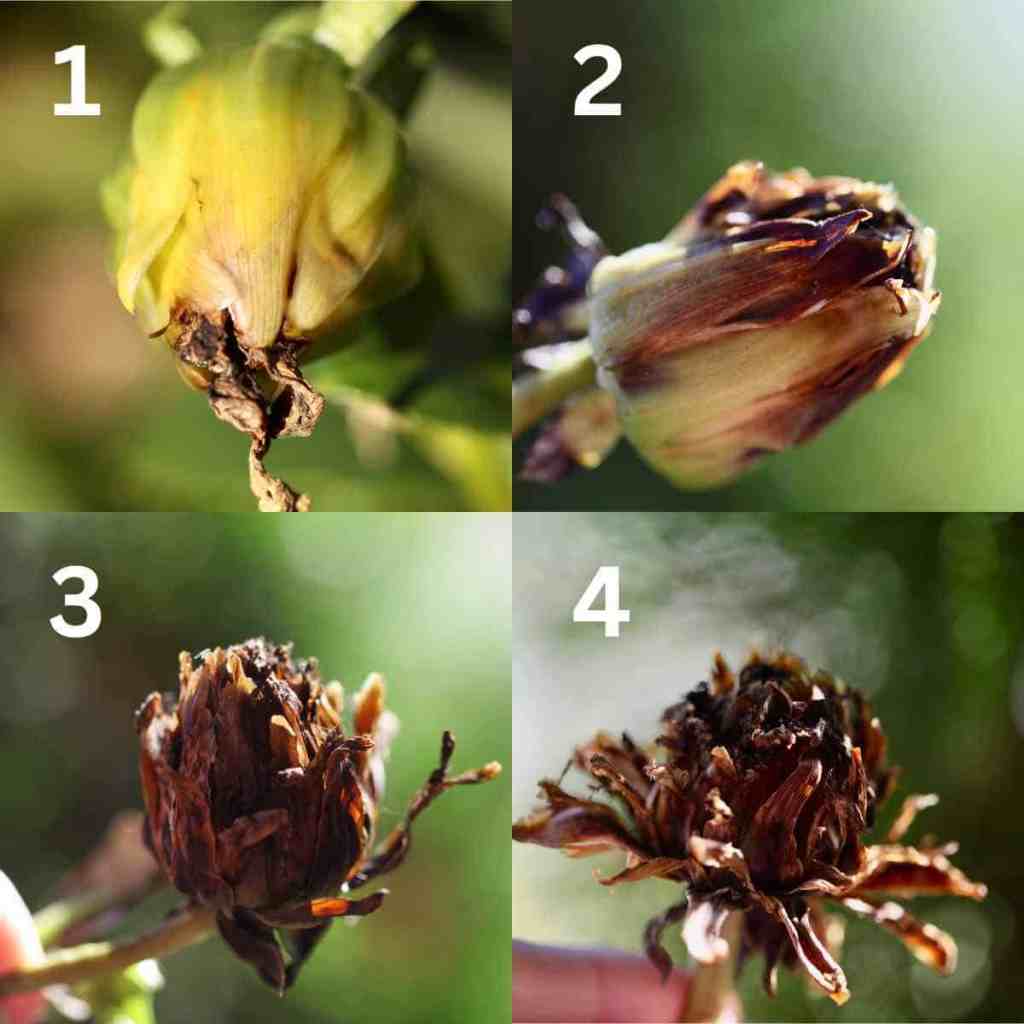
To collect your seeds, you want to collect mature dahlia flowers that have been pollinated by the bees. A mature dahlia pod will have lost all it’s petals and turned into a round seed pod. You want to allow these pods to fully mature on the plant, if possible. Here is a great how-to from a Nova Scotian flower farm, with great photos and description for how to save those seeds.
This is easier to do in areas with longer growing zones. Here in zone 3, winter arrives in October, so you have to start your plants earlier in the year to first enjoy the flowers, and still time for them to dry naturally.
I wanted to have my own pictures of the seed harvest this year as the drying flowers were looking beautiful, but sadly, we had a hard frost while I was away for the Thanksgiving weekend. I am sharing this nevertheless, in case your season has not yet come to a close and you want to give it a try. Nothing to lose but a bit of time and all sorts of magical things to gain.
Start the seeds in February, the same way you would start tomatoes, peppers, or any other seeds.
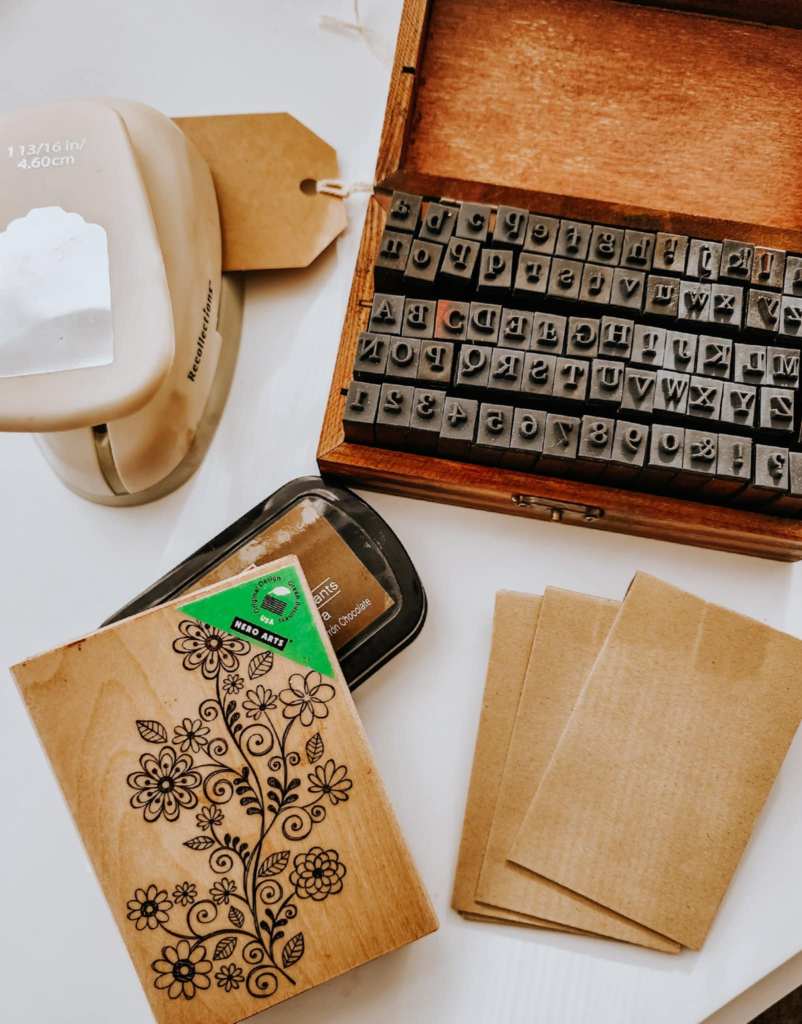
These are the things that I use when saving seeds
- letter stamps with ink pads (I use these year round for gift tags, Christmas cards, birthdays…)
- Floral stamps (I don’t use the whole stamp, just little bits of it to make the seed packages a bit more special)
- Seed envelopes

How to Overwinter #4 – Take Cuttings.
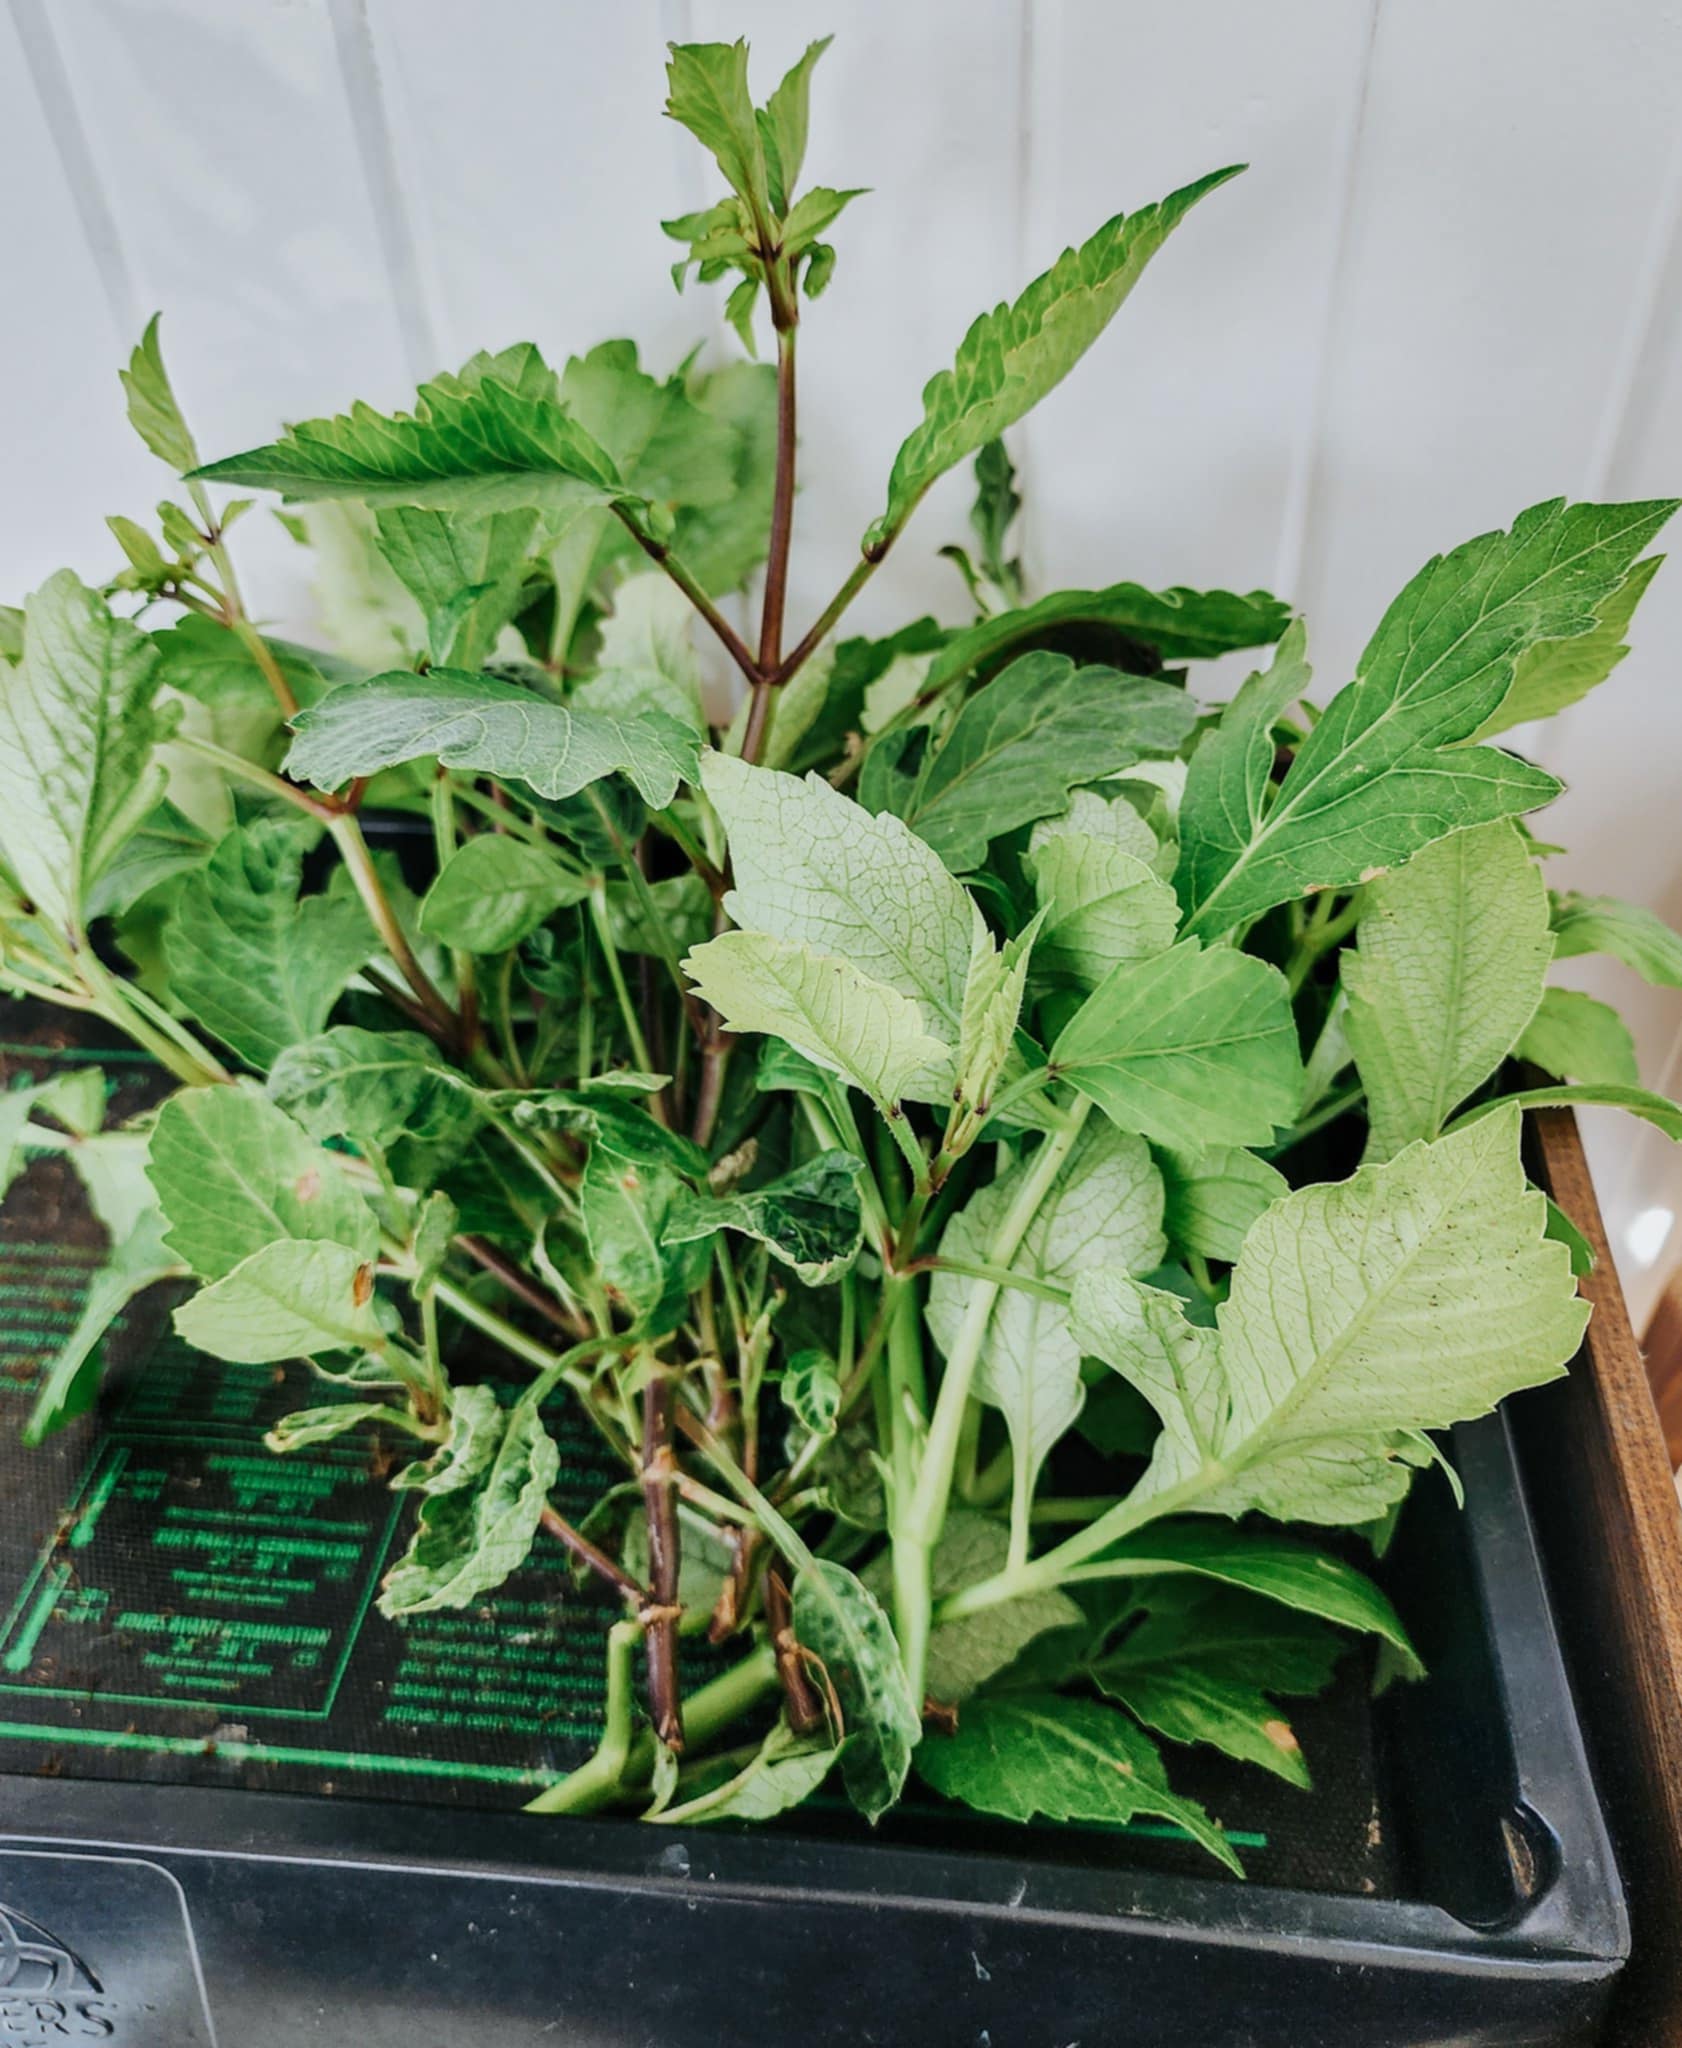
As you are cutting down your foliage to put the tubers into storage, you might want to take some of the stems and try growing your own rooted dahlia cuttings.
Chose nice, fresh looking stems, as long as you can make them. If they are old and hollow, you do not want to use those. From my 3 dahlias, I had quite a bit of good stems I could use. You want to take extras as you will have losses over the winter.
The cuttings need to be at least 4 inches long and have at least 3 sets of leaves. This means that you can usually get two or three cuttings from each flower stem. I find it easier to start from the bottom, choose a 4 or 5 inch long section and cut it just above the 3rd or 4th set of leaves. Move your way up the stem, taking cuttings that have at least 3 sets of leaves on them.
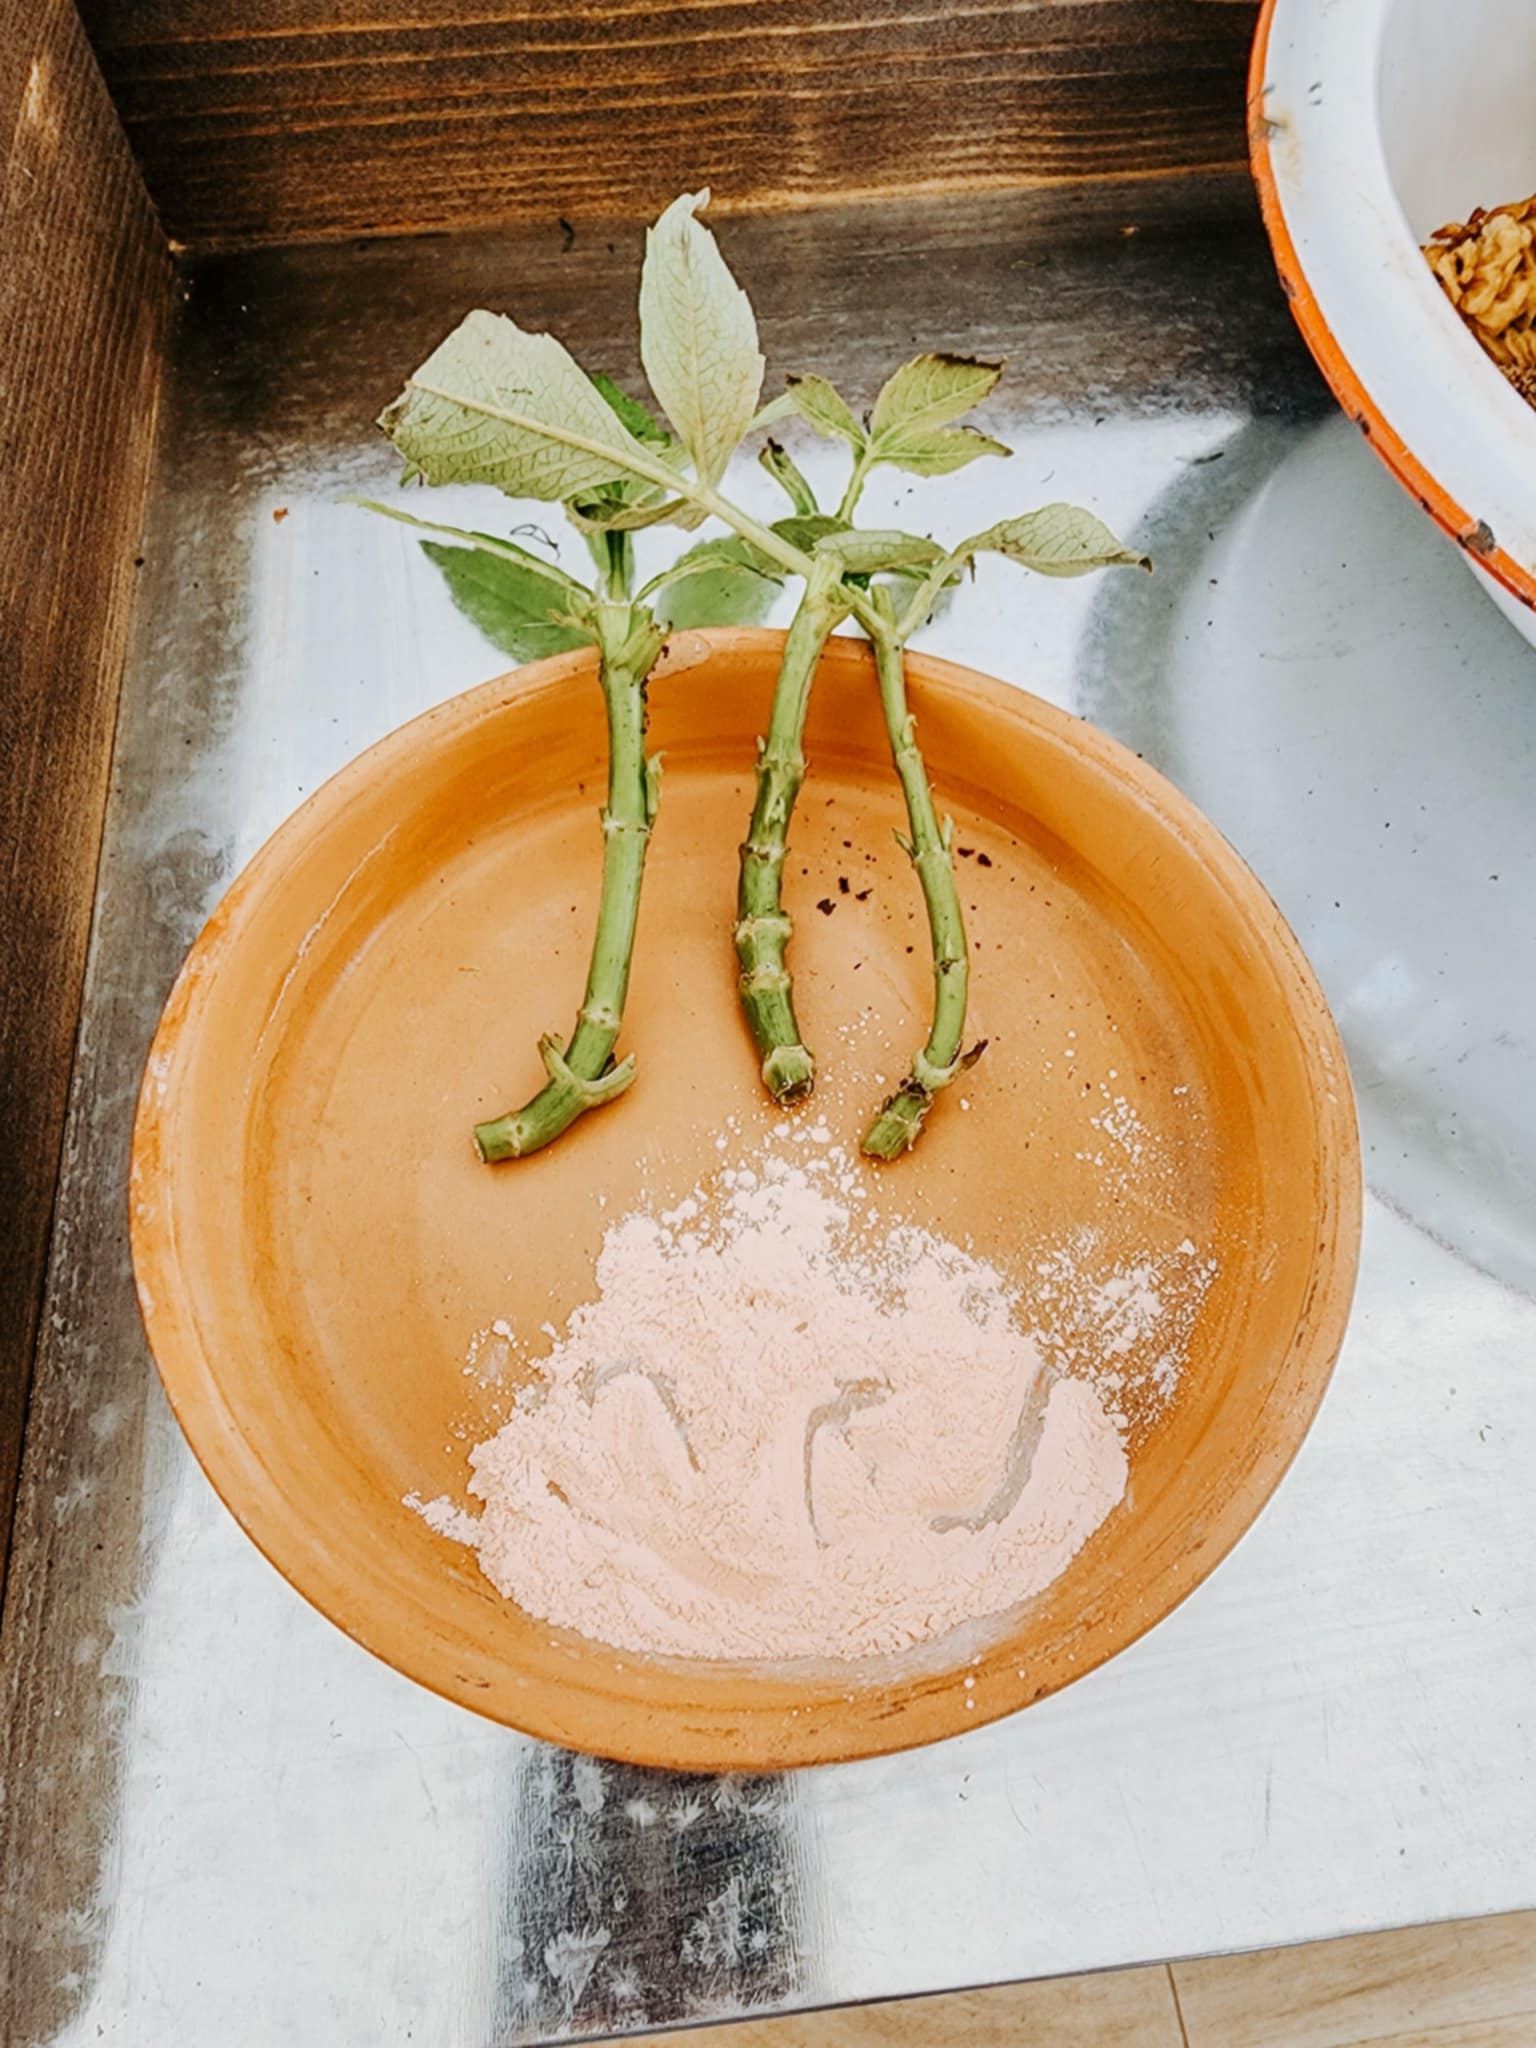
Remove the bottom leaves from each cutting, leaving just a few leaves at the very top. Also remove flower buds from the top cuttings. You want just two or three of the best looking leaves left at the top. If the leaves are large, cut them in half. Trim the cutting below the bottom most leaf node.
Dip the stems into a rooting hormone, if using. Each node where there were leaves growing, is where roots can start. You can dip the entire stem into the hormone, or just the bottom node.
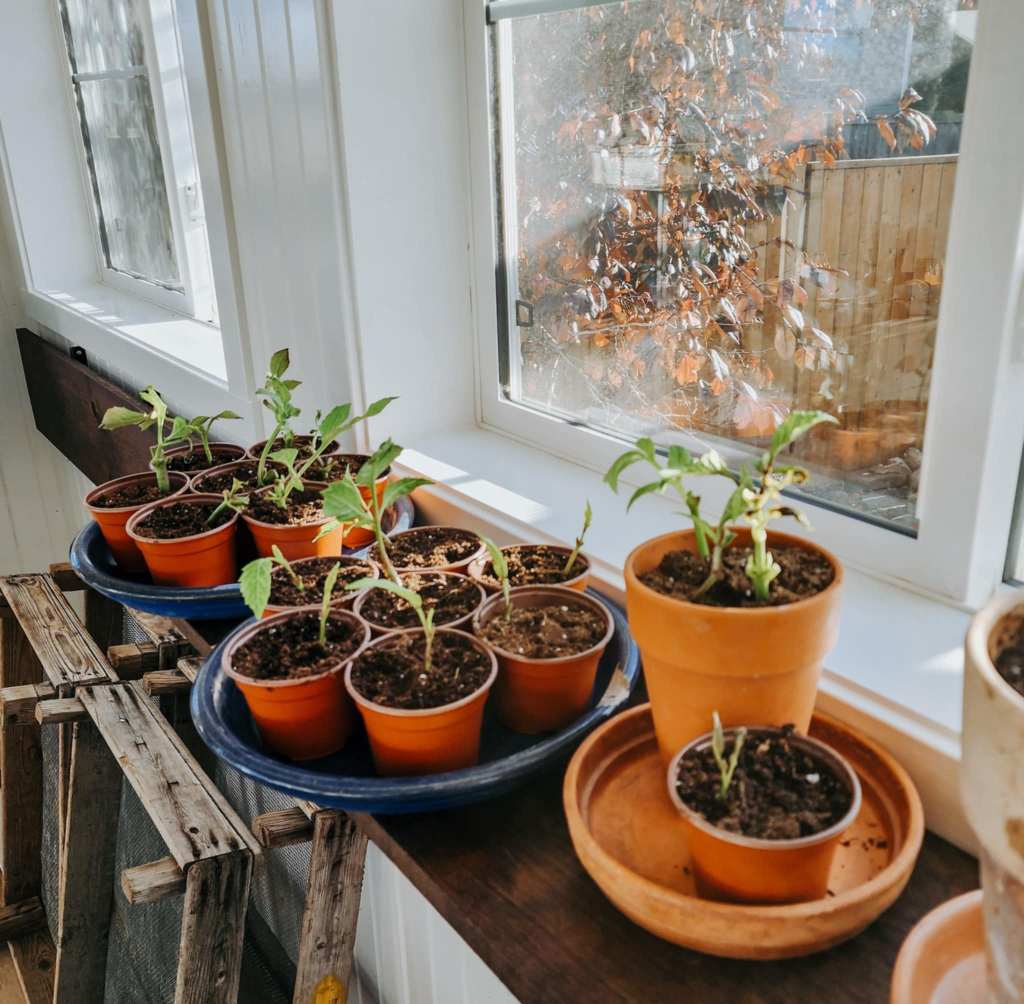
Prepare your pots. You can use larger pots that and pot up several stems per pot. I had many of these little round 3″ pots so gave most of the cuttings their own pot. Some of the ones that had the leave nodes farther apart were put into larger, taller clay pots.
Use a pencil to make a hole in the potting soil, push the cutting deep into the soil so that the soil’s surface is just below the leaves. Push the soil in around the stem to make sure it is sitting sturdy, and to get rid of air pockets. Use a quality potting soil with good porosity and great drainage.
Water them in. Mist occasionally.
Keep them warm. The cuttings need to stay warm, both the soil and the air, at 18 to 20°C (65 to 72°F). Place in a sunny window inside the house or under lights.
They will be slow to grow and root during the winter months. Keep them on the dry side, you do not want them to sit in wet soil or the cuttings will start to rot.
In February – March, you want to start making sure they get 12 to 15 hours of daylight. Use grow lights, or just a table light with the shade removed to supplement the actual daylight hours. Start to water a bit more often as the days get longer and the cuttings start to grow.
You may want to bring forth the heating mats that you use for your seedlings to promote faster growth and rooting.
Fertilise with a mild organic feed, like liquid seaweed or kelp once a week once you see growth happening.
Remove flower buds, if you get some, till they are repotted into larger pots in spring, or till they are ready to go outside. You want strong roots and even some small tubers forming before the flowers start.
If you find that you are losing them to damping off, put them on bottom heat (heating mats) right away to keep them toasty and warm. Keep them on the dry side at all times to prevent rotting.
Happy Dahlia Growing ~ Tanja

Happy Dahlia Saving & Growing ~ Tanja


Leave a comment