
We had the family over for dinner on the long weekend, just a casual dinner and get together. Our wee grandies found these pickles that I had just made earlier in the week and ate the entire jar!
They are great tasting and they’re super fast and simple to make, too. Hubby and I tried them on our burgers and loved them. Highly recommended.

These dilled pickles are perfect for making small batches of pickles as they ripen on the vines… or in winter, buy a cucumber or two and batch them up. Homemade pickles any time at all.
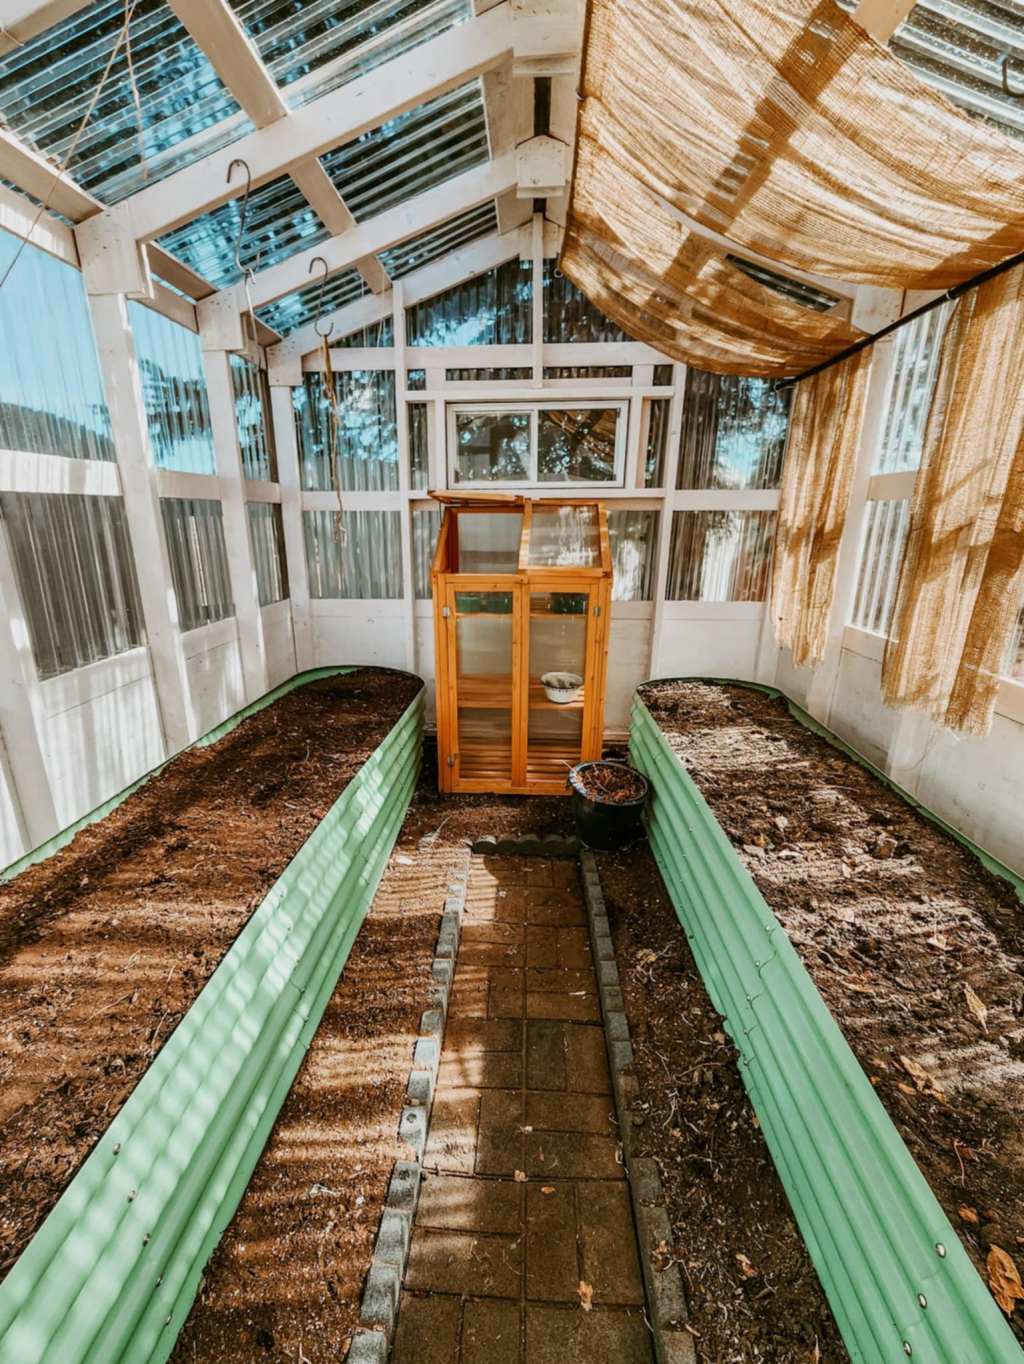
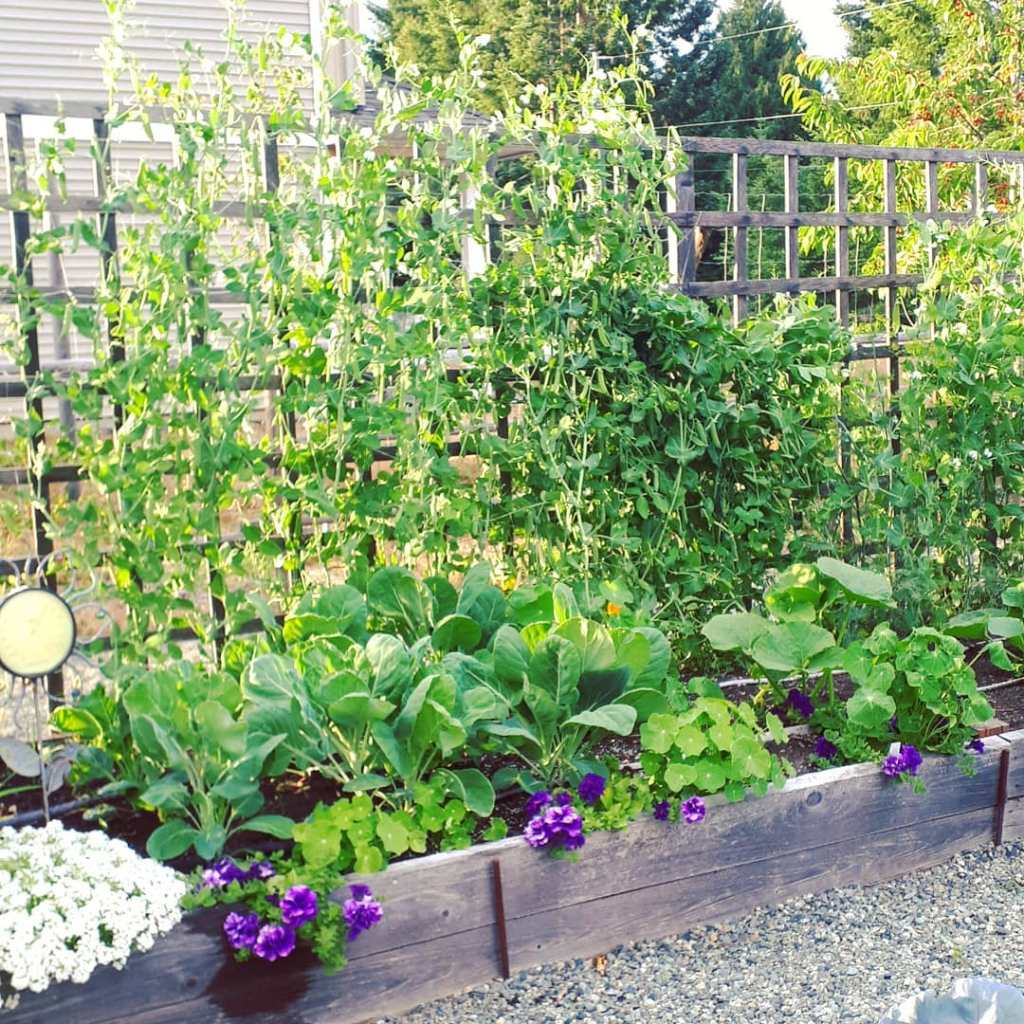
I go around each Saturday or Sunday and pick all the cucumbers that are ready. Some go into the fridge for salads while the wee ones are used for quick pickles. I did not plant up a big bed this year so do not have enough to can a bunch for the pantry, but the few vines that I have are giving me enough for a litre or two at a time. Enough to share :)
You do not have to use any special cucumbers to make these. If you don’t have pickling cucumbers, or are making pickles in winter, just use any kind of cucumber… baby Persians cut into quarters for icicles, or I also like to pickle long English cukes sliced nice and thin. Filed cucumbers work just as well, too.

Step 1 – Wash the cucumbers. Pickling cucumbers are prickly! They are not smooth like long English or baby Persian types. If the prickles bother you, wear gloves while you scrub them off. Give them a good scrub with a soft brush under cold water to take off dirty bits and soil.
Step 2 – Cut off both ends of the cucumbers – this is important in order for them to be crisp.
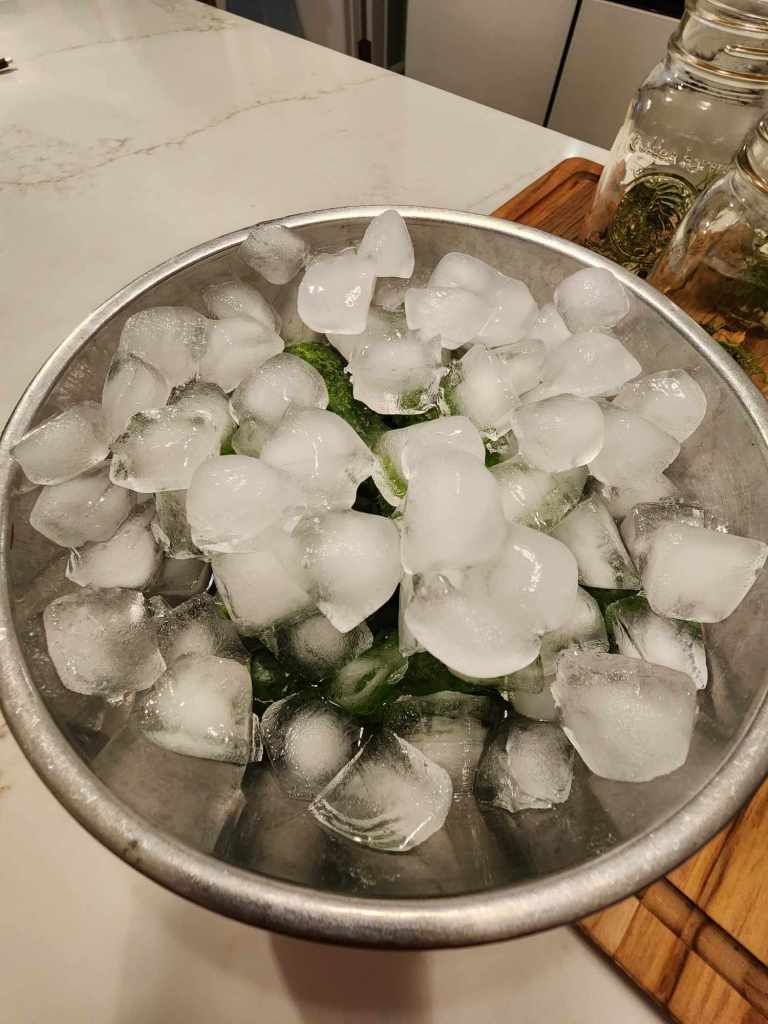
Step 3 – Pop the clean cucumbers into a bowl and top with ice cubes. Let set for 1 to 6 hours. This is the key to the crispest, crunchiest pickles you have ever tasted. If you picked your cucumbers a few days earlier (stored in fridge), this will also help crisp them up again.
Step 4 – Make the brine, bring to a boil to melt the salt and sugar.
Step 5 – Let brine cool to room temp.
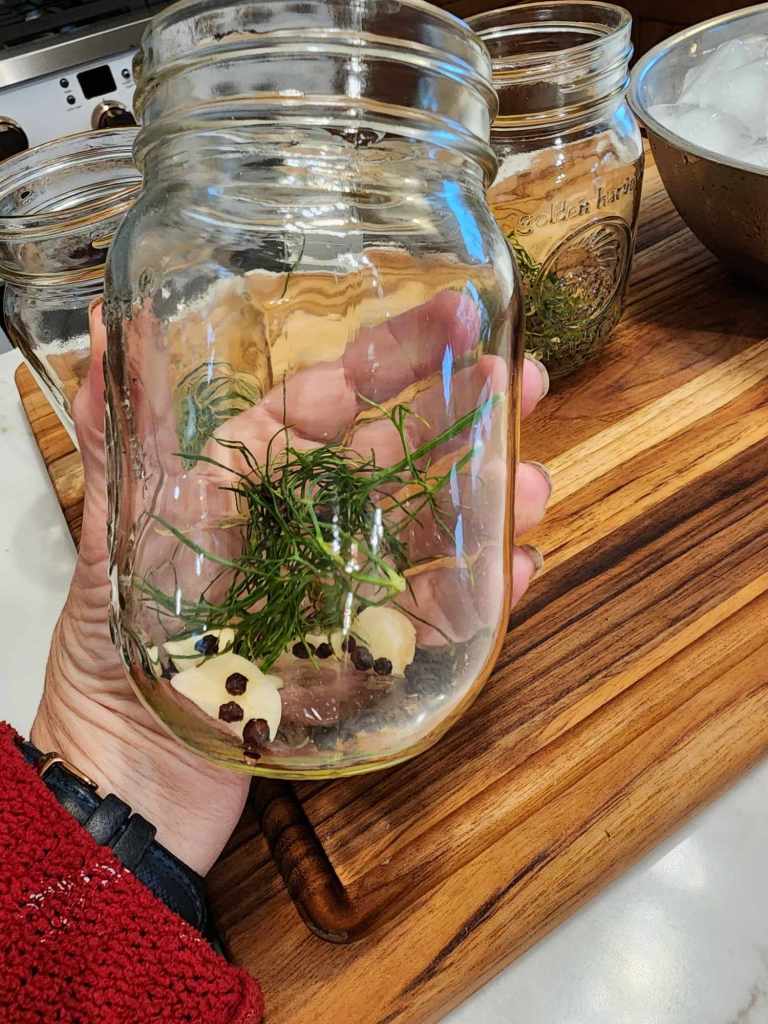
Step 6 – While your brine is cooling, smash a garlic clove or two with the side of a knife, place in bottom of each canning jar.
Step 7 – Add some peppercorns to the jar. No real measurement. I added a teaspoon to each of my jars.
Step 8 – Place a generous amount of fresh dill seed heads and fronds into each jar.
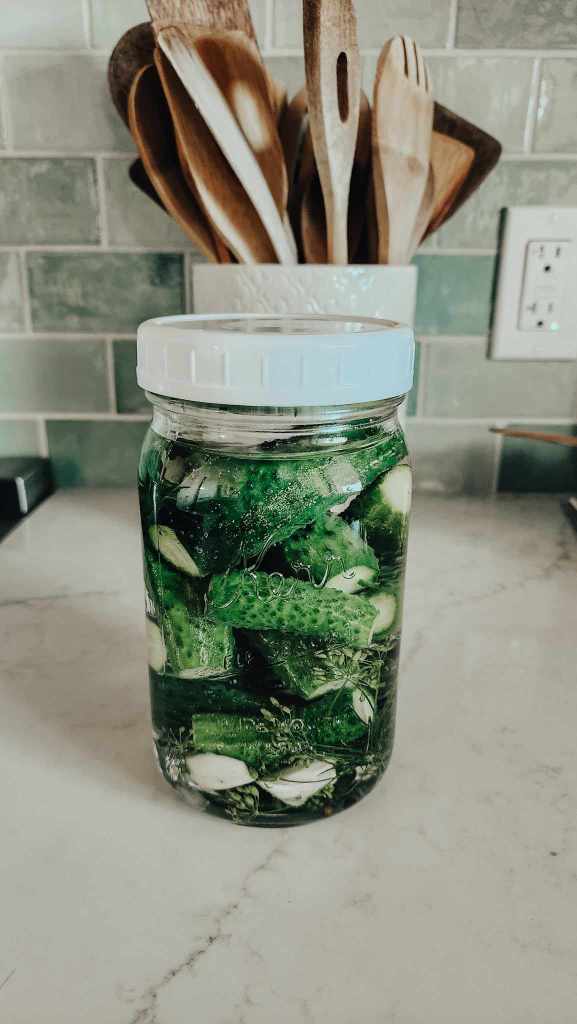
Step 9 – Stuff as many cucumbers into the jars as you can fit. We made 2 jars of sliced pickles for burger and sandwich toppings, and 1 jar of whole mini cucumbers/gherkins.
Step 10 – Top with the cooled brine (I pour it into a measuring cup as it has a spout so filling the jars is easy). Screw on the lid, does not have to be a canning lid. Any jar and any lid is fine.
Place in fridge and let sit for at least one day for the flavours to meld, longer is better.

I found that this recipe made enough for three 500ml/pint jars. Can easily be doubled.
Brine:
- 2 cups water
- 1 cup white vinegar
- 2 teaspoons pickling/kosher salt
- 2 teaspoons sugar (I used 1)
- Cucumbers/gherkins
- Peppercorns
- Garlic cloves
- Dill
Make sure to use cooled brine.
These dilled pickles will keep for up to 2 months in the fridge. Is not shelf stable, do not put in the pantry.
You do not need to use canning jars, can be any clean jar.

Variations…
- Use Apple Cider Vinegar instead of white vinegar for a less tart, mellow flavour.
- Add veggies with your cucumbers – carrots, cauliflower, onions, peppers….
- Make it spicy by adding a red pepper flakes or fresh jalapeno peppers.
Pop them into the fridge and let sit for at least one full day before tasting. Ours sat a week and were amazing.
I really hope you try these super crunchy, quick and easy to make, super yummy dill pickles.
Happy Pickling ~ Tanja

PS, for the past 2 years, I have grown two types of ‘mini pickles’. The French Cornichons from Renee’s Garden Seeds, and French Gherkins from T&T Seeds. Both grow and produce super well. They can be picked at any point, grow teeny ones the size of your thumb, or let them get to regular pickle size. Tasty both ways.


Leave a comment