
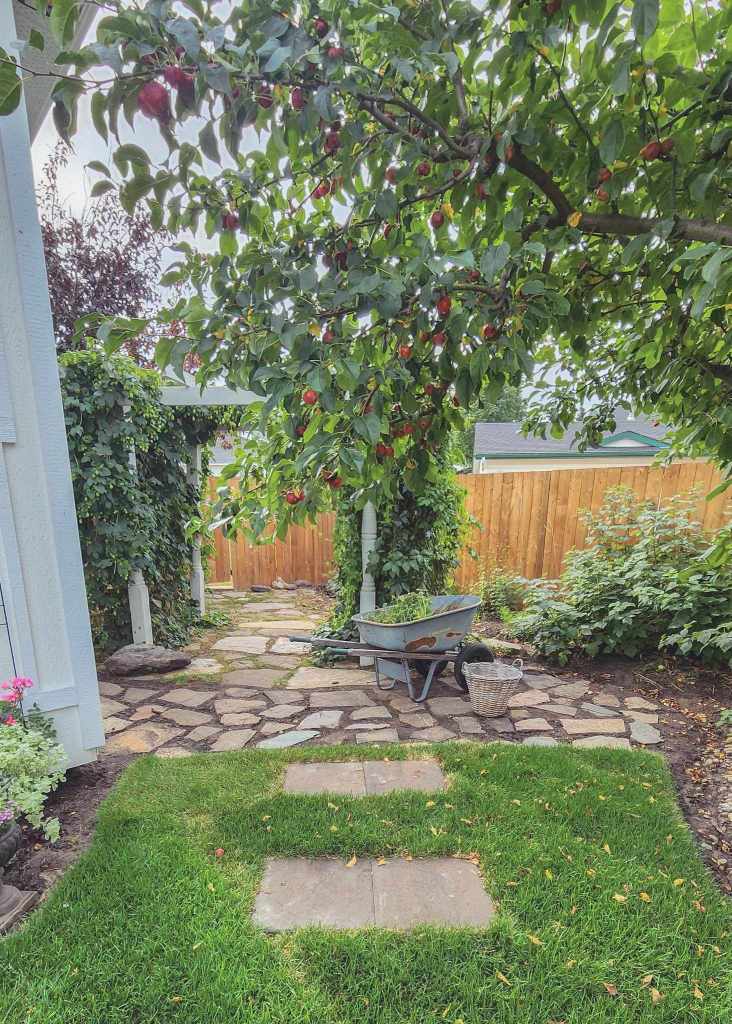
Fall has come to the garden. Everything was green a can be, till we had one frosty night (no damage to the gardens, thankfully). Shortly after that, the trees, shrubs, and perennials slowly began turning to fall colours of orange and yellow. However, the grass is still growing, flowers are blooming, and vegetables maturing.
Oddest thing of all though? No powdery mildew on the cucumbers and squash! Last year, I was hauling out vines so covered with mildew that they looked white. This year, nothing. Not that I am complaining, mind you.
Here Are 10 Things To Do In Your Organic Garden In Preparation For Winter.
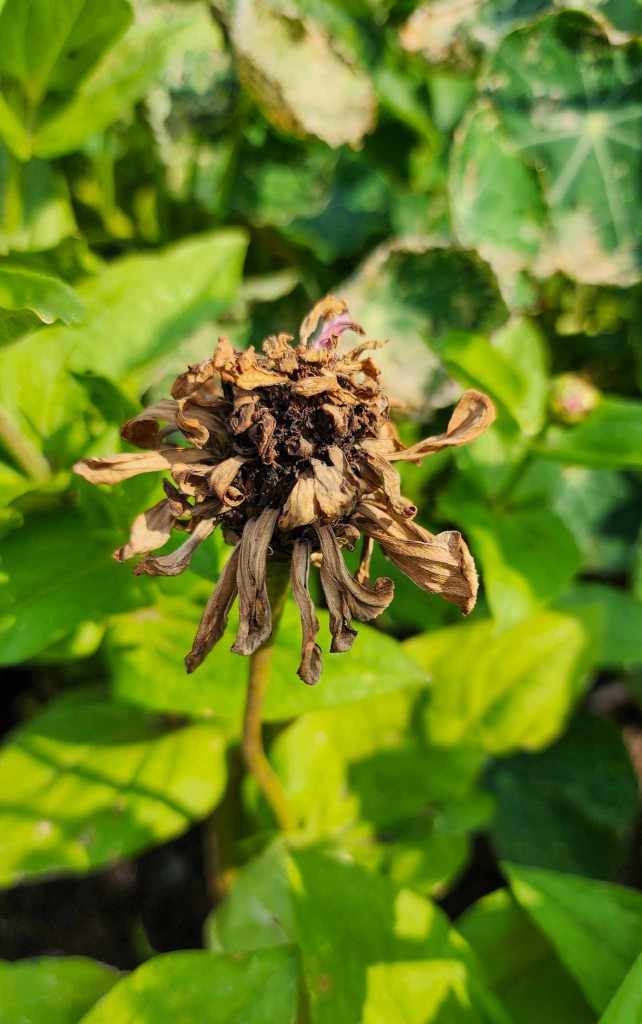
1. Save Seeds & Plants. Instead of deadheading your annuals, let them go brown and collect the seeds. By harvesting your own seeds, you will not only save money, but they will be at the ready in spring, when you need them.
Is important to let the seeds fully ripen on the plant before harvesting. Let them go completely dry and crispy before you snip off those blossoms. Green seeds (in most cases), will not germinate. I’ll do a whole post on how to save them, but for now, just let them be, let them go totally crispy. If they are dry and rain is in the forecast, snip off the dry blossoms, place in a basket or bowl in a dry location.
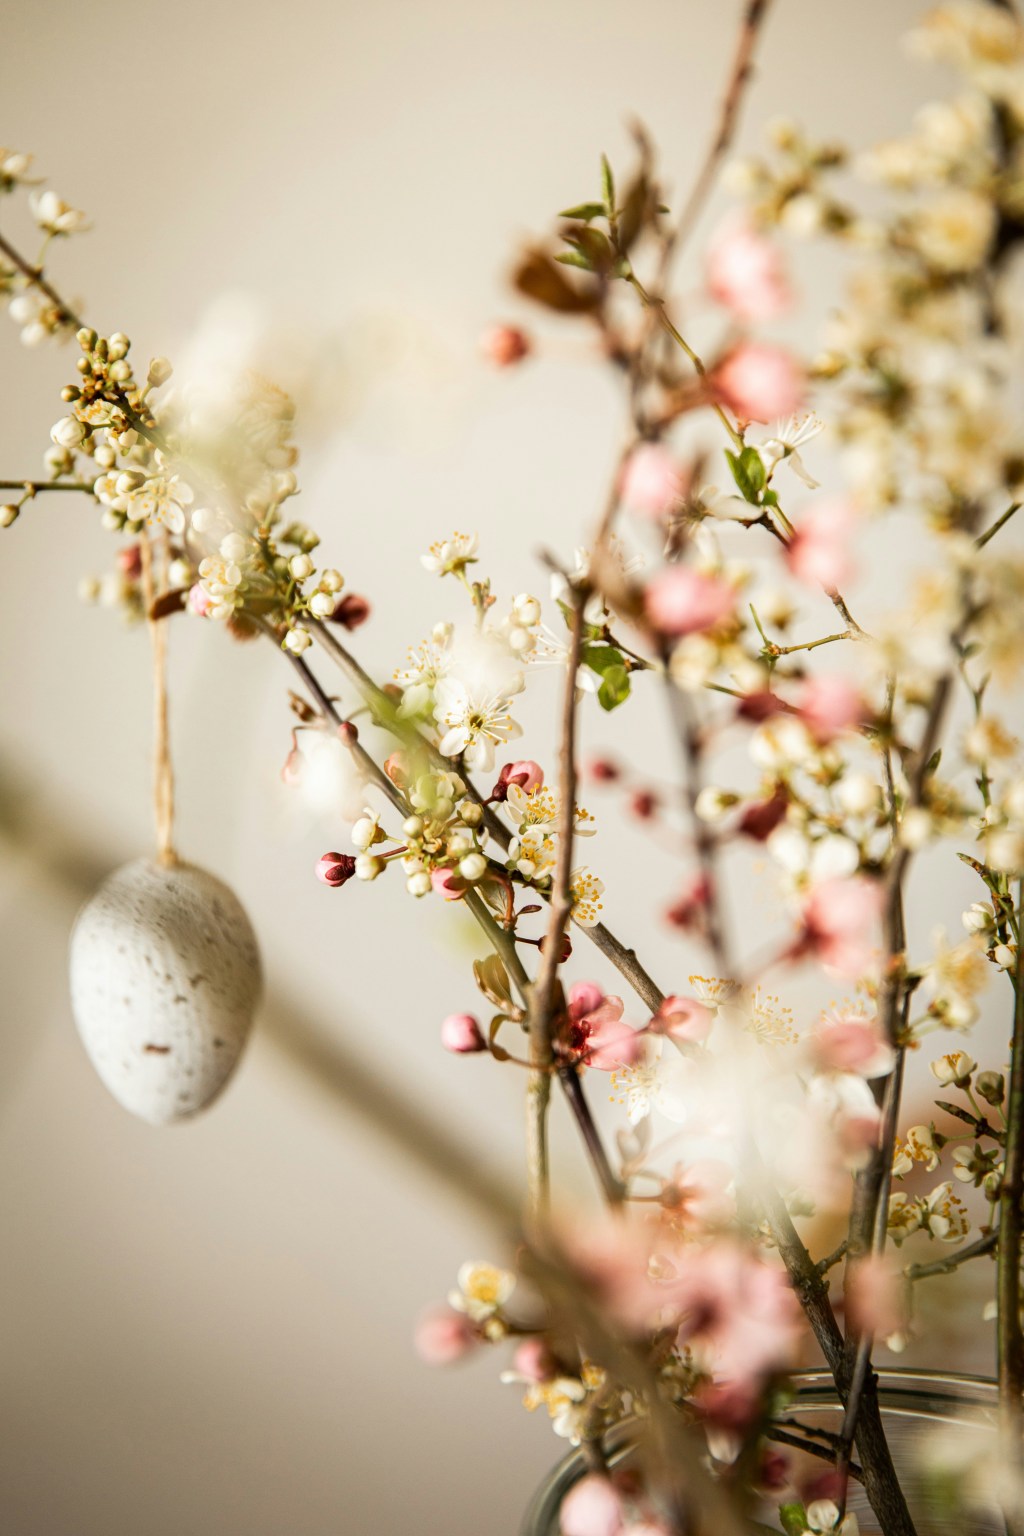
My little table in the kitchen nook ends up being the hold all spot in spring and fall… where things wait to get planted, sorted, dealt with. I try to make it look pretty by adding a vase of flowers, or a sprig of hops, when company is coming…

Bring bulbs and plants indoors for the winter. For flowers, like geraniums, trim and tidy it up, repot into fresh potting soil (to get rid of bugs), place in a bright, cool location. Windowsills in the basement are great. Heated greenhouses are terrific, too, for those of you in a warmer garden zone. Above freezing by a few degrees is perfect.

Lift your dahlias, gladioli, canna lilies. Brush the soil off of them, or wash, place to dry in a dry warm spot. I like to put them on newspaper or cardboard on the furnace room floor for a few weeks, but a garage, greenhouse, potting shed, all work just fine. Do not place on bare concrete, lay down some kind of barrier underneath. I have even seen folks drying them on pallets, under the eaves to keep them dry.
Once dry, put in a cardboard box with a bit of dry peat moss, potting soil, or pet bedding/shavings. Don’t forget to label the tuber or the box.

2. Divide overgrown perennials. Plant new shrubs and perennials. Fall is the perfect time to plant new plants and to divide those overgrown perennials, like salvias and hostas. The cooler temperatures mean less watering, less evaporation, roots settle in faster as the soil is cool so plants are less stressed.
To divide perennials, loosen the soil around the root ball, lift out the clump, cut it into pieces with hori hori / garden knife. Plant the newly divided rootballs into your garden, or share with friends.
This is also a great time to pick up trees, shrubs, and perennials from the nursery at a great price. Over the past few weeks, I picked up enough plants to do up three large beds, but at a mere fraction of what they would have cost me in spring. I got most of them at 75% off!
If your soil is poor, amend the planting area with compost. It will make all the difference in how well your plants establish, and thrive. We bought 4 yards of bulk compost and laid it on top of the 5 beds (some new and some expanded) before planting. Get as much as you can afford if your soil is in poor condition, as ours was.
Dig the hole, loosen up the rootball. You may even need to cut them with a knife to loosen them up if they are very root bound. Those plants have been in pots for a long time by end summer. Plant to the same level as they were in the pot. Heel in to get rid of air pockets. Water well. Water deeply once or twice a week till winter arrives.

3. Empty & Clean Up Hanging Baskets, Pots, Planters. Planters and baskets are starting to look pretty tired, and most of us are also tired… tired of watering and caring for them! Empty out the plant material, toss into your green rollie bin (or your compost bin). If you want to keep the soil for next year, place the pots out of the rain, in a dry, sheltered spot for the winter.

I dump mine into the garden beds to add a bit of soil diversity and feed the soil life. Clean your pots and place in storage for winter. You want a dry storage space, off of the ground (on pallets, on wood, on cardboard). Speaking from experience, I can tell that even if they are empty, if ceramic/clay pots sit on soil or gravel that freezes and thaws, the pots will crack/break.
Plastic pots that you are reusing in the spring, should be washed up and placed in storage for easy access in spring when you are potting up all your seedlings.
*Tip – Don’t forget to buy a bale of potting soil for storage now, while you can still get them, as it is sometimes a waiting game in spring. Keep in a heated garage or basement so it does not freeze solid in winter – takes a long time to thaw.

4. Garden Clean Up. Leave most all perennial flowers standing. The stems and foliage offer nesting spots for frogs, toads, salamanders, and beneficial insects like bees and ladybugs. The seedheads and berries feed song birds, while the stems hold snow for insulation. They are super simple to clean up in the spring, so leave them standing in your thriving, organic yard and garden. As Martha would say, it’s a good thing.
Leaves – if you have had issues with maggots in your cherries, worms in your apples, or anything similar, you need to do a very thorough clean up. Pick up all the rotting fruit (after the wasps have died off) both from the ground and the tree itself, discard into the rollie bin. Rake up leaves, shred them with the lawnmower, compost or pile them up to turn into leaf mould. Run a rake or hoe through the soil beneath the tree to upend any pupae, if possible.
Black spot on roses? You want to get rid of those leaves, do not leave them beneath the roses. Powdery mildewed leaves are fine to leave or compost though.

The rest of your leaves can be shredded and mowed into the lawn, blown into your garden beds, left on the garden beds as is, or raked into piles where you let them compost down into wonderful leaf mould.
Your pollinators and beneficial insects are overwintering in your ornamental gardens, inside the flower stems and raspberry canes, under the leaves, in the leaf piles, under the mulch, in the stems of your perennial flowers, raspberries, lilies… be careful to not disturb them till May.
When you finally do start to cut them down in spring, place them in an open compost bin, or in a pile, some place where the overwintering insects can emerge safely in spring.

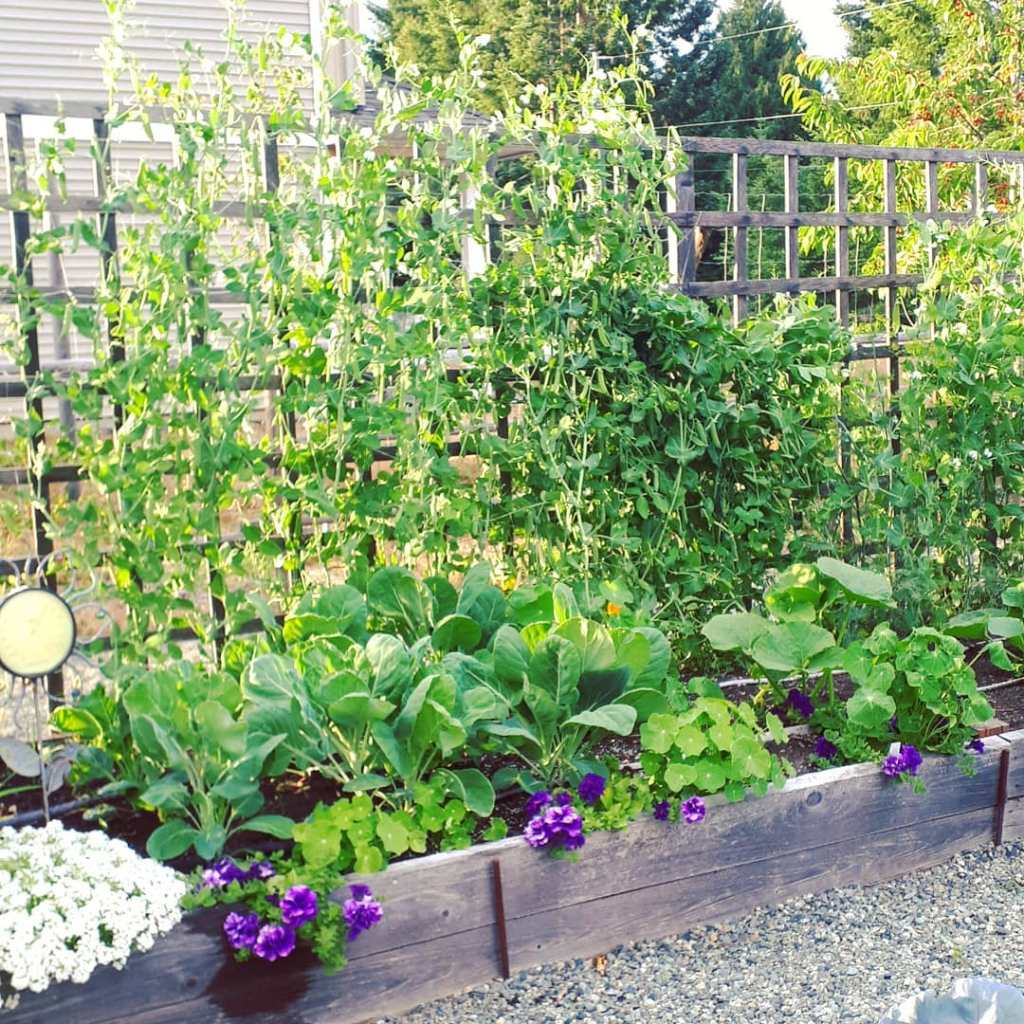
5. Clean Up Your Raised Food Garden Beds. After having a terrible issue with stink bugs in my raised food gardens one year, long ago, I read up on prevention of bugs from the head gardener of Chanticleer’s potager garden. He said to clean up everything, and I do mean everything. So that is what I have done ever since, with great results. While others are having problems with early aphids, cutworms, grubs… my spring veggies are thriving and bug free.
Nothing is left standing, except veggies that will be harvested in late fall after a good frost. Everything left standing in fall, must be be harvested before spring arrives. That way, if any bugs are hiding in those vegetables, they are gone when you harvest. This is less of an issue here on the prairies, as no vegetable is harvestable after the hard frosts set in. If you mulch up your food growing beds with leaves or straw, wait until after a few good frosts, so that you are not nestling the bugs in your garden along with that mulch.
Strawberries are planted away from the food beds as bugs love to overwinter under their leaves.
Remove all the foliage, plants, and vines. Chop finely and toss into your compost bin. The smaller the pieces, the faster your compost cooks down. Mildewed leaves are just fine in the compost bin. If in doubt, toss it in the green bin.
Run your hoe through the bed to remove any weeds and also weed seeds that are germinating just below the soil’s surface. I love my Winged Weeder hoe (like a triangle hoe, but better), as it just lifts the weeds right out of the soil.
Top your beds with a good layer of compost, fish compost (like SeaSoil), or manure. This feeds your soil and soil life all winter long, and the beds are ready to go in spring. No waiting around. If you did not have amazing root crops, tomatoes, or other crops, try to invest in a good thick layer on top of your beds. Rake out smooth and walk away. If you would like to add leaves to your beds, wait till you’ve had a good hard frost, or two. Water them down so that they stay in place. Do not dig them in as that will tie up your nitrogen.
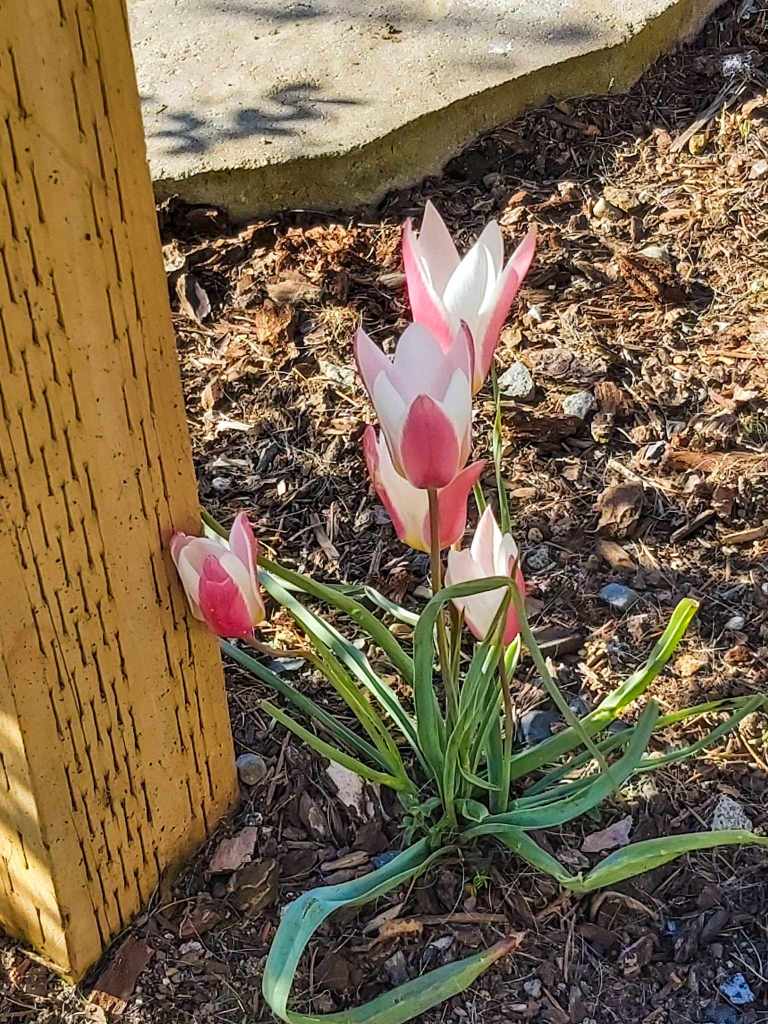
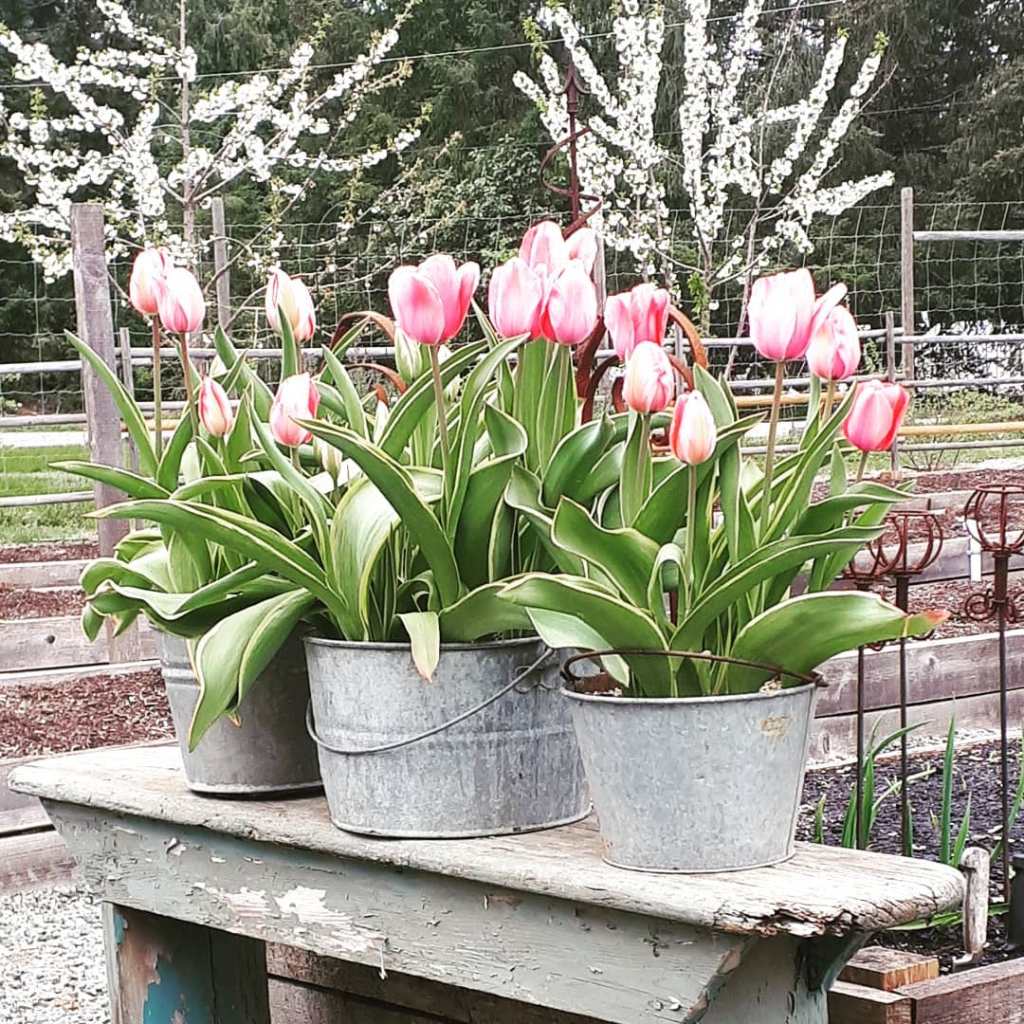
6. Plant spring flowering bulbs. My favourites to add are bulbs that slowly, over the years, naturalise and spread. Bulbs like muscari, chionodoxa, scilla, and species tulips (aka grape hyacinths, glory of the snow, squill, botanical or wild tulips). I always start with those and try to add a bit more each year. Plant them near pathways, in the lawn, and as border plantings in your garden. You will be so happy you took the time to plant, even if you have fall burnout, when spring comes along and your pathways are surrounded by pretty flowers.
Tall, stately Darwin or Triumph tulips are the longest lasting tulips. Some of the more fancy ones only come up for a year or two. I generally only grow the fancy ones (doubles, parrots) in pots, and treat them like annuals.

This year, I am also adding some lovely alliums (they look like the Lorax’s truffula trees) in the front yard. They are deer and bunny resistant, and also spread over the years. A nice tall pop of purple blossoms in spring.
If you are wanting to order on line, rather than from box stores, for more variety, check out the lovely bulbs at Antonio Valente Flowers, Unicorn Blooms, Vesey’s.
7. Take Notes. Keep notes on what you liked, did not like, want to change, want to plant or do in your 2025 garden. Mine has a pocket at the back that is stuffed full as I bought so many new shrubs and perennials this year.
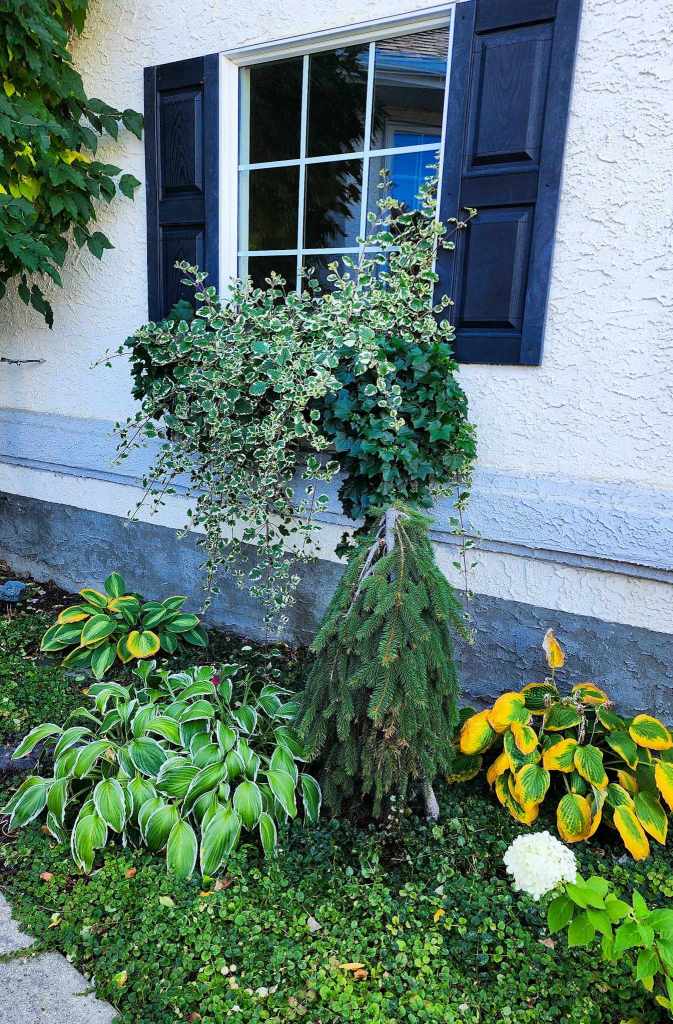
This lovely planter box (above) by the front pathway is in shade for 22 hours of the day. I’m not even sure if it gets any direct sunlight at all, but it is bright with indirect light in late afternoon and evening. It had pink flowers in it, but some died during the heatwave, and others are now hidden behind the foliage of the ivy. I love this look with those lovely, long variegated vines. I can almost picture this next year, with lots of white verbena added to it. All white and green and flowy. I think it will look spectacular. Thank you to Cathy for the ivy cuttings in spring!
Oh, PS, if you want to overwinter plants like this, you can take cuttings, or trim it back hard and plant it in a pot.

8. Plant garlic. Garlic is best planted in the fall, anytime after the autumnal equinox. Mid-October is generally a great time to plant, regardless of where in Canada (or the northern States) you live, but the general range is from mid-September to late November.
Feed your garden with compost or manure, you can also drop some composted hen manure pellets into the planting hole. Remember, your garlic needs nutrients for 9 months! you can plant from 4 to 8 inches apart. For bigger bulbs, plant farther apart. My garlic farmer guy plants his 7 inches apart, so that is what I do, too. If it works for the professionals, it works for me.
In warmer climes (west coast), you want to push the cloves down till the tip of the clove is just below the soil’s surface. On the prairies, you want to plant them 4 inches deep. Rake the ground smooth, top with 3 to 5 inches of straw or leaves. A more in depth garlic planting guide is coming shortly!

9. Put away hoses, birdbaths, fountains, trellises, cages. All the things. Besides the practical reasons, it is also nice to start with a blank slate in spring time. Gives you a chance to see things in a new light, move items to different places in the yard, try something new. Plus, the dogs will love all the space to zoomie in the first snowfalls.

10. Sow some seeds for spring. On one of the gardening groups, a poster was showing off her lovely crops of winter wheat. I am super stoked to grow some! It is grown as a cover crop, can be tilled in whenever you like, or… let it grow. Dogs and cats love to eat it, it looks great growing in the garden, you can harvest your own wheat in summer, or use it as fall decor, or a wreath.
You can also sow some seeds in October for earlier harvests in spring. My mom, who gardened here on the prairies for over 4 decades, swore by sowing her carrot seeds in October. On the island, or west coast you want to wait till after winter solstice. (I like the week between Christmas and New Year).
You can also sow spinach and lettuce with great results, and try scallions, kale, beets. I like to sow these in a sheltered corner of the yard, by the house or detached garage wall.

I used to hold an annual Fall Garden Clean Up How-To workshop (with a garlic planting tutorial, and food bank donation drop off) at the greenhouse on Thanksgiving weekend, so the potager was always cleaned up, beds top dressed, ready for winter before that weekend event.

This year, I am aiming for my task list to be finished by the end of October, as tomatoes are still ripening daily, flowers are blooming beautifully, and the greenhouse is still going strong with peppers, tomatoes, melons, and cucumbers, too. Rutabagas, carrots, and beets are waiting for a few good frosts so they sweet up nicely.
Do you have anything else to add to the fall garden task list? Let me know in the comments below.
I hope you have all had a successful garden this year, despite the cold start, followed by weeks long heatwave with no rain, and then the abundance of bugs that followed.


Leave a comment